Workflow Overview
Workflow is a sequence of steps that content in your project should go through, like translation or proofreading. You can use unlimited workflow steps that can be connected either in parallel or subsequently.
You can create a workflow template that works best for you and assign it to several projects. Editing a workflow after it’s assigned to a project won’t affect the original template. Otherwise, you can create a new workflow each time you create a project.
To create a Workflow template, follow these steps:
- Open your organization’s Workspace > Workflow templates.
- At the lower-right corner, click Create.
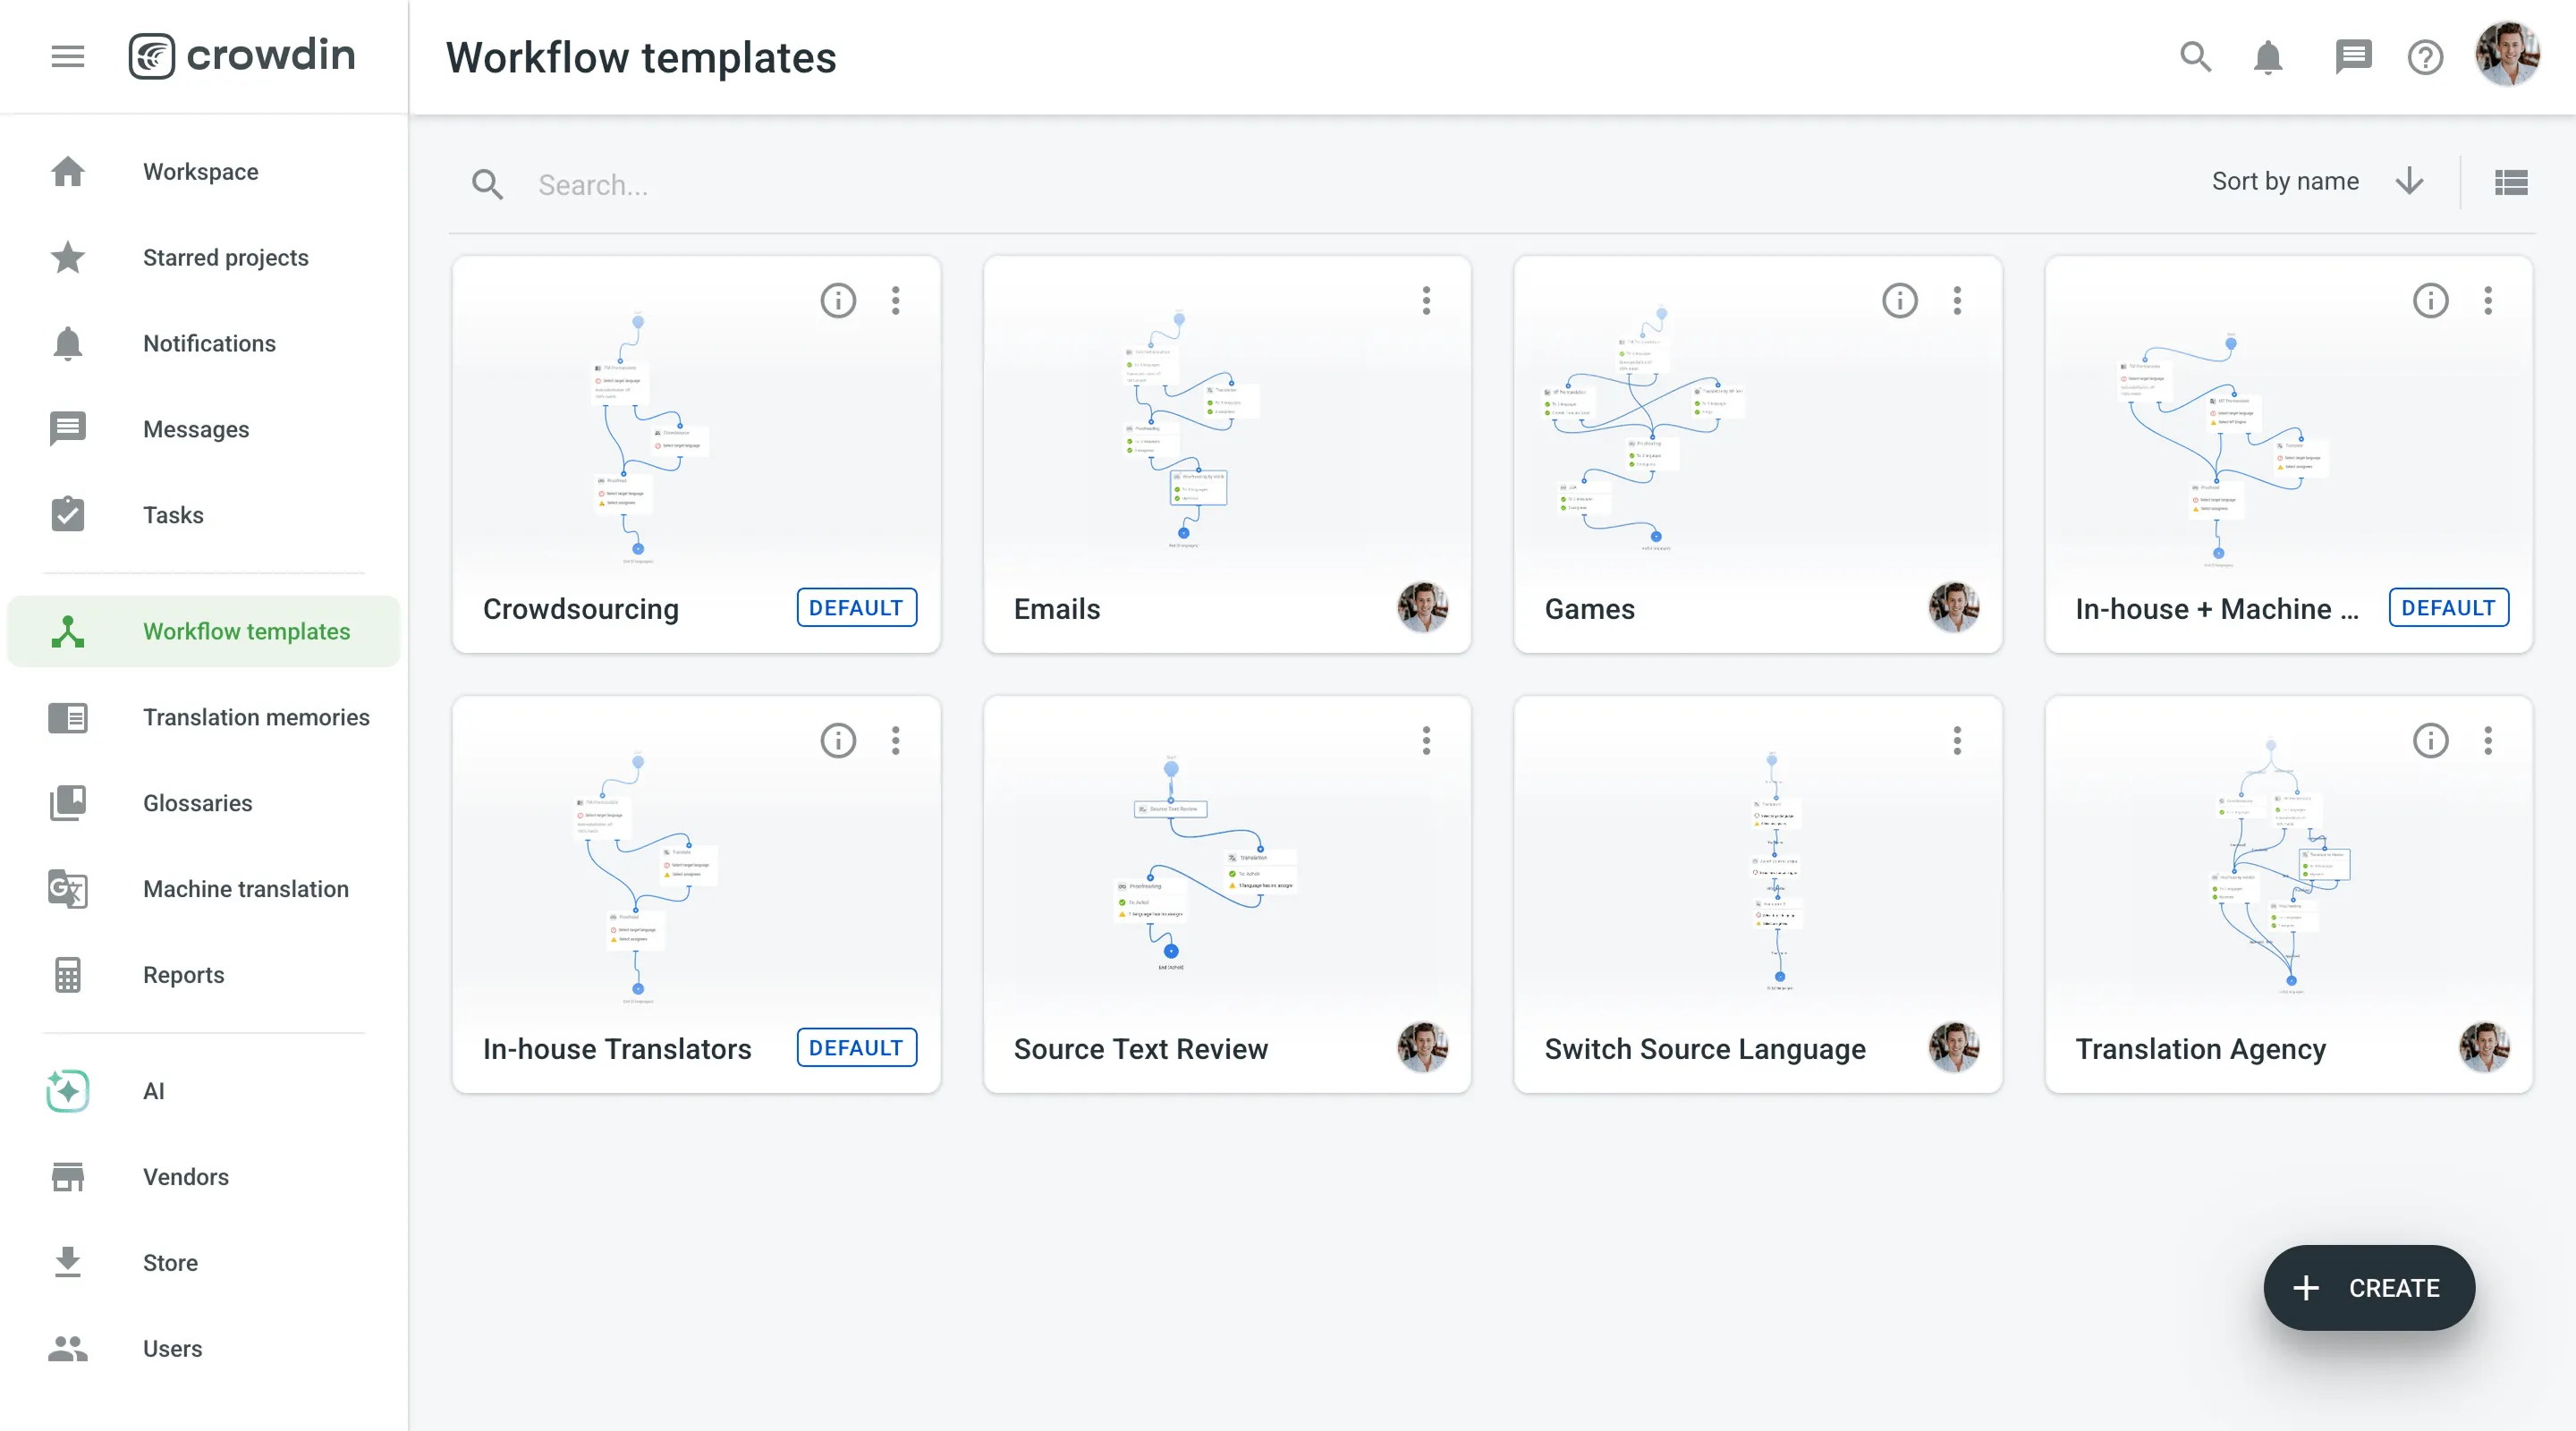
- Name your Workflow and add a description(optional).
- Click Create.
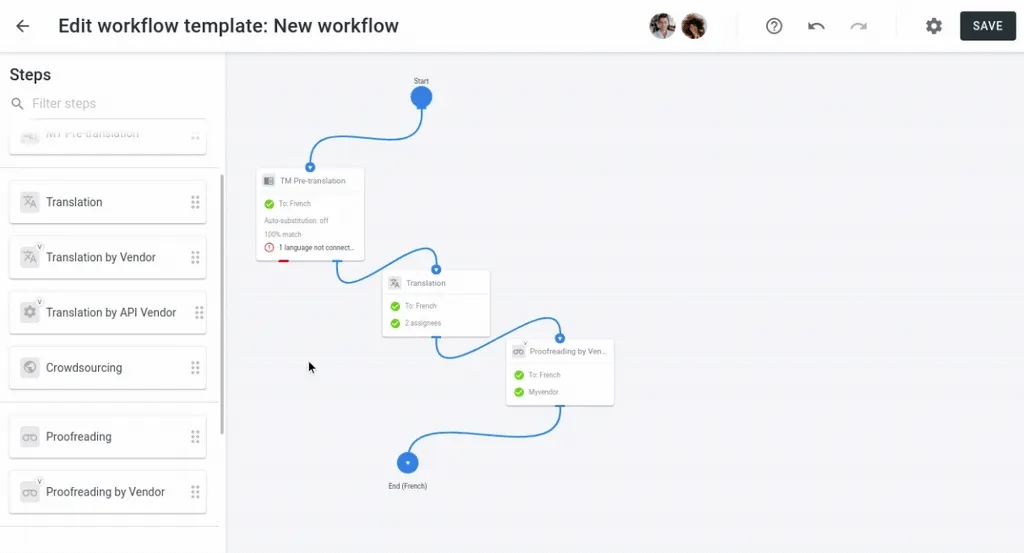
- Select workflow steps from the left panel and drag them to the working area.
- Connect steps in the order in which the content should flow between them. Steps can be connected in parallel or subsequently.
- (Optional) Add target languages to each step and assign contributors to them. This can be skipped when creating a template, as you might want to add different languages and assignees for different projects.
- When you’re finished creating your workflow, click Save.
Your new template will be available on the Workflow templates page and in the workflow list when creating a project.
Here’s a list of the workflow steps that you can use to create a workflow.
The Source Text Review step is essential if your source texts need to be reviewed before translation. Use this step to ensure consistency in terminology, correct formatting, and accurate grammar. This helps avoid potential issues during translation by detecting and correcting issues early. By ensuring that your source text is clear and consistent, you reduce the risk of errors later in the process, saving time and effort.
Read more about Source Text Review.
The Custom Code step allows you to apply specific rules to your workflow using JavaScript. This is useful when you need to split strings into different workflow paths based on certain conditions. For example, you can set up custom routes for specific content types or apply unique processing rules that meet your project’s needs. This step adds flexibility and allows you to customize the workflow to handle complex localization tasks.
Read more about Custom Code.
The Switch Source Language step allows you to change the source language of your project. This is particularly useful when translating between languages that aren’t commonly paired. By switching to a more widely used intermediary language, you can simplify the translation process and improve the overall quality of the translations.
How can I download an XLIFF with switched source language when using the Switch Source Language step in my workflow?
When you download XLIFF files via the language page, Crowdin Enterprise uses the original project source language by default. To ensure your XLIFF contains the newly switched source language instead, follow these steps:
- Open the necessary file in the Editor.
- From the Workflow menu in the Editor, select the step that follows the Switch Source Language step.
- Click on the Main menu in the upper-left corner.
- In the File menu, select Export Filtered in XLIFF.
Because workflows can have complex structures with multiple parallel streams, the system can’t automatically determine which source language to include when downloading from other areas (such as the language page). So, by downloading from the Editor and selecting the step immediately after the Switch Source Language step, you can precisely determine which step of the workflow to export from—ensuring your offline translation file contains the switched source language.
The TM Pre-translation step uses your existing Translation Memory (TM) to pre-translate content into target languages. You can pre-translate strings with a configurable TM match (from 40% to 100%) or a perfect match (101%), giving you control over the translation quality. There’s also an option to enable Auto-Substitution, if you want to get improved suggestions wherever possible. This step is particularly useful when you have a well-developed TM, as it reduces manual translation efforts and increases consistency.
The MT Pre-translation step integrates Machine Translation (MT) engines into your workflow. You can connect MT engines like Google Translate and AutoML Translation, Microsoft Translate, and more. After configuring your preferred MT engines, you can select specific engines for the languages you want to pre-translate. This step is useful for quickly handling large volumes of content. By combining MT with human proofreading steps, you can maintain a balance between speed and translation quality.
The AI Pre-translation step uses advanced AI models to pre-translate your content. Unlike other pre-translation methods, AI Pre-translation considers context at multiple levels, resulting in improved translation quality. You can integrate AI models from providers like OpenAI, Google Gemini, Microsoft Azure OpenAI, and more. Similar to MT Pre-translation, you can select specific AI prompts for the languages you want to pre-translate. This step reduces manual translation efforts and helps maintain consistency across your project.
The Translation step involves human translators translating your content into target languages. You can invite in-house translators, freelancers, or agency professionals to your project and assign specific target languages to each. This ensures that translators only access the resources relevant to their assignments.
The Translation by Vendor step allows you to outsource translation tasks to professional vendors. Choose a vendor, specify the target languages, and provide any necessary instructions in the comment section that will be sent along with the content. This step is ideal for accessing specialized expertise and scaling your translation efforts efficiently.
The Translation by API Vendor step automates translation orders from translation agencies that provide their services via API integration. Add an API vendor to your organization, configure it in your workflow, and specify the target languages. This step allows you to place orders manually or set them to be processed automatically, simplifying and speeding up your translation process.
Read more about Translation by API Vendor.
The Crowdsourcing step engages your community to translate your product into multiple languages on a volunteer basis. Set up Crowdsourcing in your project workflow to configure public settings, branding, and gamification features. You can customize the project name, logo, description, and URL, and offer single sign-on options for easy access. Enable gamification to reward volunteers and use status images to showcase translation progress. Build and manage your community by sharing the project link to attract contributors and encourage participation.
Read more about Crowdsourcing.
The Proofreading step involves reviewing and refining translations to ensure accuracy and quality. You can invite in-house proofreaders, freelancers, or agency professionals to your project and assign specific target languages to each. This ensures that proofreaders only access the content relevant to their assignments.
The Proofreading by Vendor step allows you to outsource proofreading tasks to professional vendors. Choose a vendor, specify the target languages, and provide any necessary instructions in the comment section that will be sent along with the content. This step is ideal for ensuring high-quality translations and efficiently scaling your proofreading efforts.
By installing apps from the Crowdin Store, you can introduce custom steps into your workflow. Depending on the app, these steps might provide advanced QA checks, AI-driven proofreading, scheduling or delaying content processing, or other specialized functionalities. This gives you the flexibility to tailor workflows to your team’s exact needs.
Read more about App-based Workflow Step.
If you choose a project with a workflow during project creation, you’ll be asked to choose a workflow. To assign an existing workflow template, click on the preferred workflow, and then click Create Project.
Read more about Creating a Project with a Workflow.