Groups
Groups help you organize related projects into a clear hierarchy, similar to folders. You can nest groups into subgroups to structure your workspace and manage access more efficiently.
Groups are useful for organizing and managing projects based on their type, purpose, or ownership. You can:
- Organize projects by content type (e.g., documentation, marketing materials), product line (e.g., mobile apps, games), or department (e.g., development, support).
- Assign managers to a group to give them access to all its projects at once.
- Create and manage workflow templates specific to the group.
- Share localization resources, such as translation memories, glossaries, or MT engines, within the group or subgroup.
- For translation vendors, group incoming projects by client to simplify access and resource management.
When your organization uses Permission Granularity Mode, you can manage resources and permissions separately for each project group. This allows you to:
- Create workflow templates specific to each group.
- Manage translation memories and glossaries at the group level.
- Connect MT engines for a specific group.
- Assign managers to all projects within a group at once.
Localization resources such as translation Memories, glossaries, MT engines, and workflows added at the organization level are available in all projects. If you add resources to a specific group or subgroup, they’ll be available only to the projects within that group or subgroup.
Managers assigned to a group automatically inherit the same permissions for its subgroups and projects.
Read more about Manager Role.
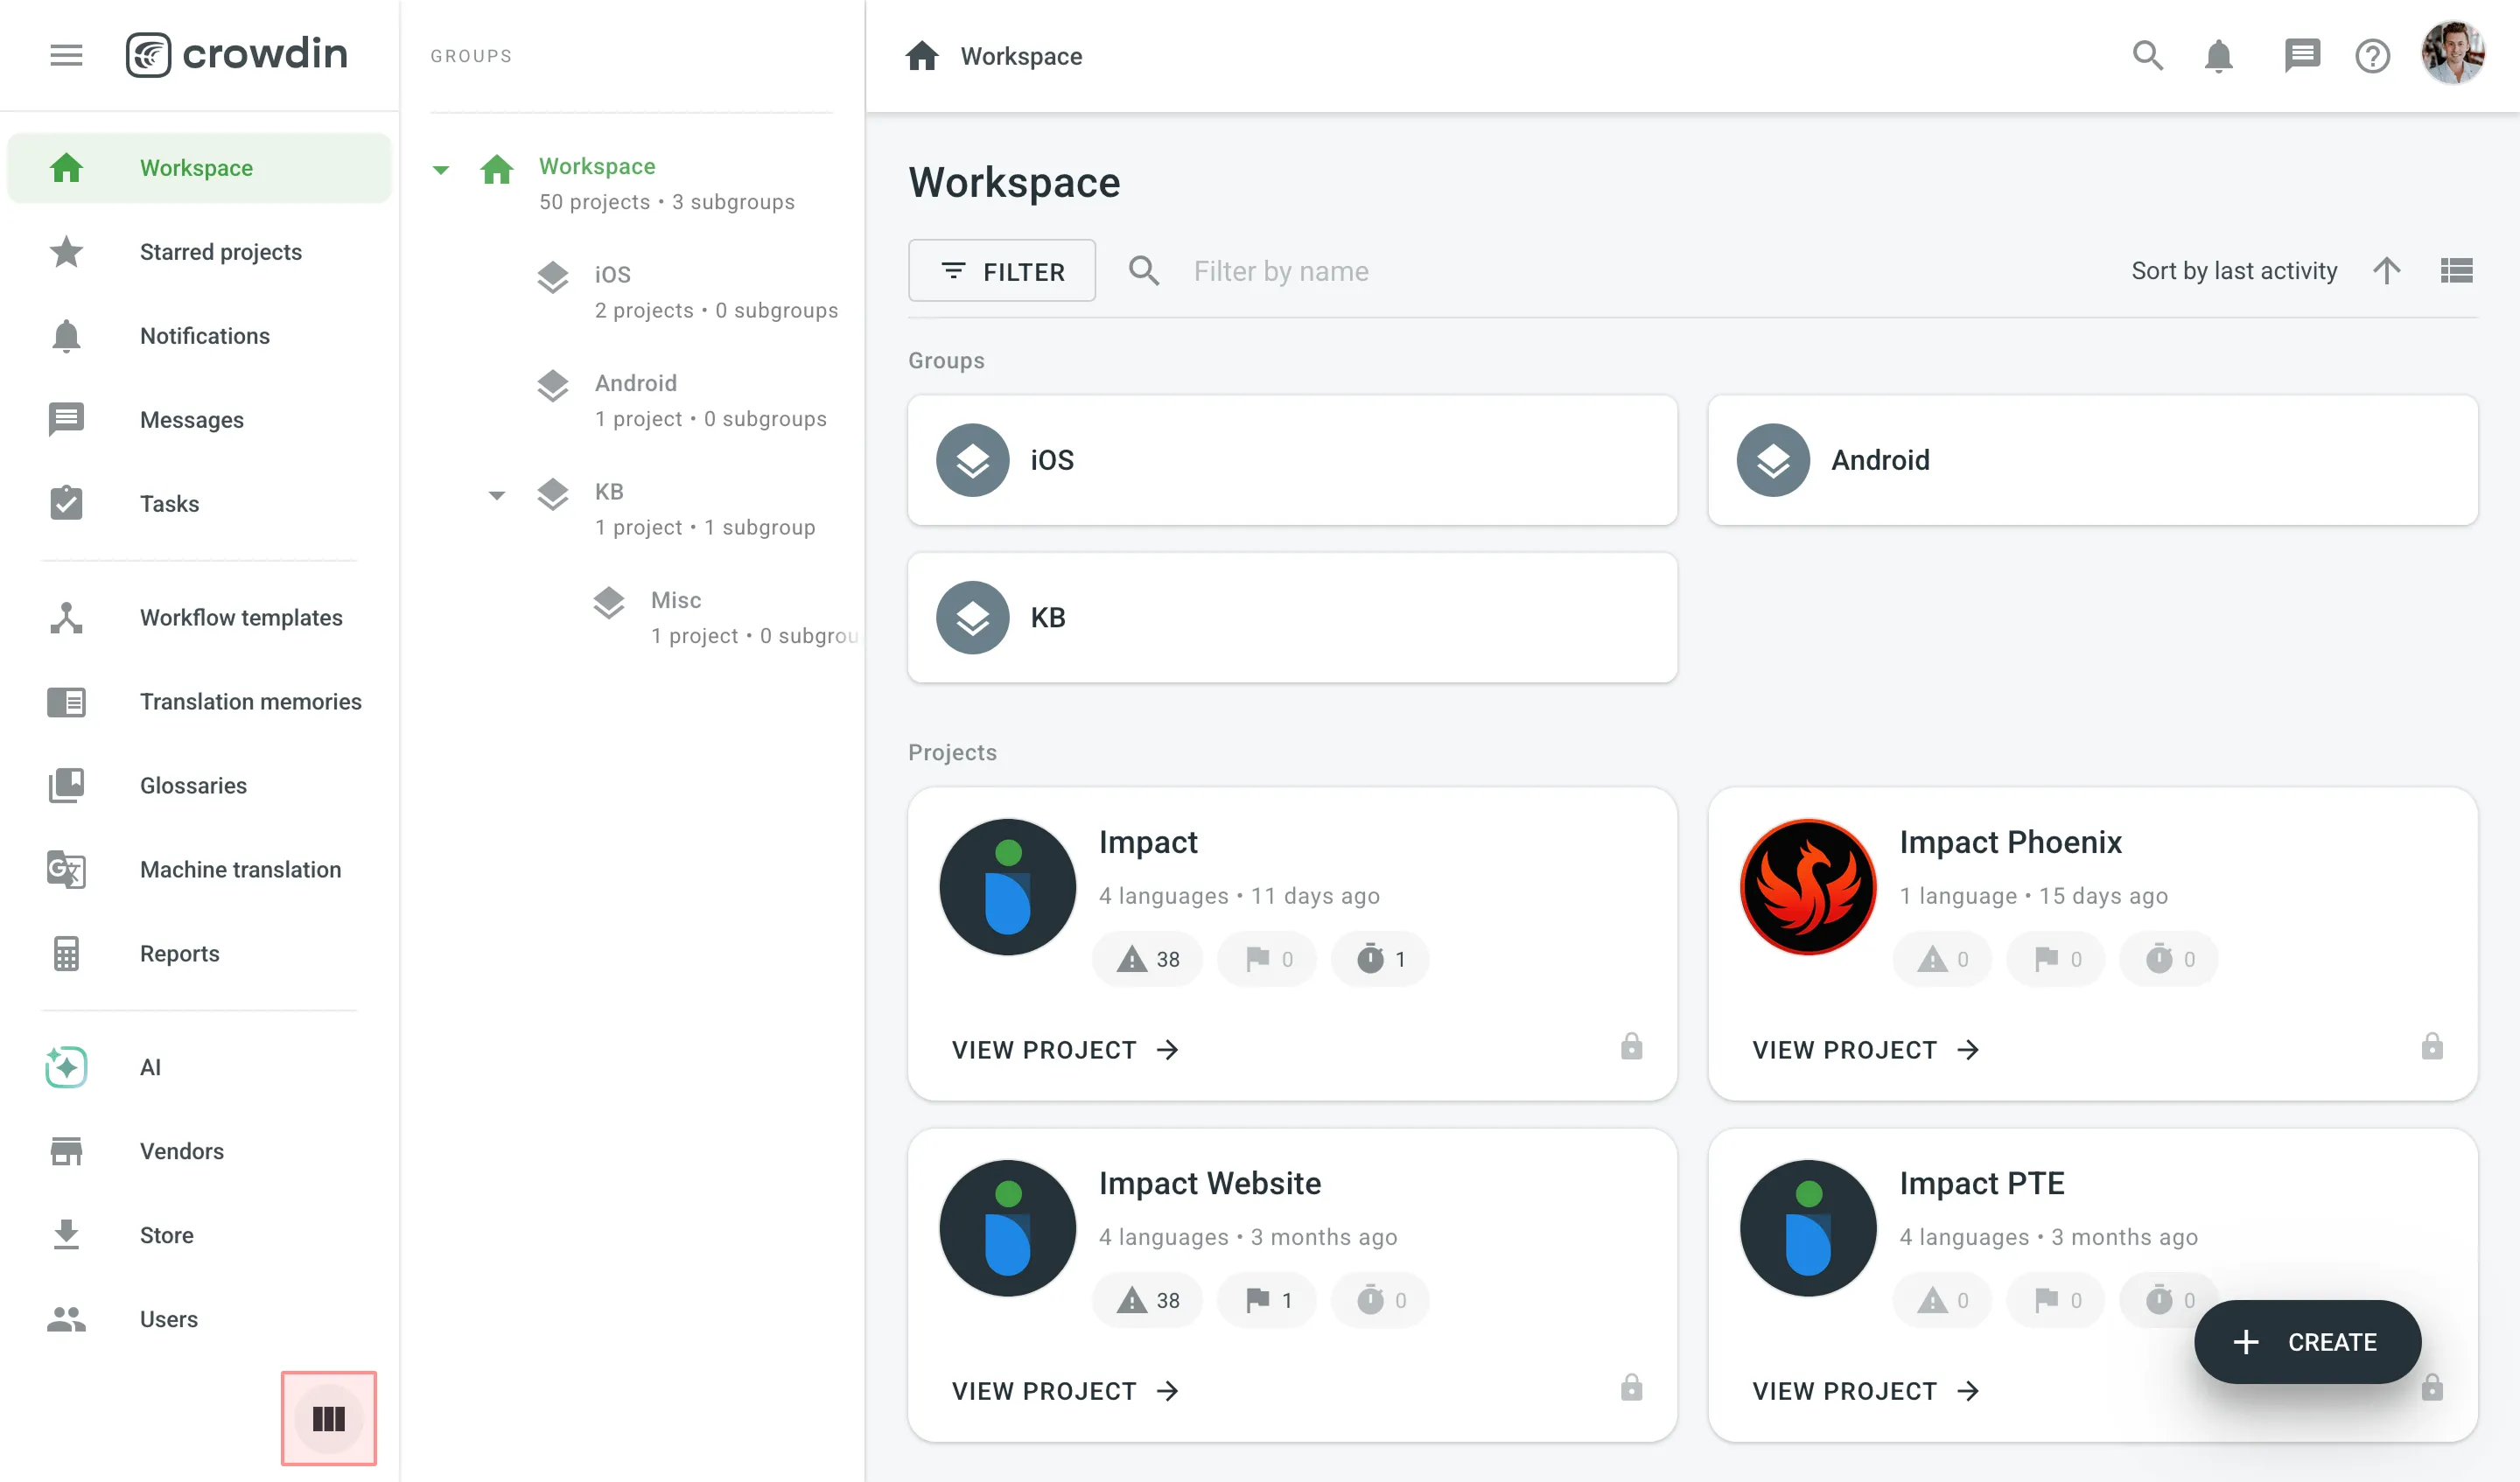
To navigate between groups and subgroups, use the sidebar menu or click the folder icons directly. If the group hierarchy isn’t visible in the sidebar, click the Workspace Explorer button in the lower-left corner to open the list of groups.
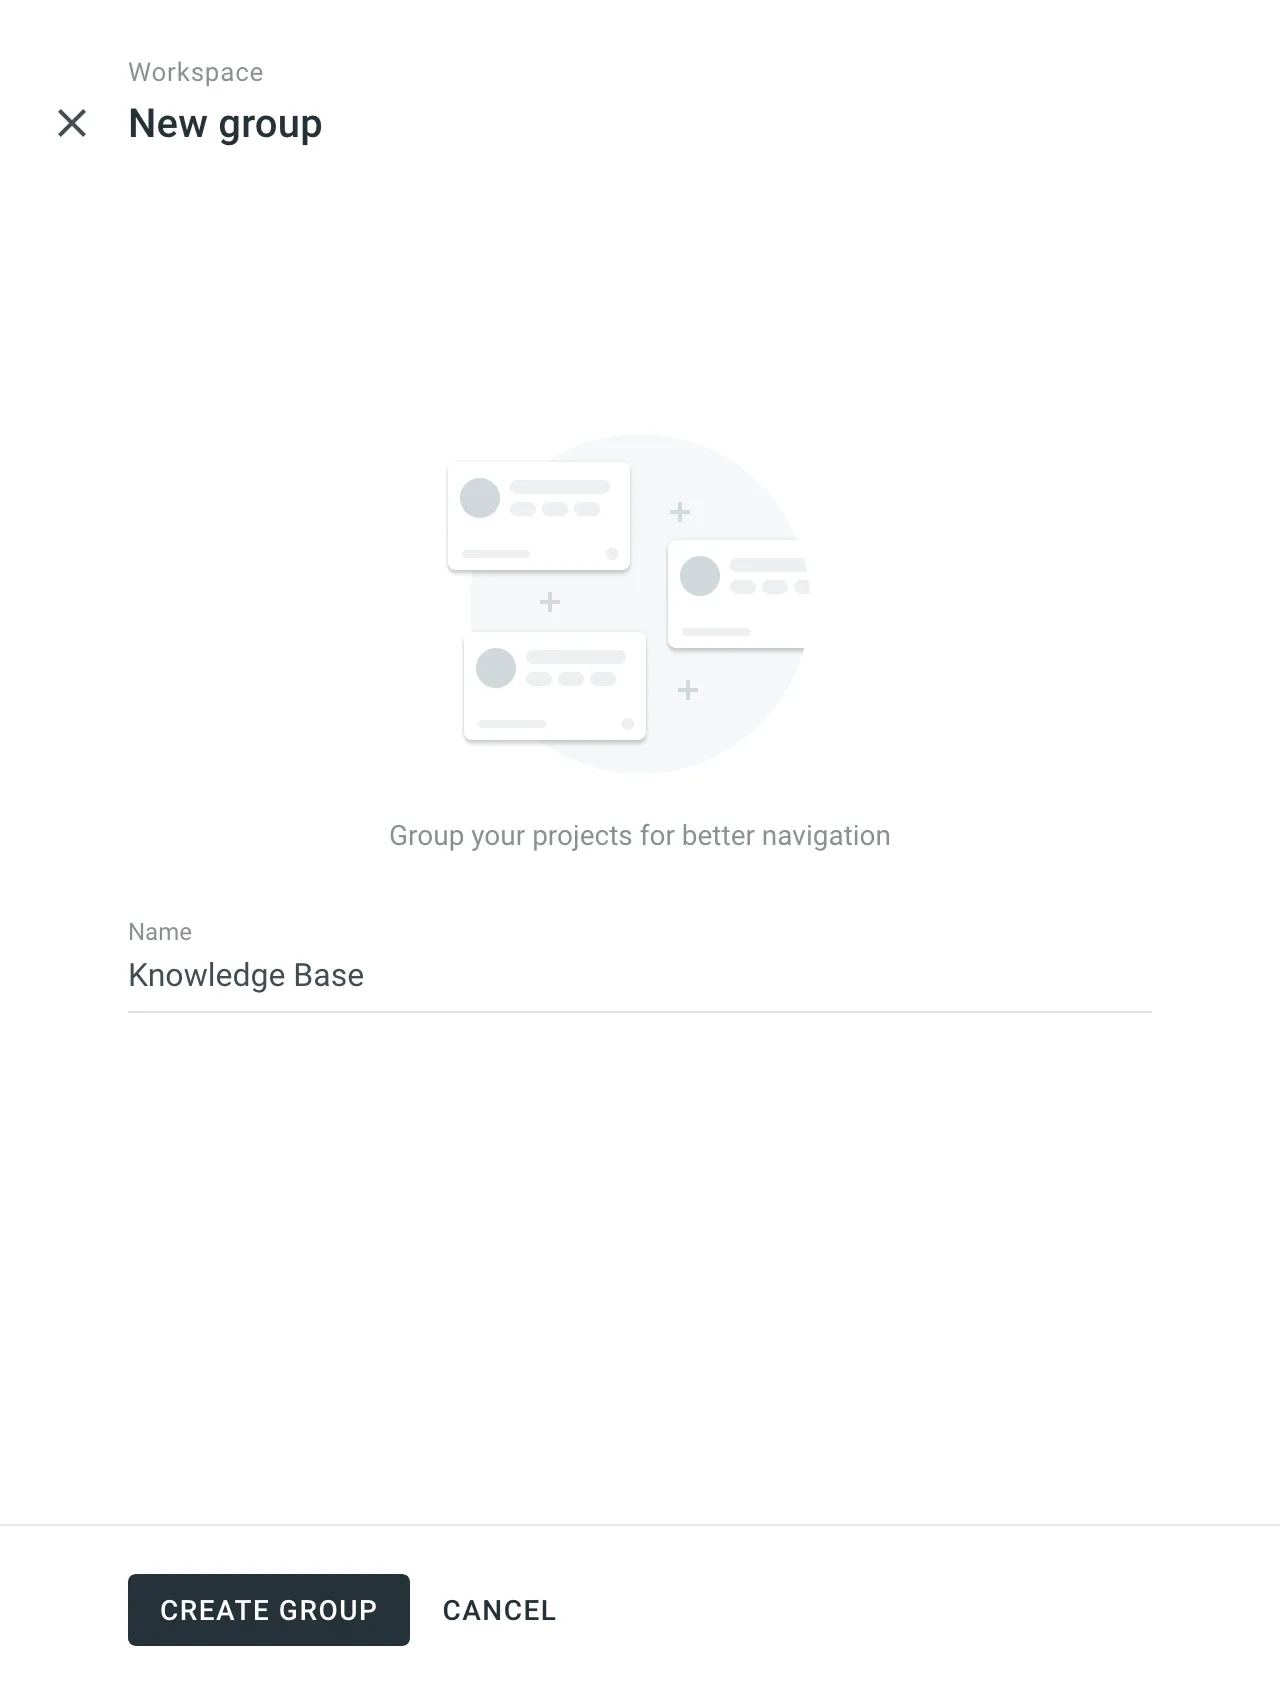
To create a group, follow these steps:
- Open your organization’s Workspace, hover over the button at the lower-right corner, and select Create a group option.
- Enter a name for your group to indicate what kind of projects it will contain.
- Click Create group.