Public project
Visible to everyone, searchable via search engines and Crowdin search. You can restrict access to specific languages after the project is created.
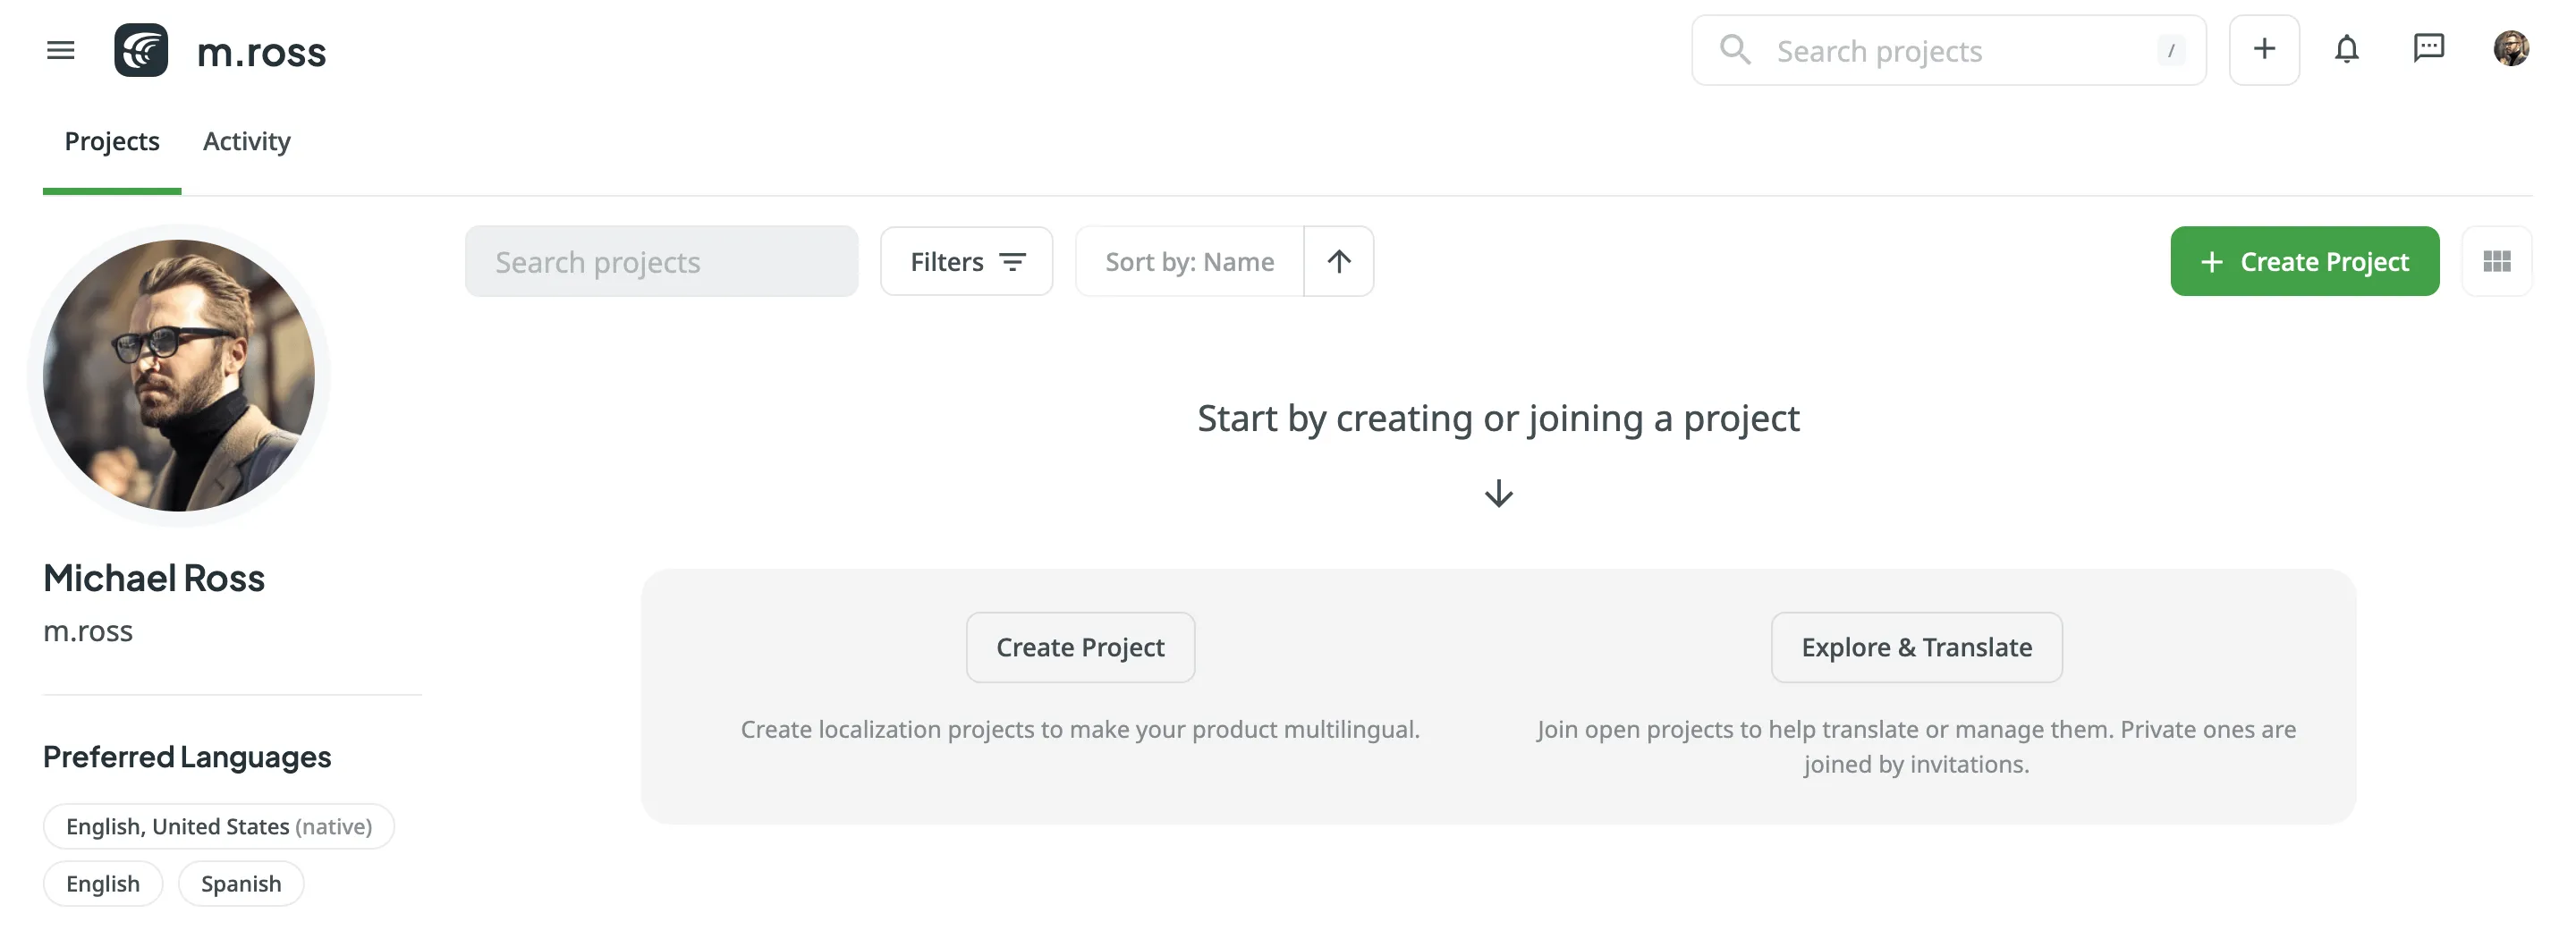
To be able to upload your content for localization, create a project first.
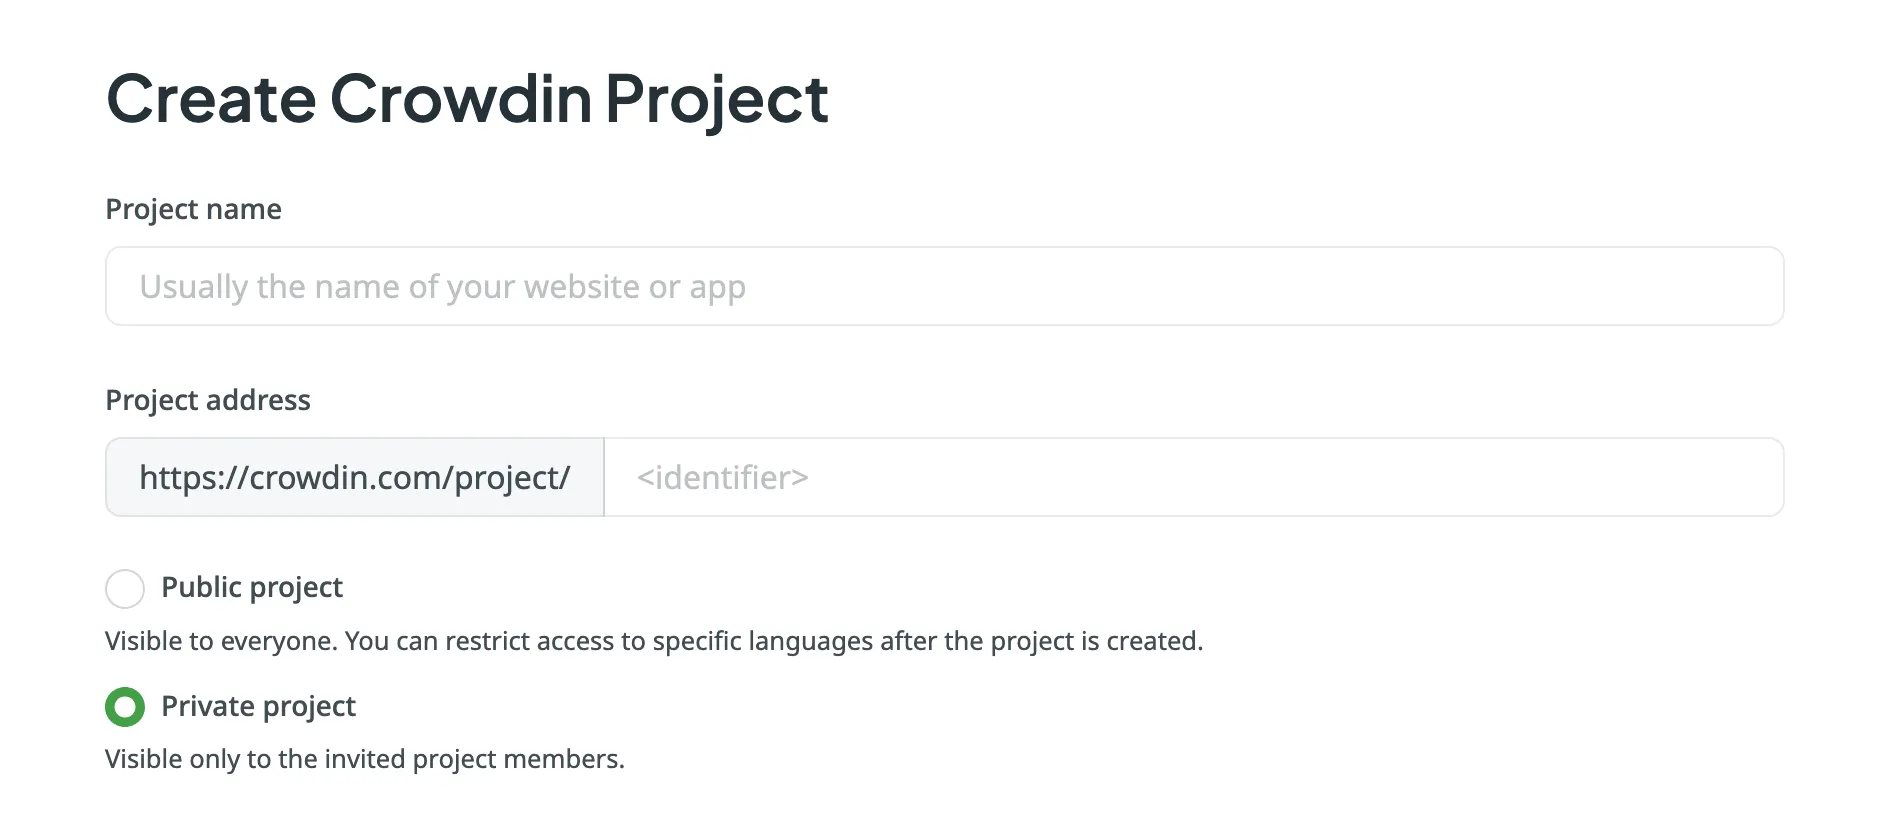
When creating a project, you can select the preferred project visibility:
Public project
Visible to everyone, searchable via search engines and Crowdin search. You can restrict access to specific languages after the project is created.
Private project
Visible only to the invited project members.
Crowdin offers flexibility in how you organize and manage your localization process. There are two main project types: File-based and String-based. Choose the one that best fits how your content is structured and how you plan to manage translations.
A file-based project is the standard localization setup in Crowdin, ideal for translating apps and documents. In this project type, you upload source files containing translatable content. Crowdin scans these files, identifies text for translation, and retains the original files within the project. After translation, you can export the files, preserving the original structure and format.
This project type is ideal when maintaining the original file structure upon export is crucial, and when integrating with version control systems (e.g., GitHub, GitLab, Bitbucket, Azure Repos) and external data sources.
Crowdin supports a wide range of formats used in software development and documentation, including Android XML, iOS Strings, JSON, XLIFF, Markdown, DOCX, and more.
A string-based project in Crowdin is designed for managing dynamic content through a centralized string repository. Instead of storing source files, Crowdin extracts individual translatable strings and maintains them within the platform. This setup is ideal for content that changes frequently, such as UI text and other modular content blocks.
With this approach, you can update source strings directly in Crowdin without needing to re-upload files. Translated strings can then be exported in various formats, including JSON, iOS Strings, or Android XML, facilitating reuse across multiple platforms like web, mobile, and desktop.
To create a project, follow these steps:
Click Create Project. 
Name your project.
Customize your project address if needed.
Select the preferred project visibility. You can choose between a Public project (visible to anyone) or a Private project (visible only to the invited project members). For a public project, you can enable Moderated project joining in your project Settings tab and restrict the possibility of translating for users until you confirm their join requests. Private projects can’t be found via search engines and Crowdin search. 
Decide on the project type that best fits your content and localization workflow. Select String-based project if you want to manage your translatable content as individual strings in a centralized repository. Otherwise, keep this option cleared to create a File-based project, where you’ll work with structured source files that are preserved in the project.
Select the source and target languages of your project. The source language is the language you’re translating from, and the target languages are the ones you’re translating into.
(Optional) Select an integration with your data source to help synchronize your content with Crowdin.
You can adjust the app’s permissions, including role-based access and project availability, in Account Settings > Apps.
Select the existing TM and glossary for your new project to be used as defaults. Alternatively, to create your new project with clean resources, leave the Create new translation memory and Create new glossary options selected. You can change the default TM and default glossary in the project’s Settings.
Click Create Project.