Start with an Organization
An organization consolidates all company members involved in localization and contributors (translators, proofreaders, vendors, etc.) in one space.
Within your organization, you can:
- Create and manage projects individually or as part of groups.
- Create workflow templates and apply them to individual projects and groups.
- Grant admin access at different levels.
- Assign translators, proofreaders, and vendors to specific workflow steps.
- Use built-in AI features to improve translation quality and productivity.
- Extend functionality with apps and integrations from the Crowdin Store.
When you create an organization in Crowdin Enterprise, you also create your personal account and automatically become the organization owner. The owner has full access to organization-level settings, billing, user management, and more. Other users join existing organizations by invitation and become their members.
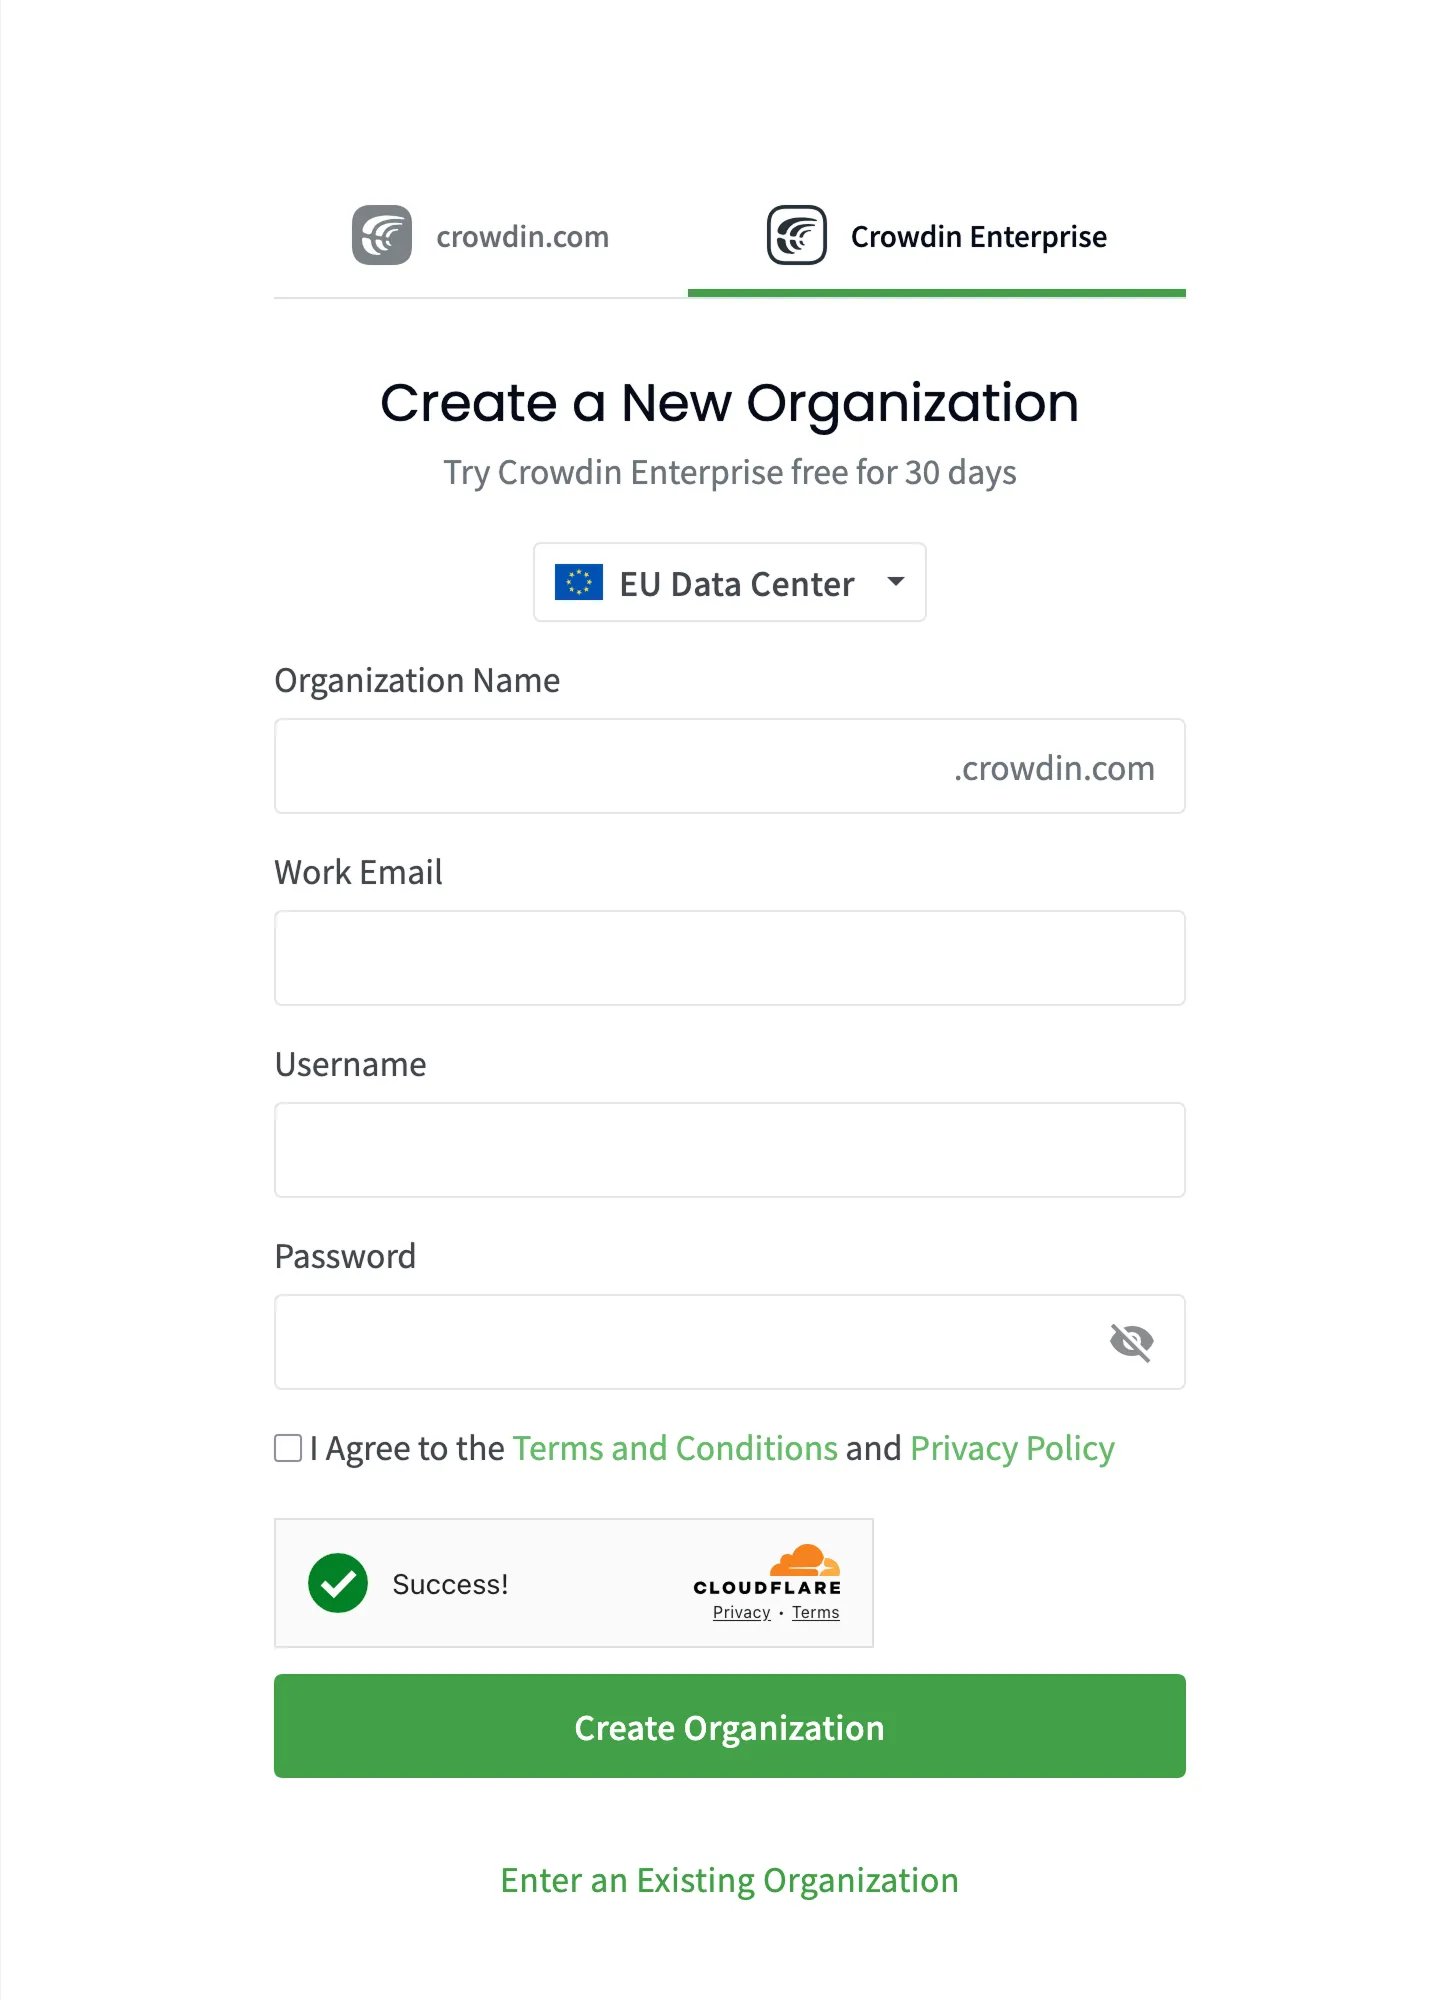
To create your organization and sign up for your account, follow these steps:
- Open the signup page.
- Select your preferred data center (US Data Center or EU Data Center). This defines where your organization’s data (files, strings, and other resources) will be stored.
- Enter your organization’s name. It will also be used in the URL (e.g.,
organization-name.crowdin.com). - Fill in all the fields with your account data and click Create Organization.
- Go to your inbox, open the activation email, and click Activate Organization.
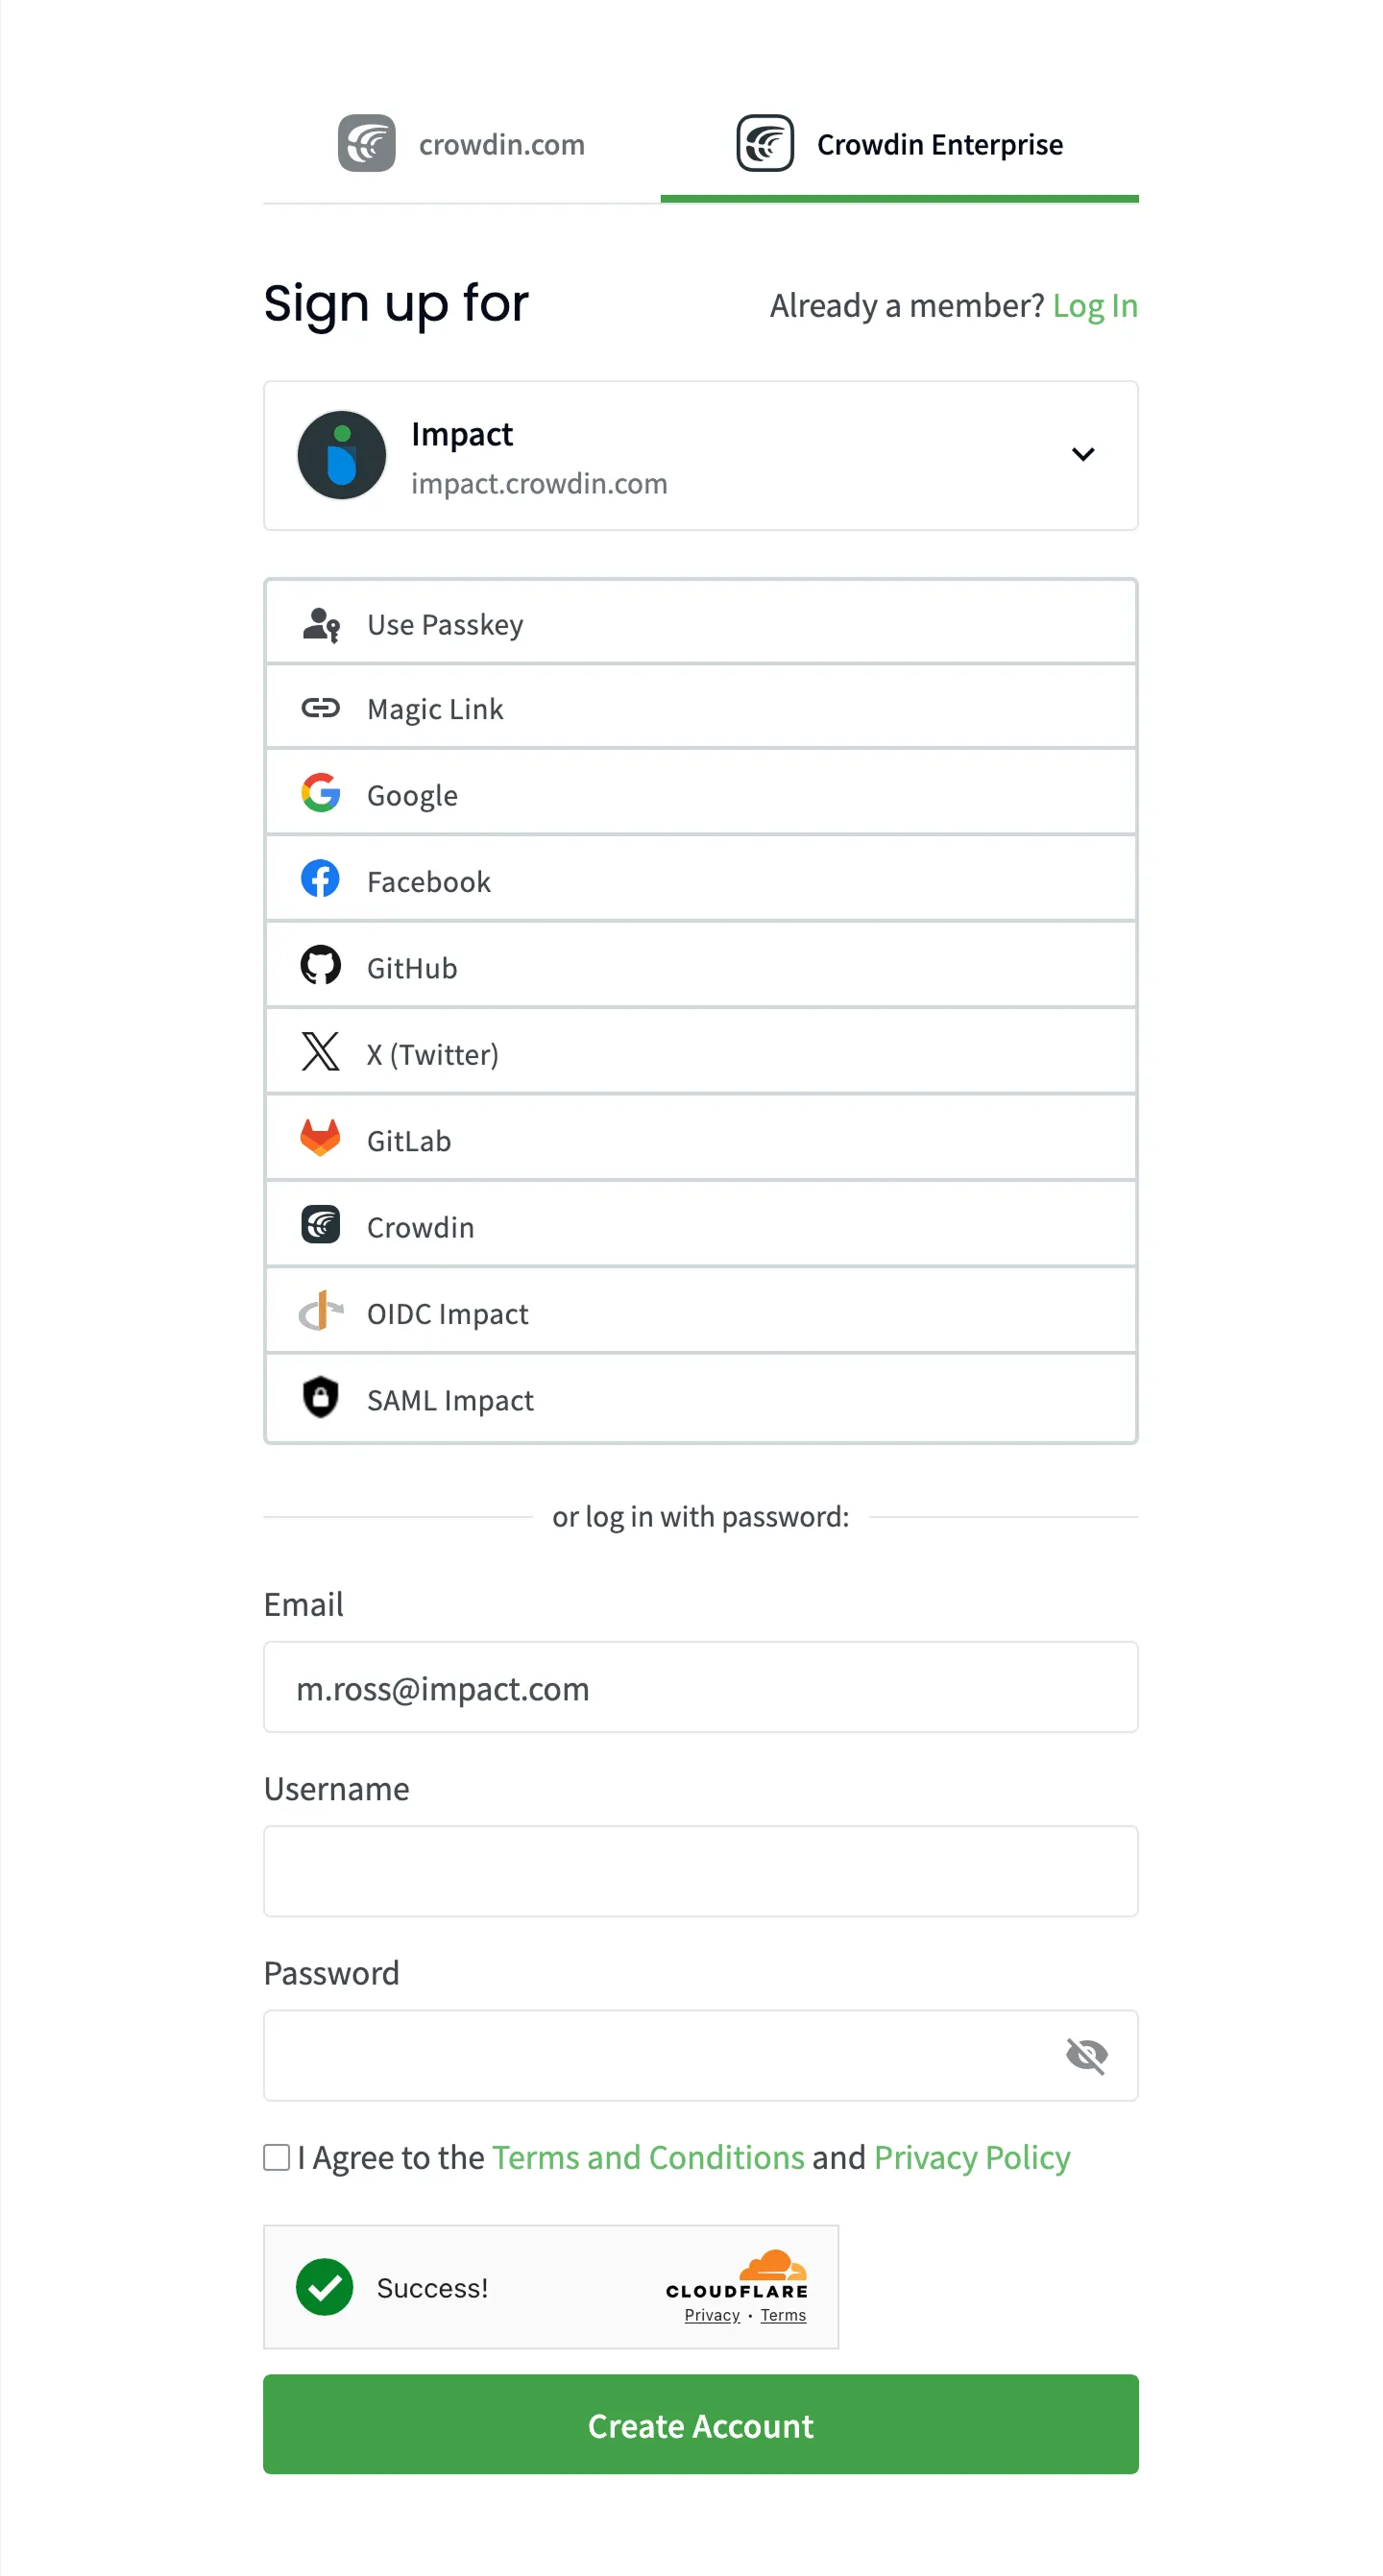
Join an organization to start working on localization projects together with your team. Once you receive an invitation, follow these steps to join an organization:
- Open the invitation email and click Accept Invitation.
- Create a username and password.
- Click Create Account.
Once your organization is created and activated, follow these steps to log in:
- Open the login page.
- Enter your organization’s name and click Continue.
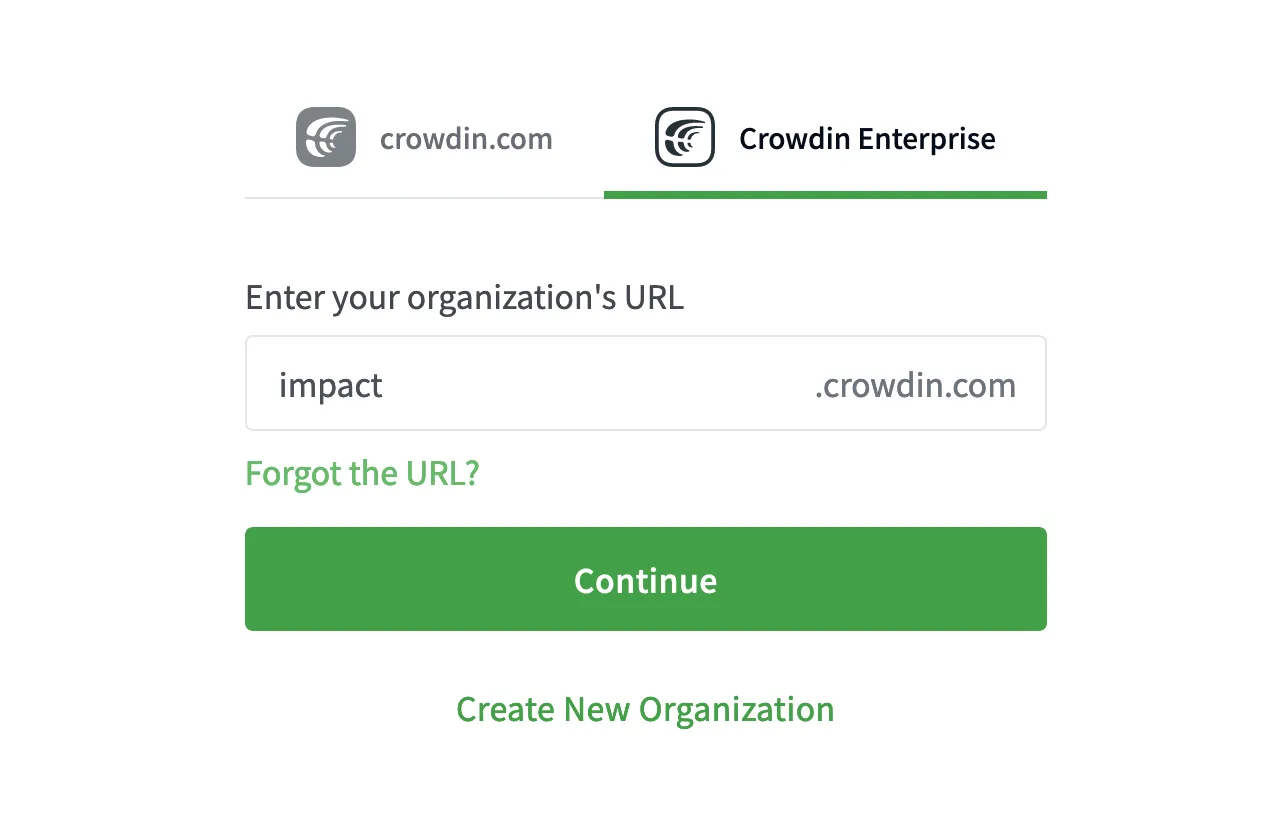
- Enter your email or username and password.
- Click Log in.
Here’s the fastest way to locate the organizations you have access to:
- Open the login page and select Crowdin Enterprise.
- Click Forgot the URL?.
- Add your email address.
- Click Confirm.
We’ll send you login links for the Crowdin Enterprise organizations associated with the address you enter.