Creating a Project
A project is the main place where you can manage and organize your localization process.
You can create an independent project in the Workspace root or within a specific group. Each project within the group inherits the group’s resources, managers, workflow templates, Translation Memories, Glossaries, and Machine Translation engines.
Read more about Groups.
Crowdin Enterprise offers flexibility in how you organize and manage your localization process. There are two main project types: File-based and String-based. Choose the one that best fits how your content is structured and how you plan to manage translations.
A file-based project is the standard localization setup in Crowdin Enterprise, ideal for translating apps and documents. In this project type, you upload source files containing translatable content. Crowdin Enterprise scans these files, identifies text for translation, and retains the original files within the project. After translation, you can export the files, preserving the original structure and format.
This project type is ideal when maintaining the original file structure upon export is crucial, and when integrating with version control systems (e.g., GitHub, GitLab, Bitbucket, Azure Repos) and external data sources.
Crowdin Enterprise supports a wide range of formats used in software development and documentation, including Android XML, iOS Strings, JSON, XLIFF, Markdown, DOCX, and more.
- Translate app strings and documents stored in structured files.
- Maintain the original folder and file structure when exporting translations.
- Keep source files in sync with code repositories.
- Align localization with development and release workflows.
- Suitable for version-controlled content or structured documents.
A string-based project in Crowdin Enterprise is designed for managing dynamic content through a centralized string repository. Instead of storing source files, Crowdin Enterprise extracts individual translatable strings and maintains them within the platform. This setup is ideal for content that changes frequently, such as UI text and other modular content blocks.
With this approach, you can update source strings directly in Crowdin Enterprise without needing to re-upload files. Translated strings can then be exported in various formats, including JSON, iOS Strings, or Android XML, facilitating reuse across multiple platforms like web, mobile, and desktop.
- Manage and translate app or website UI text in a centralized location.
- Let content writers update source strings online without developer involvement.
- Translate database content without needing to manage source files.
- Avoid duplicate translation effort for strings reused across platforms (e.g., Android, iOS, Web).
- Export translations in your preferred format, including JSON, iOS Strings, or Android XML.
- Ideal for teams working with dynamic content and frequent updates.
When creating a project, you have two possible options for how you can organize your localization process within the project:
Anytime you can switch between these two different approaches to managing a project’s localization process by assigning or removing a workflow.
A project without a workflow is a streamlined localization project setup where translations are managed without predefined steps or automated processes.
When working with this kind of project configuration, you can assign dedicated translators and proofreaders to the project target languages or use Tasks to manage the localization process.
This type of project setup allows you to start the localization process right away in cases when the preferred workflow still needs to be agreed upon or if you prefer a simpler approach. While this setup provides more freedom, it also requires more manual coordination and management of translation tasks.
- Get to know the main features of Crowdin Enterprise.
- Quickly start translating content without having to spend time setting up a workflow. Especially useful if you still need an agreed workflow.
- Good if there is no need for automation (e.g., auto-translation via TM/MT, filtering content via custom code step, ordering translations and proofreading via vendors, etc.).
- Good when the translation strategy is the same for all target languages in the project.
A project with a workflow is a structured localization project setup that follows a predefined sequence of steps for managing translations.
Workflows consist of multiple steps (e.g., source text review, auto-translation, translation, proofreading, etc.), which define the order and conditions that content in your project should go through and the responsibilities of project members involved in the localization process. Each step can be assigned to specific project members or vendors, ensuring a systematic and controlled progression of translation tasks.
Read more about Workflows.
Using a workflow in your project, you can automate certain actions, such as auto-translation via translation memory or machine translation engines, filtering and splitting content into two workflow threads according to specific predefined conditions, sending content for translation and proofreading to vendors, etc.
This type of project setup suits larger or more complex localization projects where consistent and standardized processes are desired.
- Order professional translation and proofreading services from vendors.
- Involve your community in the translation process.
- Automate content translation via translation memory or machine translation engines.
- Use individual localization strategies for different target languages (translate some languages with the help of the community and others with vendors, translate languages with different MT engines, etc.).
To create a project, follow these steps:
-
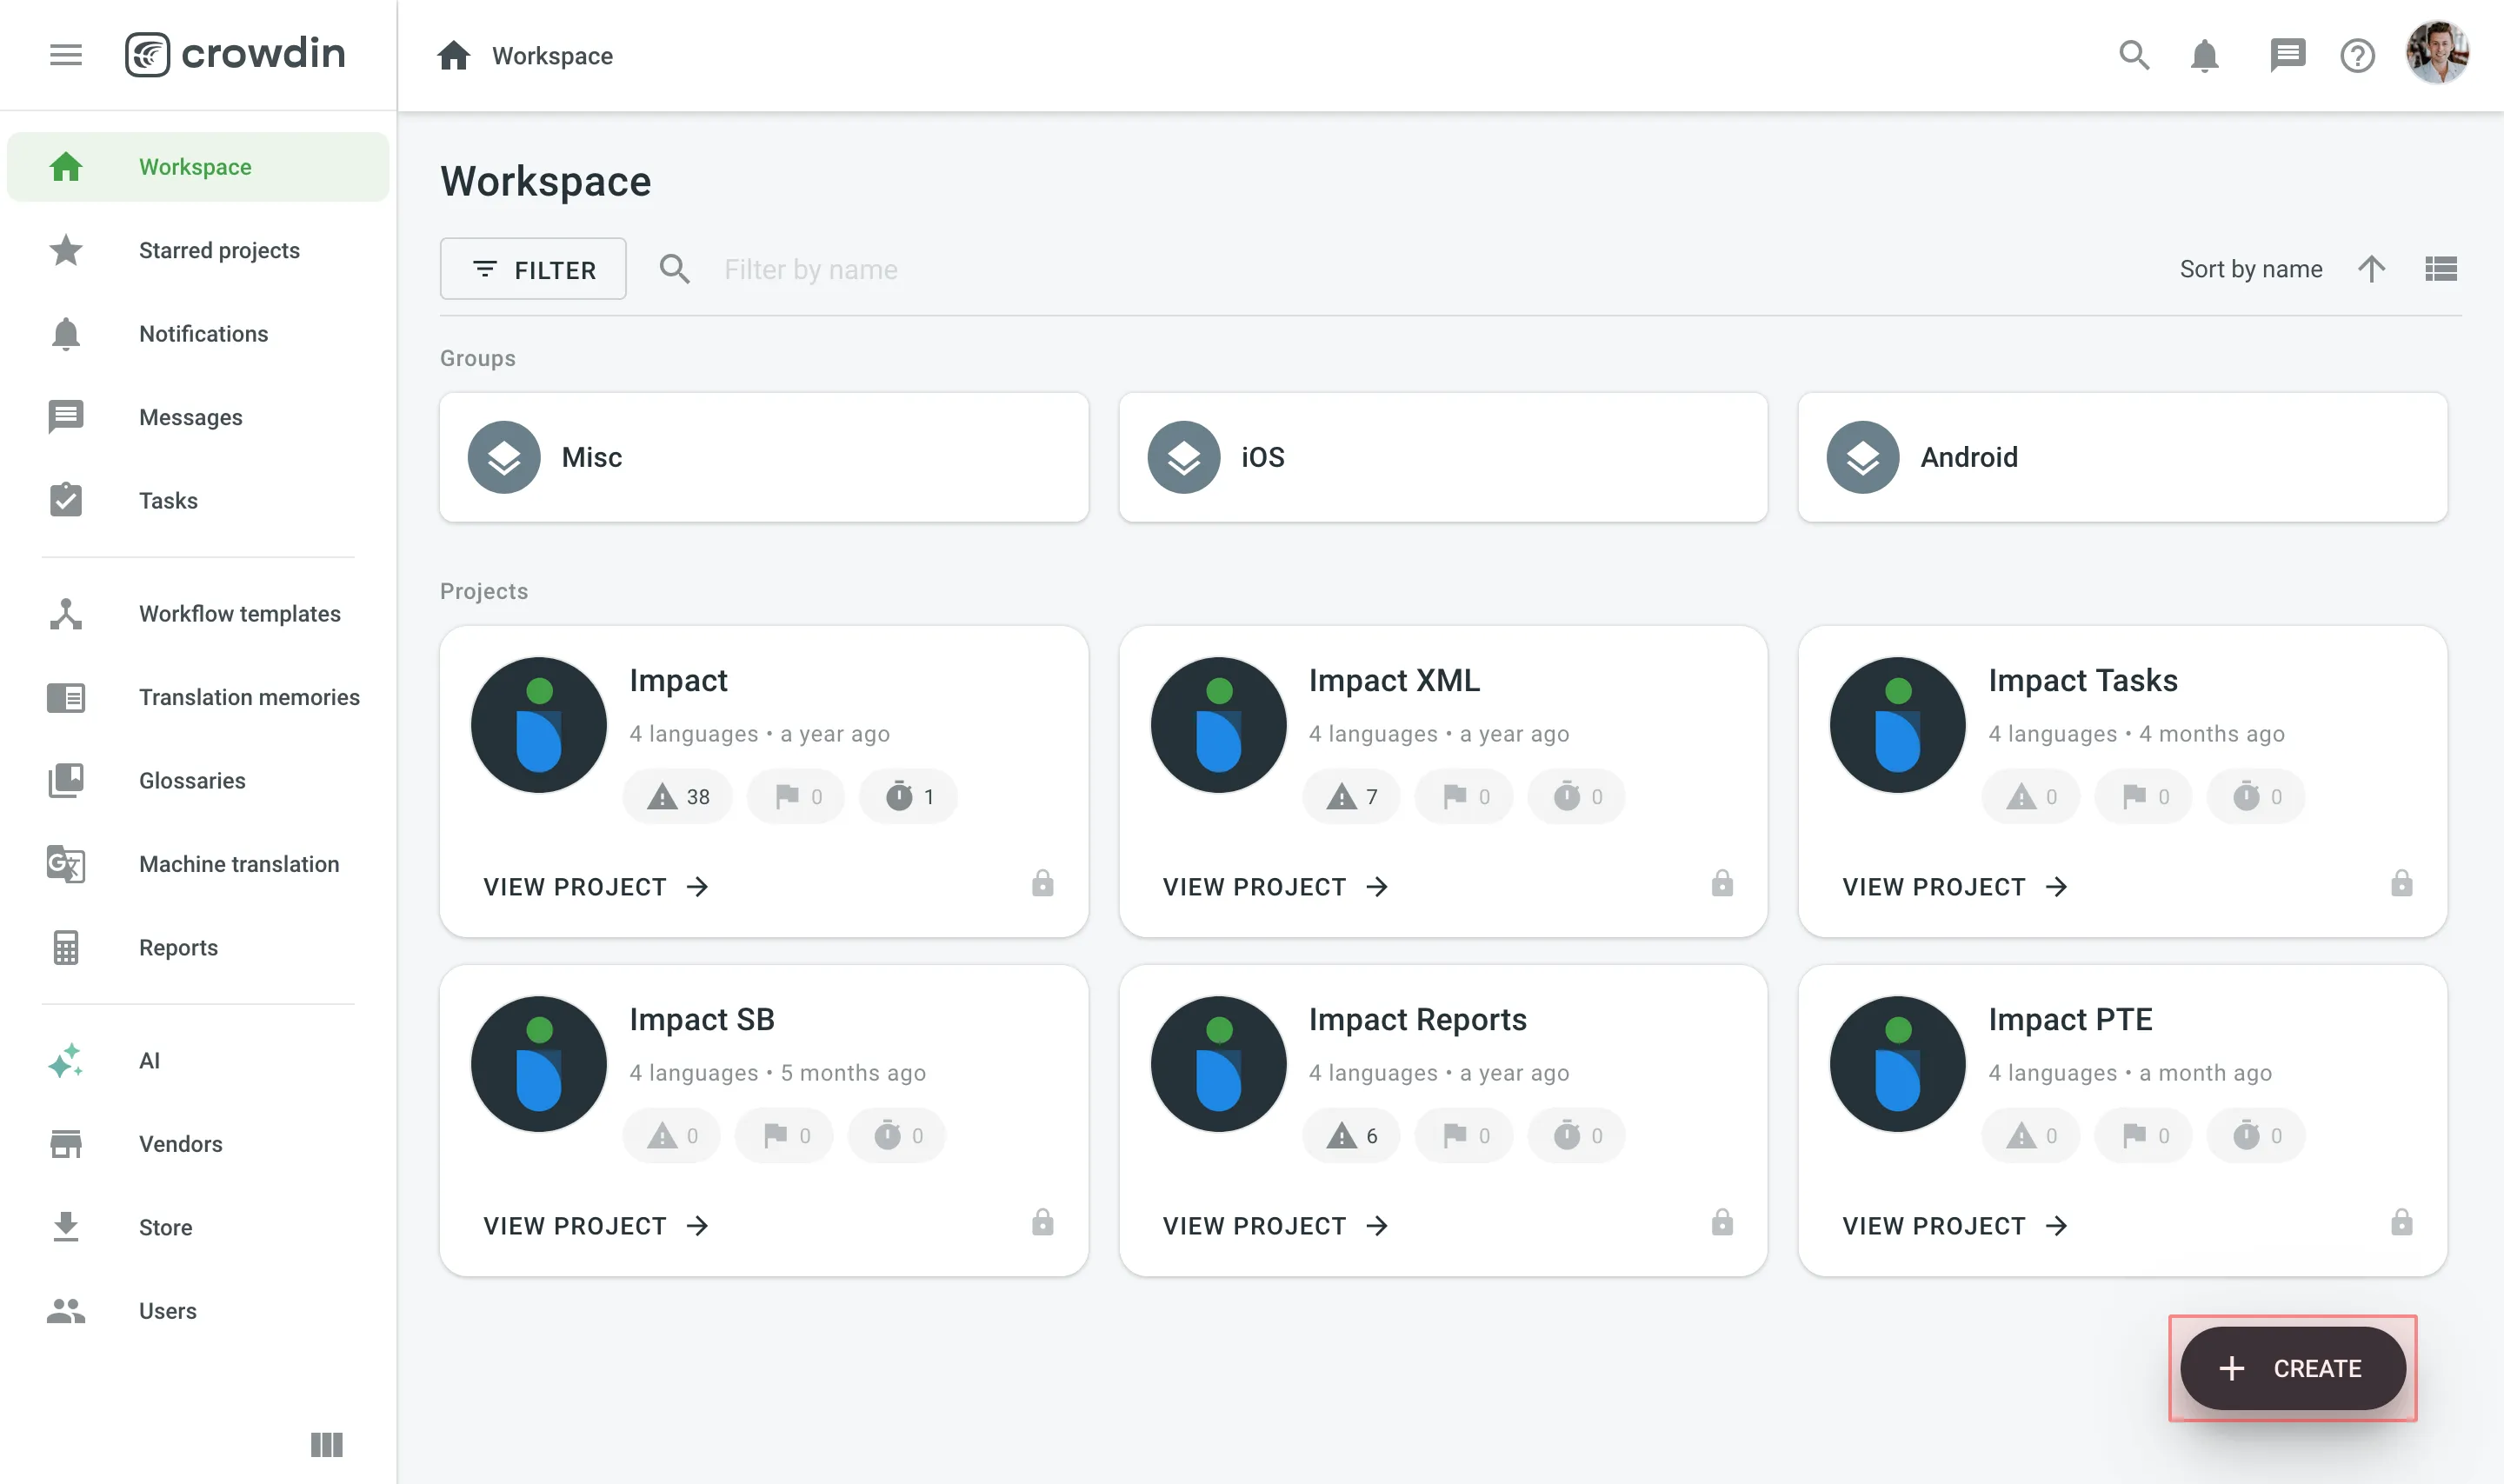
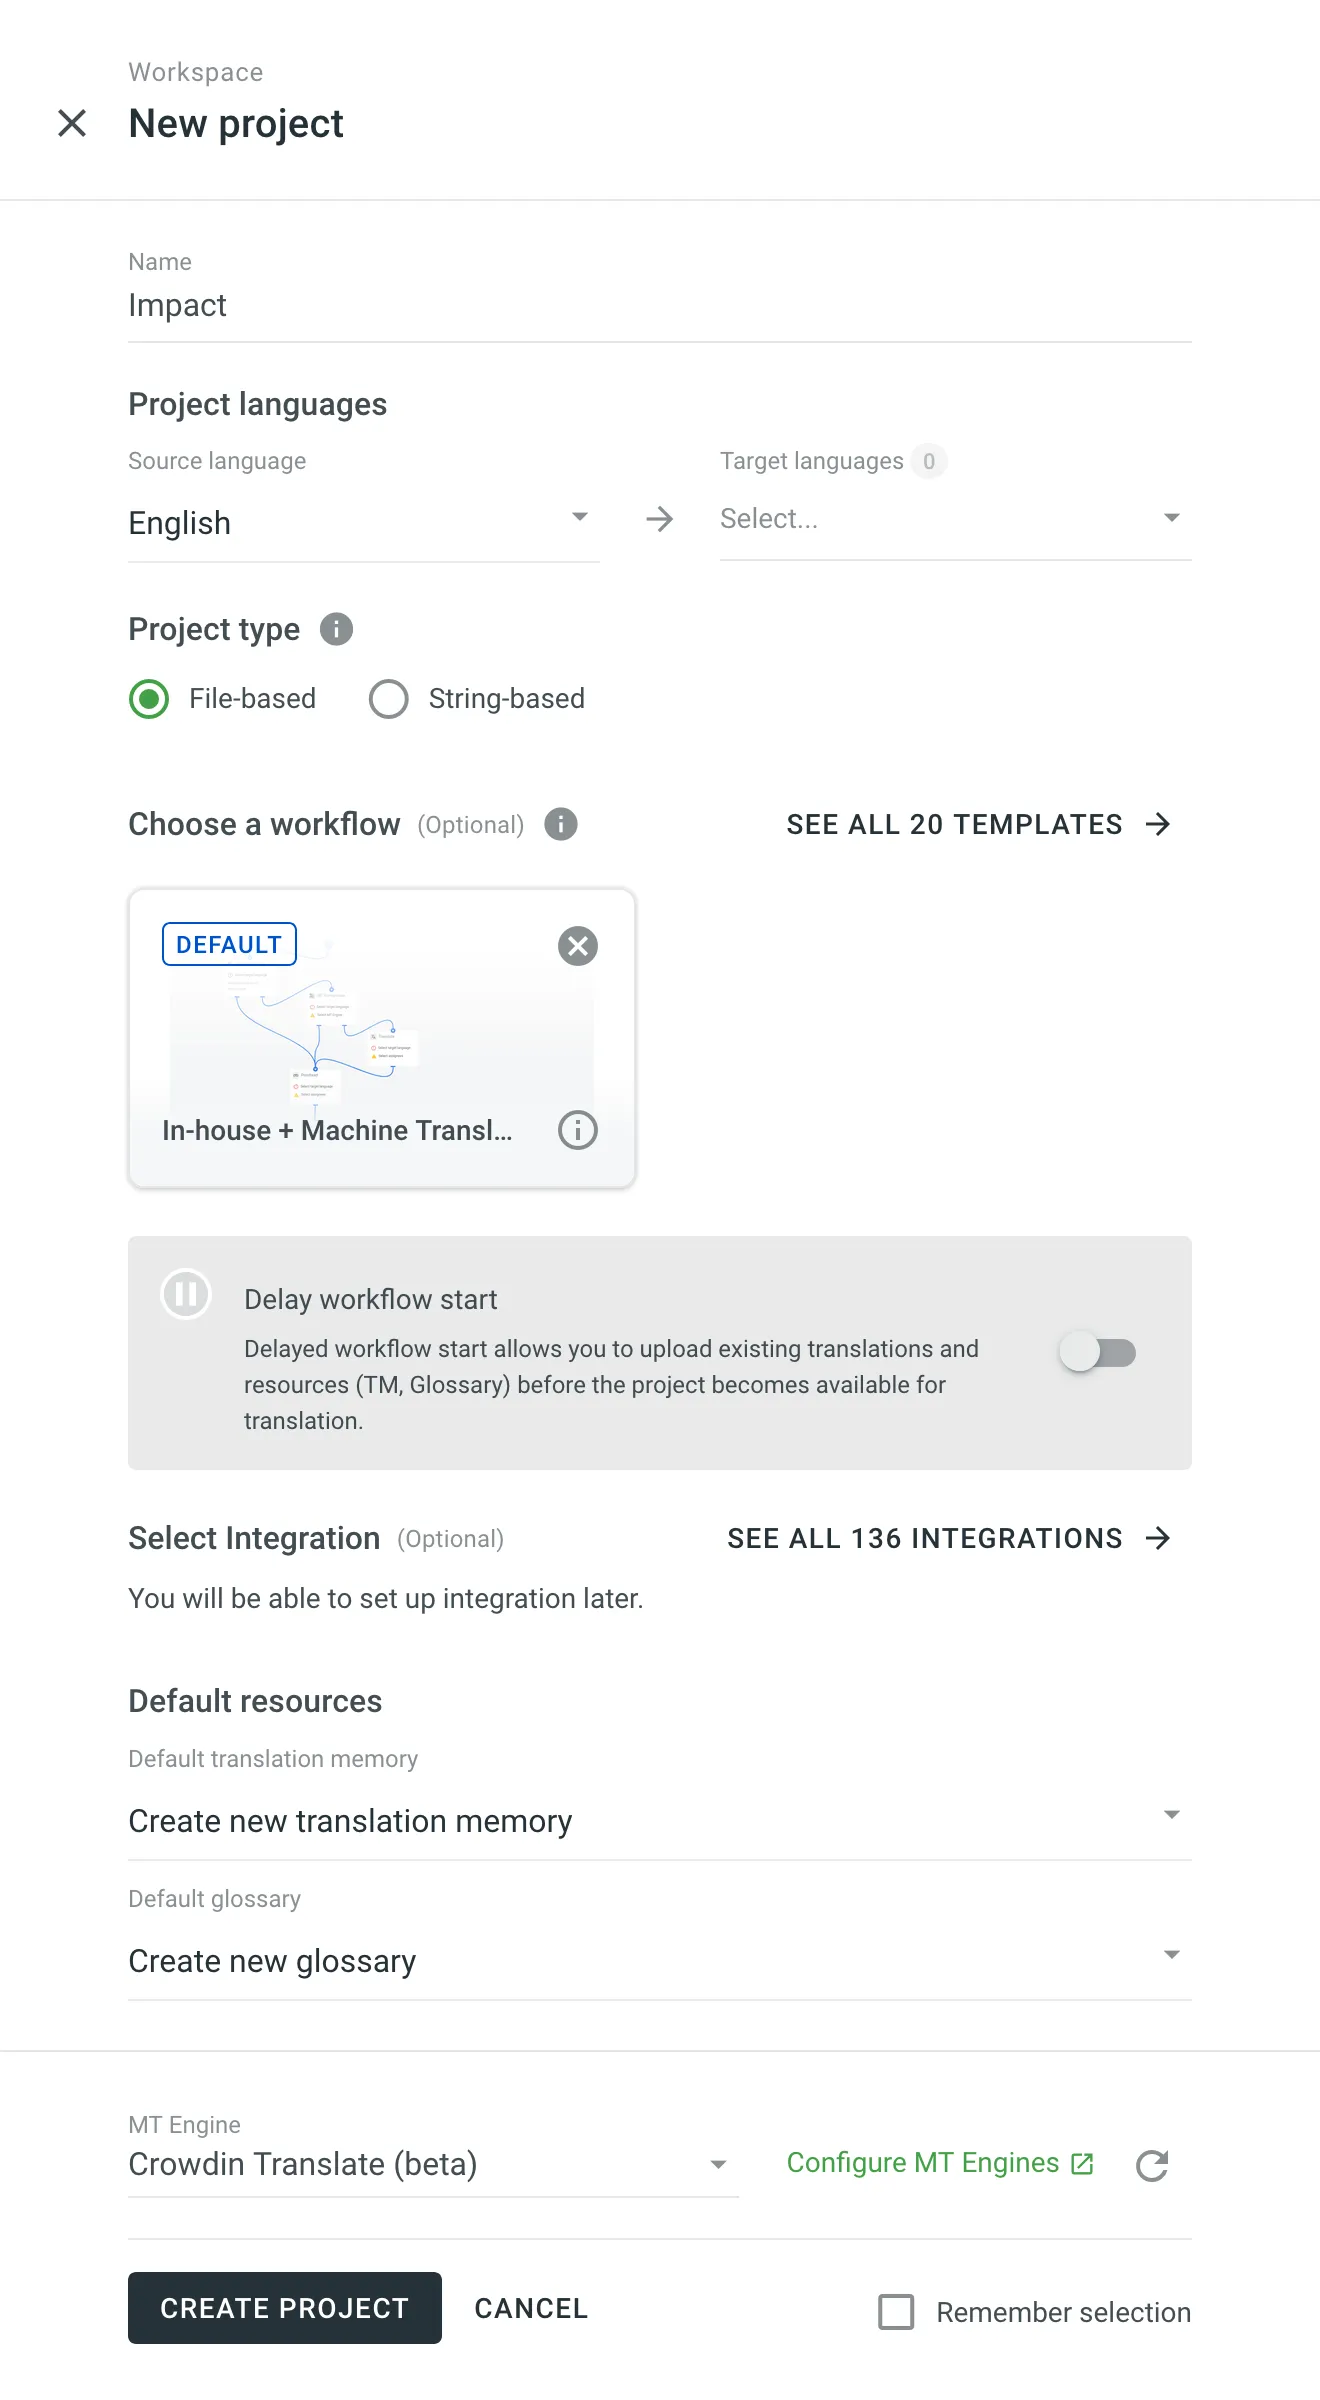
Open your organization’s Workspace, hover over the Create button at the lower-right corner, and select Create a project.
-
Enter the project name.
-
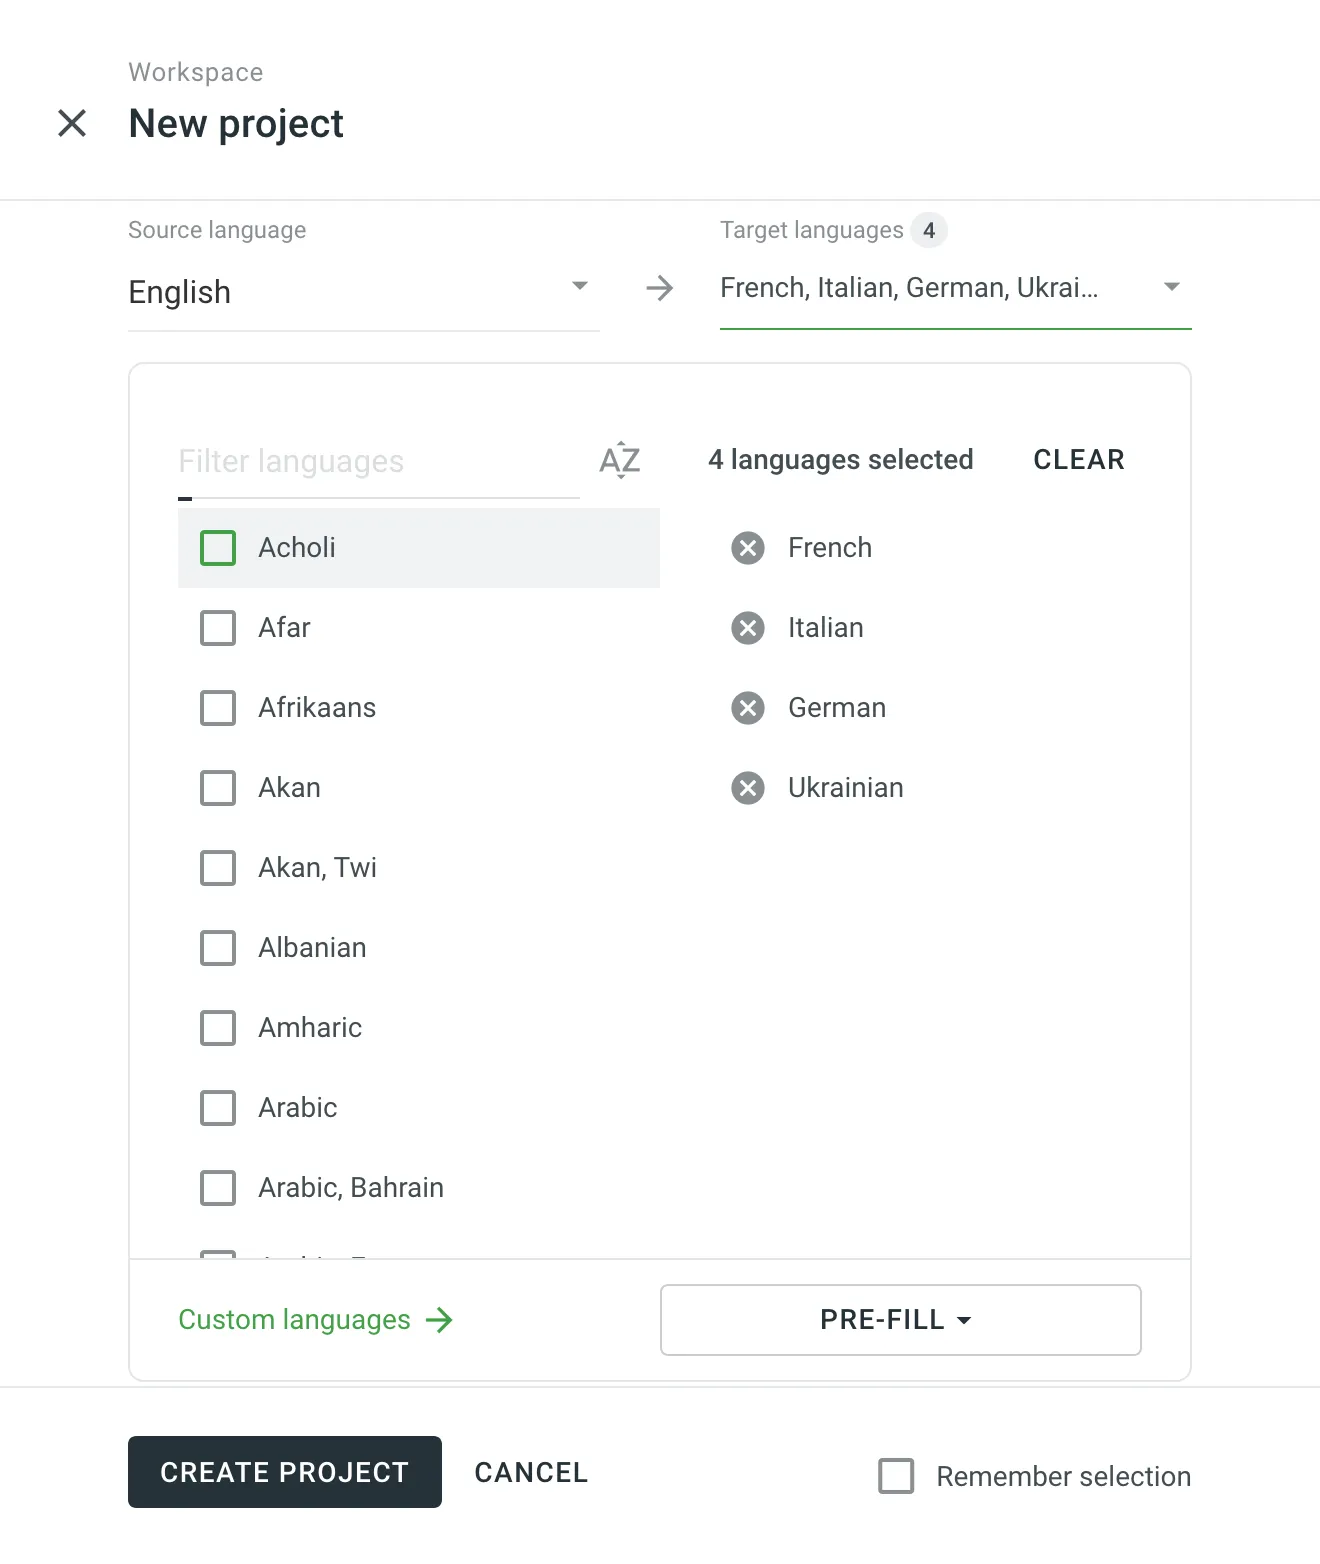
Select the source language and target languages. The source language is the language you’re translating from, and the target languages are the ones you’re translating into.
-
Decide on the project type that best fits your content and localization workflow. Select String-based if you want to manage your translatable content as individual strings in a centralized repository. Otherwise, keep File-based selected to work with structured source files that are preserved in the project.
-
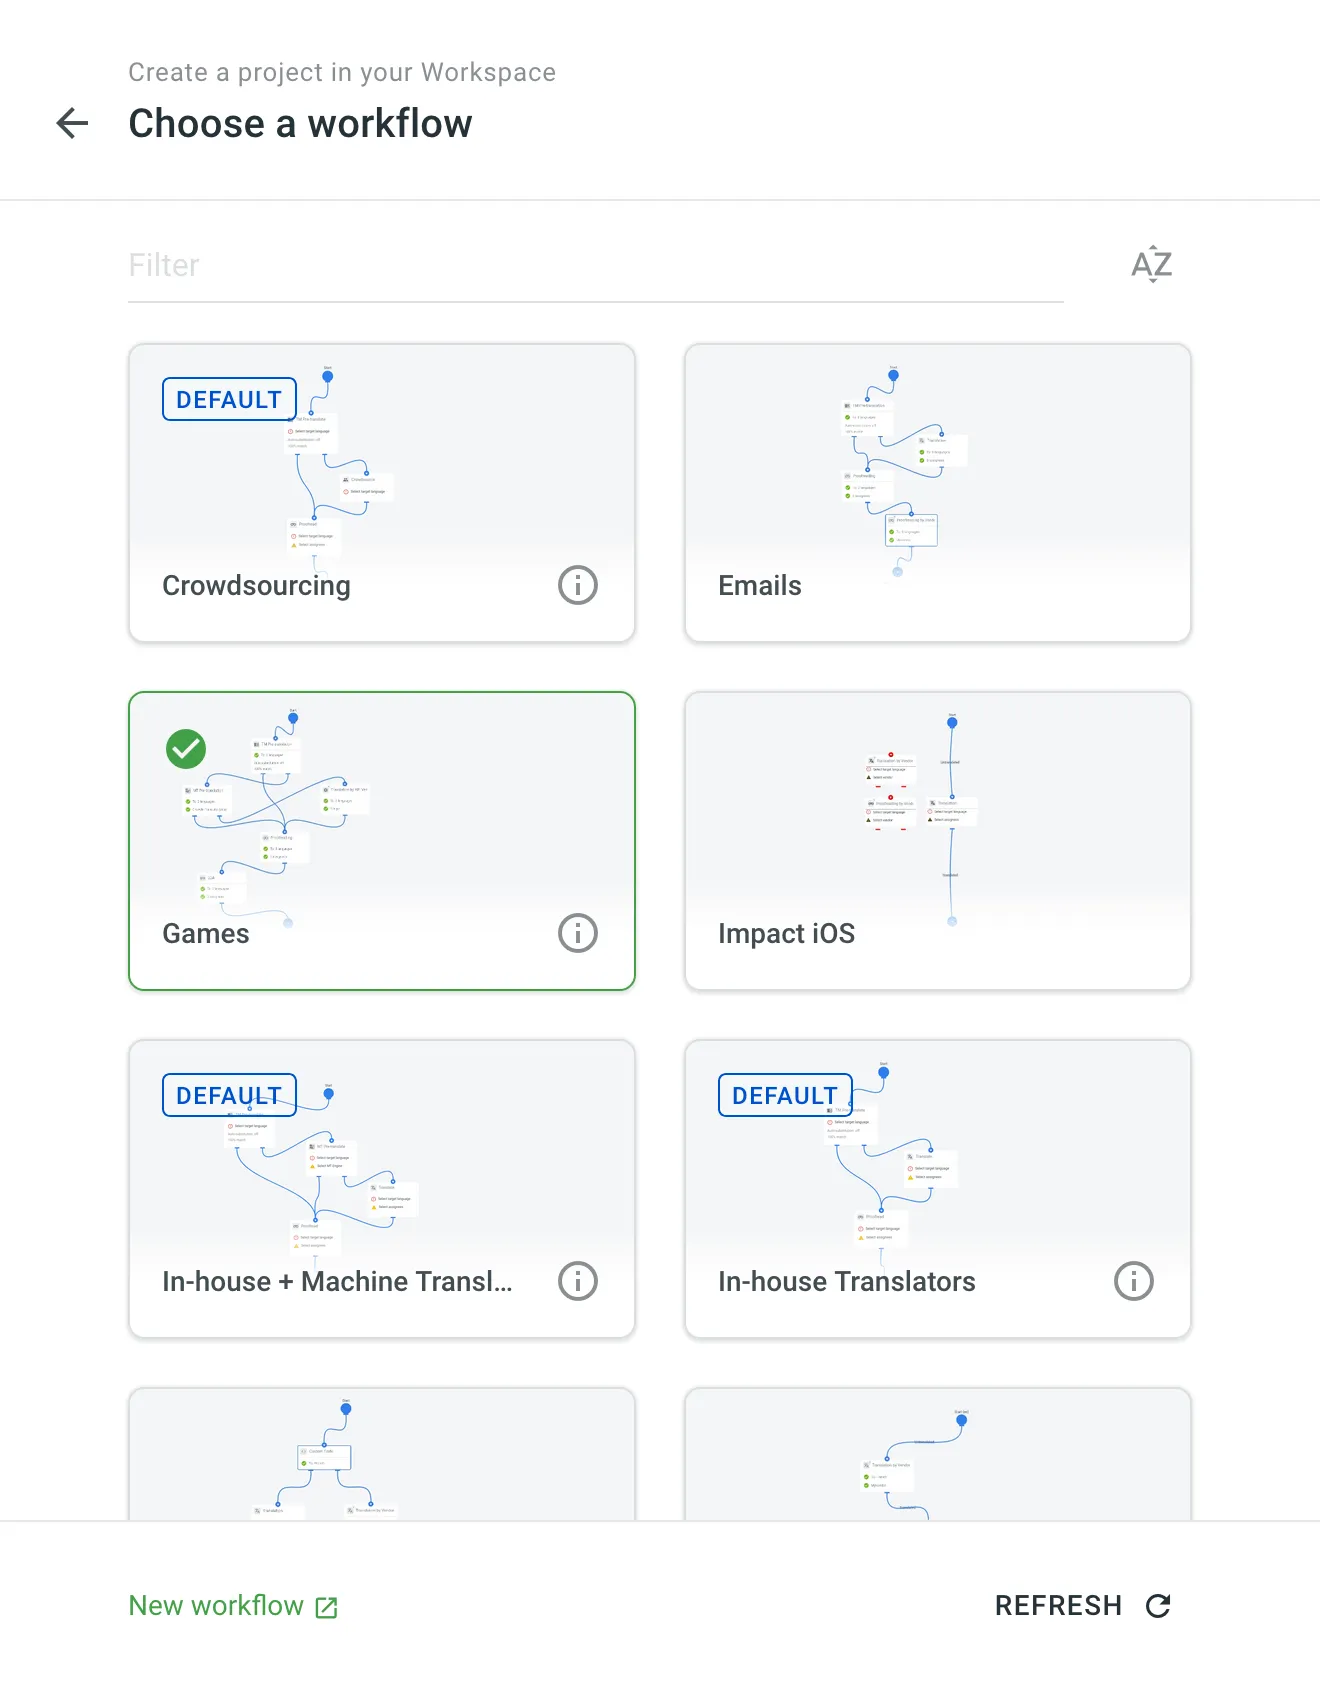
(Optional) Assign a workflow or create a new one.
For projects with an assigned workflow, you can enable the Delay workflow start during the project creation. This will allow you to upload existing translations and resources (TM, Glossary) before the project becomes available for translation. Once ready to start with the translation, open your project and click Start workflow in the Dashboard.
Alternatively, remove the workflow to create a project without a workflow.
-
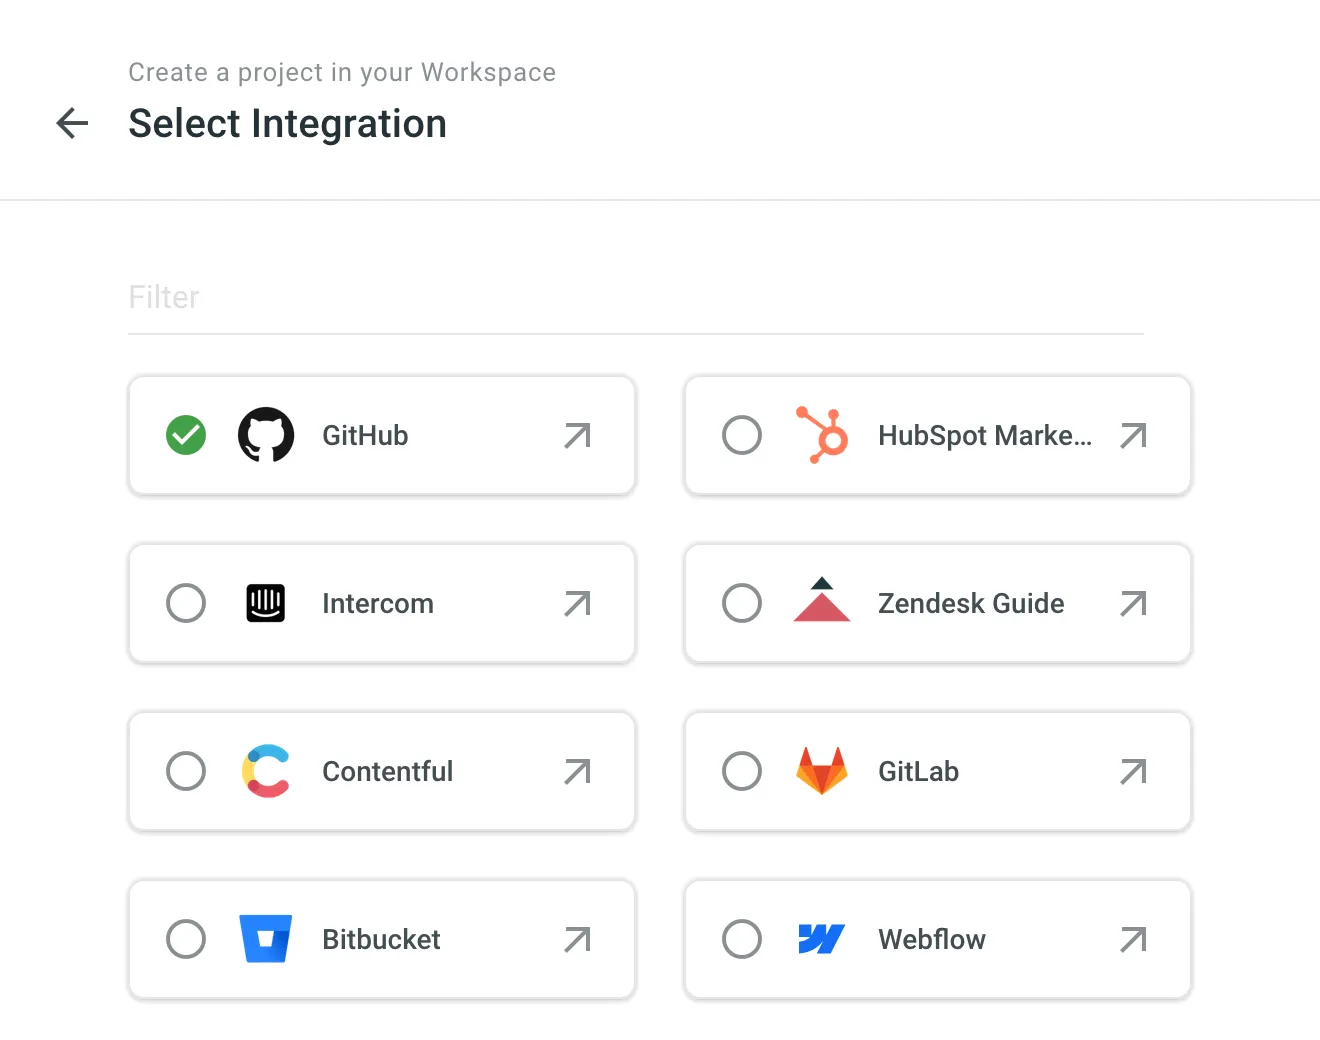
(Optional) Select an integration with your data source to help synchronize your content with Crowdin Enterprise.
- If you choose an app already installed in your organization, permissions will be updated to ensure it is accessible in the new project. After the project is created, you will be redirected to the app to proceed with the setup.
- If you choose a new app (not yet installed), it will be installed from the Crowdin Store automatically and made accessible in the new project with permissions configured to Only admins. After installation, you will be redirected to the app to proceed with the setup.
You can adjust the app’s permissions, including role-based access and project availability, in Organization Settings > Apps.
-
Select the existing TM and glossary for your new project to be used as defaults. Alternatively, to create your new project with clean resources, leave the Create new translation memory and Create new glossary options selected. You can change the default TM and default glossary in the project’s Settings.
-
Click Create project.