Conteúdo do Projeto
Files
You can upload localizable files via Web UI, using one of the integrations, API, or console client (CLI).
To upload source files to your project via Web UI, follow these steps:
- Open your project and go to Sources > Files.
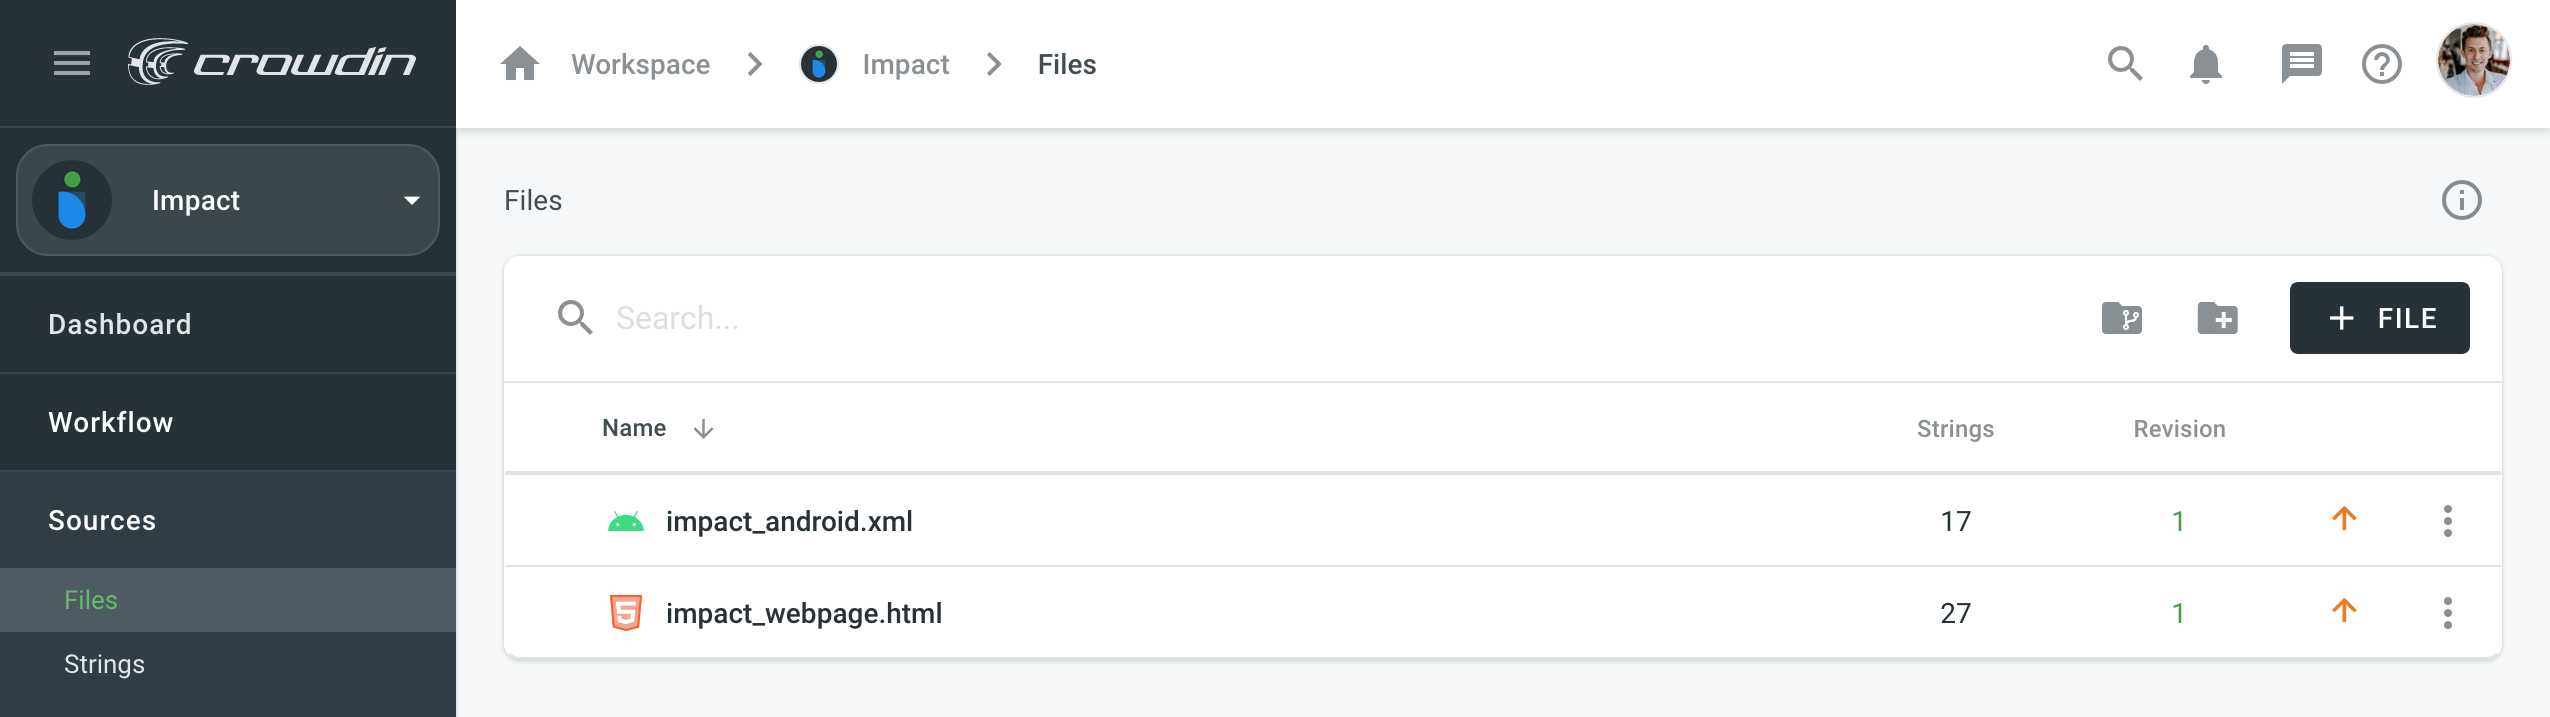
- Click File in the upper-right corner and select Upload. Also, you can drag and drop files from your machine.
- Create folders and branches if needed.
Read more about Uploading Files.
Frases
To manage source strings, follow these steps:
- Open your project and go to Sources > Strings.
- Using the drop-down menu in the upper-left corner, select the source file you want to view strings from.
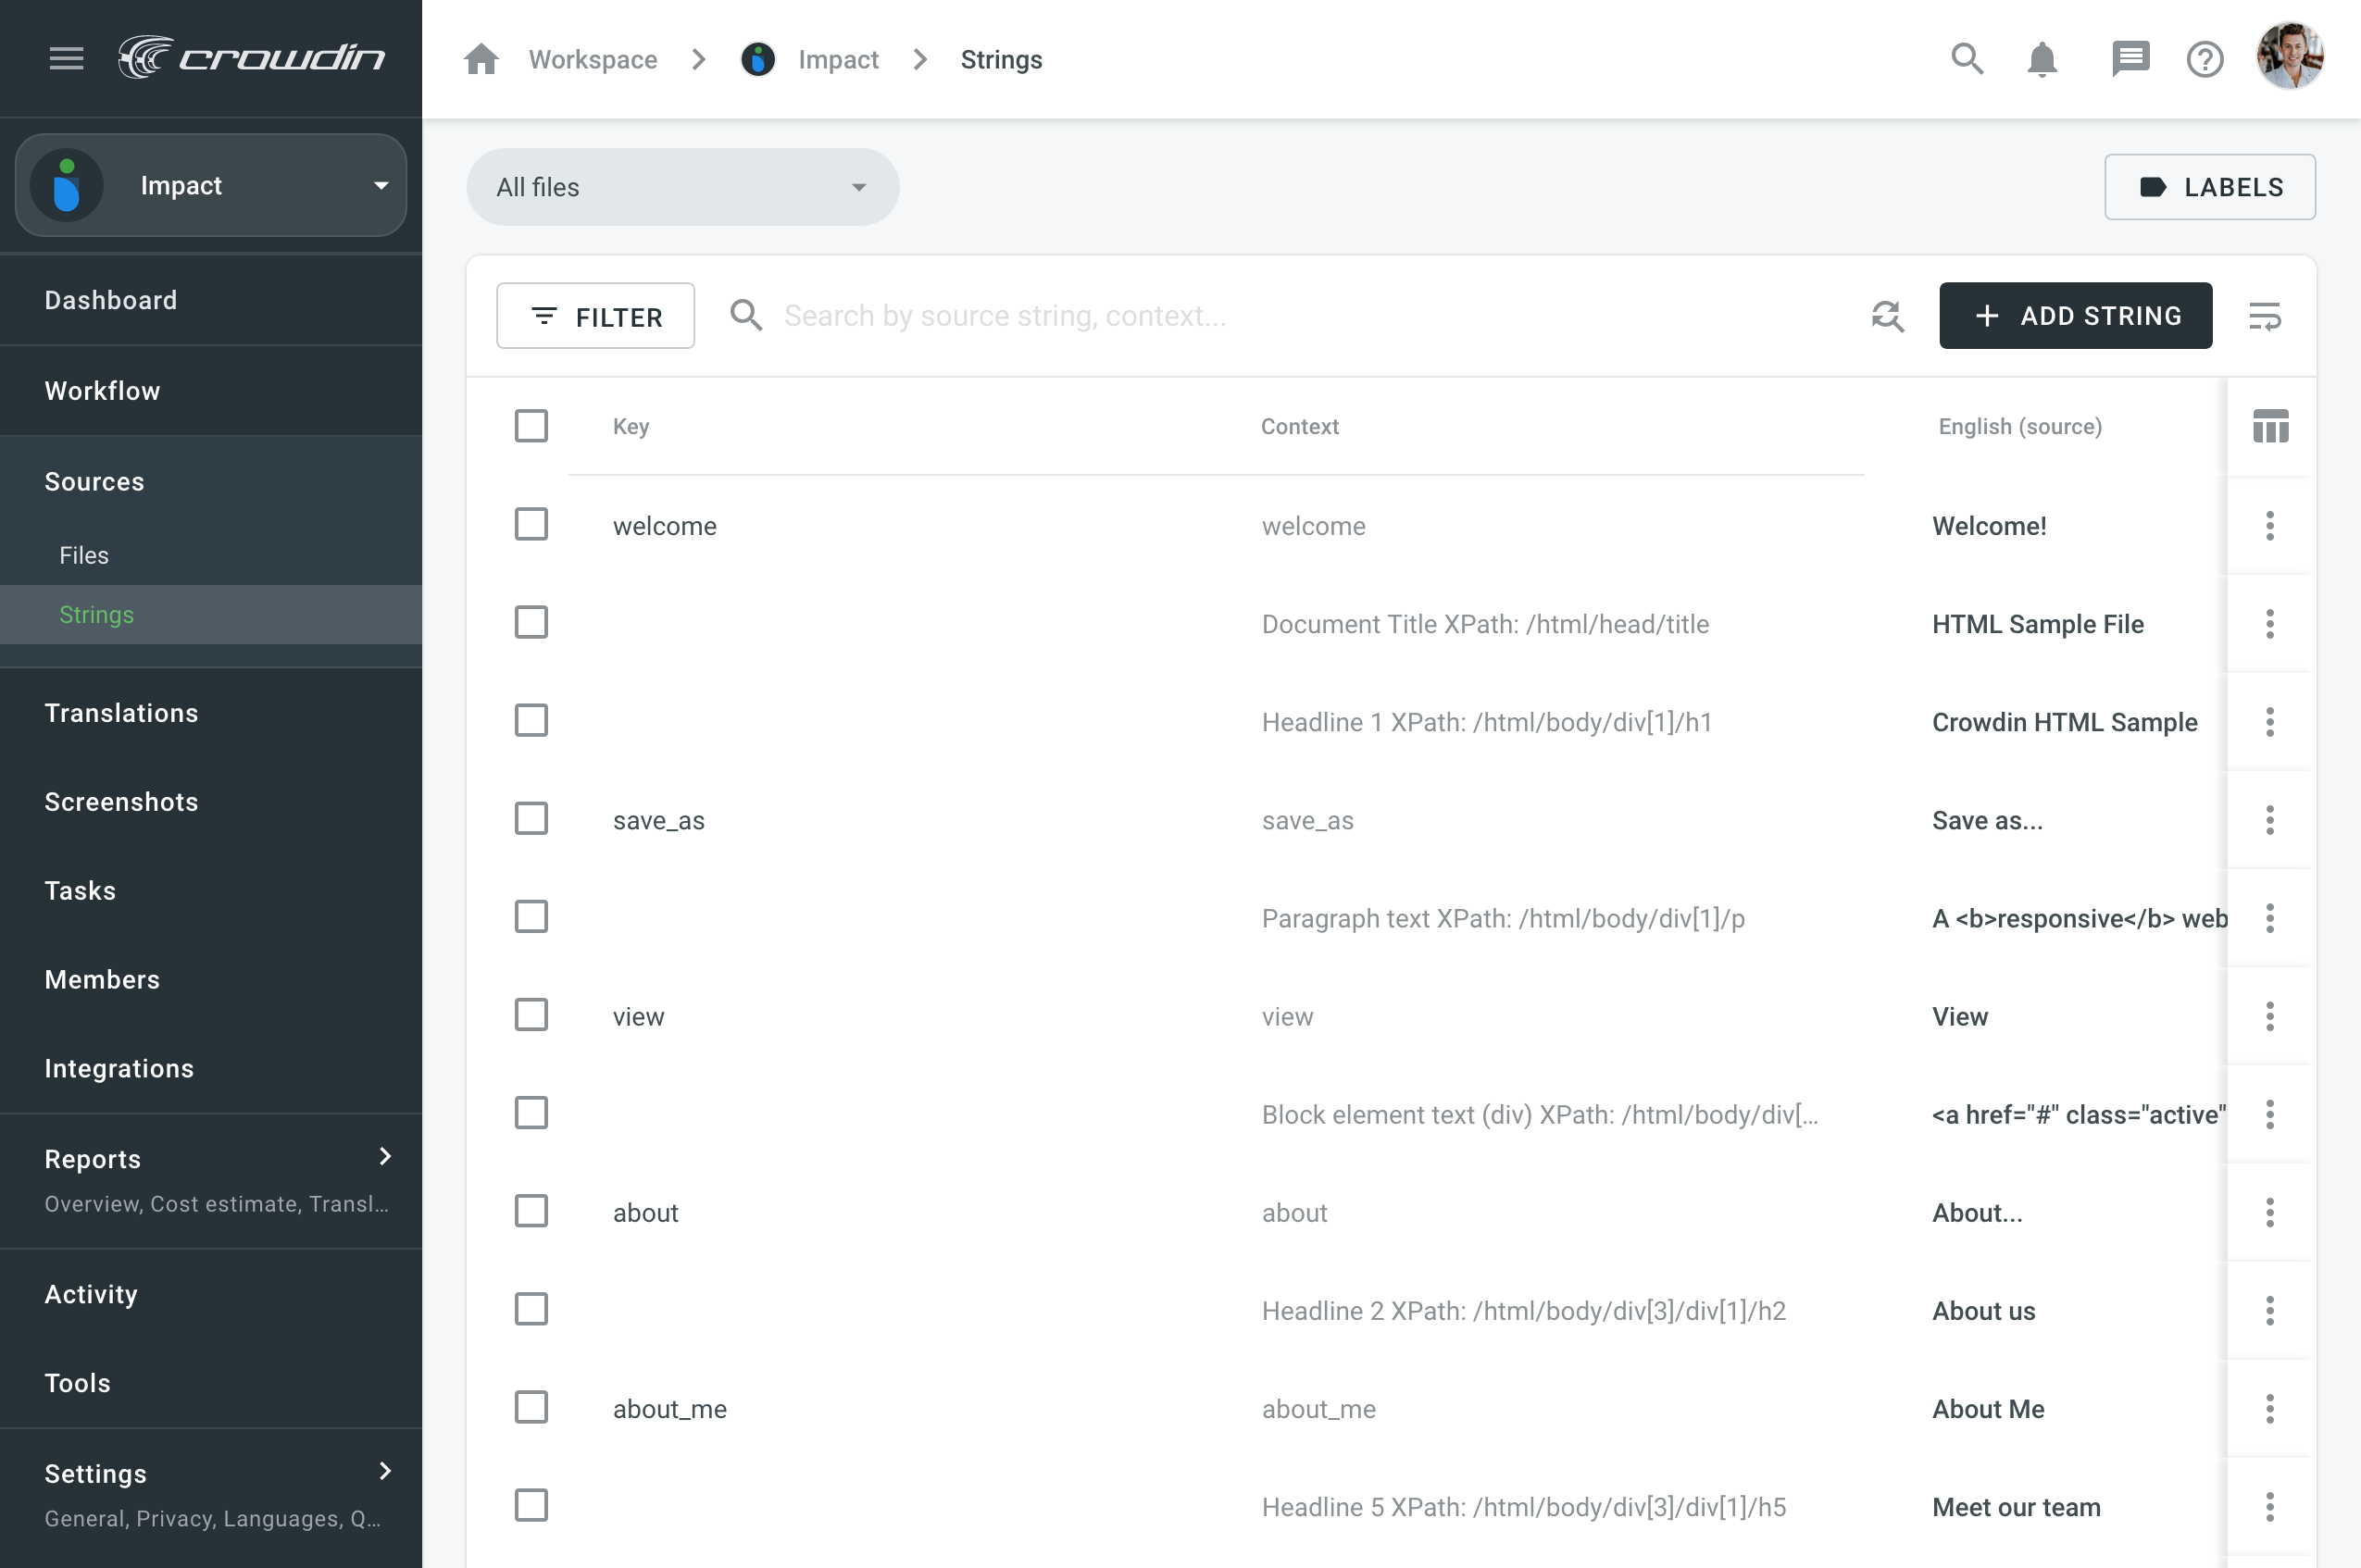
- Select the strings you want to modify.
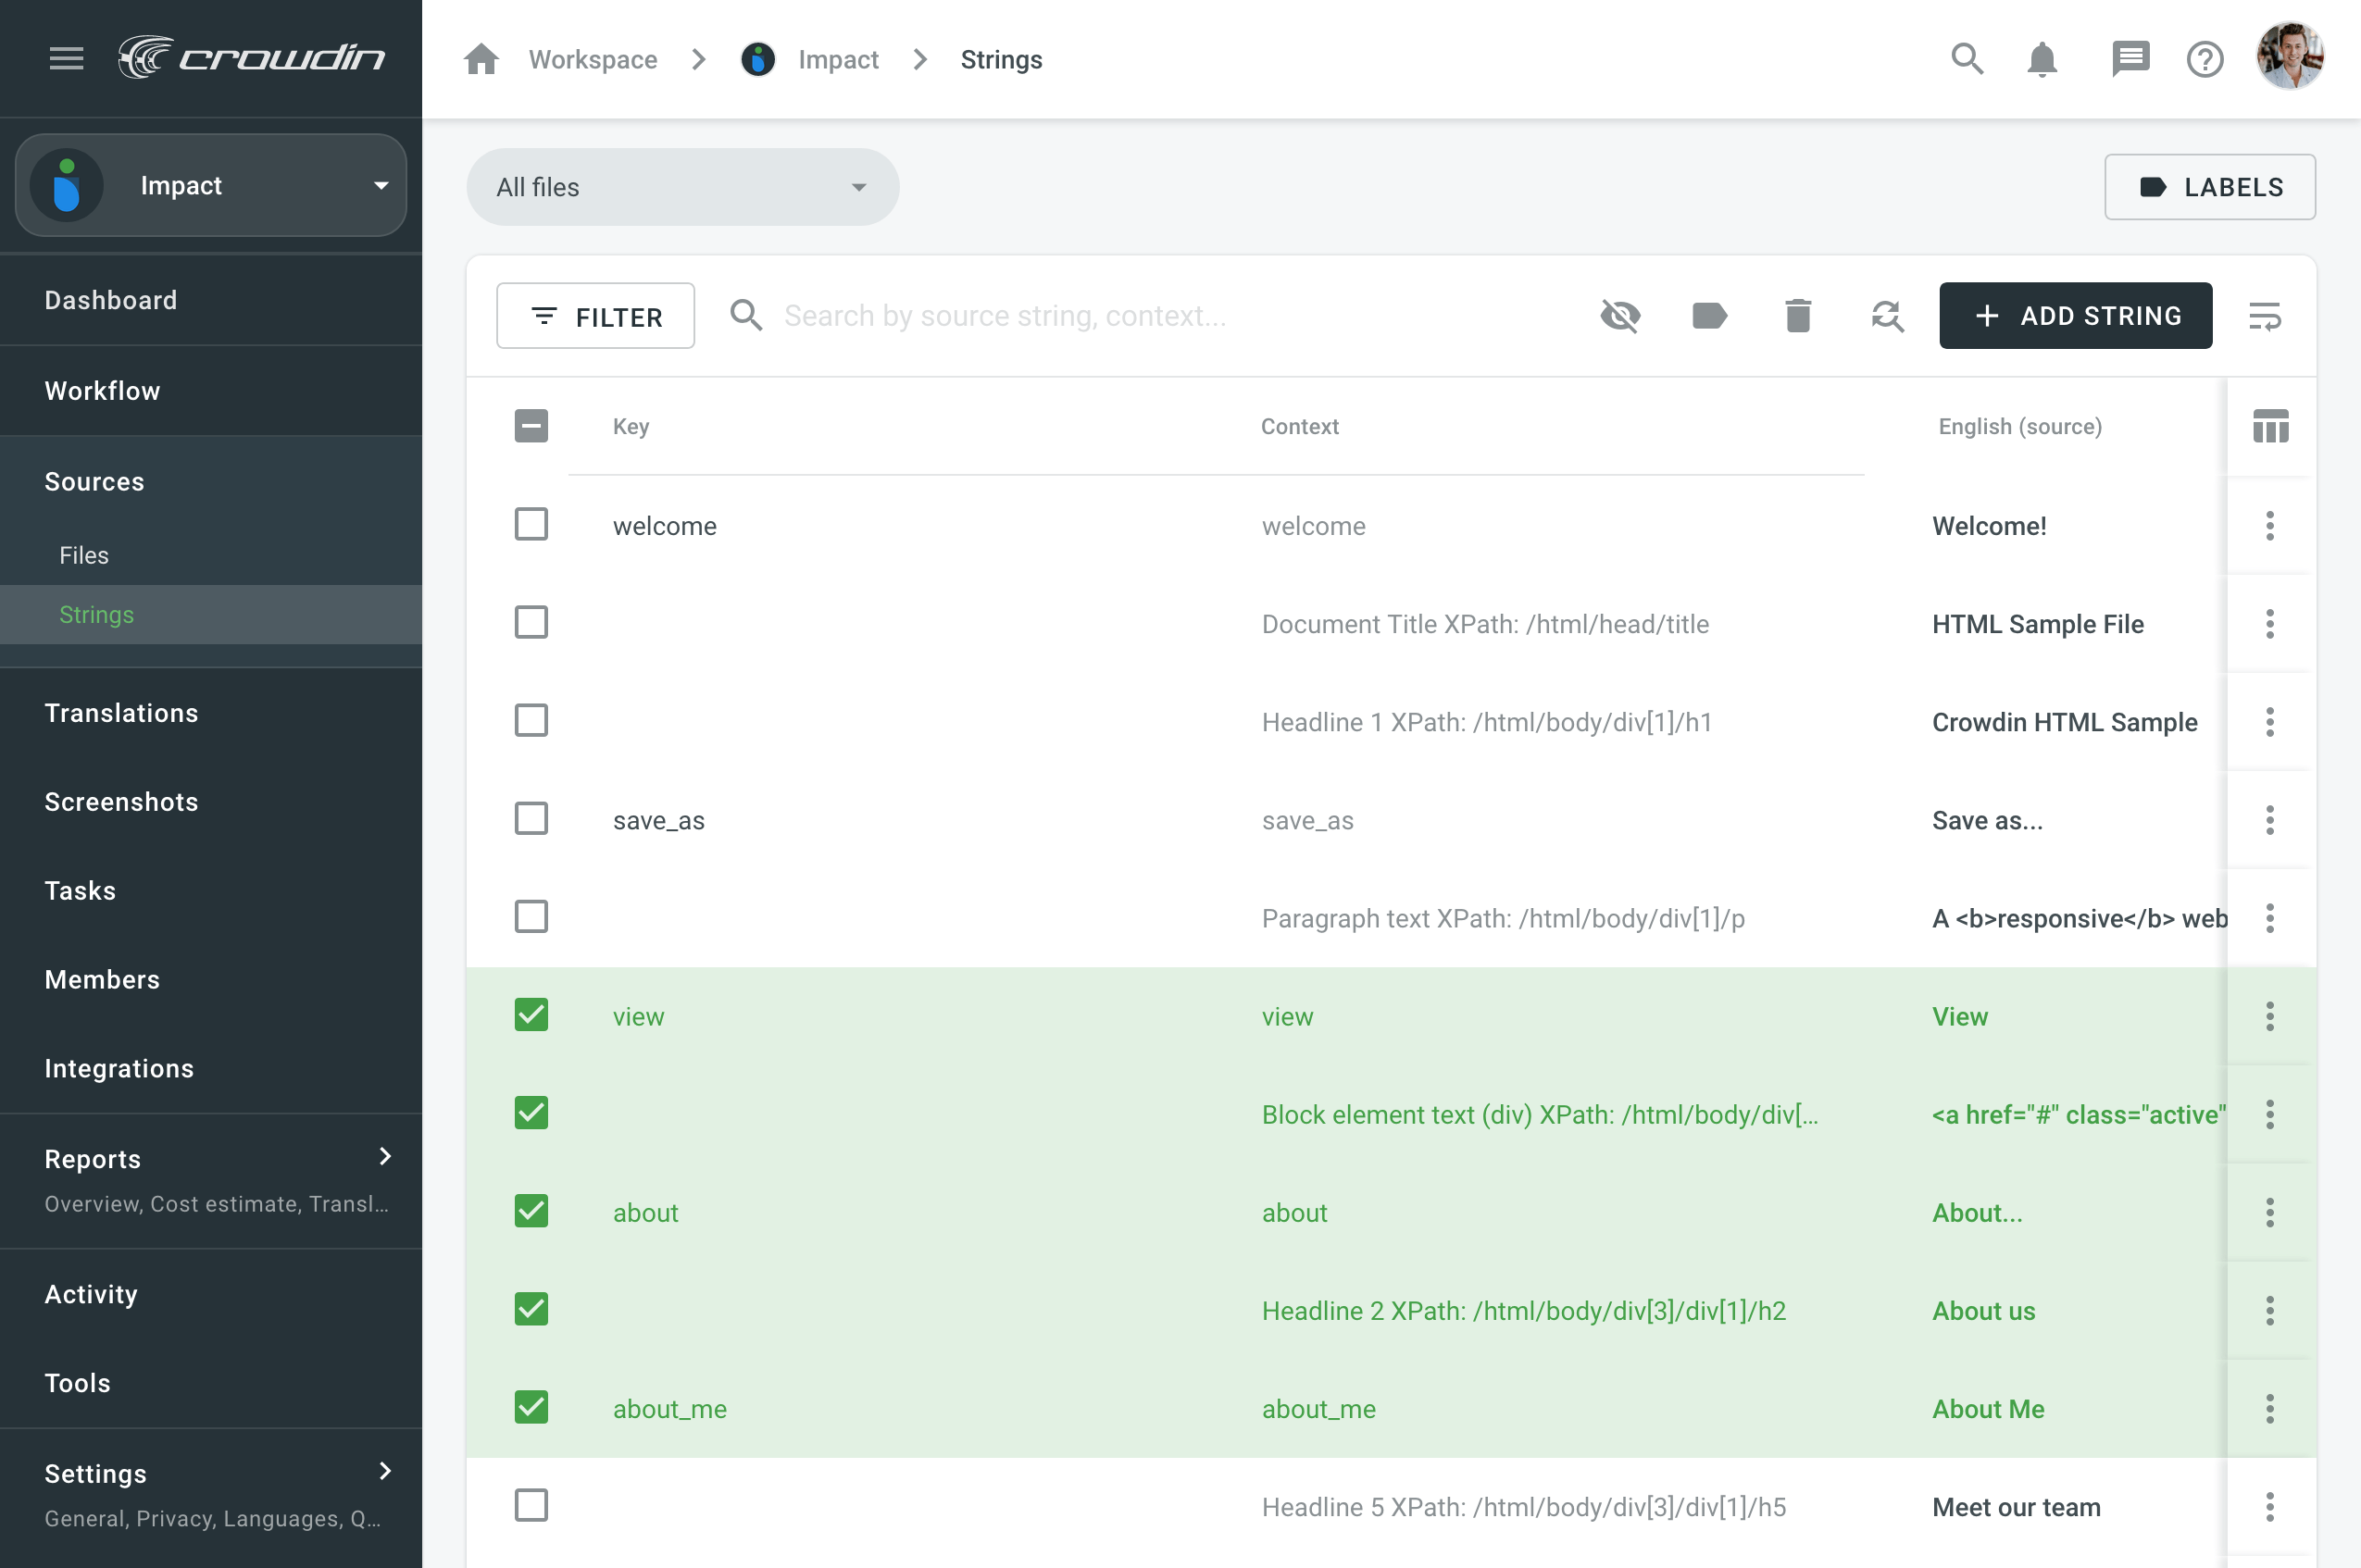
- Use the buttons in the upper-right corner to change the visibility, tag, or delete selected strings.
Read more about String Management.
Capturas de Tela
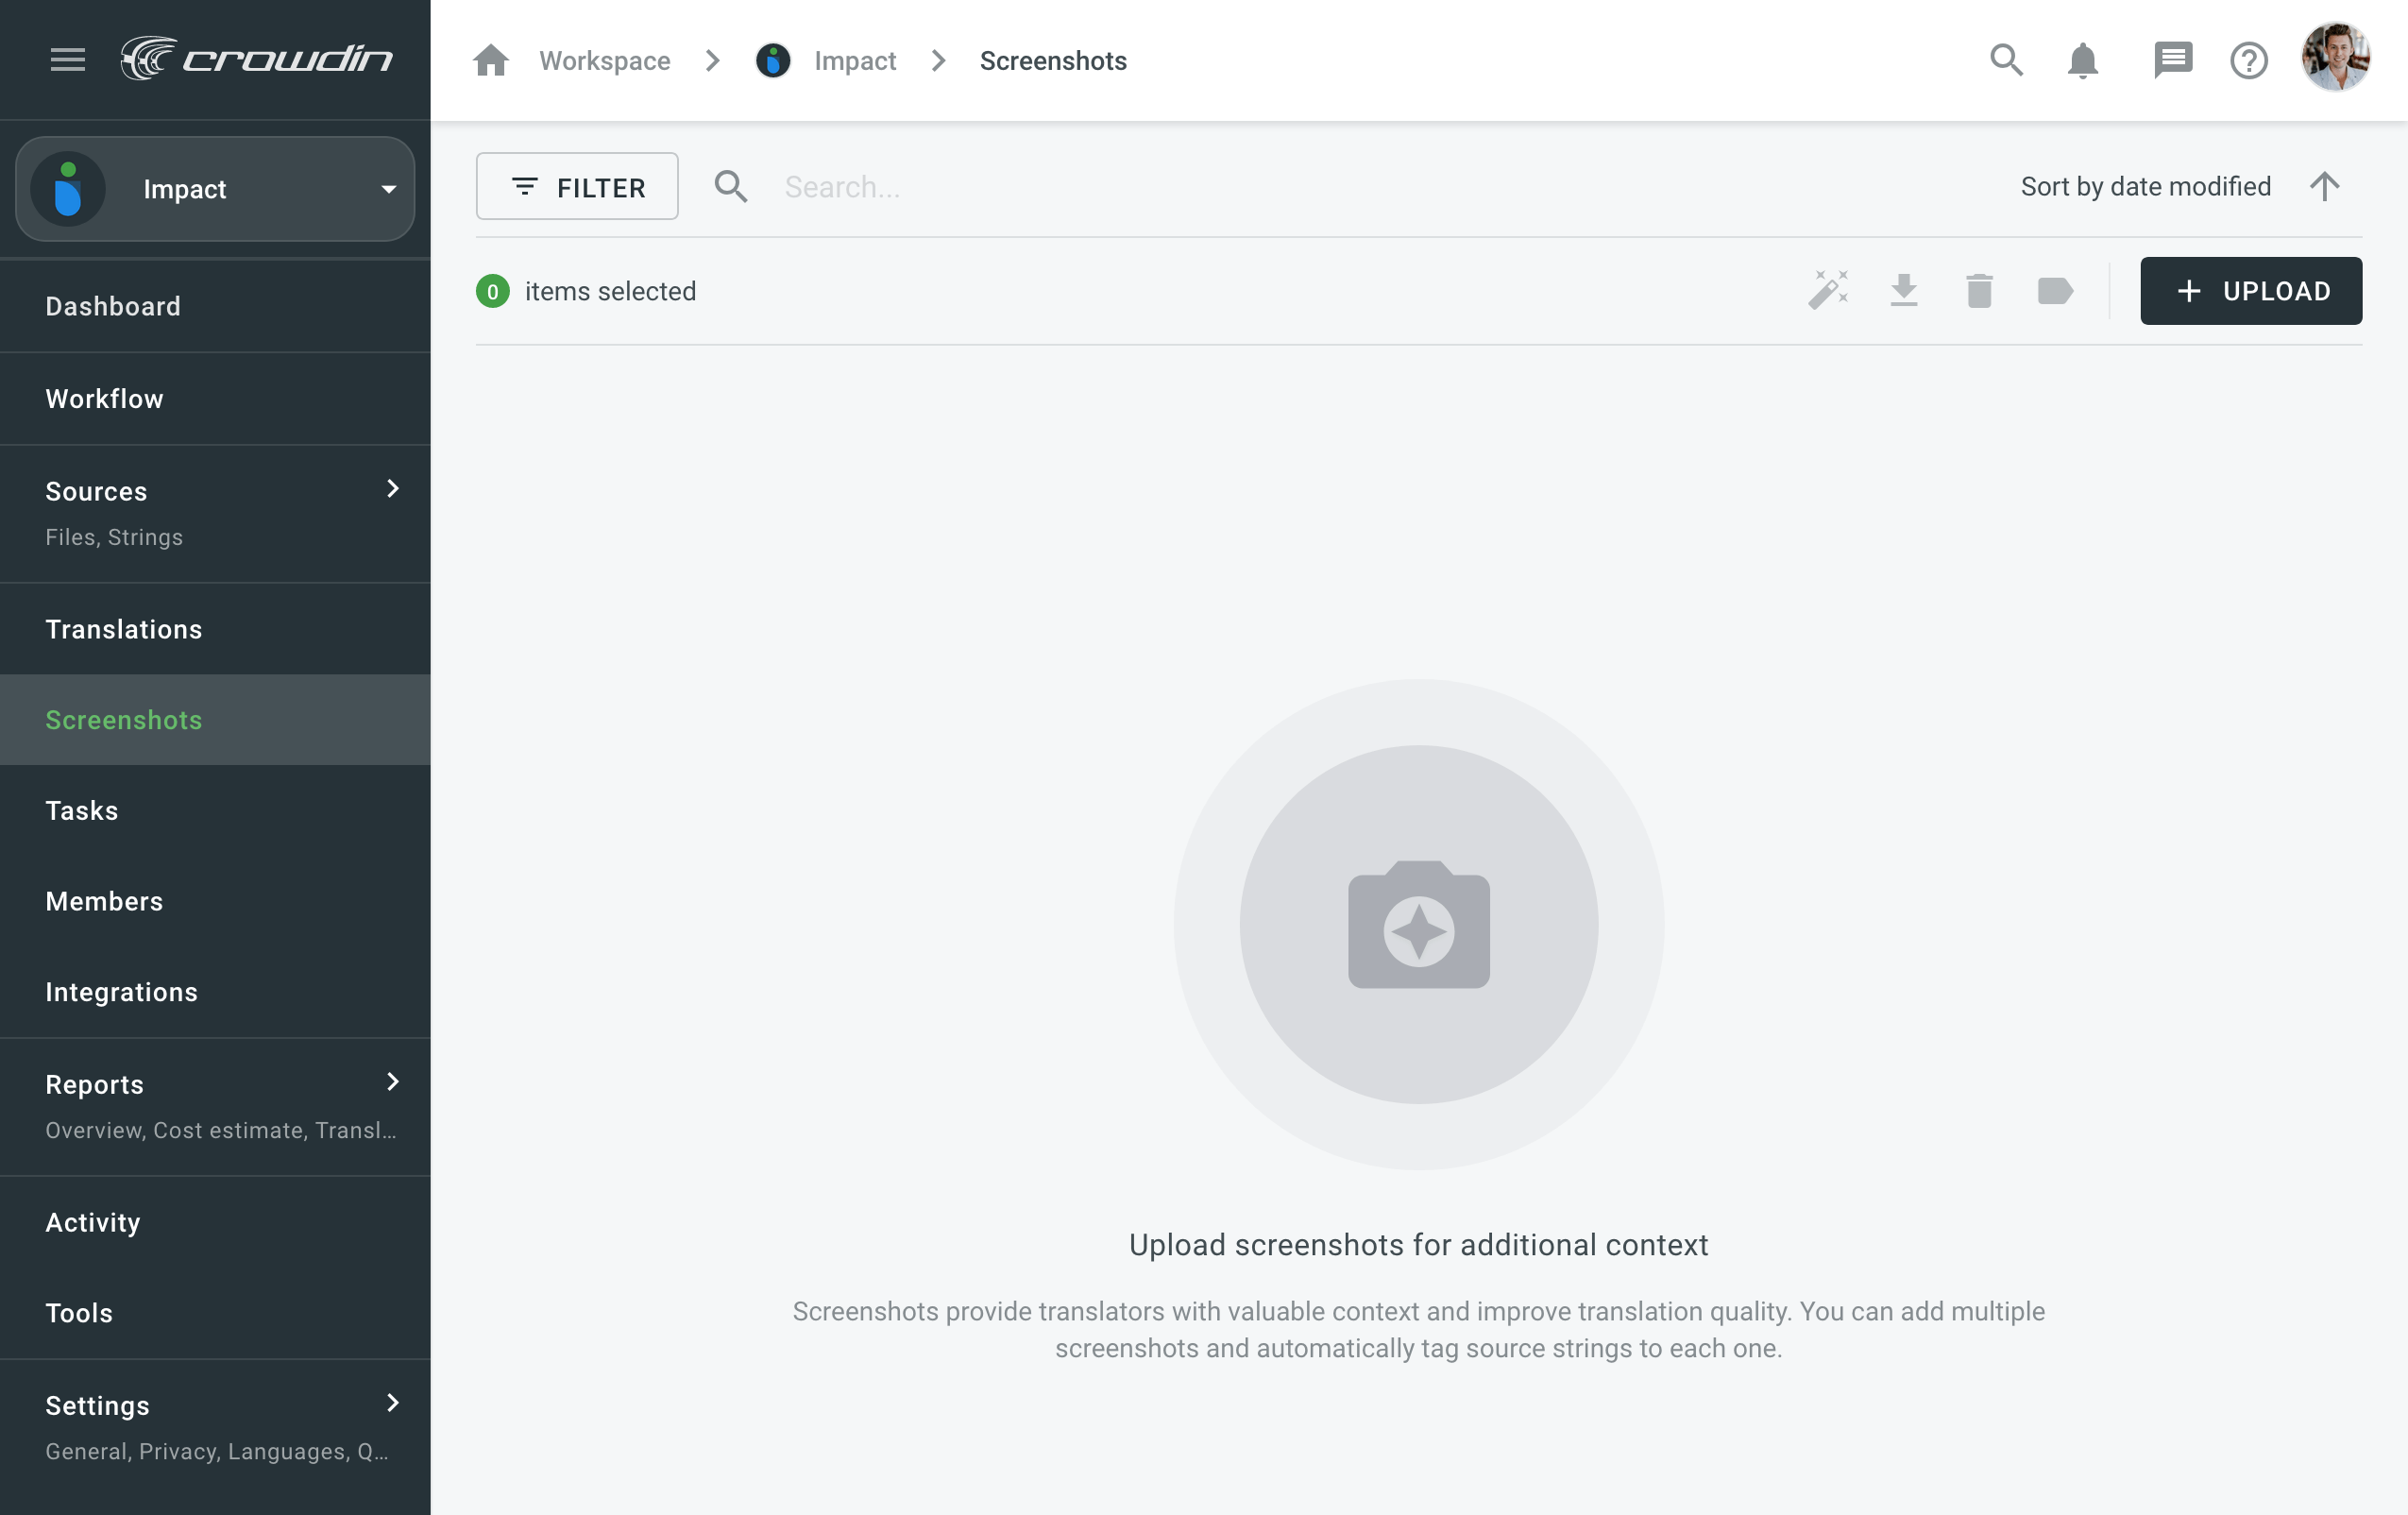
Provide your translators with additional context to the uploaded source files by adding screenshots. Marca as frases de origem para as capturas de ecrã, para que elas sejam exibidas no Editor, onde os tradutores as verão na secção de contexto.
To upload screenshots, follow these steps:
- Open your project and go to the Screenshots tab.
- Drag and drop screenshots from your machine or click Upload in the upper-right corner.
To tag screenshots, follow these steps:
- Double-click on a screenshot.
- Tag corresponding strings to a screenshot.
Alternatively, select a screenshot and click Auto tag.
Read more about Screenshots.