Custom Notifications
Custom Notifications notify and help you collect information about the new events that happen in Crowdin Enterprise. Once you configure custom notifications for your account, Crowdin Enterprise will start sending POST requests with data to the custom notification URL via HTTP.
Use Cases
You can configure custom notifications to build integrations with the services or with your backend. For example:
- Set up custom notifications to send notifications to the system you use.
- Pass information to the third-party services with the specific request requirements (e.g., сontent type, headers, payload).
- Create custom integrations with Crowdin Enterprise.
Configuring Custom Notifications
To configure custom notifications in Crowdin Enterprise, follow these steps:
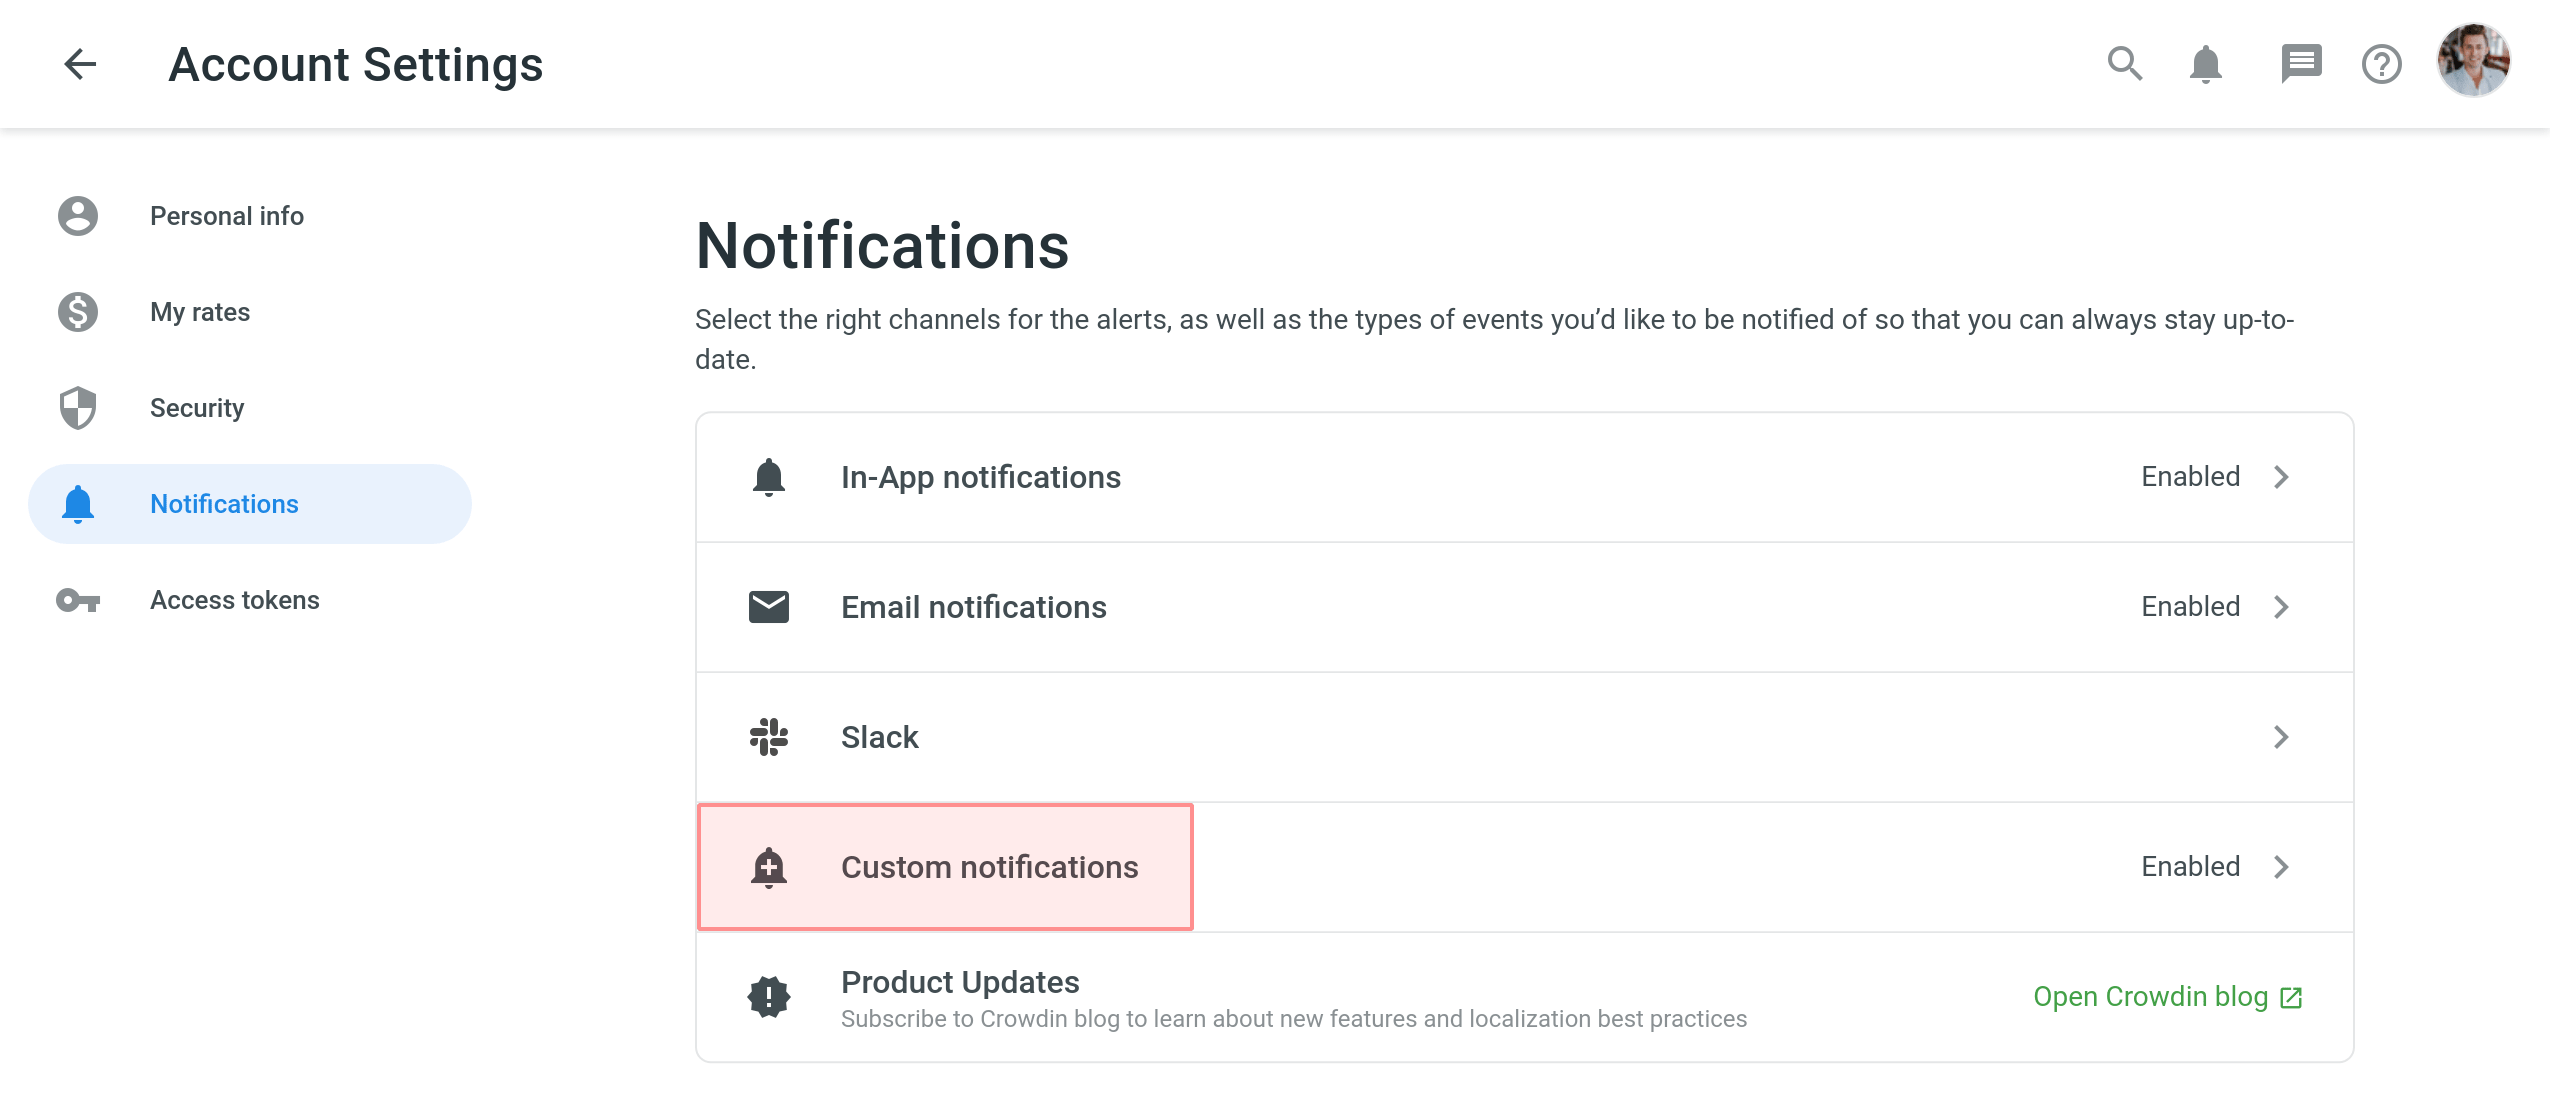
- Open your Account Settings and go to the Notifications page.
- Click Custom notifications to start configuring your custom notifications.
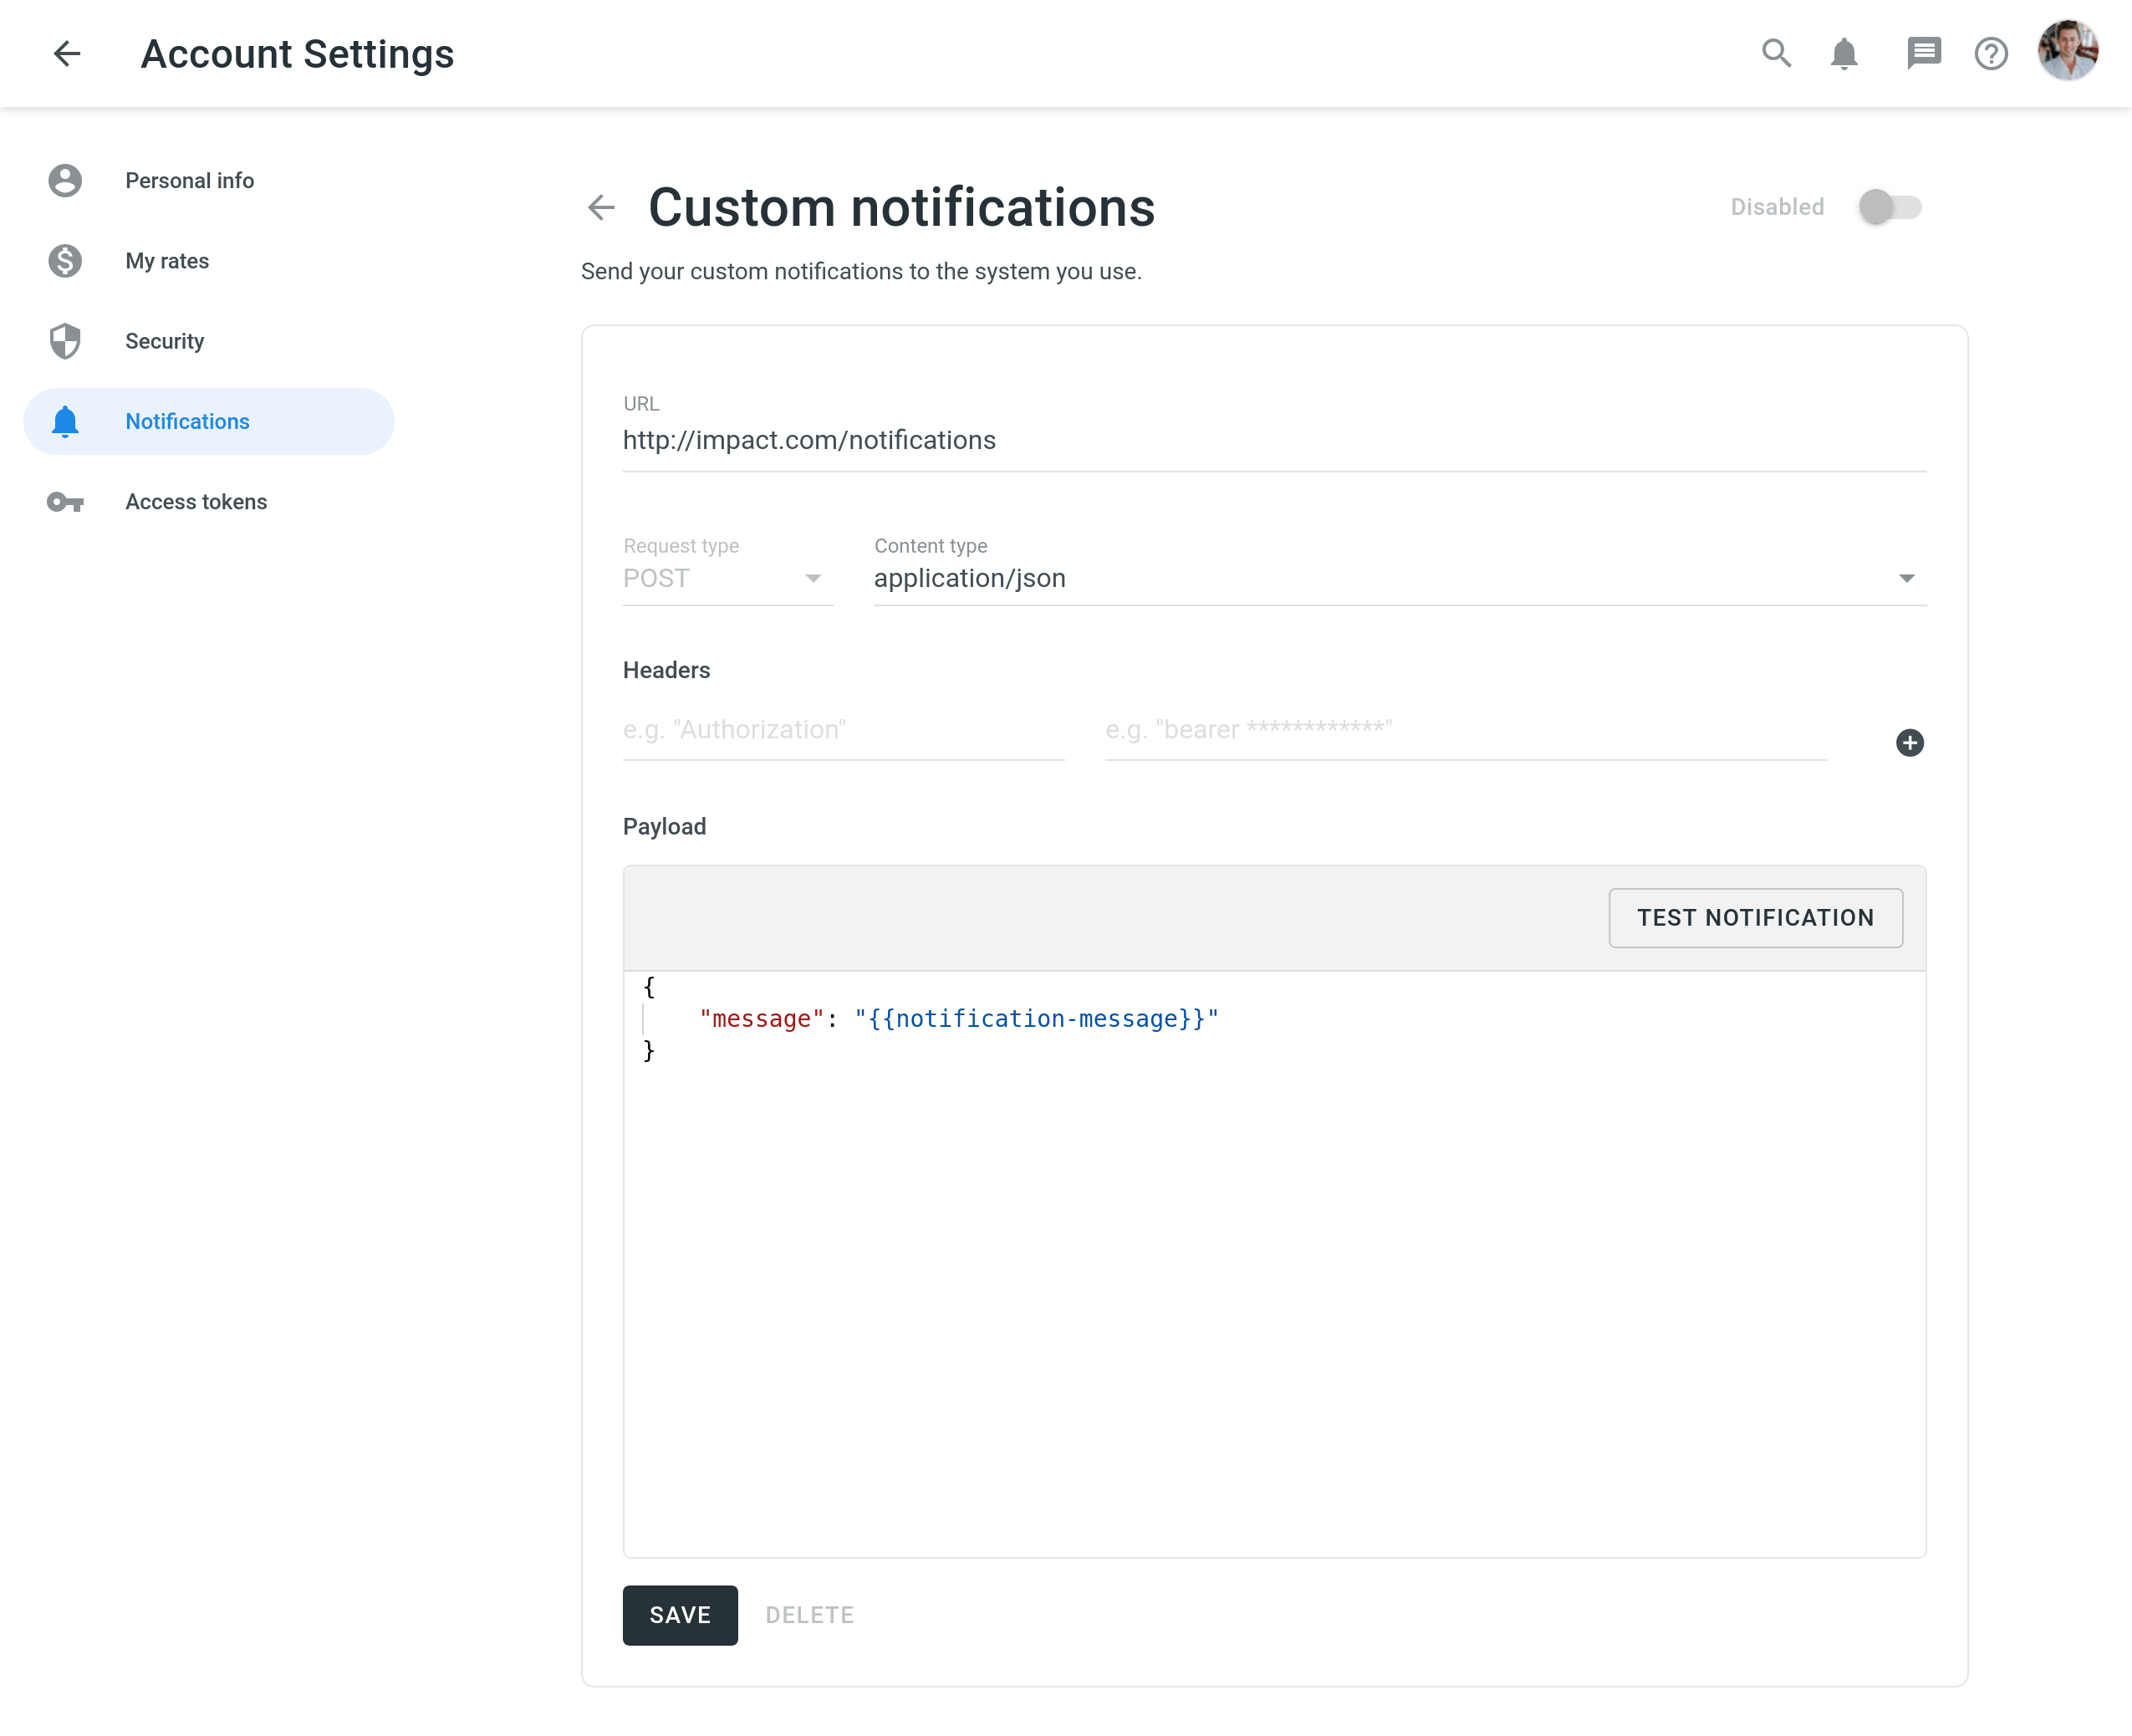
You will need to provide the following information to set up custom notifications:
- O URL onde a chamada de retorno deve ser enviado.
- The content type for the POST request method (multipart/form-data, application/json, or application/x-www-form-urlencoded).
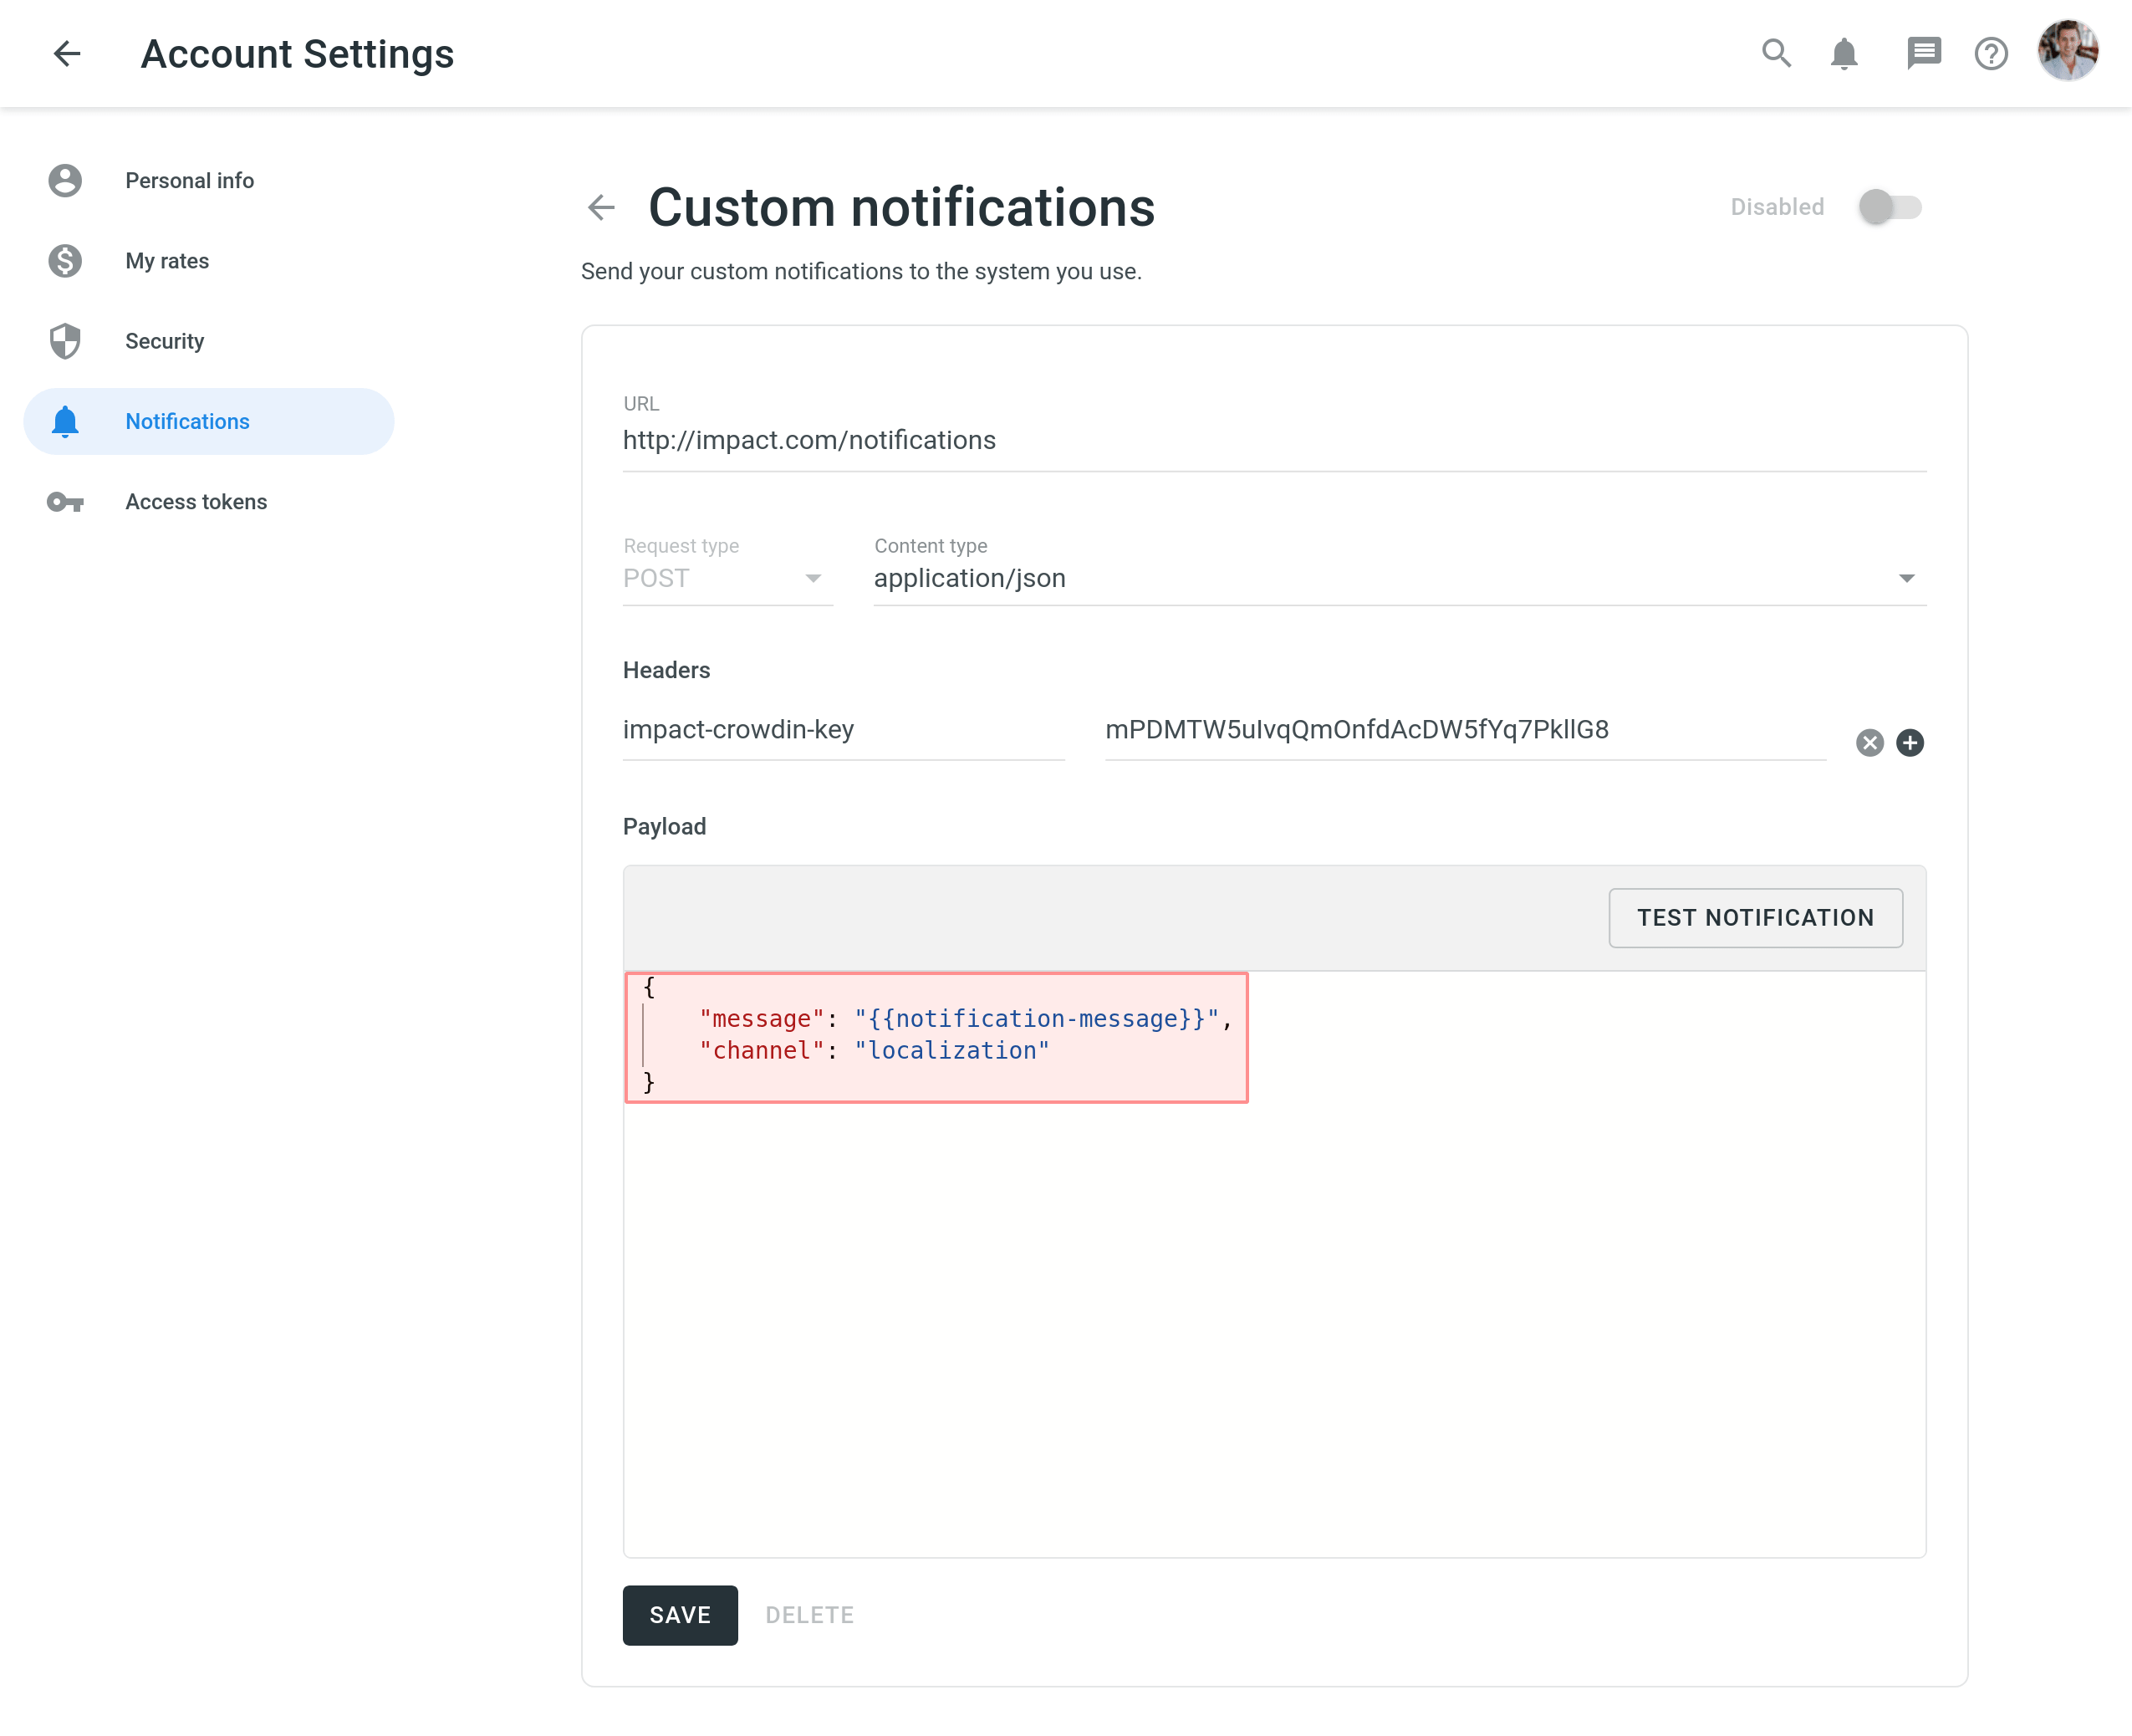
Optionally, you can add special headers to your custom notifications. They can be used for additional security, as an authorization method, and more. For example, if you add headers, your custom notification endpoint can verify them and ensure that information is coming from Crowdin Enterprise.
When configuring custom notifications, click Test notification to see how your application will react to that call. Once finished with the configuration, click Save.
Depending on your approach to custom notifications management, you might need to add dedicated Crowdin Enterprise IP addresses to your firewall to allow Crowdin Enterprise to open the pre-configured custom notification URLs.
Read more about IP Addresses.
Custom Payloads
You can modify the custom notification payload to add and organize the elements the way your system requires. To get informative and user-friendly notifications, make sure to include the {{notification-message}} placeholder in your payload.
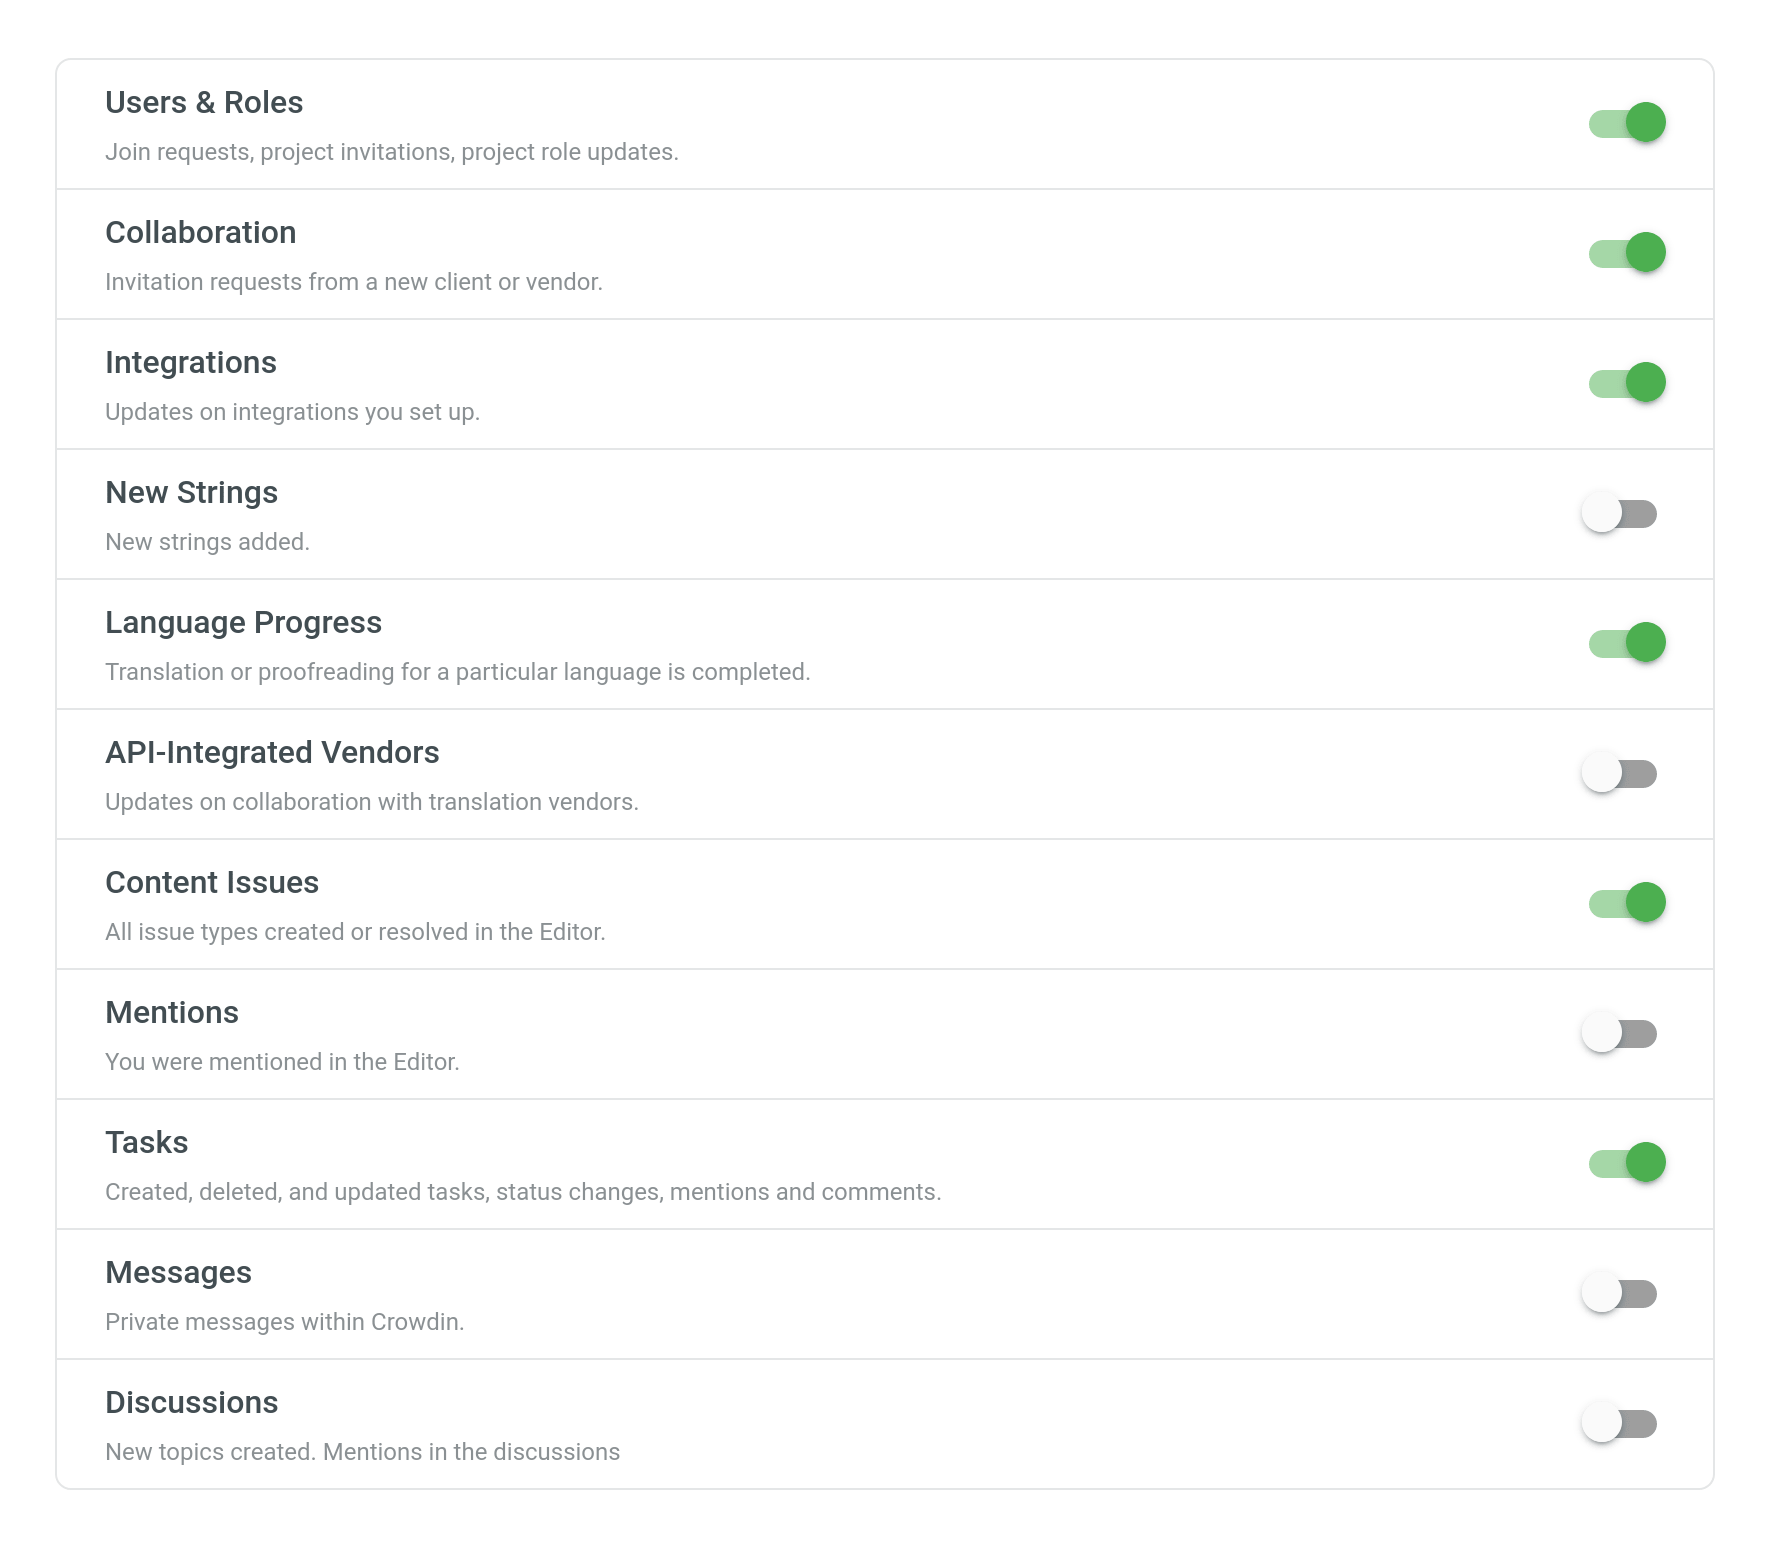
Event Types
Once you configured custom notifications, you can select the event types you’d like to receive the notifications about.
Edit or Delete Custom Notifications
You will be able to edit or delete custom notifications in the Custom notifications section of the Notifications page.
Procurar por Ajuda
Need help working with Custom Notifications or have any questions? Contact Support Team.