Permissions and User Management

Invite people to your organization or a specific project directly and grant the appropriate access.

Permissões

With the help of roles, you can define whether users should have access only to the Editor or project settings (e.g., integrations, content management, etc.) or organization settings (e.g., authentication, billing, etc.).

Below you can see the roles and permissions users can have in Crowdin Enterprise:

  • Owner – a person who created an organization and has complete control over it. The owner can invite users to the organization and manage their access, manage vendors, create projects and groups, upload source and translation files to the projects, set up integrations, edit organization settings, etc.
  • Admin – has similar rights as an organization owner except the ability to delete an organization.
  • Manager – depending on the Permissions granularity settings, managers can be assigned on the organization, group and subgroup, and project levels. They inherit manager access to all the child entities of the parent entity (i.e., organization, group and subgroup). This user type can’t manage vendors, invite or manage users on the organization level, or edit organization settings.
    • Organization Manager – can create and manage projects within the whole organization (including inviting people to projects and managing resources) and can access all the groups and subgroups.
    • Group Manager – can create and manage projects within the group (including inviting people to projects and managing resources) and inherit manager access to all the subgroups of the managed group.
    • Project Manager – can manage only the project they are invited to.
    • Language Coordinator – can manage certain features of a project only within languages they have access to. Language coordinators can translate and approve strings, manage project members and teams, generate project reports, create tasks, and pre-translate the project content. Unlike managers, they do not have access to other project settings (e.g., project files, integrations, etc.).
    • Developer – сan upload files, edit translatable text, connect integrations, and use the API. Cannot manage project tasks, members and reports.
  • Contributor (i.e., Translator and Proofreader) – allows users to view projects, tasks, and workflow steps to which they are assigned, access the Editor on corresponding workflow steps, generate personal translation reports, and communicate with other project members.
    • Proofreader – can translate and approve strings. Doesn’t have access to project settings.
    • Translator – can translate strings and vote for translations added by other members. Doesn’t have access to project settings.
  • Vendors – separate organizations providing professional translation services. After you invite a vendor to your project, the vendor organization receives a copy of the assigned workflow step in the Incoming Projects tab of their organization.

Inviting People to Organization

People added to your organization will have no access to Workspace by default. The exception is crowdsourcing projects, which are visible to all the organization members. Once you invite people to the organization, you can invite them to specific projects or assign them to workflow steps.

To invite users to your organization, follow these steps:

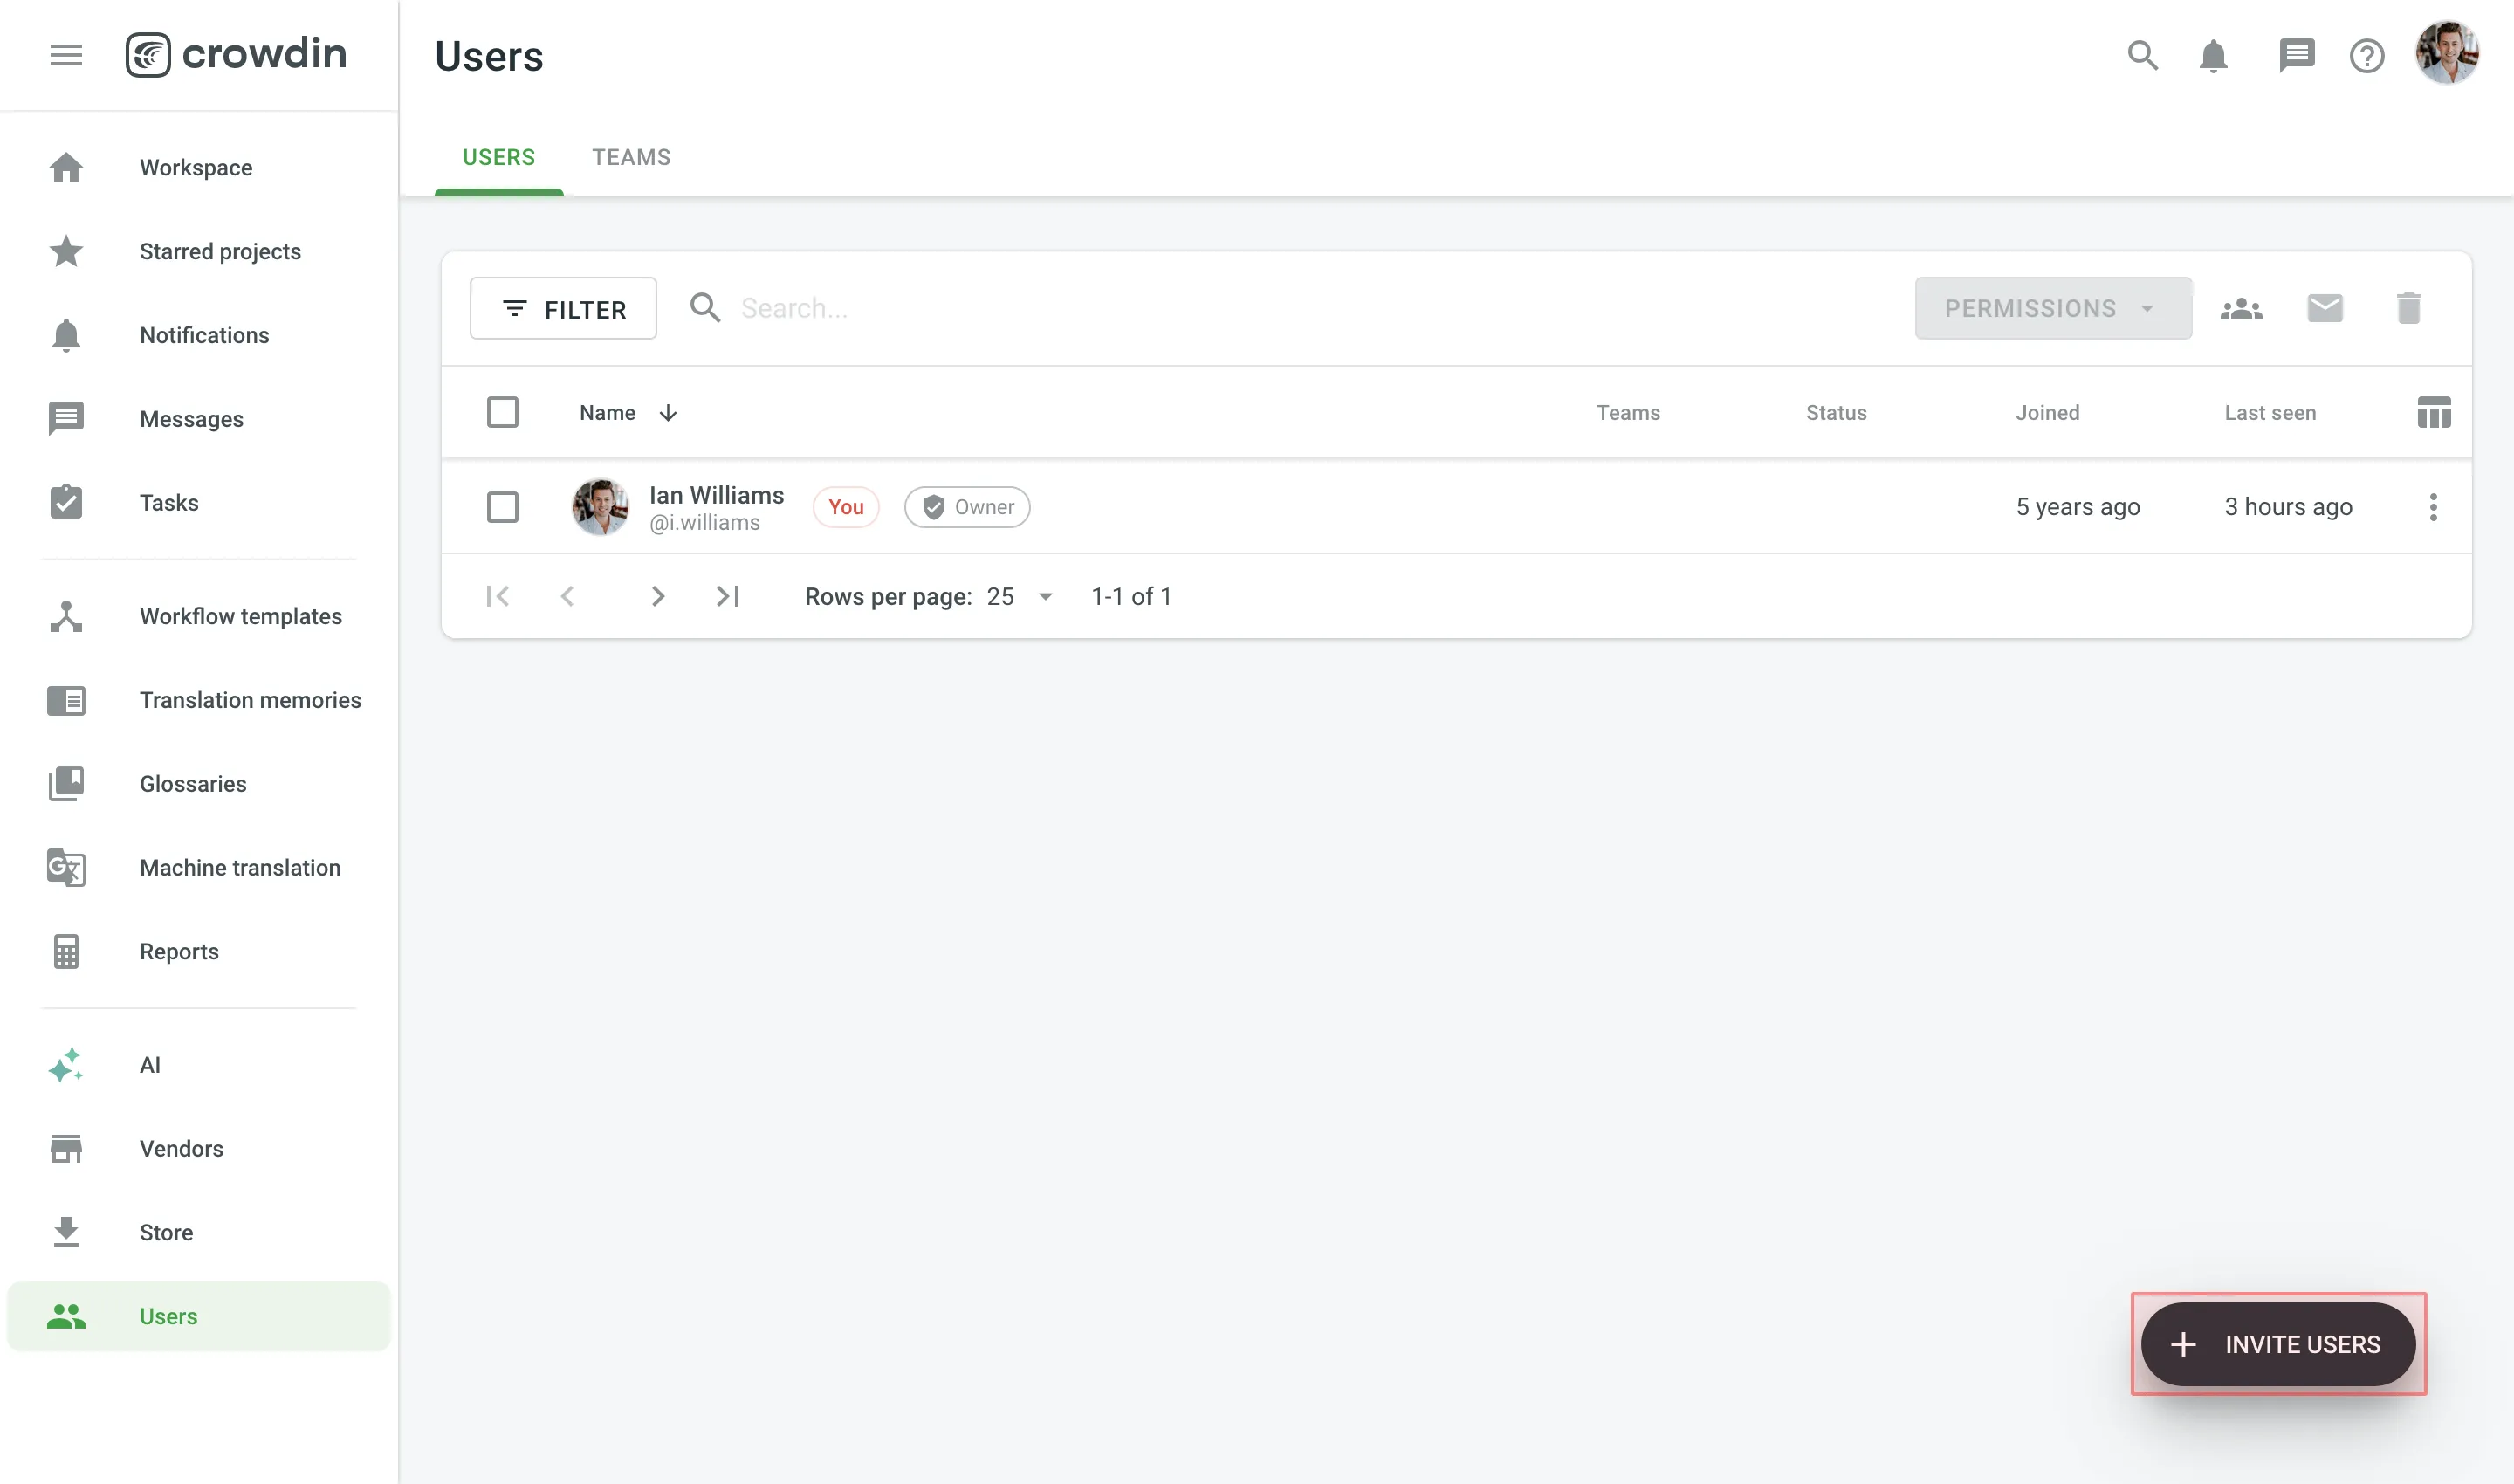
  1. Open your organization’s Workspace and select User management on the left sidebar.
  2. Click Invite users in the lower-right corner.
    Add organization user
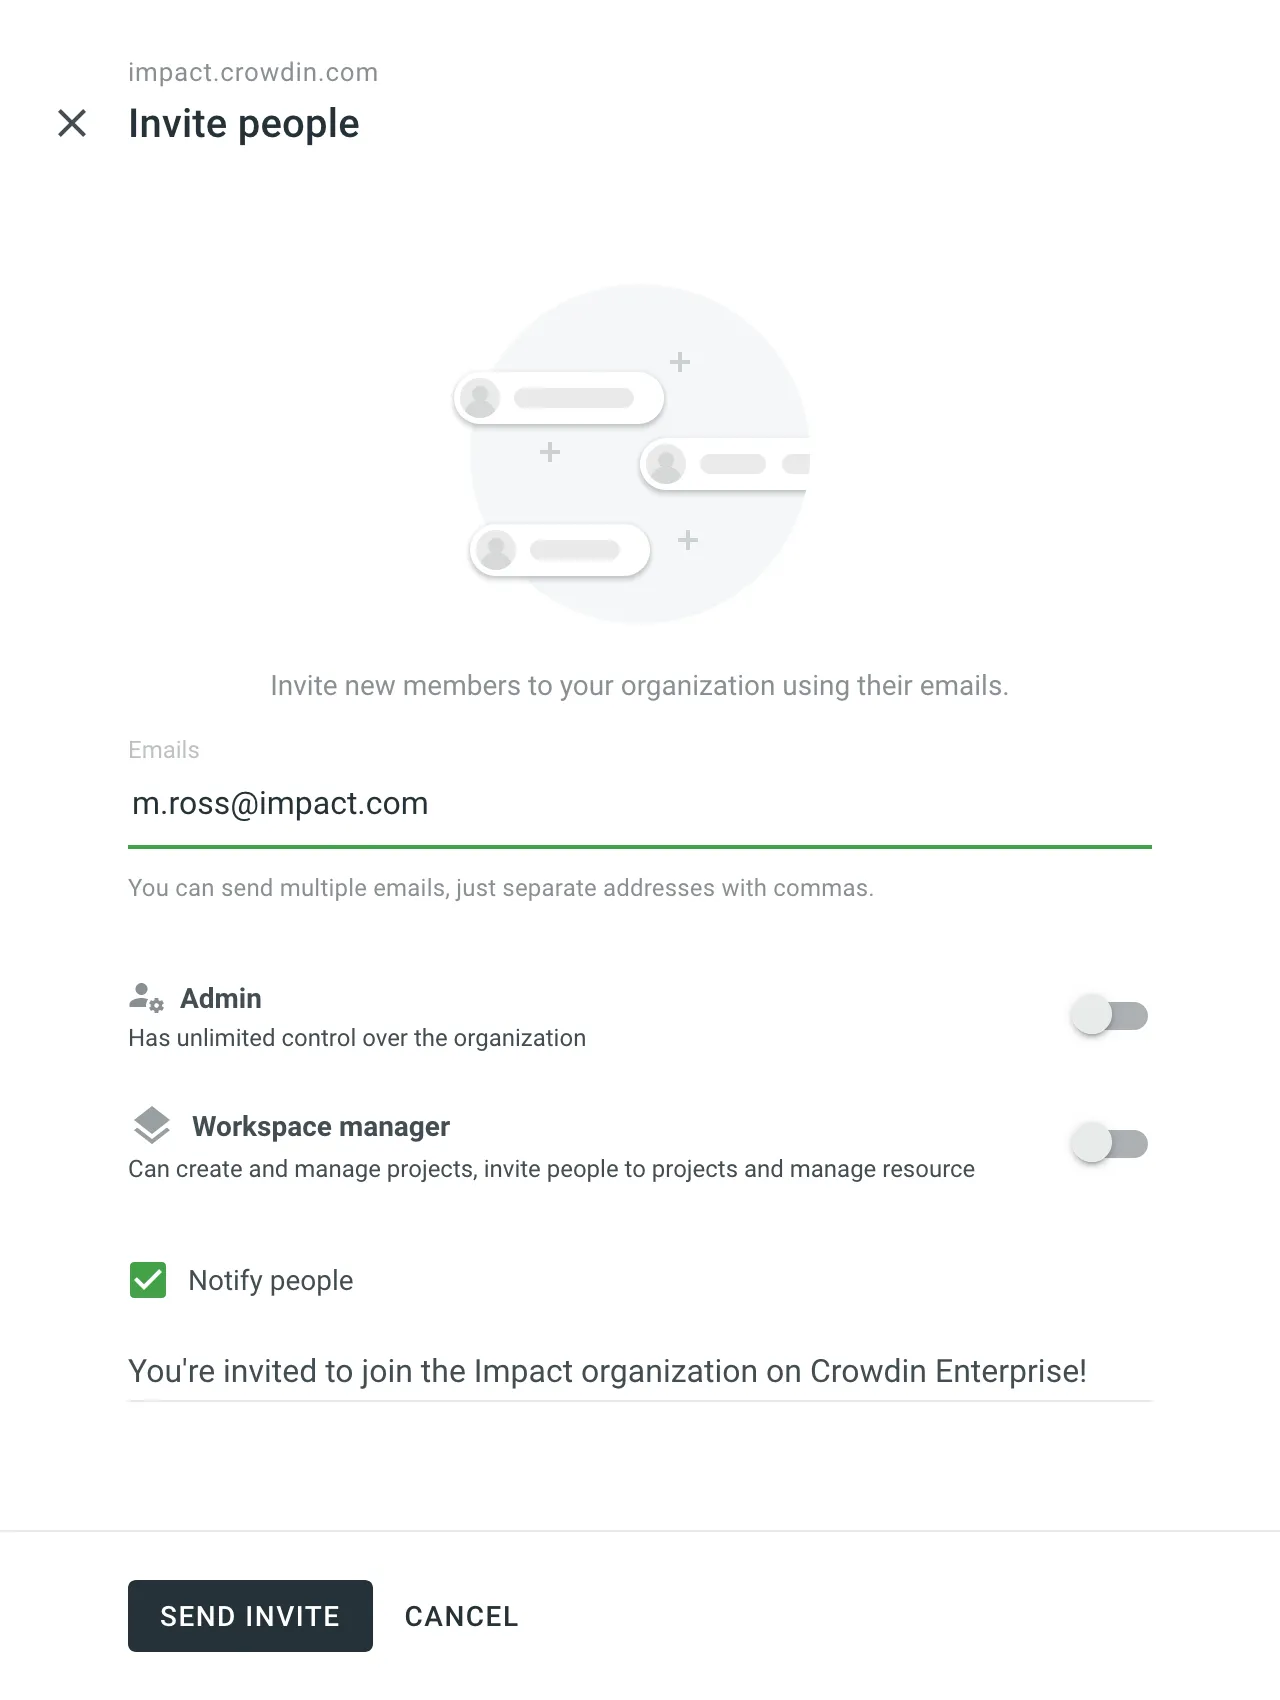
  3. Specify the emails of the people you want to invite and click Send invite.
    Send invitation to Organization

Once a user joins your organization, you can track the user’s last activity, grant admin access, or block a user if necessary.
Manage organization user

Inviting People to Project

You can add members within the project and define their access permissions at every workflow step.

To invite members to a specific project, follow these steps:

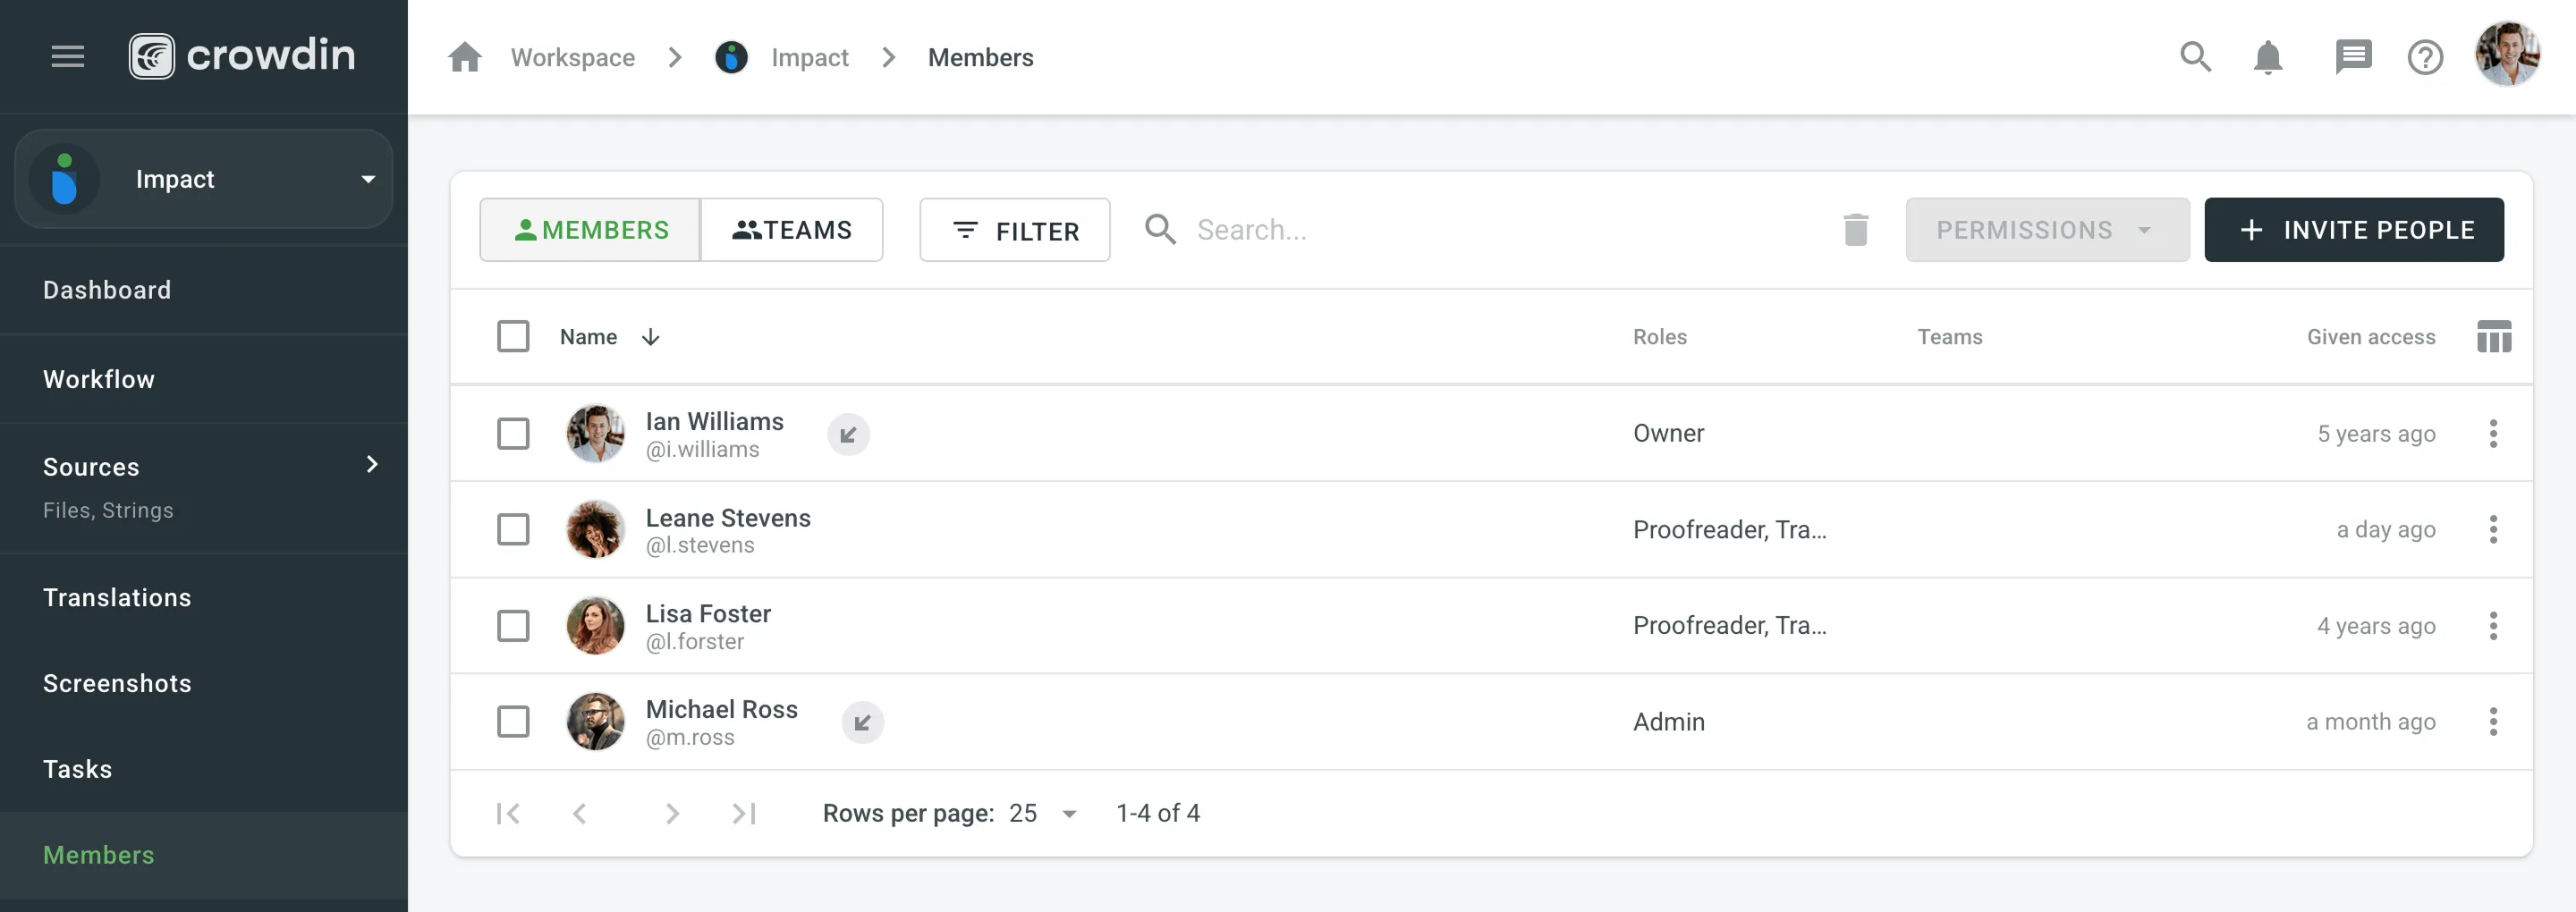
  1. Open your project and go to Translations > Members.
  2. Click Invite People in the upper-right corner.
    Add project member
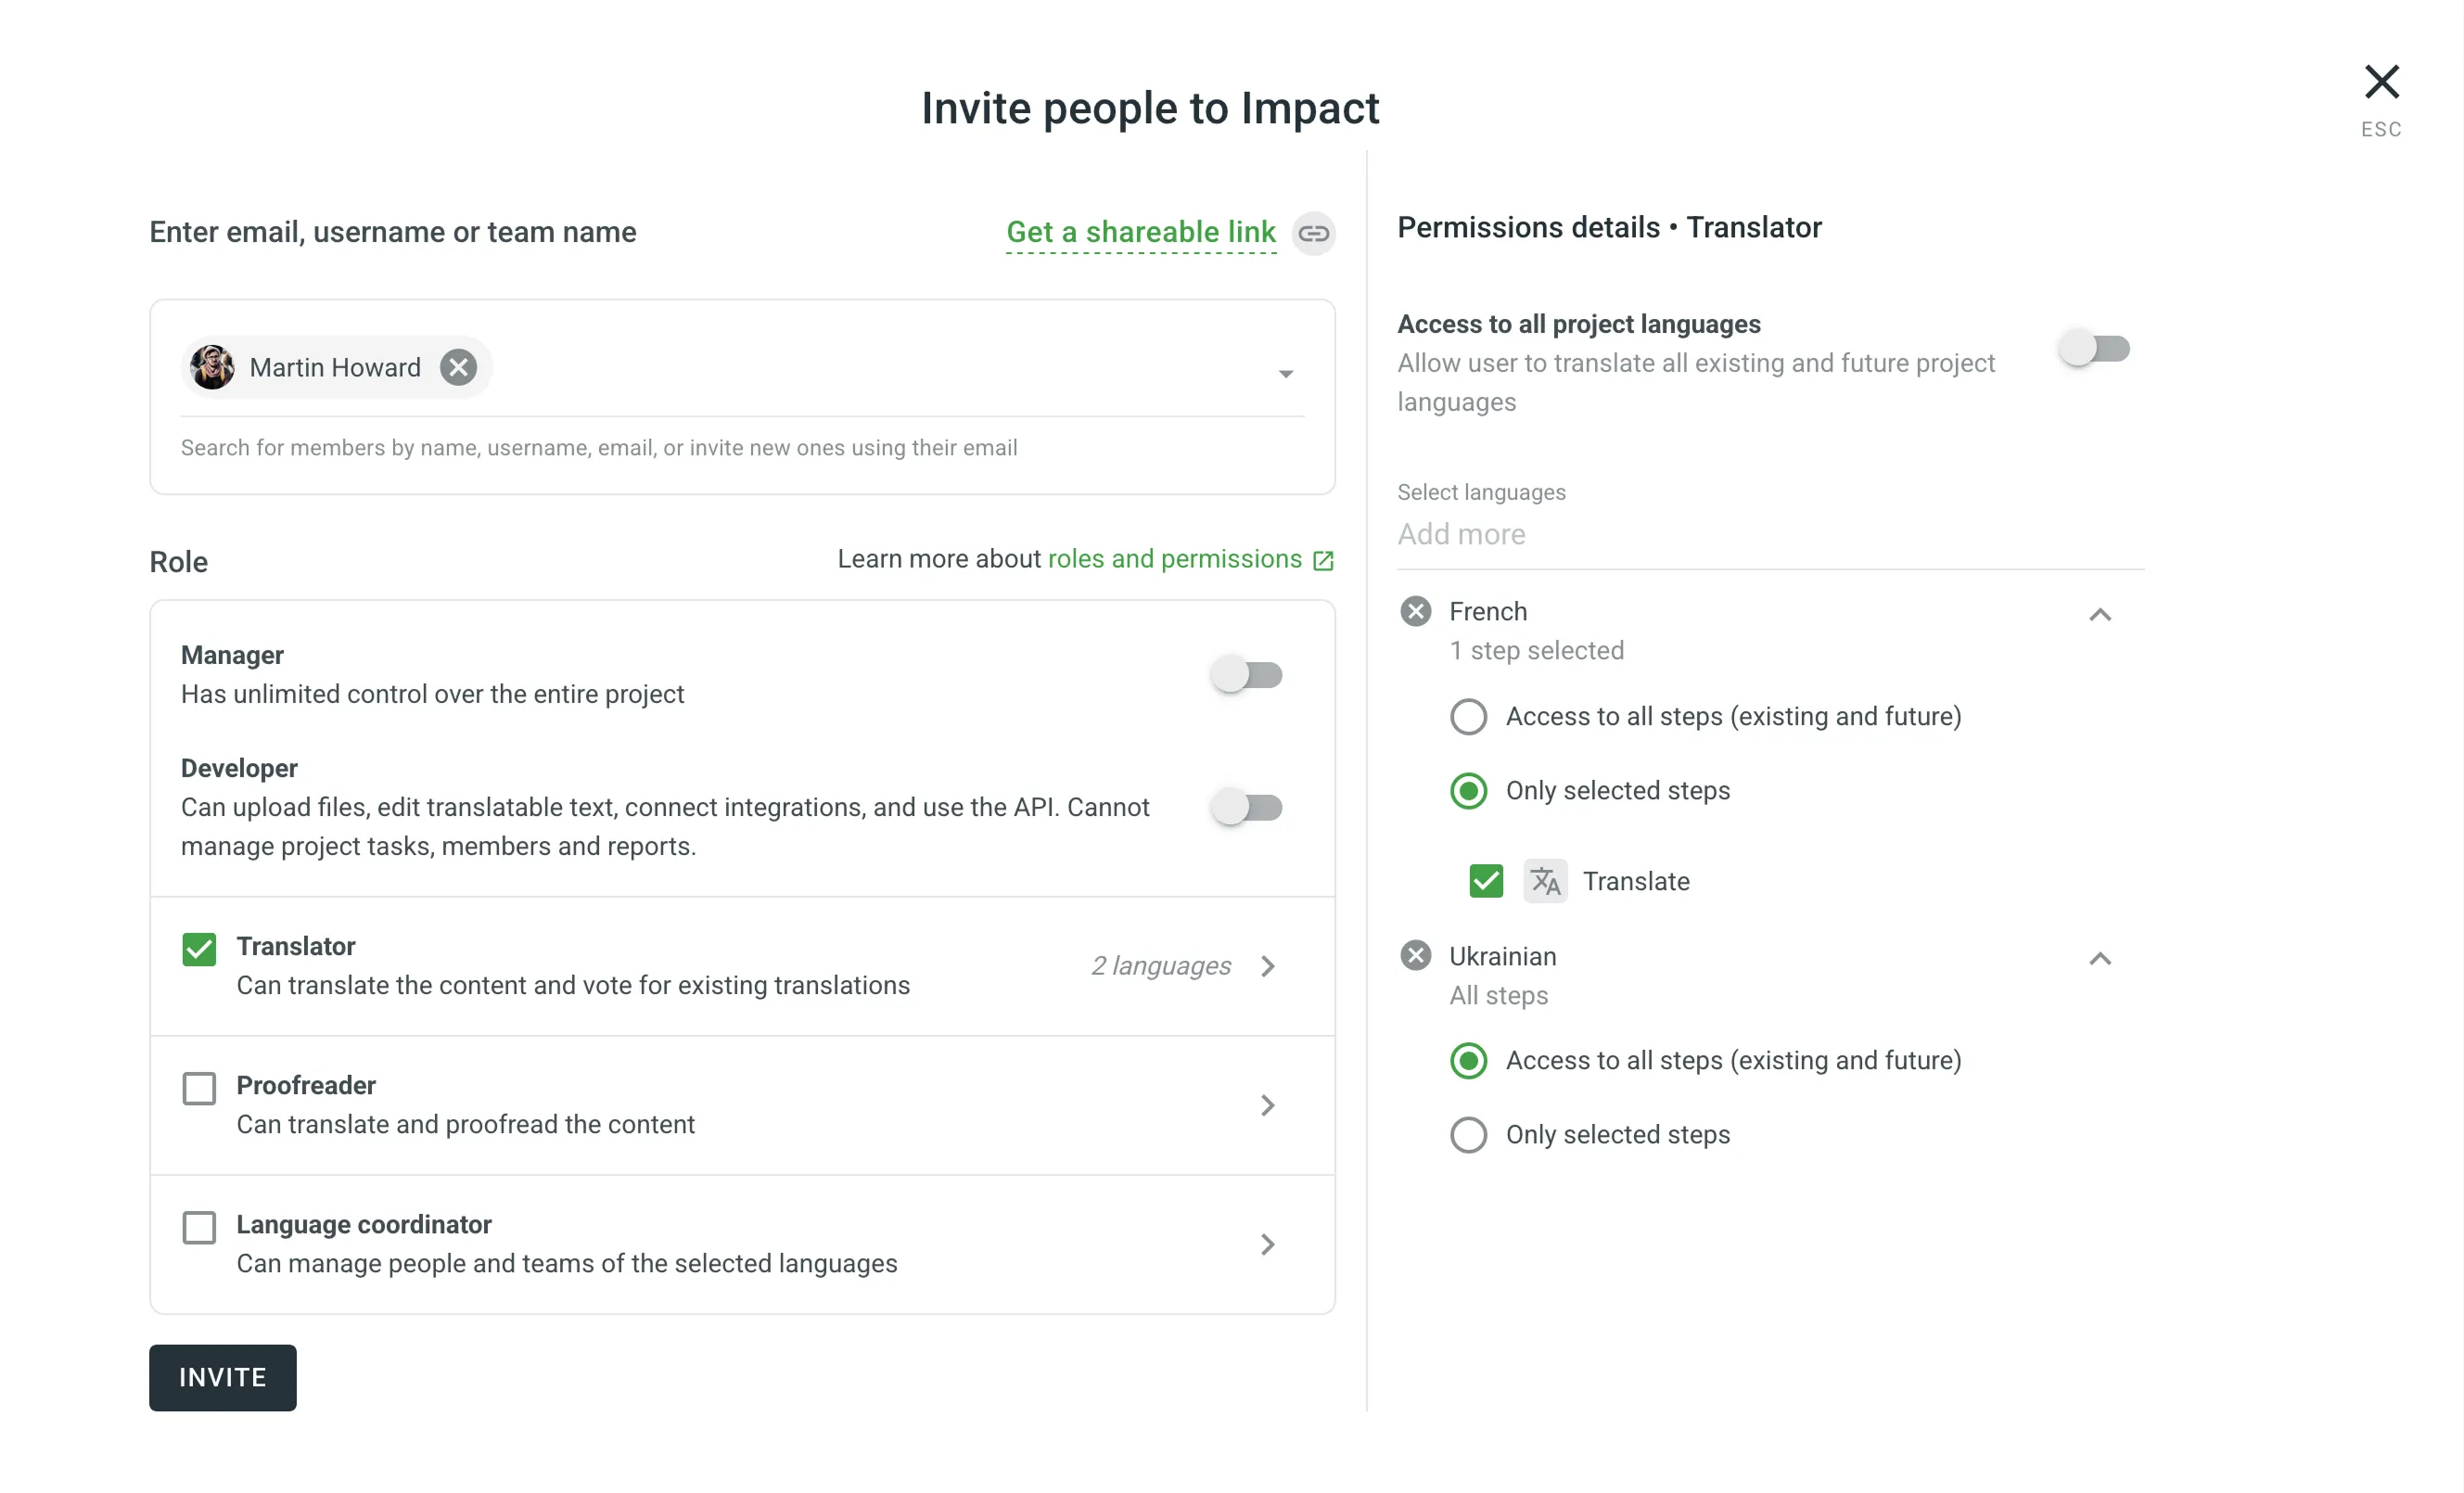
  3. Select from current organization members or type the email address of the person you need to invite. You can also copy the shareable link and send it via email directly.
  4. Define permissions for an invitee. If you enable the Manager option, the user will have access to all project resources and will be able to invite other members to the project. By default, Access to all project languages is enabled. Disable it if you want to grant access to specific languages or workflow steps.
  5. Сlick Invite.
    Sent invitation to Project

Teams

Once you invite people to your organization, you can create teams to simplify people management while assigning members to the projects, workflow steps and tasks.

Read more about Teams.

Este artigo foi útil?