Webhooks
Webhooks allow you to receive information about the key events that happen in your Crowdin project, like completed translations or proofreading. After you configure a webhook for the project, Crowdin will start sending POST or GET requests with data to the webhook URL via HTTP.
Only owners and project managers can register a webhook.
Use Cases
You can add webhooks to build integrations with the services or with your backend. For example:
- Set up a webhook to send notifications to the system you use.
- Pass information to the third-party services with the specific request requirements (for example, HTTP method, сontent type).
- Create custom integrations with Crowdin.
Events
You can configure webhooks for the following types of events:
- File fully translated (Specific to file-based projects) – a file is translated into one of the target languages
- File fully reviewed (Specific to file-based projects) – translations in a file are approved for one of the target languages
- File added (Specific to file-based projects)
- File updated (Specific to file-based projects)
- File reverted (Specific to file-based projects)
- File deleted (Specific to file-based projects)
- Project fully translated – all files are translated into one of the target languages
- Project fully reviewed – translations in all files are approved for one of the target languages
- Project successfully built (Specific to file-based projects)
- Exported translation updated – final translation of a string is updated
- Source string added
- Source string updated
- Source string deleted
- Suggested translation added – a string in the project is translated
- Suggested translation updated – a translation for a string in the project is updated
- Suggested translation deleted – one of the translations is deleted
- Suggested translation approved – a translation for a string is approved
- Suggested translation disapproved – approval for a previously added translation is removed
- String comment/issue created
- String comment/issue updated
- String comment/issue deleted
- String comment/issue restored
- Task added
- Task status changed
- Task deleted
Webhook Payload Examples
Read more about Webhook Events (File-based) and Webhook Events (String-based) on Crowdin Developer Portal.
Adding Webhooks
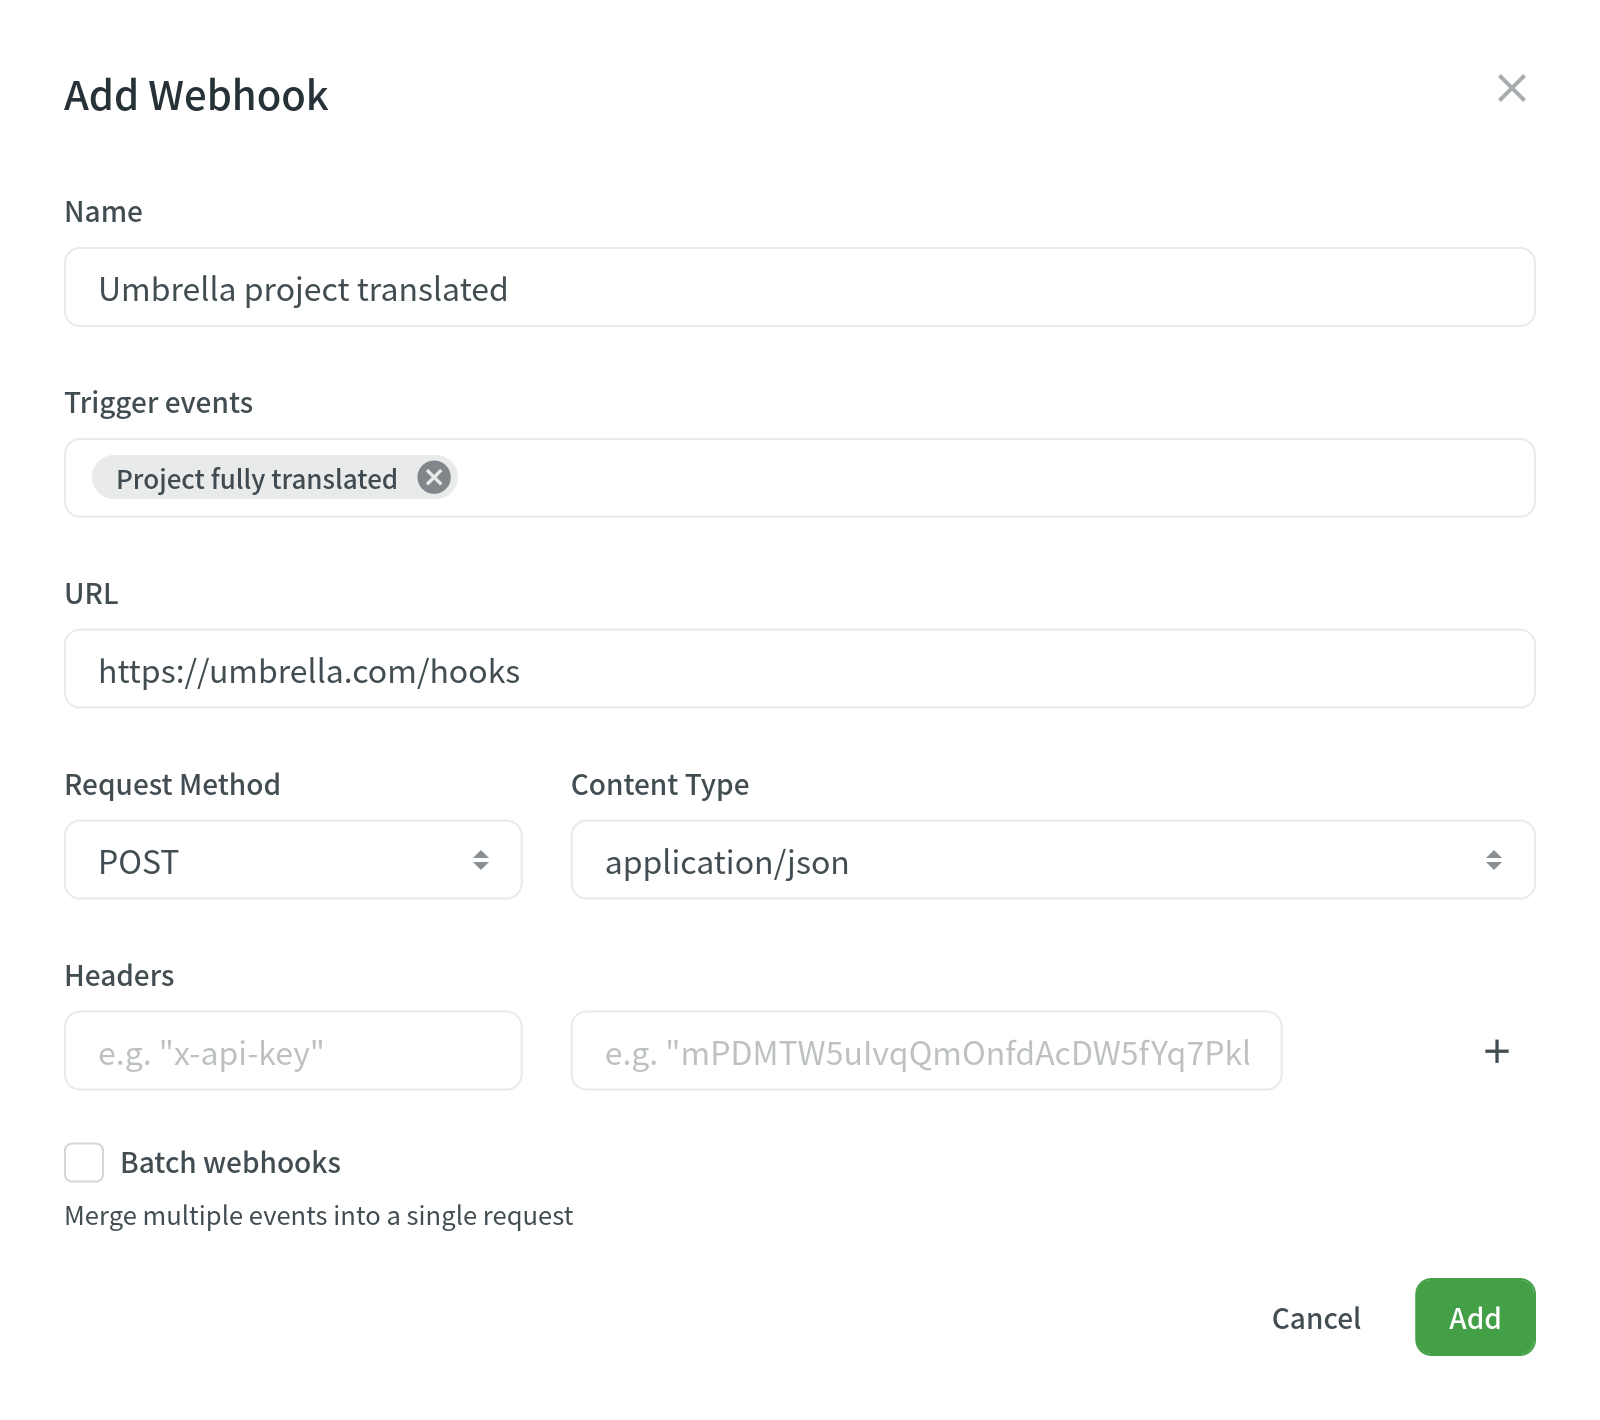
To configure webhooks in Crowdin, open your project and go to Tools > Webhooks. Click Add Webhook to start configuring your new webhook.
You will need to provide the following information to register a webhook:
- The webhook name (for example, “App Project Translated”).
- The events to post to the URL. You can select either one event or a specific set of events.
- The URL where the callback should be sent.
- The request method that indicates the desired action to be performed for a given resource (use either GET or POST).
- The content type for the POST request method (multipart/form-data, application/json, or application/x-www-form-urlencoded).
- For the application/json content type, you can select Batch webhooks to merge multiple events into a single request.
Optionally, you can add special headers to your webhook. They can be used for additional security, as an authorization method, and more. For example, if you add headers, your webhook endpoint can check them to ensure that information is coming from Crowdin.
When adding a webhook, click Test webhook to see how your application will react to that call.

Depending on your approach to webhook management, you might need to add dedicated Crowdin IP addresses to your firewall to allow Crowdin to open the pre-configured webhook URLs.
Read more about IP Addresses.
Edit or Delete Webhooks
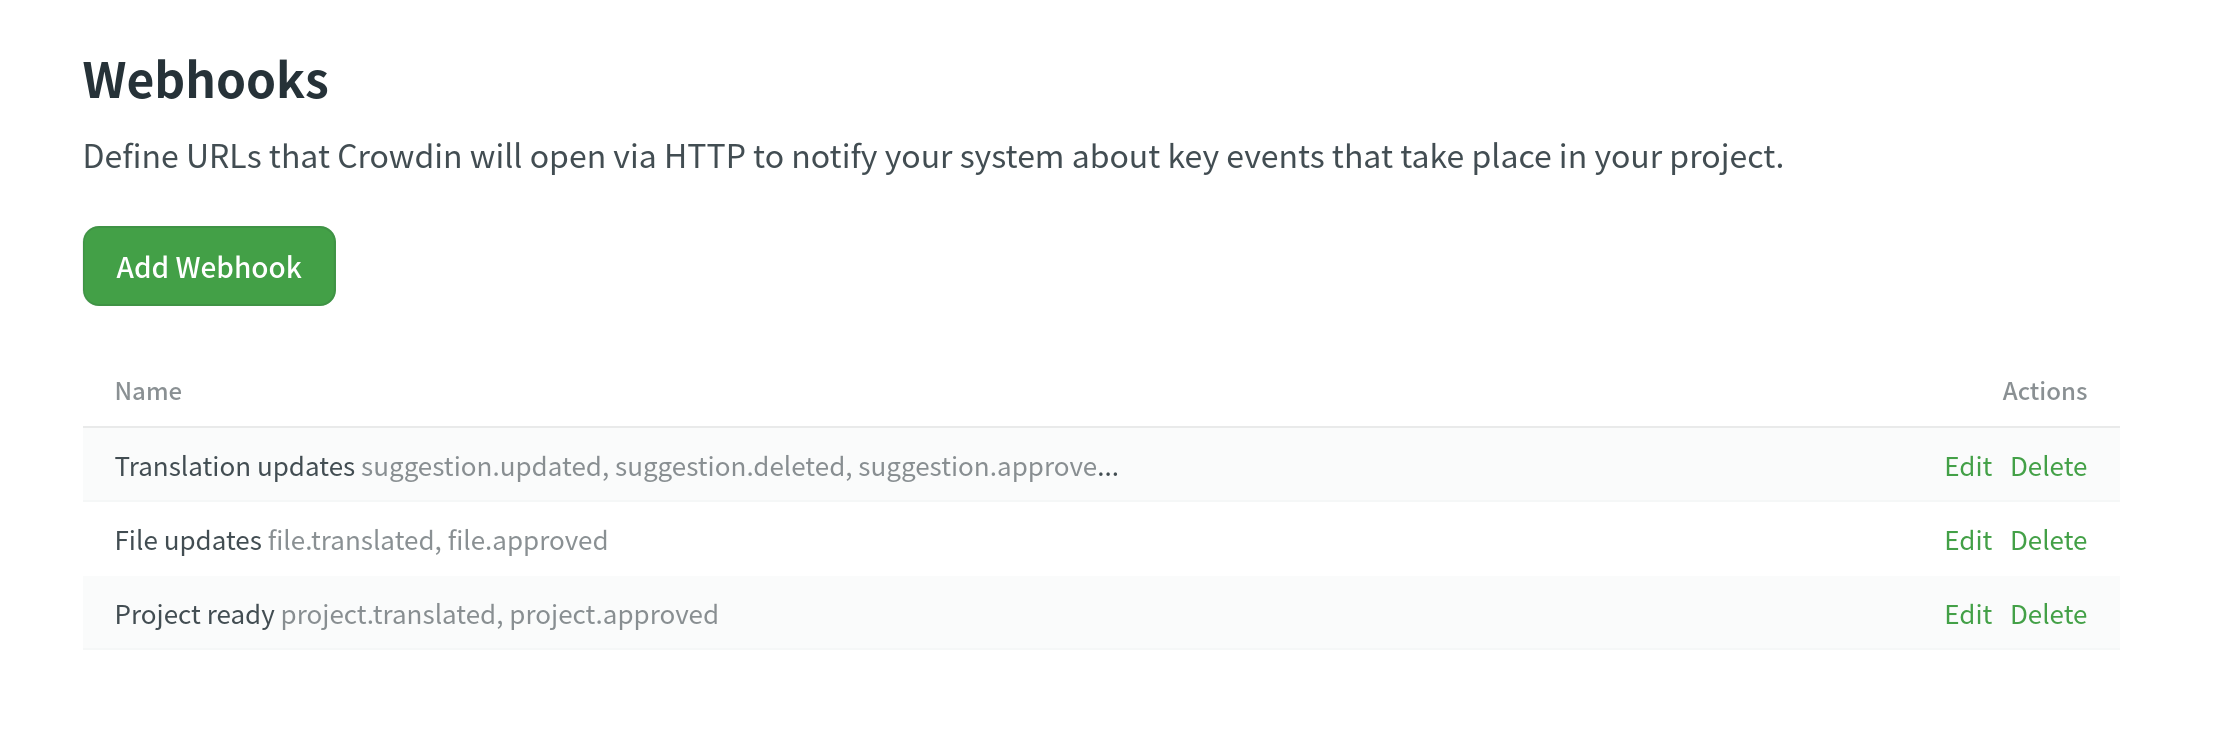
Within a specific project, you can access and manage configured webhooks by editing or deleting them directly from the displayed list.

Calls History
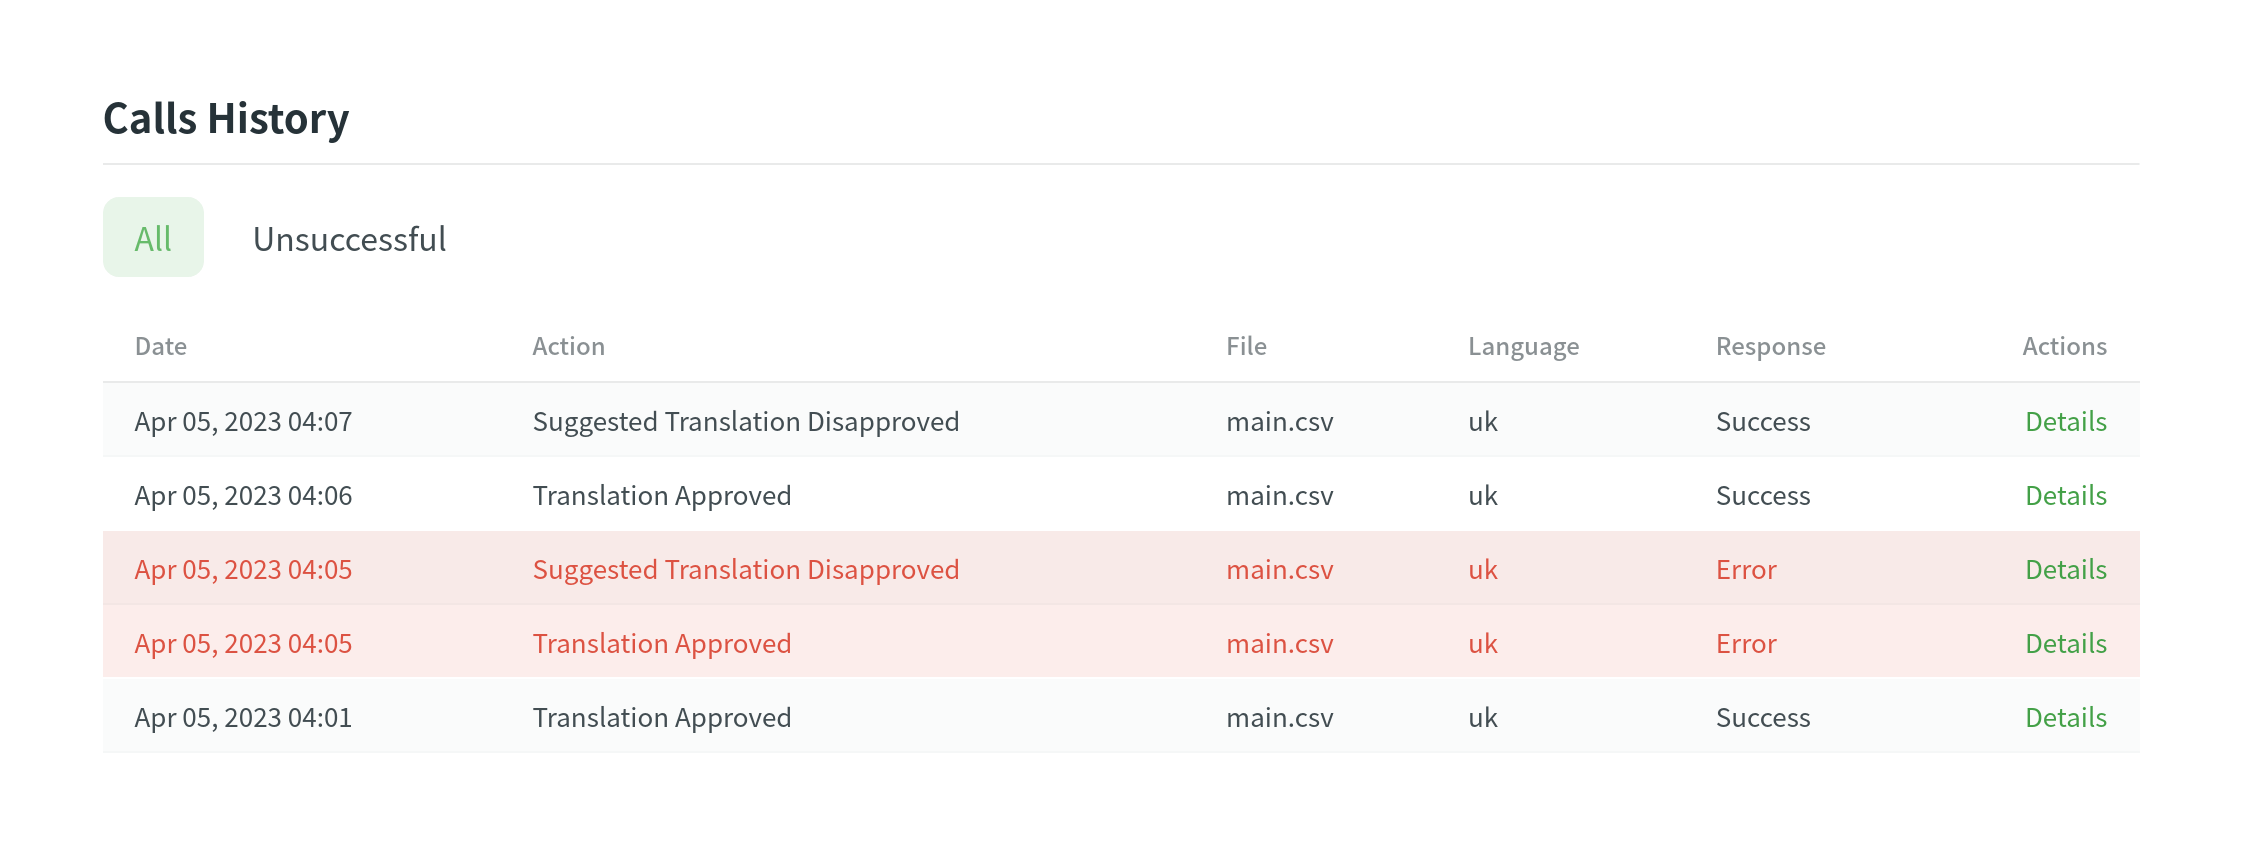
In the Calls History section, you can view the list of calls of all webhooks that were configured in the project. Use the filter to view all or only unsuccessful webhook notifications.

Failing Webhooks
Webhooks that fail 100 or more times in the last 24 hours with response codes in the 4xx or 5xx ranges are automatically disabled.
Disabled Webhooks
Disabled webhooks are listed in the Webhooks section with a cleared check mark, indicating that they are currently inactive due to persistent failures. To discover more about failed webhooks, navigate to the Calls History > Unsuccessful section. Here you can explore detailed information about the issues encountered by each failed webhook.
Manual Re-enabling
Once you have identified and resolved the cause of the webhook failures, you can manually re-enable the webhooks to restore their functionality. In the Webhooks section, locate the disabled webhook and select it for re-enabling.
Seeking Assistance
Need help working with Webhooks or have any questions? Contact Support Team.