Teams
Organize members of your organization into teams to simplify people management in projects, workflow steps, and tasks.
Teams help you invite tens or even hundreds of members to the project in a few clicks. So inviting a team to the project becomes as easy as inviting a single person.
- Create language-specific teams of members. You’ll be able to assign a whole team to the needed target language on the workflow steps of your projects.
- Assign teams to translation or proofreading tasks.
- Add a member to the team to automatically grant access to all projects the team participates in.
To create a team, follow these steps:
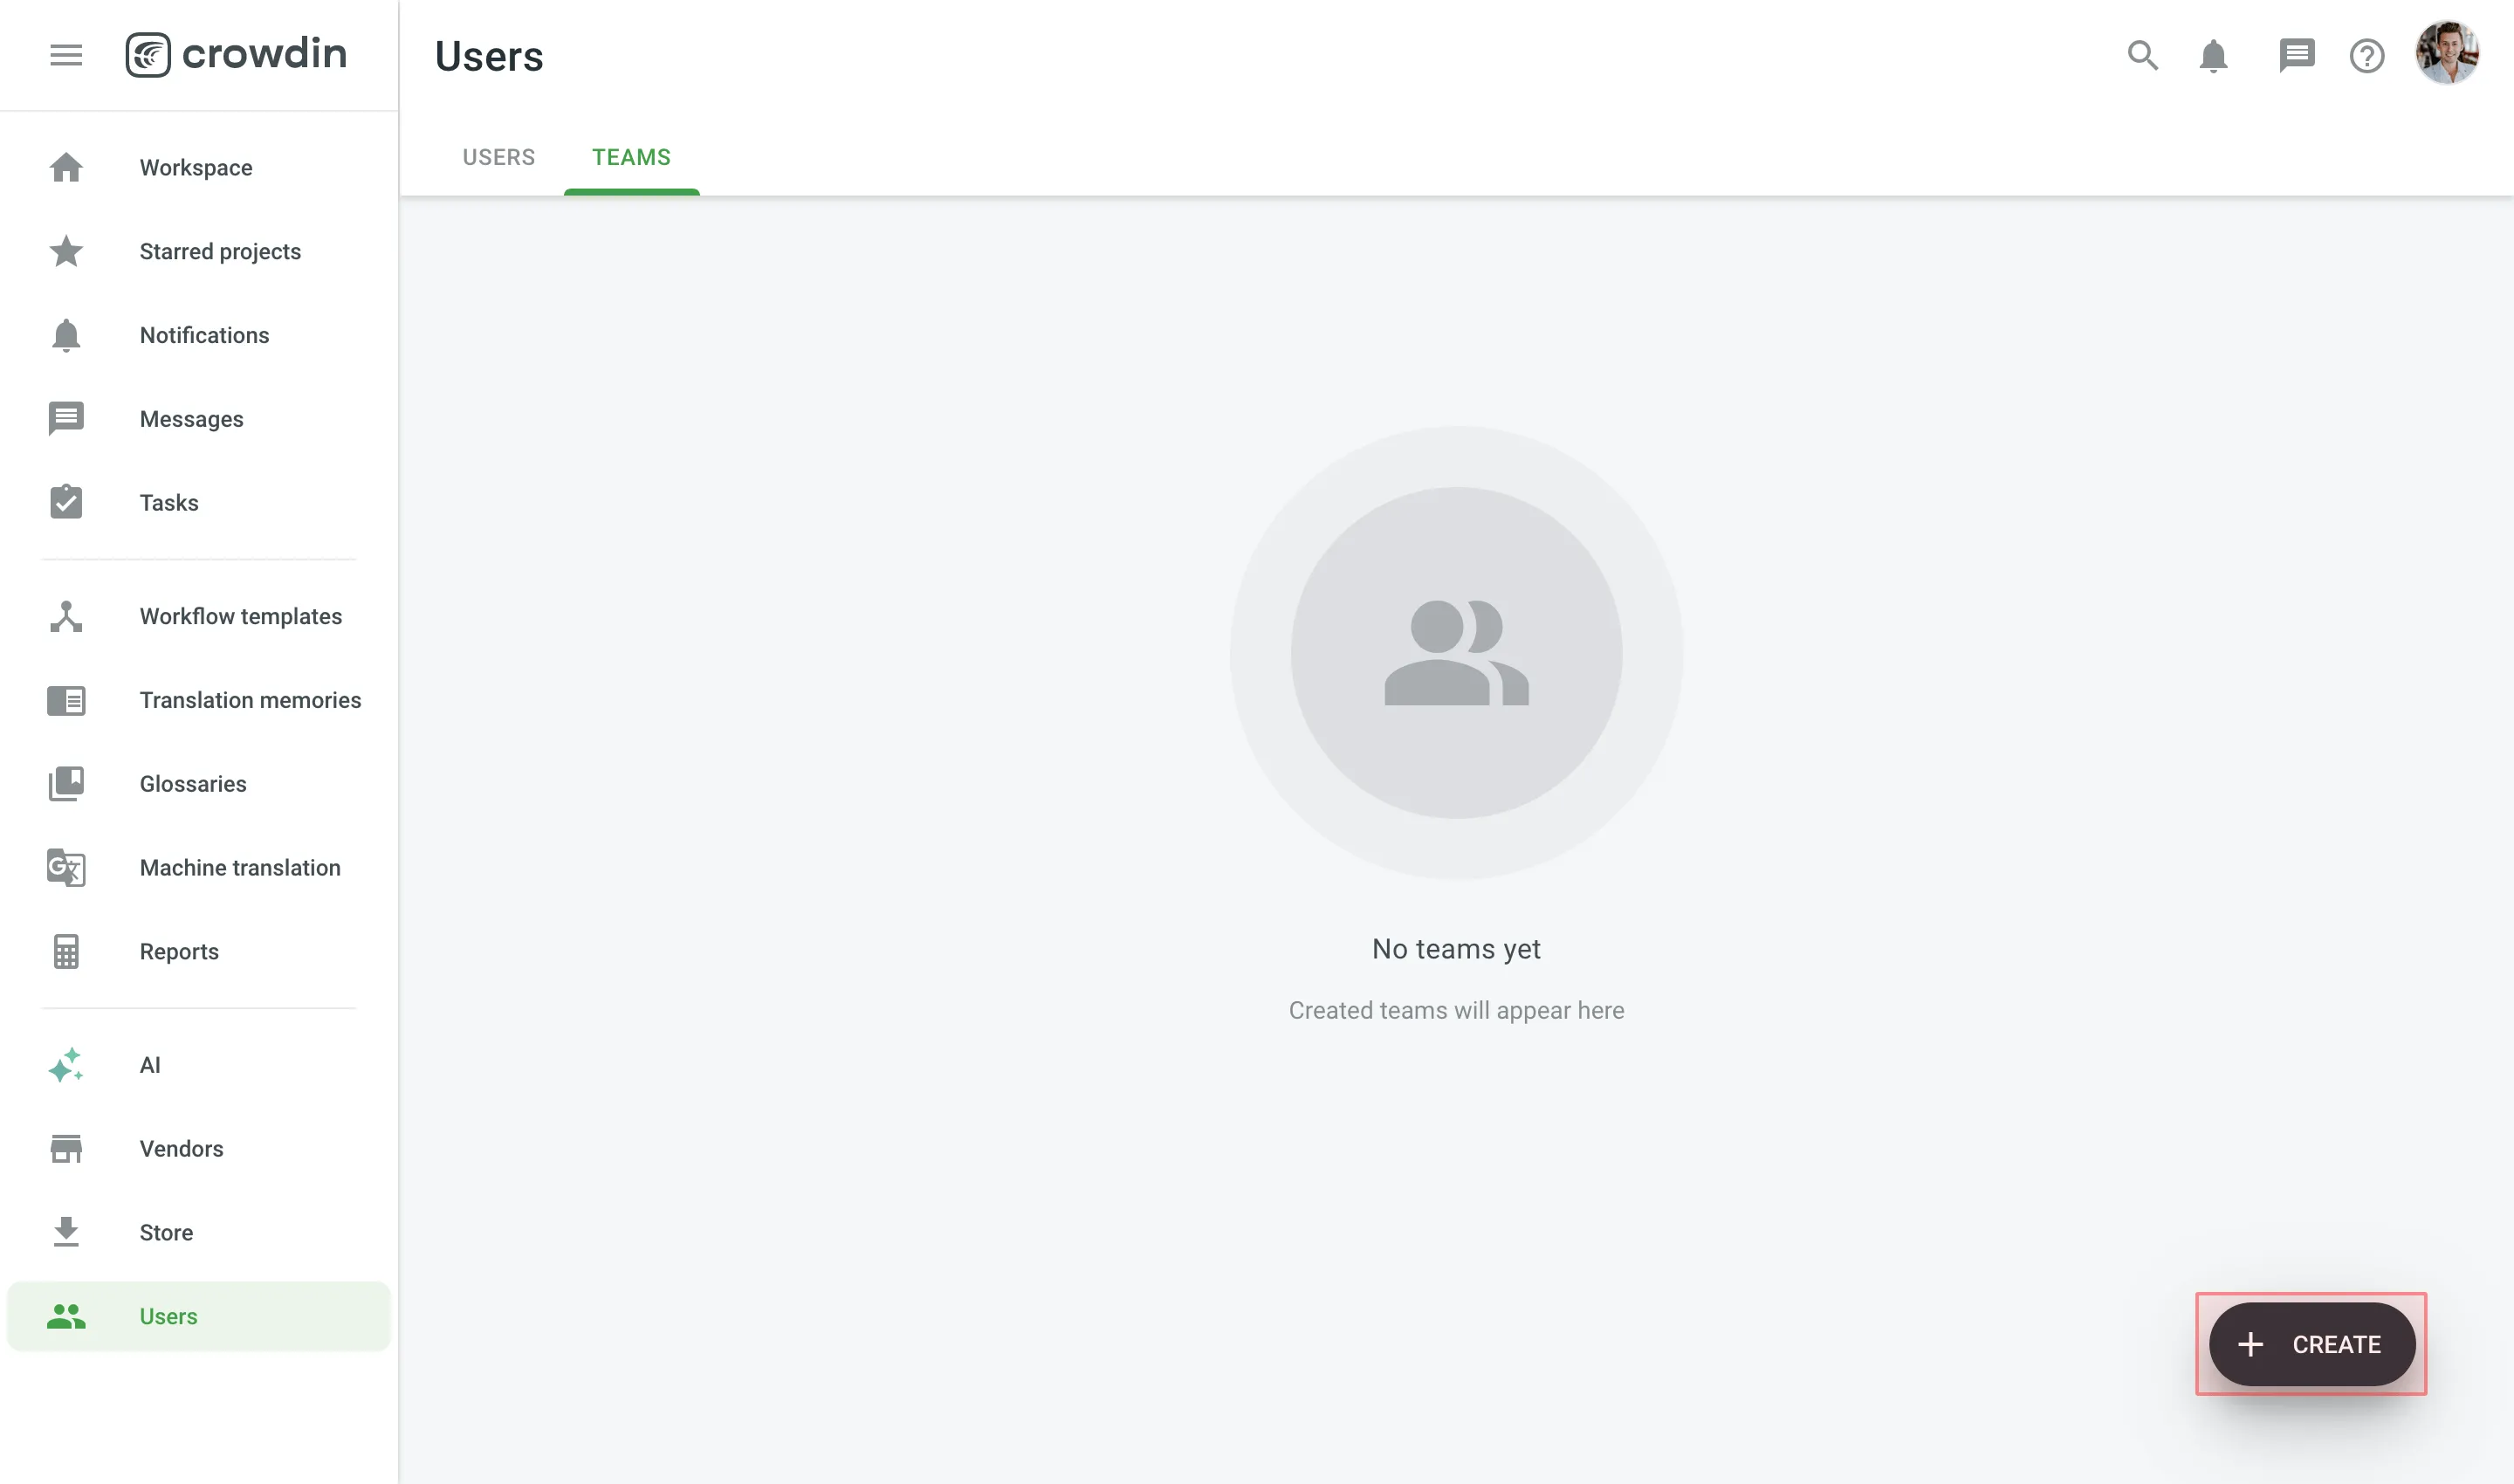
- Open your organization’s Workspace and select Users on the left sidebar.
- Switch to the Teams tab.
- Click Create in the lower-right corner.
- Name your team and select the needed members.
- Click Create.

Managing organization teams in Crowdin Enterprise involves various operations such as managing permissions and team members, contacting teams, and deleting teams. Below you can find instructions for each operation.
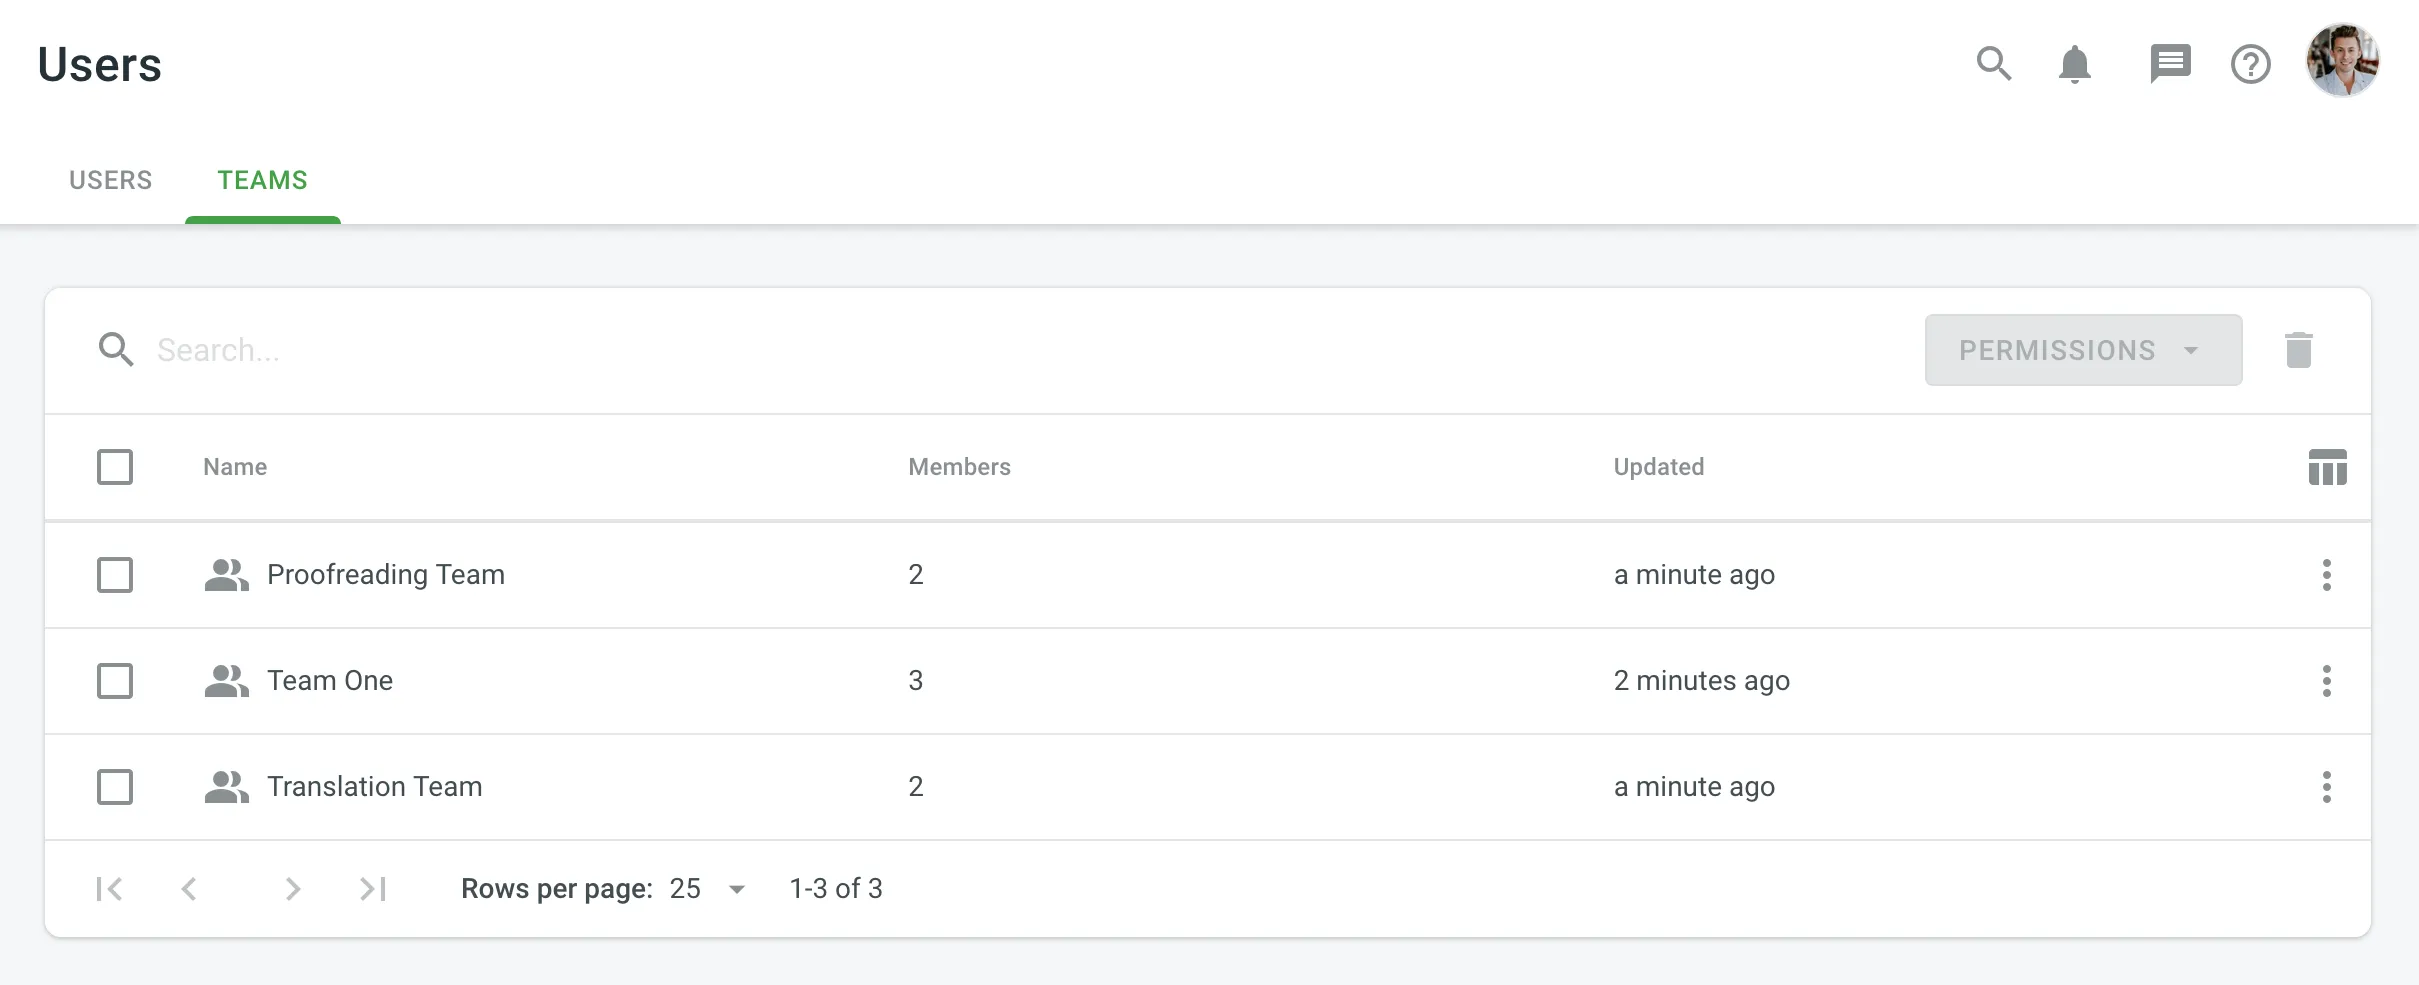
Once you open the Users page, you can switch to the Teams tab to view and search for teams.
You can view the list of existing organization teams (one team per row). To search for a particular team, type the team name in the Search field. To change the sorting order, click on the Name column heading.
To view and manage team details, follow these steps:
- Open your organization’s Workspace and select Users on the left sidebar.
- Switch to the Teams tab.
- Double-click on the team or right-click and select Open from the menu.
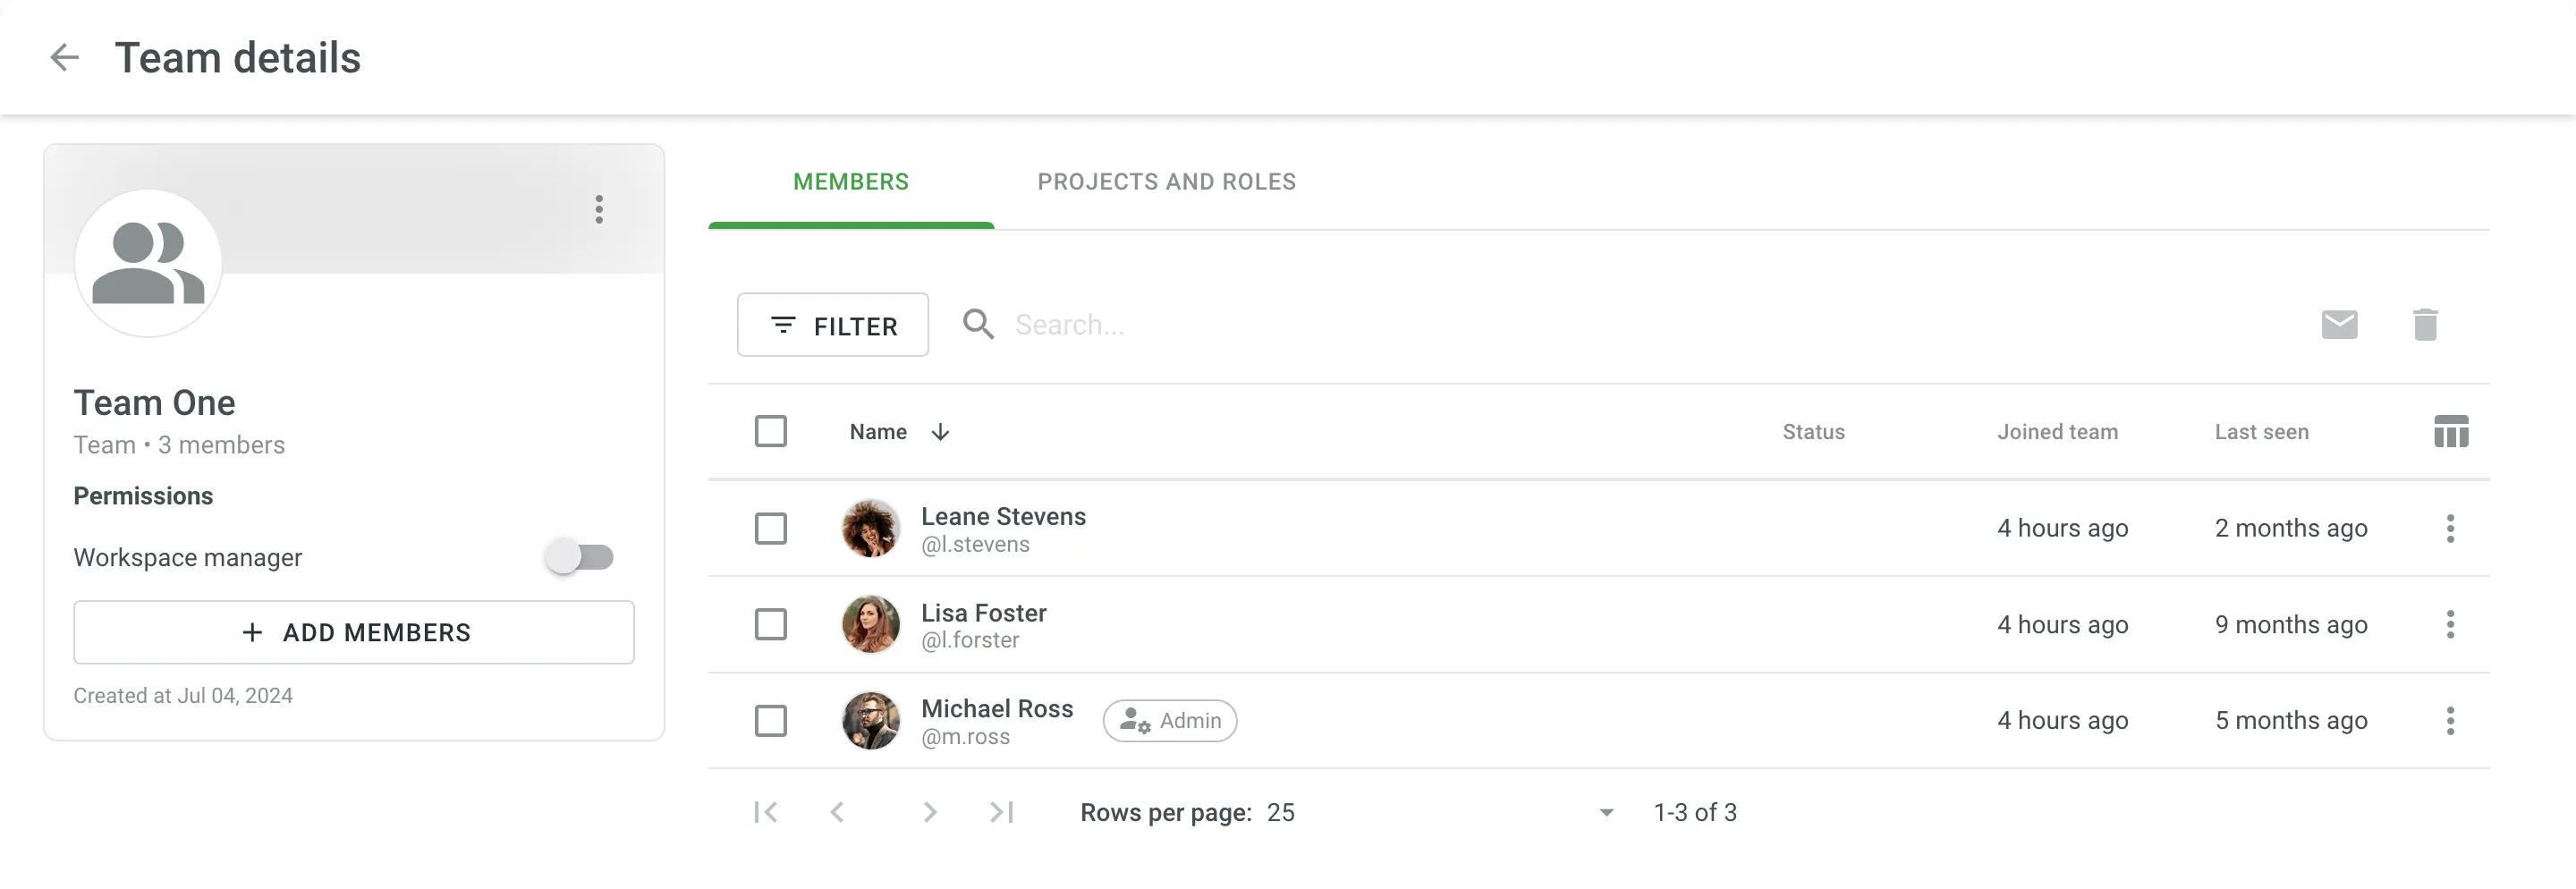
- In the team details, you can perform various actions:
- Members: view and manage team members.
- Projects and Roles: view and manage team participation in organization projects and their roles in these projects.
- Groups: (only for Permission granularity mode) view and manage the groups which are managed by a team.
- Use the left panel to rename the team, view basic information, team members number, creation date, and add new members.
To change team permissions, follow these steps:
- Open your organization’s Workspace and select Users on the left sidebar.
- Switch to the Teams tab.
- Select one or multiple teams for which you want to change the permissions.
- Click Permissions in the upper-right corner or right-click on the team and change Permissions from the menu.
- Select either Add project permissions or Remove project permissions.
- In the appeared dialog, configure the permissions you want to add or remove and confirm the changes.
To edit (e.g., rename a team, add new or remove current team members) a team, follow these steps:
- Open your organization’s Workspace and select Users on the left sidebar.
- Switch to the Teams tab.
- Right-click on the needed team and select the option from the context menu.
Once you edit a team (add a new member or remove one of the current ones), the changes will be applied automatically to all the projects this team participates in.
To delete teams from the organization, follow these steps:
- Open your organization’s Workspace and select Users on the left sidebar.
- Switch to the Teams tab.
- Select one or multiple teams that you want to delete.
- Click or right-click on the selected teams and select Delete from the menu.
- Confirm the deletion.
Once you delete a team, all its members will also be deleted from all projects this team participated in.
You can assign a team to the workflow step of your project in the workflow editor or the Workflow template editor.
Read more about Workflows.
You can invite a team to the project via the Members section and provide the necessary access level the same way as you do it for a single person.
Read more about inviting people to the project.
After you invited a team to the project, you can remove one or few people from the project members list. In this case, the deleted member will remain in the team and on next invitations to the projects will be listed among project participants.
While creating a translation or proofreading task, you can assign it to the team. Optionally, you can use the Split files option to split translatable content between team members.
Read more about Creating a Task.
When you invite an individual member to a project who also participates in a team, and later on, you invite this team to the project as well, the personal permissions of this member might be overridden by the team permissions. For example, if the member initially had permissions only for the translation step of French, and then the whole team was granted permissions for the translation and proofreading steps of French, German, and Italian, this particular member will also receive the higher permissions.