

AI Models
Improve localization workflow by using OpenAI, Google Gemini, and other providers.
Crowdin offers a range of additional services that can significantly improve your localization workflow while simplifying payment and service management. These services are managed directly through your Crowdin account using a dedicated balance separate from your primary subscription. This means you don’t need to register additional accounts to access AI models or translation vendors, such as Crowdin Language Services. By consolidating payments in one place, you gain greater control over your localization resources and expenses, ensuring seamless workflow integration.
Crowdin can manage the following paid services without the need to register separate accounts.
AI Models
Improve localization workflow by using OpenAI, Google Gemini, and other providers.
Translation Vendors
Order professional translation and proofreading services with Crowdin Language Services.
Crowdin Credits simplifies the use of paid tools like AI models, translation vendors, and apps by handling payments through a dedicated balance within your Crowdin account. This centralizes balance management and provides a clear overview of your spending.
In the Crowdin Credits section, you can:
To start using Crowdin Credits, add funds to your account balance and activate the managed by Crowdin option for the services you want to use in your projects.
You can manage your Crowdin Credits balance by adding funds and setting up notifications about low balance.

To add funds to your balance, follow these steps:
To ensure uninterrupted operation of paid services, you can set the preferred amount in the Balance warning threshold field so that when your balance reaches this point, you’ll automatically receive a notification.
To set up low-balance notifications, follow these steps:
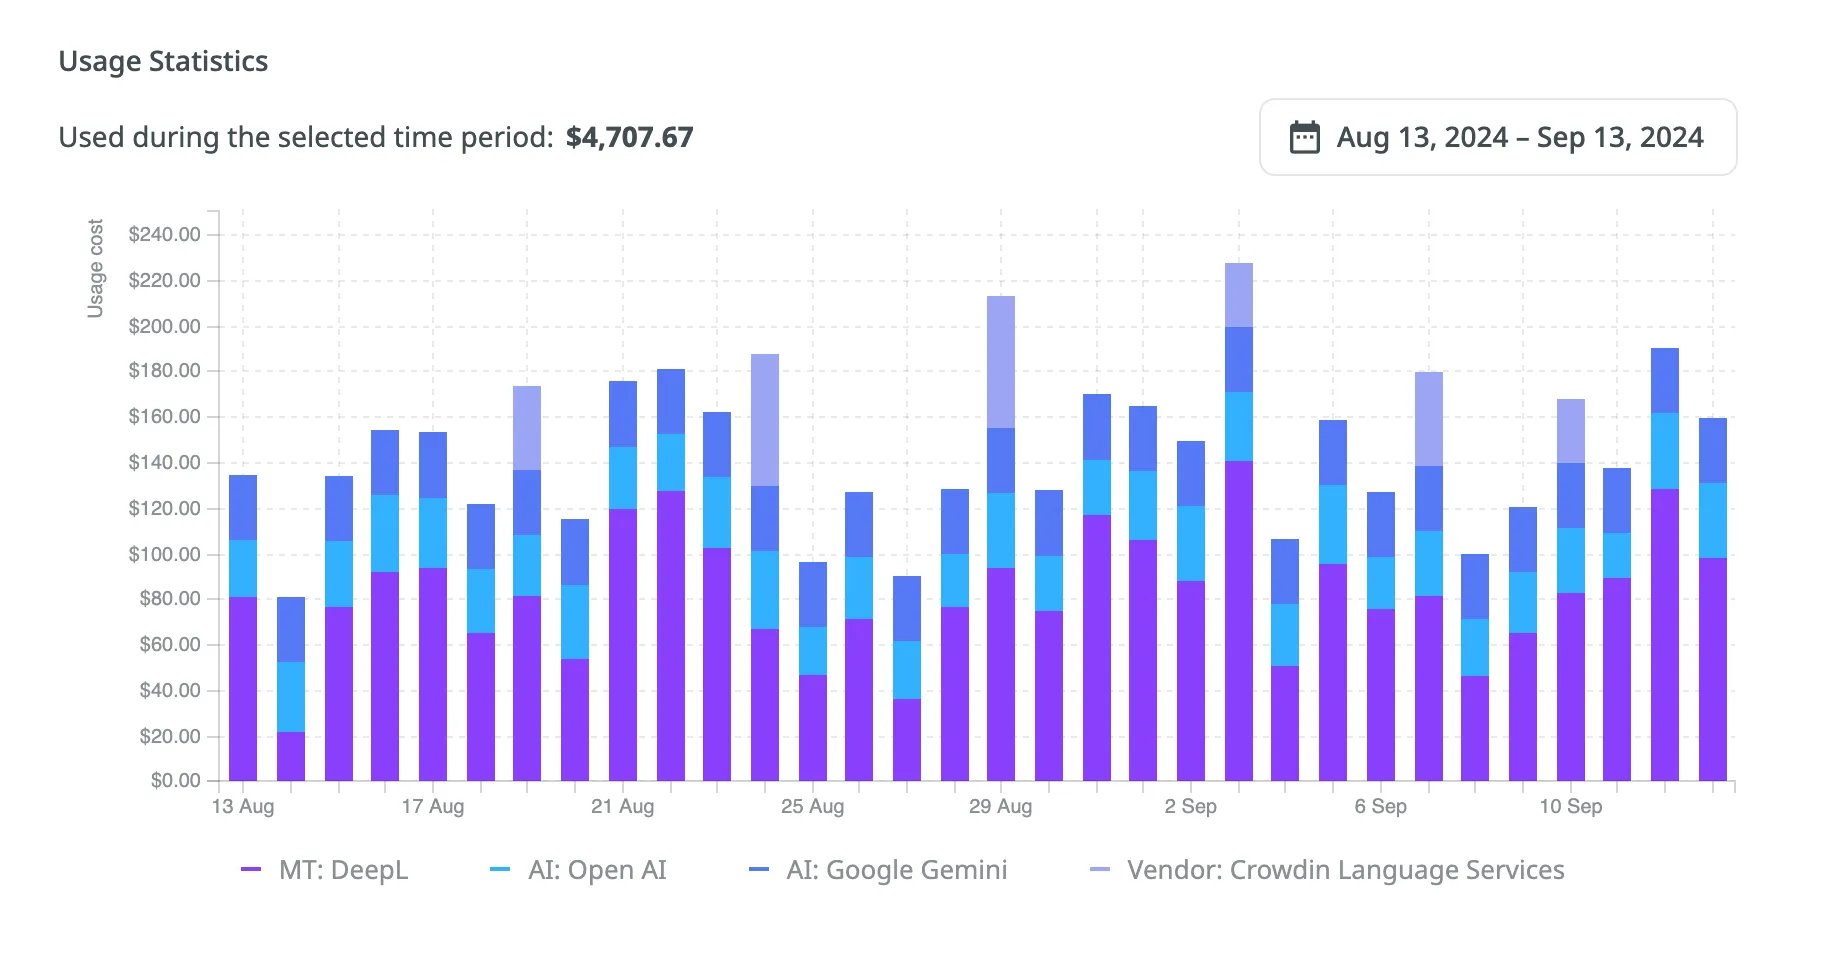
The Usage Statistics section provides a comprehensive visual analysis of your usage costs through an interactive graph, allowing you to review detailed statistics and track spending on each service based on your selected time period. In addition to the graph, the Used during the selected time period field shows the total amount spent during the chosen period.
The graph displays usage costs for each service from the available categories. Charges made by apps appear as separate segments of each bar, one for each app, labeled App: followed by the app name, and count toward the total. Hover over any bar to see a breakdown of the expenses per service for that day, month, or year.
Depending on the selected date range, each stacked bar represents:
You can also focus on specific services by hovering over the service titles under the graph. To hide certain services from the graph, click on their names.
Some apps charge Crowdin Credits for their paid actions. In the App spending limits section on the Billing tab of your Account Settings, you can cap how much apps can charge to your account per day and per month. You can set limits account-wide, as a per-user baseline, and for specific users. When a limit is reached, app charges are declined until the period resets.
For each limit, you can set a Daily amount, a Monthly amount, or both. Leaving a field empty means no limit for that period. An account-wide limit of $0 stops all app charges, and a default per-user limit of $0 stops them for users without custom limits. By default, account-wide limits are $0, so apps can’t charge until you set them. A daily limit can’t be higher than the monthly limit. Daily limits reset every day at 00:00 UTC. Monthly limits reset on the 1st of each month at 00:00 UTC.
The maximum all apps together can charge across your account. When a limit is reached, app charges are declined for all users until the period resets. Below each field, you can see how much apps have charged in the current period.
Applied to every user who doesn’t have custom limits. When a user reaches a limit, app charges for their actions are declined until the period resets.
Default per-user limits can’t be higher than the account-wide limits.
Give specific users custom limits that replace the default per-user limits, or block app spending for them.
The Per-user limits section lists users who have custom limits or have had app charges this month, with the following details:
To set custom limits for one or more users, follow these steps:
To manage the limits of a specific user, click on the user’s row and select one of the following options:
The App transactions section on the Billing tab lists the Crowdin Credits charged by apps, newest first, with the following details:
To narrow down the list, filter by period (All time by default), app (All apps), or user (All users). To clear the period, click .
To download the transactions, click Export and select Export as CSV or Export as JSON. The export includes the transactions that match the current filters.