Public project
Visible to everyone. The project will appear in the global Crowdin search results and be indexed by search engines. You can configure collaboration and access settings after the project is created.
Este conteúdo não está disponível em sua língua ainda.
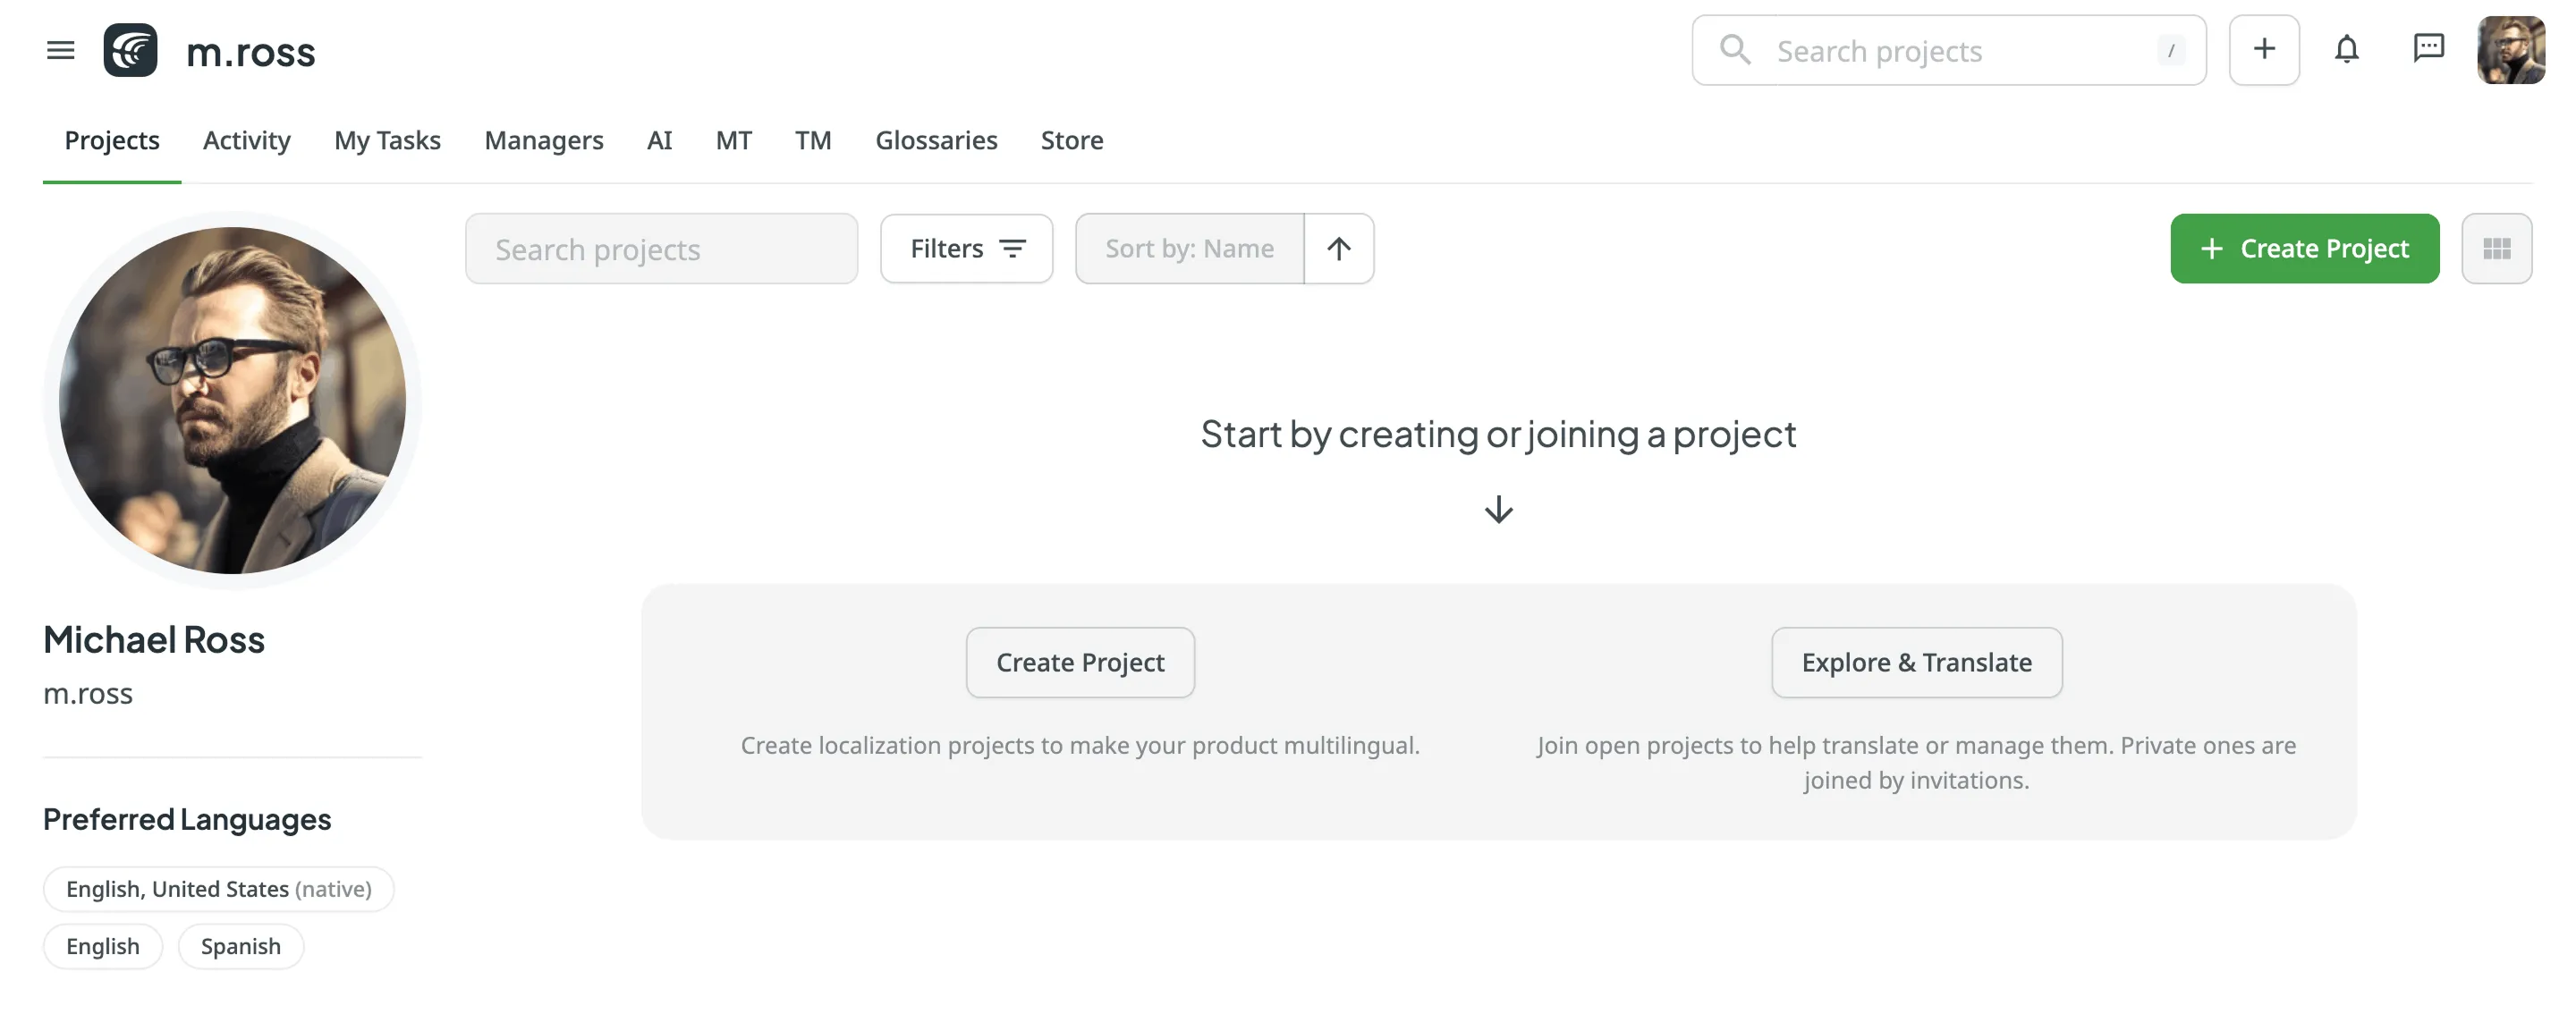
Translate in CrowdinTo be able to upload your content for localization, you first need to create a project.
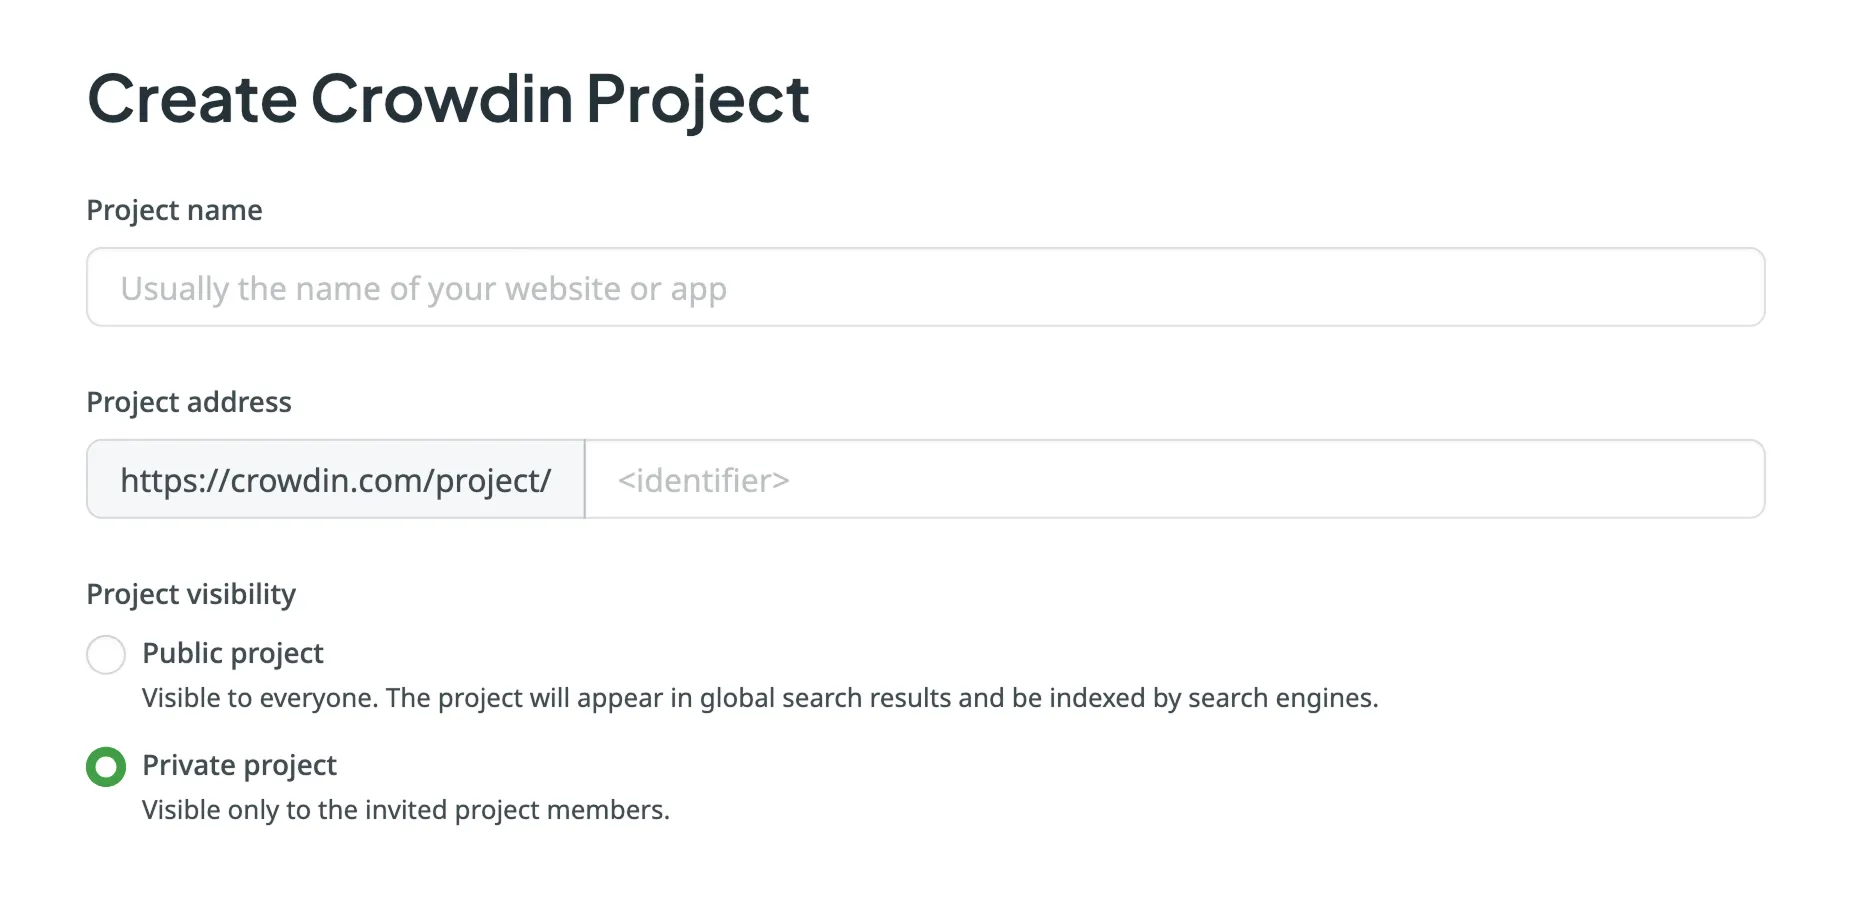
When creating a project, you can select the preferred project visibility:
Public project
Visible to everyone. The project will appear in the global Crowdin search results and be indexed by search engines. You can configure collaboration and access settings after the project is created.
Private project
Visible only to the invited project members.
Crowdin offers flexibility in how you organize and manage your localization process. There are two main project types: File-based and String-based. Choose the one that best fits how your content is structured and how you plan to manage translations.
A file-based project is the standard localization setup in Crowdin, ideal for translating apps and documents. In this project type, you upload source files containing translatable content. Crowdin scans these files, identifies text for translation, and retains the original files within the project. After translation, you can export the files, preserving the original structure and format.
This project type is ideal when maintaining the original file structure upon export is crucial, and when integrating with version control systems (e.g., GitHub, GitLab, Bitbucket, Azure Repos) and external data sources.
Crowdin supports a wide range of formats used in software development and documentation, including Android XML, iOS Strings, JSON, XLIFF, Markdown, DOCX, and more.
A string-based project in Crowdin is designed for managing dynamic content through a centralized string repository. Instead of storing source files, Crowdin extracts individual translatable strings and maintains them within the platform. This setup is ideal for content that changes frequently, such as UI text and other modular content blocks.
With this approach, you can update source strings directly in Crowdin without needing to re-upload files. Translated strings can then be exported in various formats, including JSON, iOS Strings, or Android XML, facilitating reuse across multiple platforms like web, mobile, and desktop.
To create a project, follow these steps: