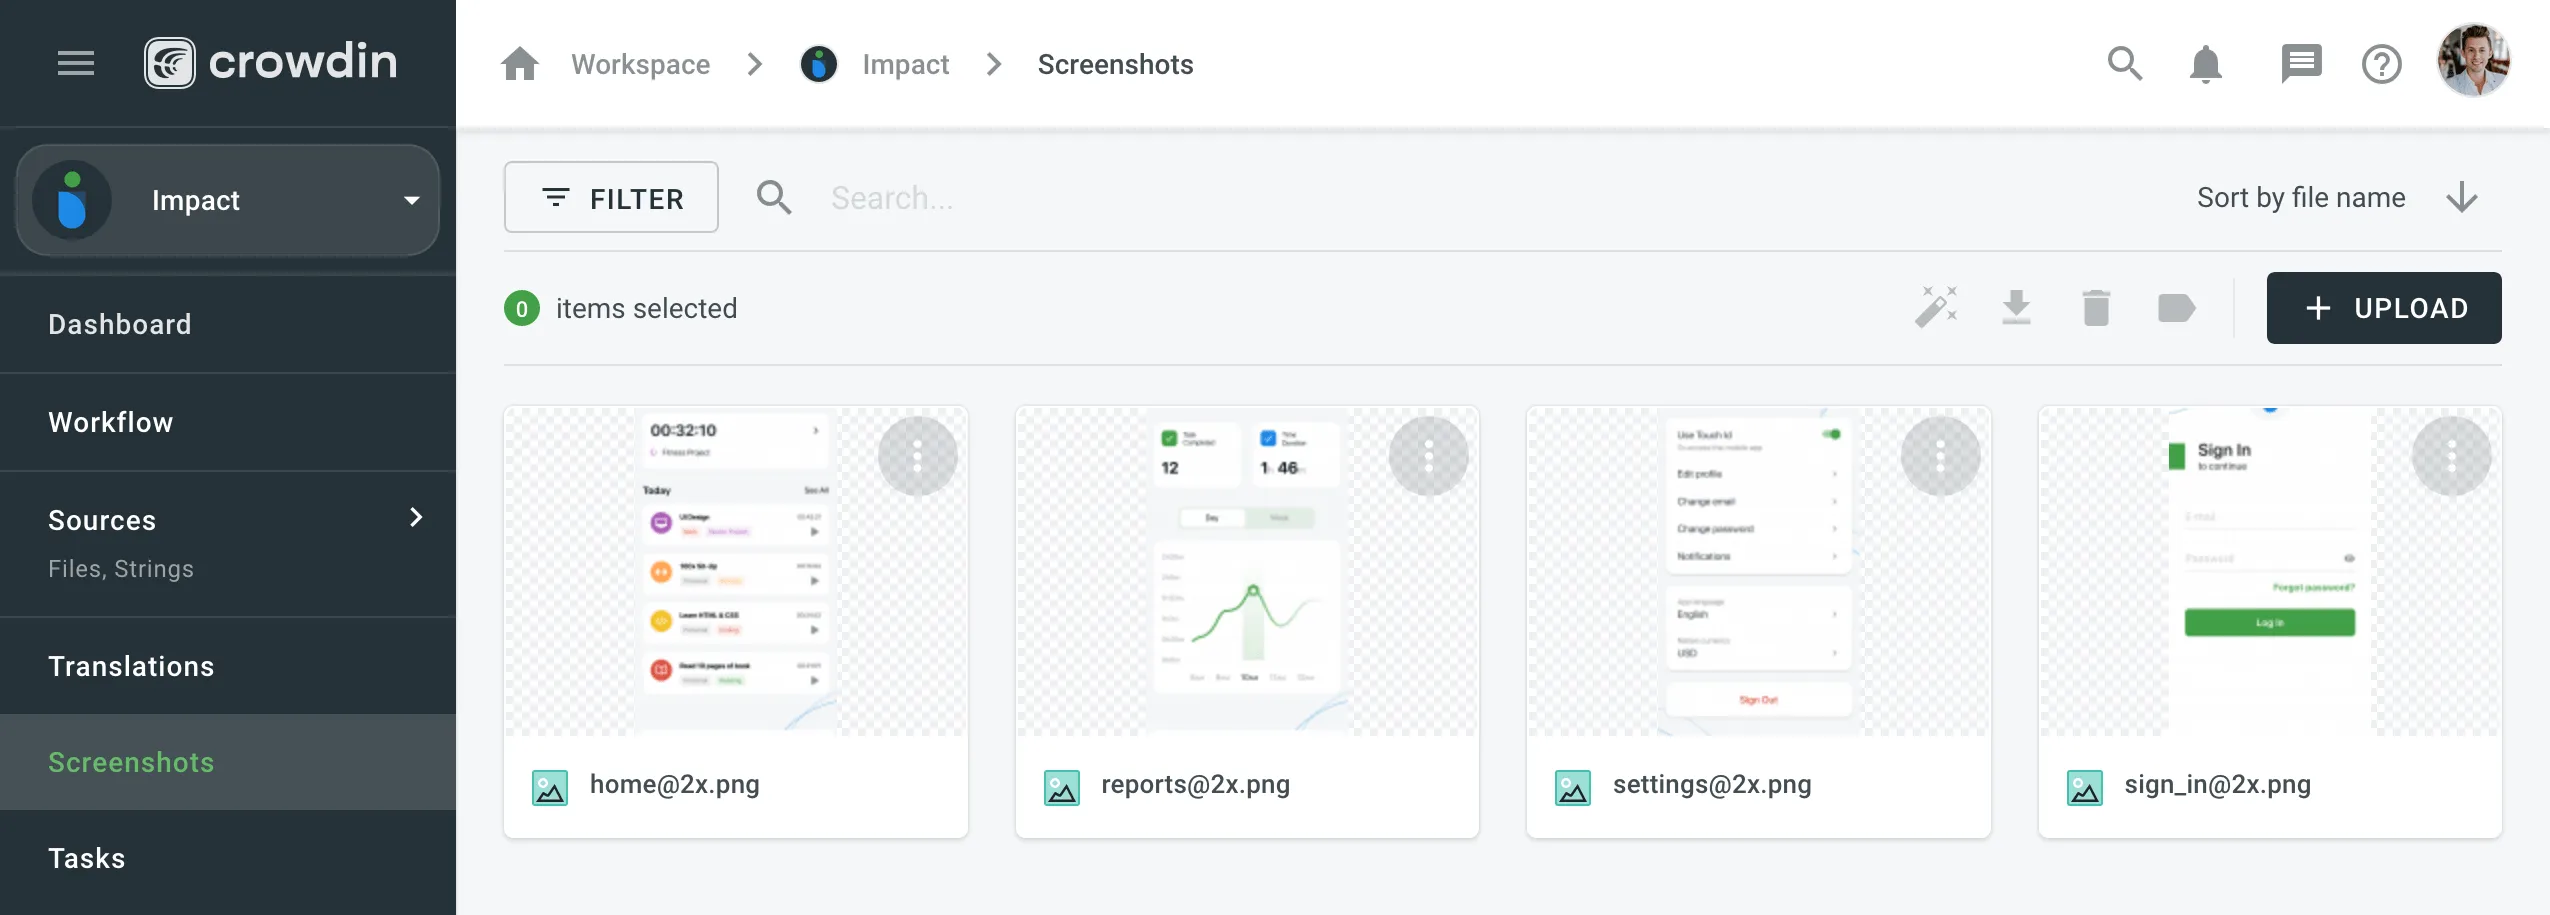
Screenshots
Screenshots are a great way to provide translators with additional context for the source strings in your project and, as a result, get more relevant and consistent translations. With screenshots, your team can see which strings are used together on the same page, whether short texts stand for titles, buttons, etc.
Tag source strings to the screenshots to display them to translators in the Editor in the context section below the source string.
To upload screenshots into your project, follow these steps:
- Open your project and select Screenshots on the left sidebar.
- Drag images from your machine, or click Upload.
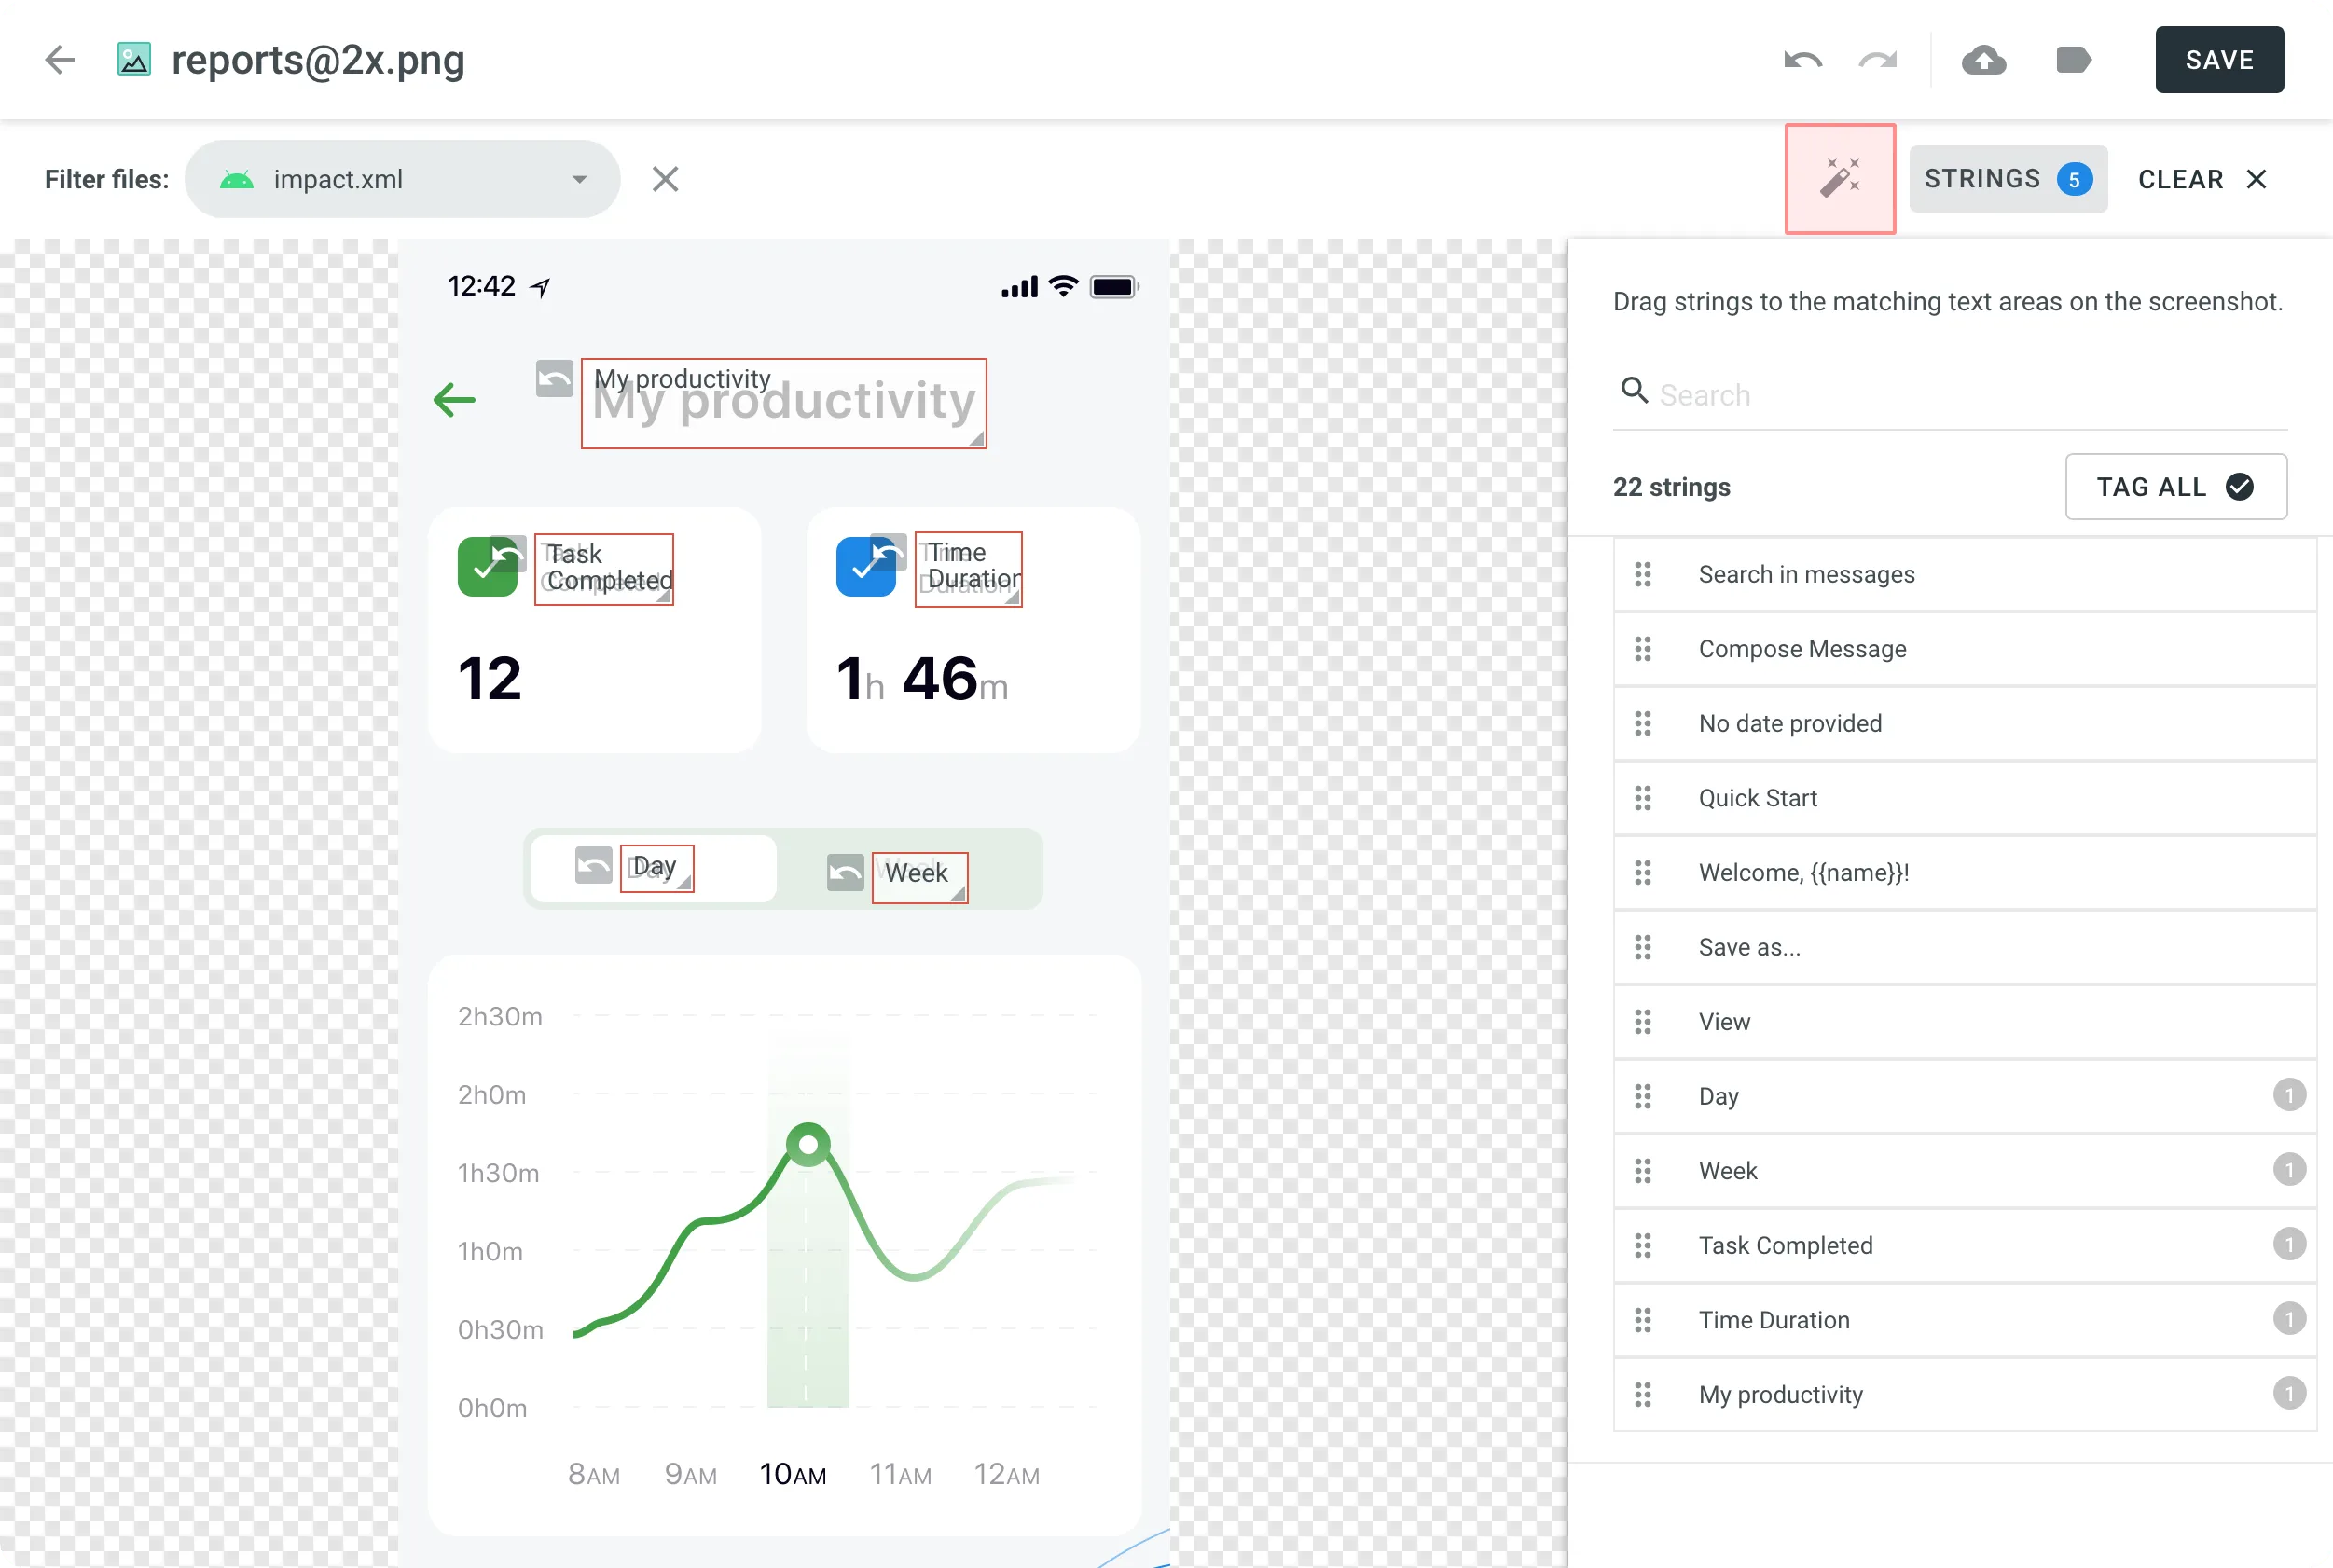
To show translators where certain strings are located in the UI tag strings on the screenshots. In Crowdin Enterprise, you can tag strings using the following methods:
- Auto tag
- Text recognition
- Drag and drop
Texts within an image will be detected automatically. Then the matching strings will be searched in the project according to the selected filter. As a result, the ones found will be tagged on the screenshot.
- Open the screenshot with a double click or right-click on the screenshot and select Edit.
- Click .
- Once the strings are added, click Save.
To tag strings automatically on a single screenshot without opening it:
- Right-click on the needed screenshot.
- Select Auto tag.
You can also tag strings automatically on multiple screenshots at once:
- Select multiple screenshots by holding Ctrl or Shift .
- Click .
If you use In-Context, you might find helpful its integrated feature for taking screenshots of the website pages.
The system will search for a string that matches the text you select among all the strings in your project. If several similar strings are found, you will see all of them and be able to select the best-matching one.
- Open the screenshot with a double click or right-click on the screenshot and select Edit.
- Highlight the text on the screenshot.
- Once finished tagging all the strings, click Save.
Drag the listed strings to the text on the screenshot manually.
- Open the screenshot with a double click or right-click on the screenshot and select Edit.
- Sort and filter the listed strings. You can select all or specific files and search strings by text or context.
- Drag the needed string from the list in the right panel to the corresponding text on the screenshot. Alternatively, click on the strings to tag them in the screenshot without specifying the exact place where they should appear.
- (Optional) To view additional string details or edit them:
- Click the button above the string list to show more details (file name and string context).
- Hover over a string and click the to open the Edit String dialog. You can:
- Update the identifier.
- Update the source text.
- Add or update the context.
- Add or update the labels.
- Set the Max. length of the translated text.
- Click Save after making the changes.
- Click Save when you finish tagging.
Read more about String Editing.
To tag all the strings from the selected file to your screenshot, follow these steps:
- Select the file you need.
- Click Tag All > Save.
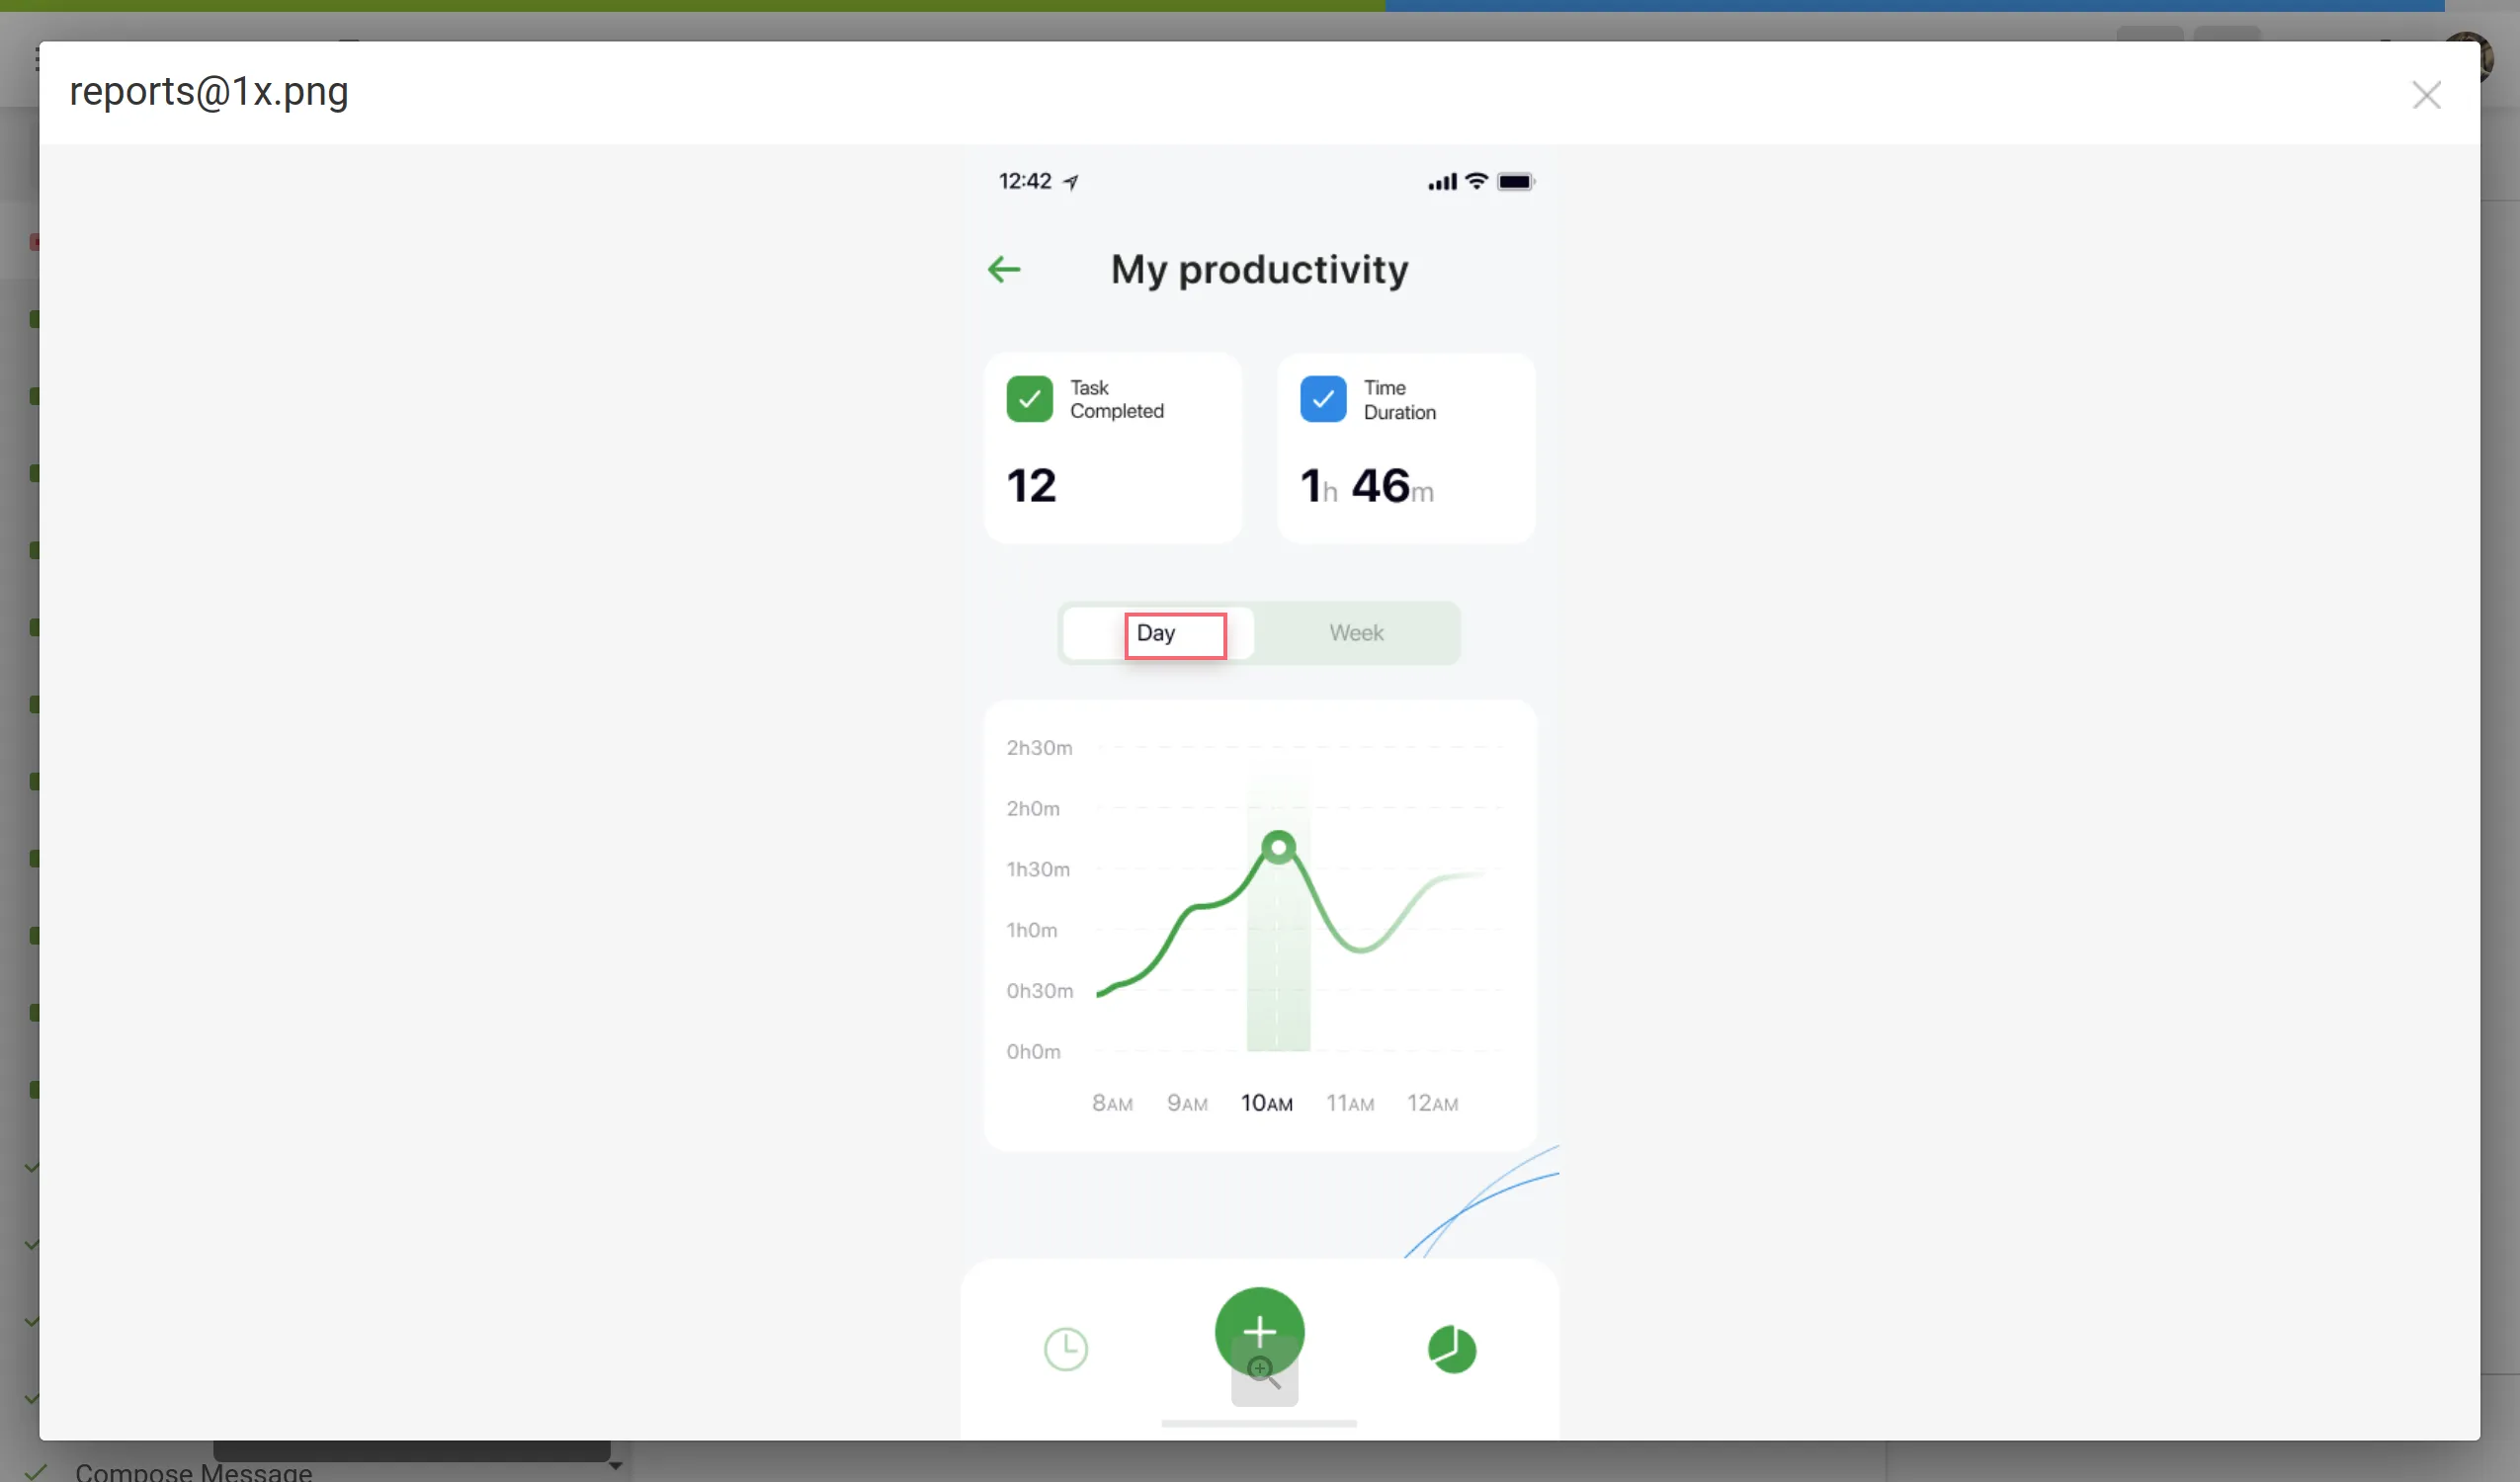
When tagging high-resolution screenshots, you can hold Ctrl to drag and scroll the screenshot with a mouse revealing the remaining part.
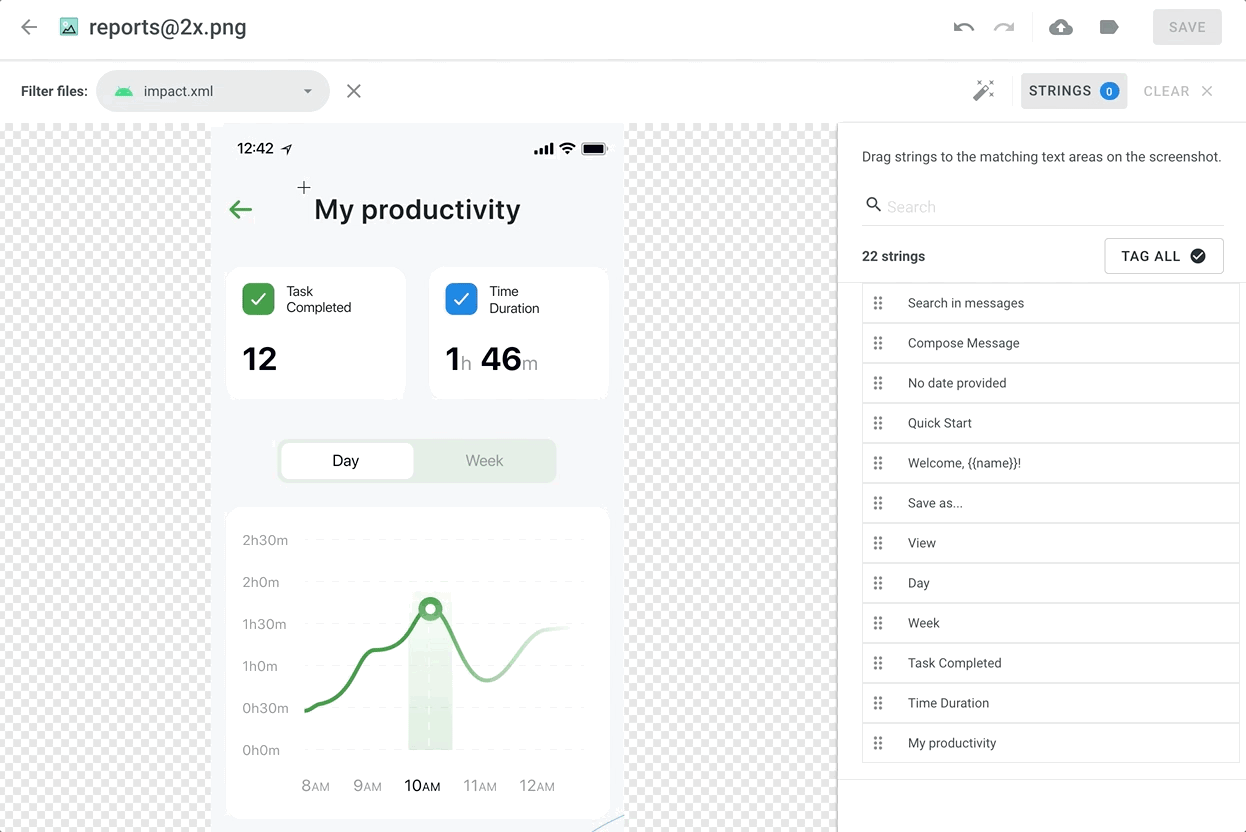
If you need to remove all the strings tagged on the screenshot, click Clear.
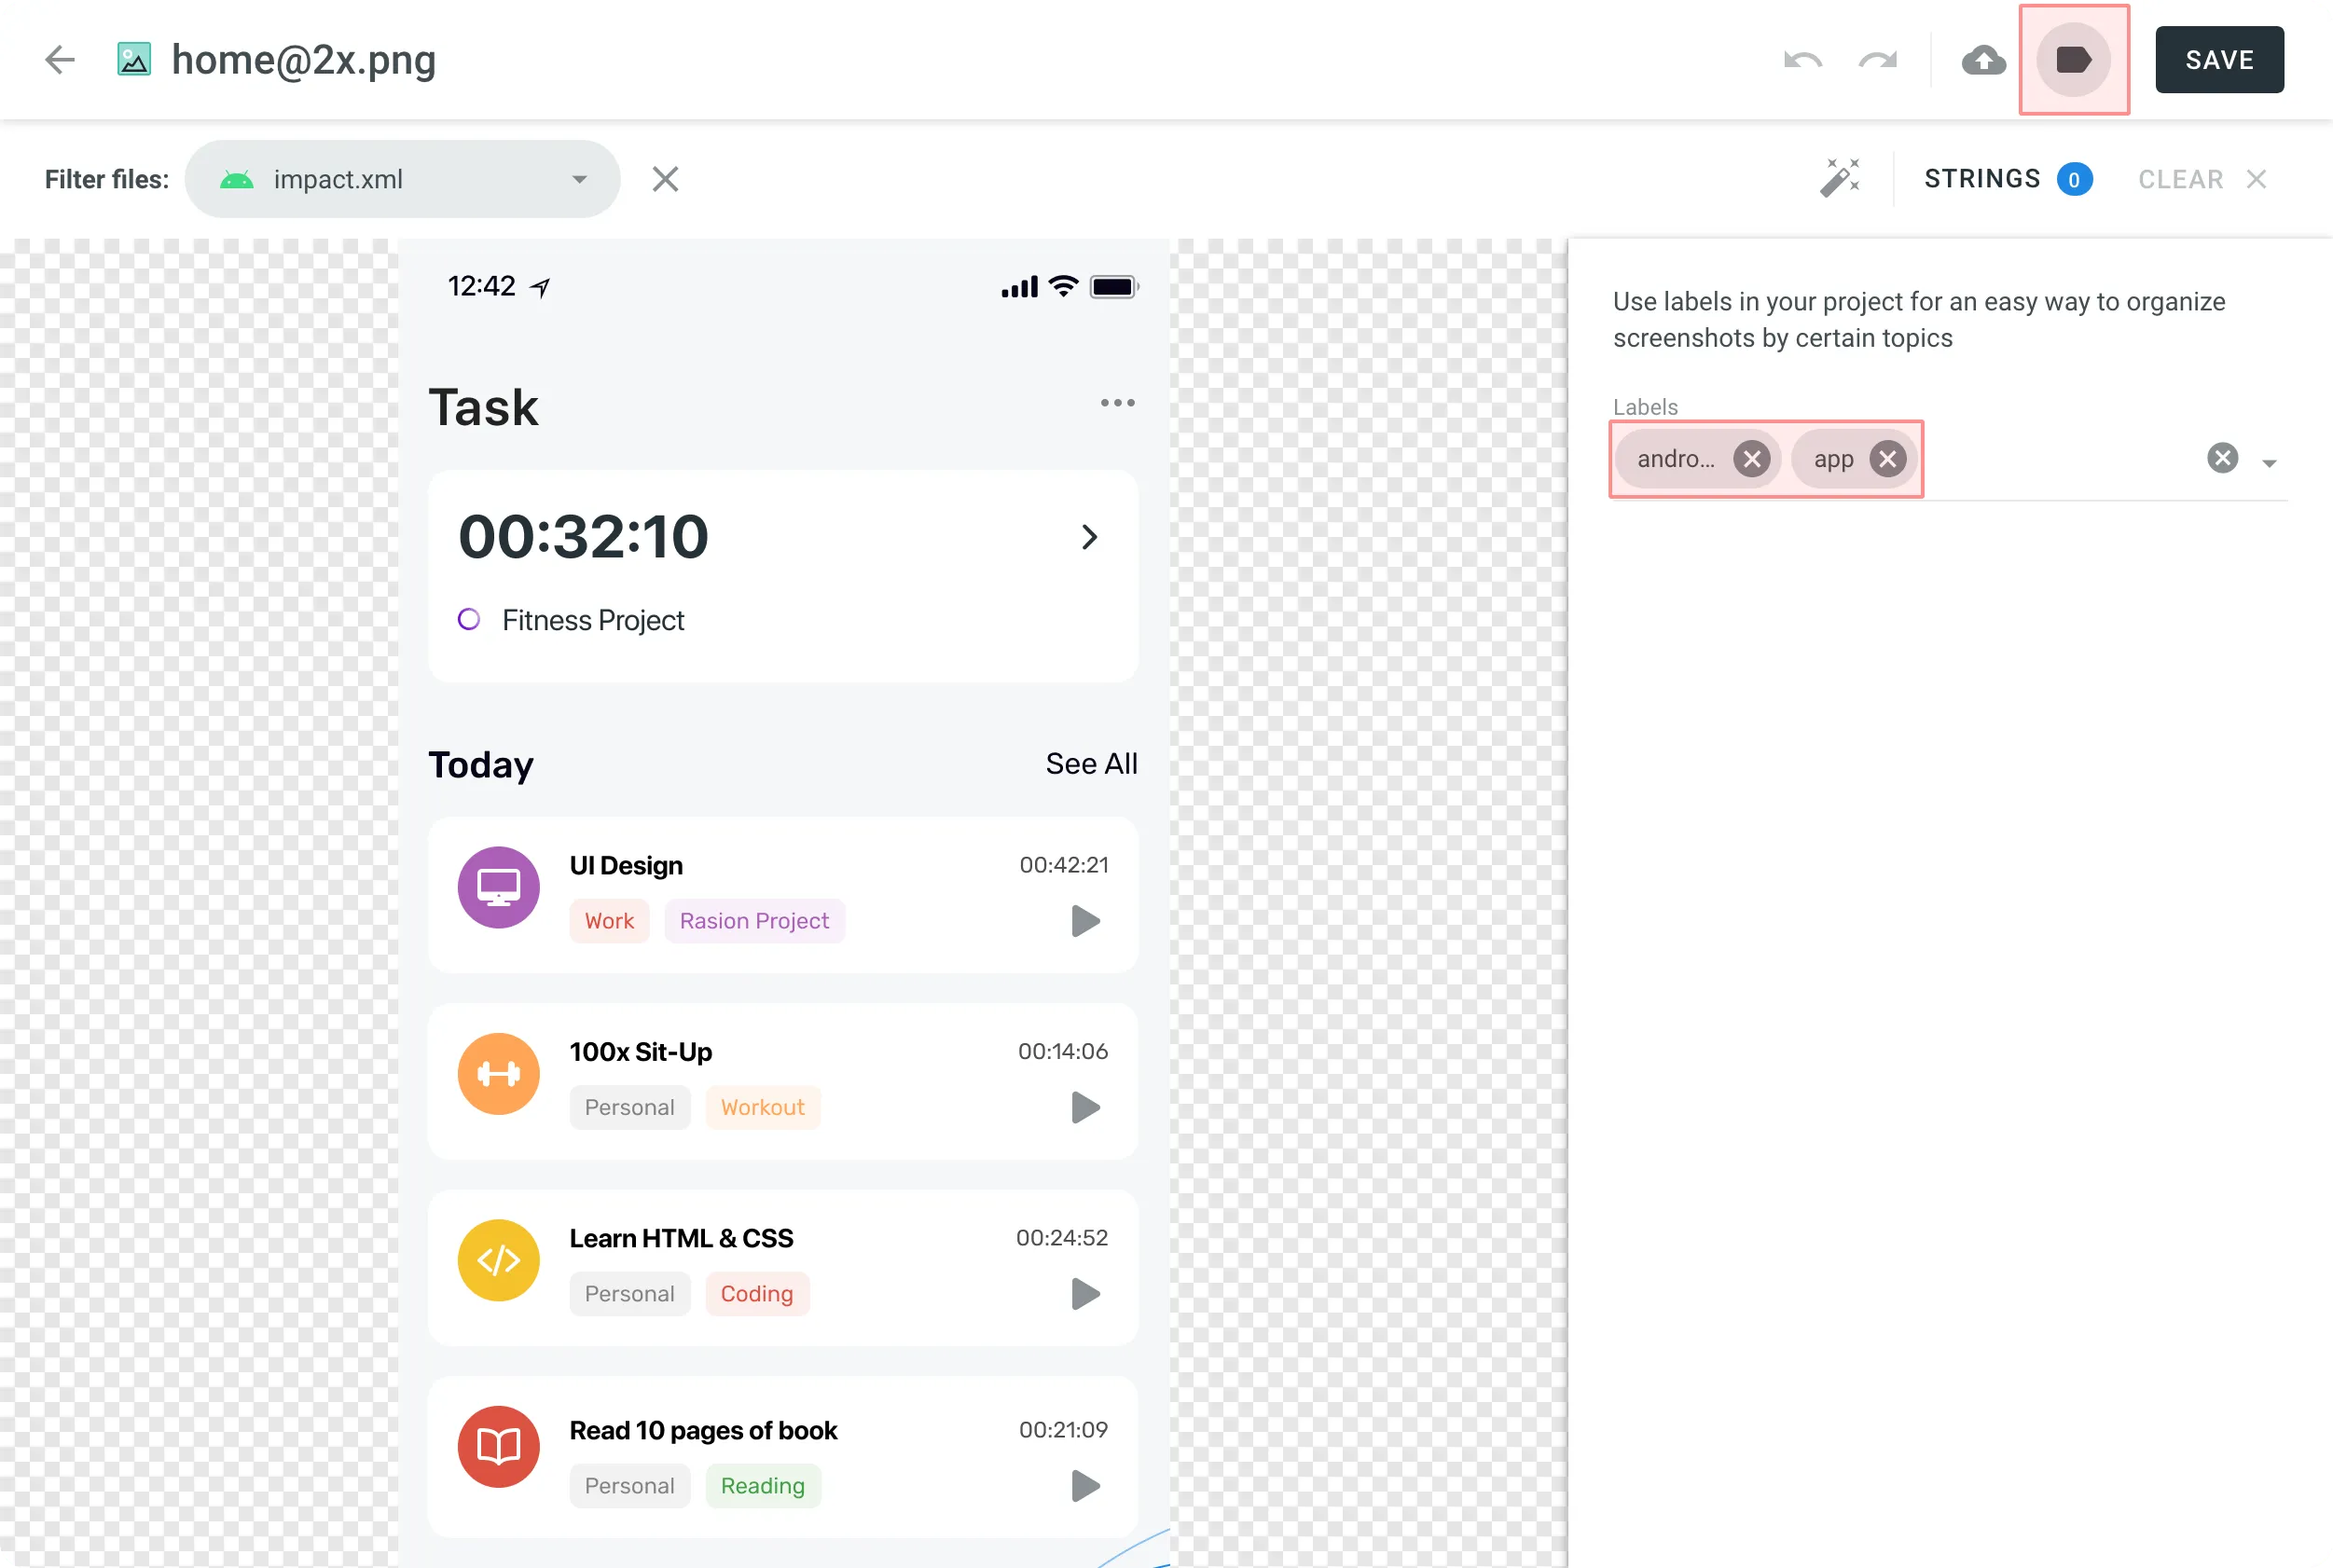
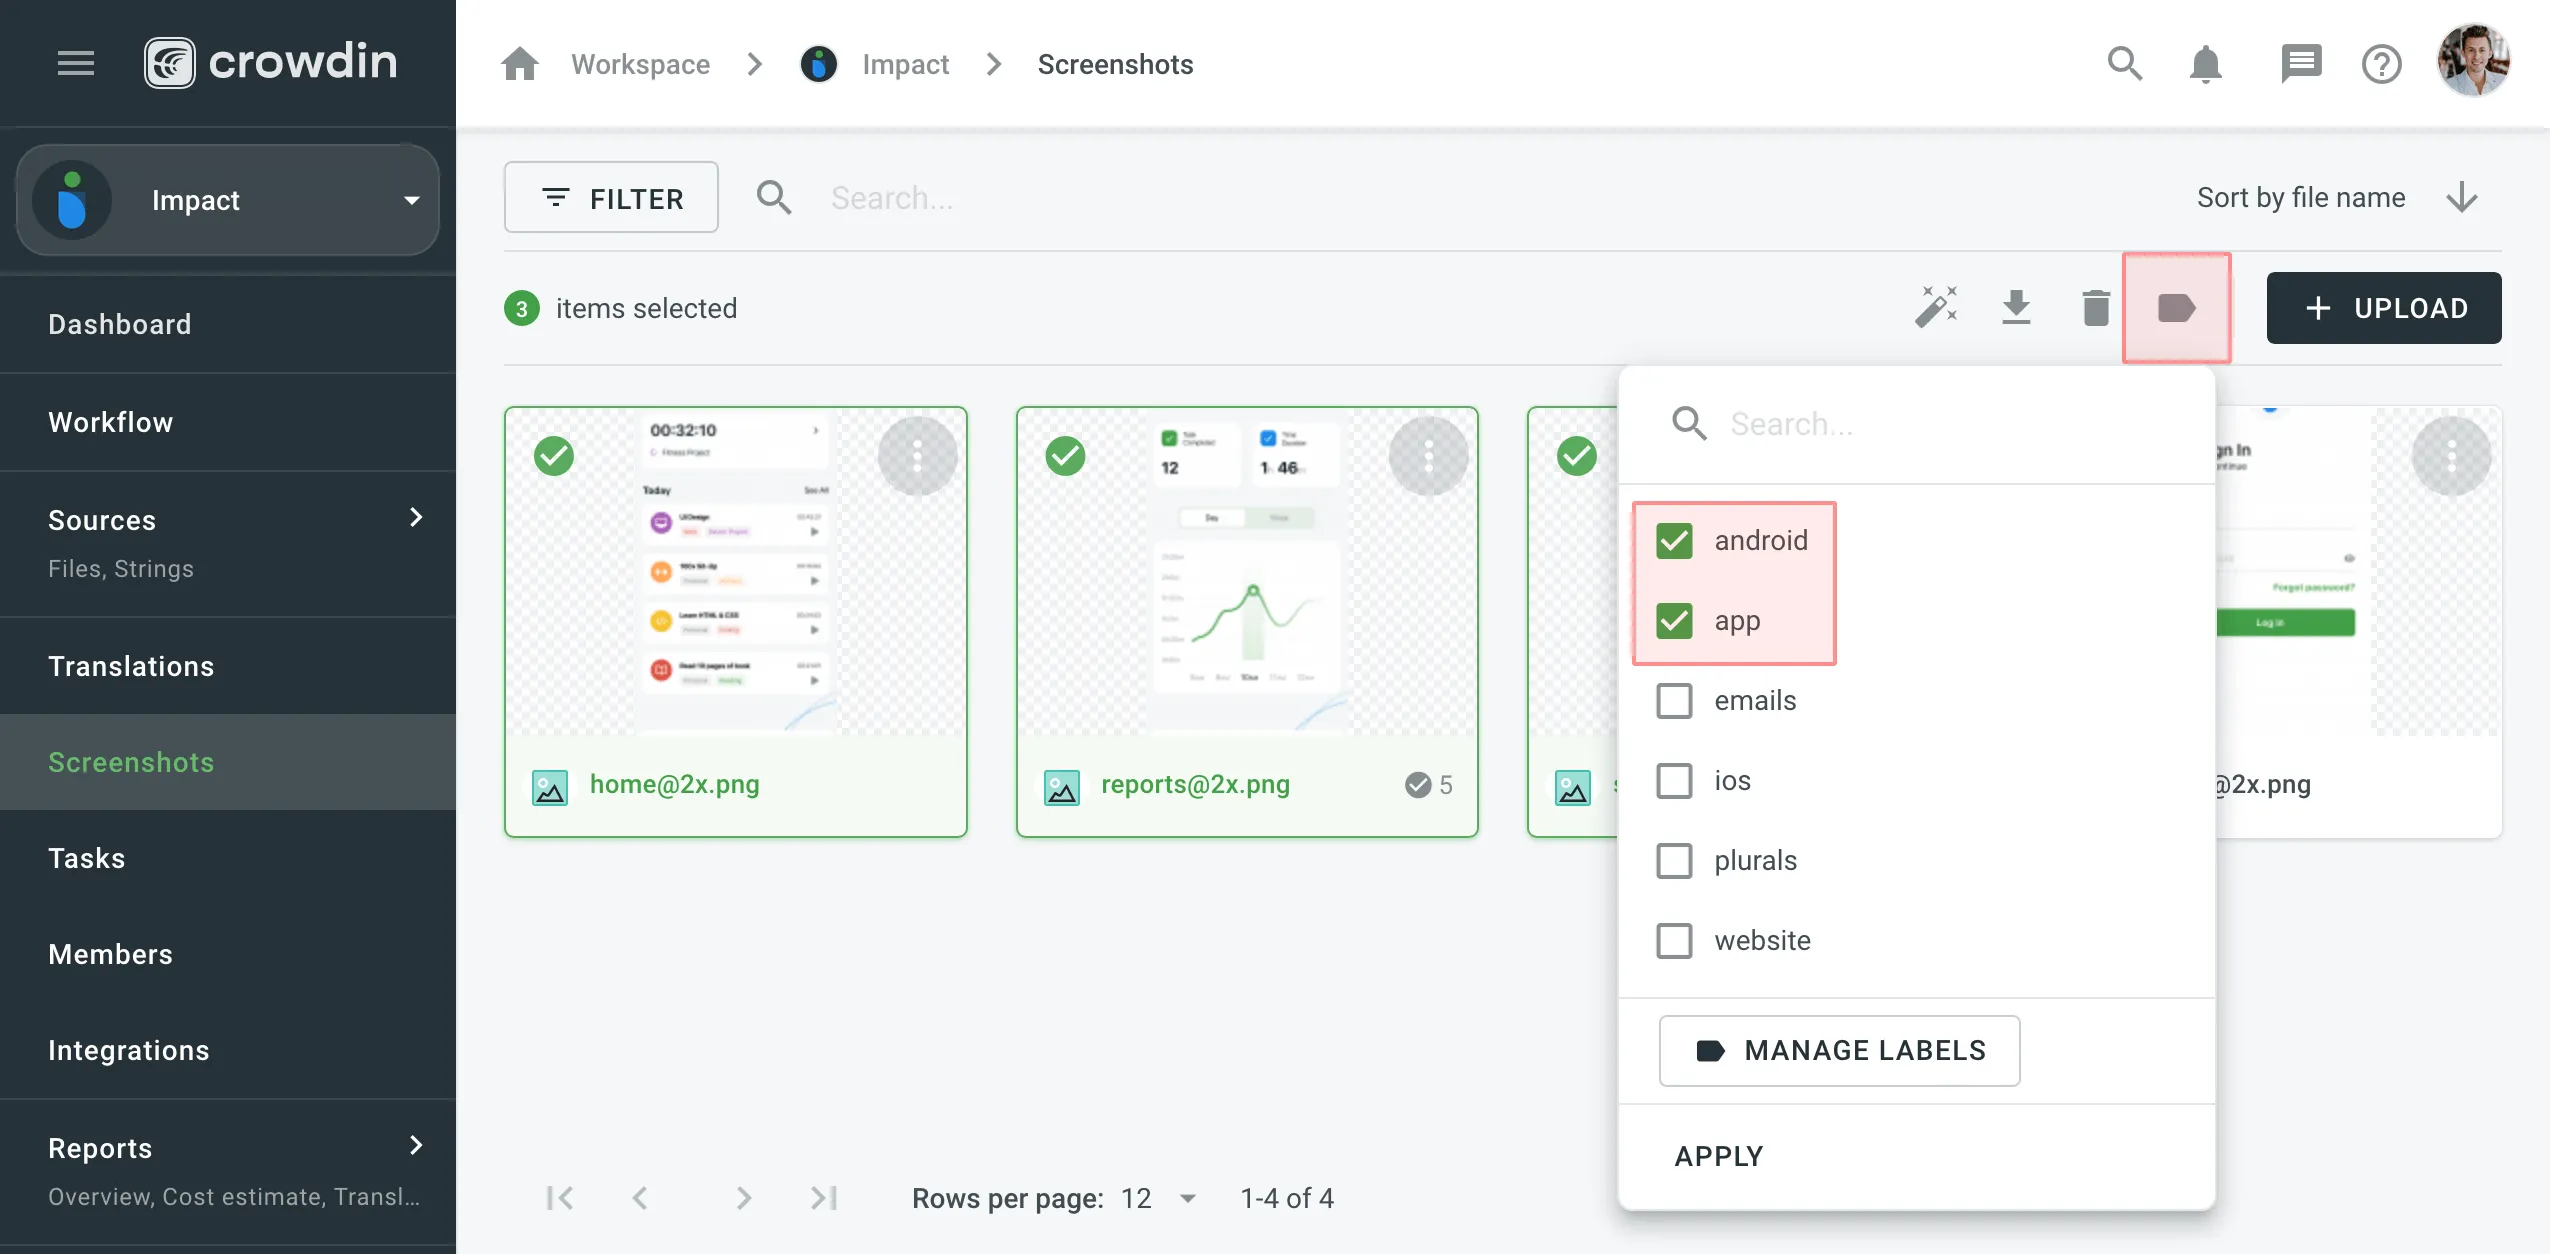
Use labels in your project for an easy way to organize screenshots by certain topics. Once you add labels to your screenshots, you can filter them by added labels. If you already use labels for your source strings, you can also use the same labels for screenshots.
There are a few possible ways you can add labels to the screenshots.
- Open the screenshot with a double-click.
- Click .
- Select needed labels in the Labels field.
- Click Save.
- Select multiple screenshots you want to add the same labels to holding Ctrl or Shift .
- Click .
- Select needed labels in the list.
- Click Apply.
You can upload a new screenshot that will replace the current one. The already tagged strings that are relevant would remain tagged. If the text on the screenshot changed its location, strings would remain tagged but on the new locations.
To update the screenshot, follow these steps:
- Open the screenshot with a double click or right-click on the screenshot and select Edit.
- Click and select a new screenshot from your machine or use Drag&Drop.
- Click Save.
To rename a screenshot, follow these steps:
- Right-click on the needed screenshot and select Rename.
- Specify a new name.
- Click Save.
You can download screenshots and reuse them in other projects or elsewhere.
To download screenshots, follow these steps:
- Select one or multiple screenshots holding Ctrl or Shift .
- Click Download.
Alternatively, right-click on the needed screenshot and select Download.
To delete a screenshot, follow these steps:
- Select one or multiple screenshots holding Ctrl or Shift .
- Click Delete.