Authentication
The Authentication page provides you with various authentication settings for your Crowdin Enterprise organization. You can set up how people can join your organization and what authentication methods could be used to log in.
To configure your authentication settings, follow these steps:
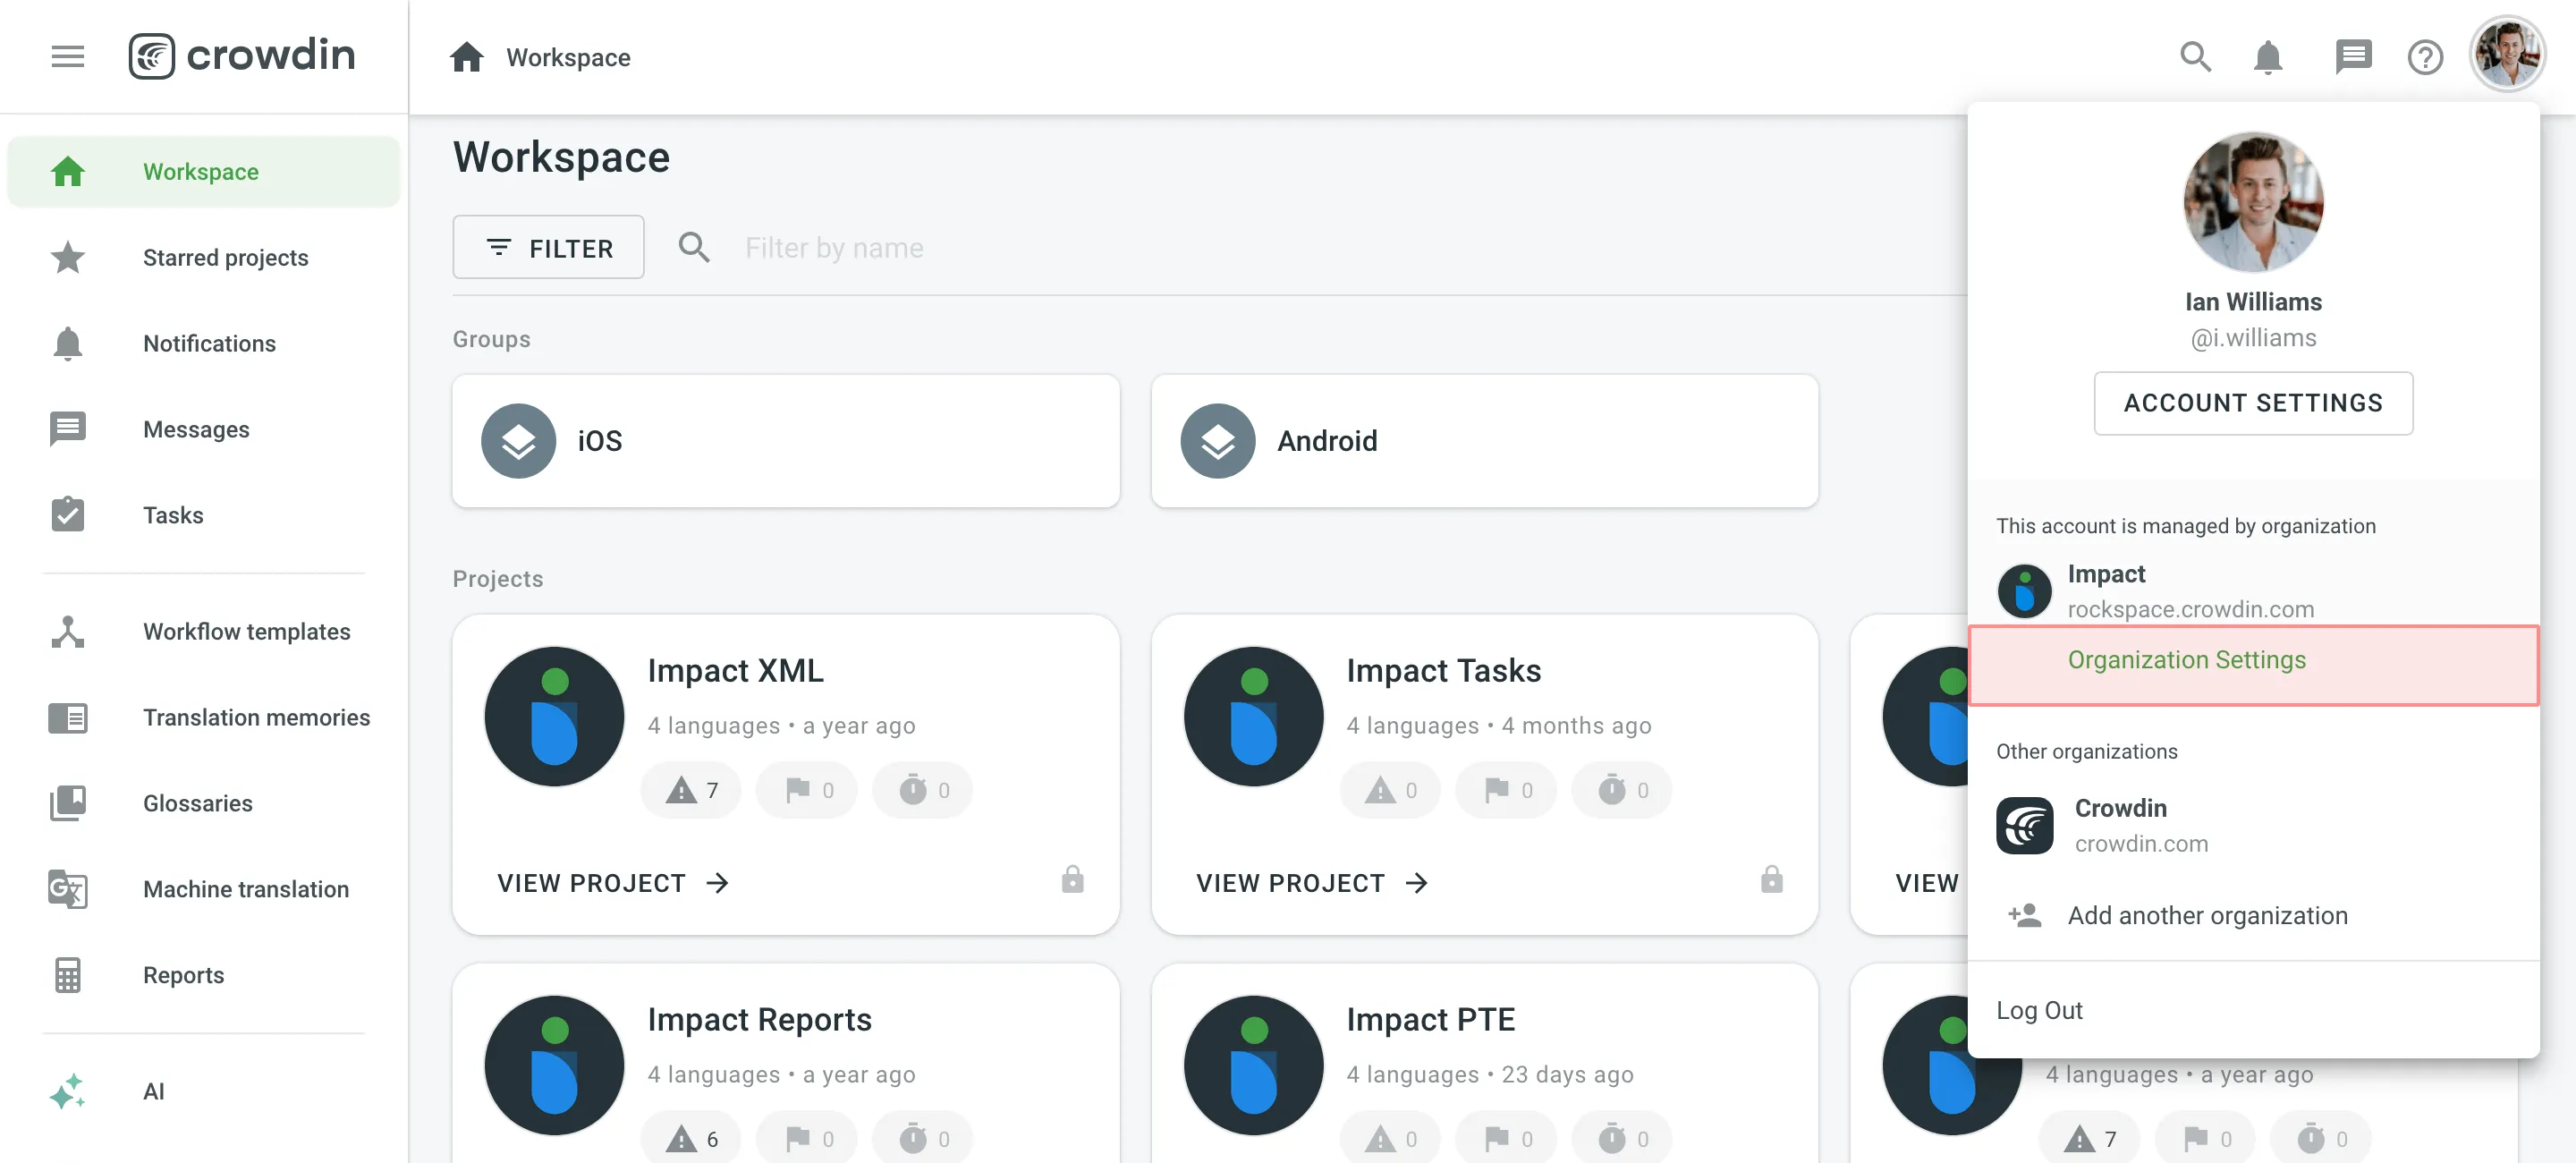
- Click on your profile picture in the upper-right corner and select Organization Settings.
- Switch to the Authentication section on the left sidebar.
Security Options
Configure advanced security settings such as Allow Signup, Admin-Managed Invitations, Two-Factor Authentication, Device Verification, and IP Allowlist.
Allow Signup
Select whether people will be able to join the organization without prior invitation via email or a shareable link. After the registration, admins and project managers will be able to manage organization members’ permissions.
Admin-Managed Invitations
Restrict the ability to invite new members to the organization to administrators only. When this option is enabled, project managers can still invite users who are already part of the organization to join their projects but won’t be able to add new users to the organization.
This option is useful when you want to maintain stricter control over who joins your organization, especially in regulated environments or when managing access centrally through a small group of administrators.
Two-Factor Authentication
Two-factor authentication ensures an additional level of security for your Crowdin Enterprise organization. Once you enable it, all organization members will be asked to set up two-factor authentication for their accounts. From this point, on each login, along with a username and password, organization members will use an authentication code.
Device Verification
Add an extra security step when users log in from a new device. Once enabled, Crowdin Enterprise will require device verification via email before granting access to your organization. This helps ensure that only authorized users can access your organization, even if their login credentials are compromised.
Device verification is triggered when:
- A user logs in from an unrecognized device.
- A user clears their browser cookies or switches browsers.
Device verification can be bypassed if:
- Two-factor authentication (2FA) is enabled and configured for the user’s account. In this case, device verification is not enforced since 2FA already provides strong authentication.
- Your organization uses external authentication through your own identity provider and doesn’t rely on email verification.
IP Allowlist
Grant access to your Crowdin Enterprise organization only to connections from allowed IP addresses.
With this feature, you can specify a list of IP addresses that can access your Crowdin Enterprise organization. For example, you can use IP Allowlist to grant access only to connections from your corporate network while blocking all other connections from IP addresses that don’t belong to your IP Allowlist. Once the IP Allowlist is enabled, Crowdin Enterprise starts filtering all connections both via UI and API.
To start using the IP Allowlist, first form the list of IP addresses and ranges that should have access to your organization using CIDR notation.
Read more about CIDR notation.
IP Allowlist can contain an unlimited number of IP addresses and ranges that can access your Crowdin Enterprise organization via UI and API.
Once you collected all of the IP addresses and ranges that should be added to the IP Allowlist, Contact Support Team to enable the IP Allowlist for your organization. If you need to edit or remove some records from your IP Allowlist, contact Support Team with the respective request.
Authentication Methods
The Authentication methods section allows you to select how members can log into your Crowdin Enterprise organization. Hence, people still have time to set up other authentication methods.
When you re-enable some of the earlier disabled authentication methods, they will immediately become available to the organization members.
- Email/Username and Password – members can use their email or Crowdin Enterprise username along with a password to log in.
- Passkey – members can log in using secure passkeys for passwordless authentication experience and enhanced account protection.
- Magic Link – members can request a one-time authentication link that will be sent to their emails.
- Crowdin – members can log in with their Crowdin account.
- Facebook – members can log in with their Facebook account.
- GitHub – members can log in with their GitHub account.
- GitLab – members can log in with their GitLab account.
- Google – members can log in with their Google account.
- X – members can log in with their X account.
- Open ID Connect – members can log in with their Open ID account.
- SAML – members can log in with their IDP account.
Custom Auth Applications
The Facebook, GitHub, GitLab, Google, and X SSO allow you to use the default preconfigured Crowdin Enterprise global auth application, or you can set up your own custom auth application.
To configure your custom auth application, follow these steps:
- Click on your profile picture in the upper-right corner and select Organization Settings.
- Switch to the Authentication section on the left sidebar.
- Scroll down to the Authentication methods section and click on the needed SSO you’d like to set up the custom auth application for.
- Select Custom auth application and paste your credentials from your custom auth application and click Save.
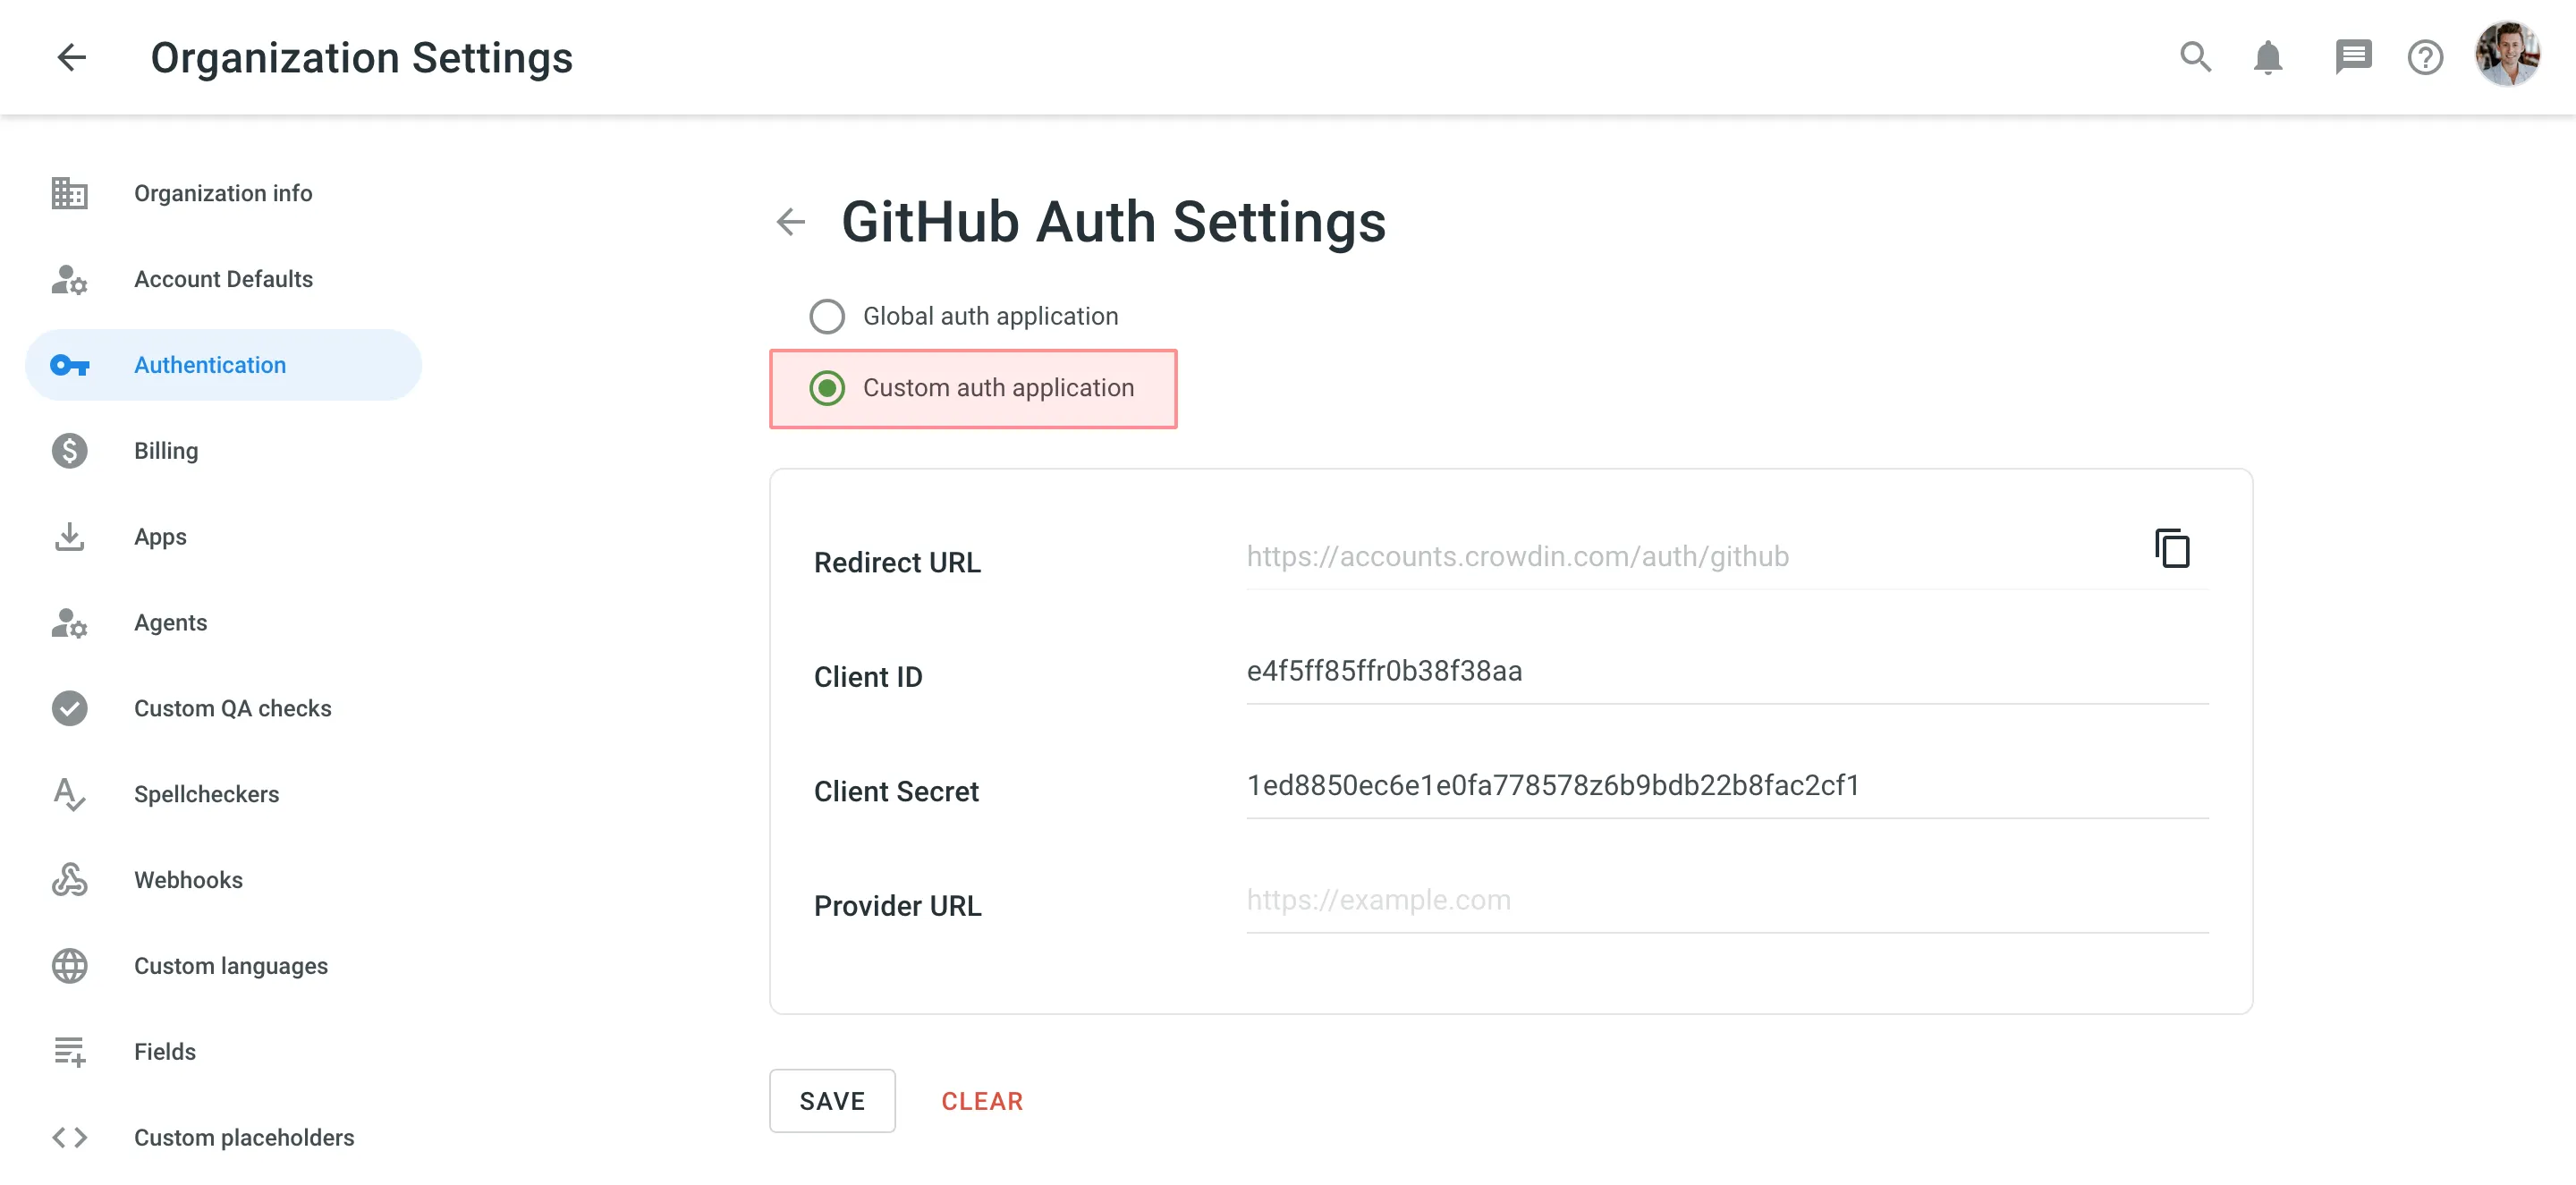
- Copy the Redirect URL from the Auth Settings page and paste it into your custom auth application settings.
Similar configuration flow is also applicable to the Open ID Connect authentication method.