Account Settings
Manage your Crowdin account settings, including profile details, notification preferences, security settings, and more using the Account Settings page. To access it, click on your profile picture in the upper-right corner and select Settings.
In the Profile tab, you can manage your personal details, language preferences, appearance settings, and privacy options.
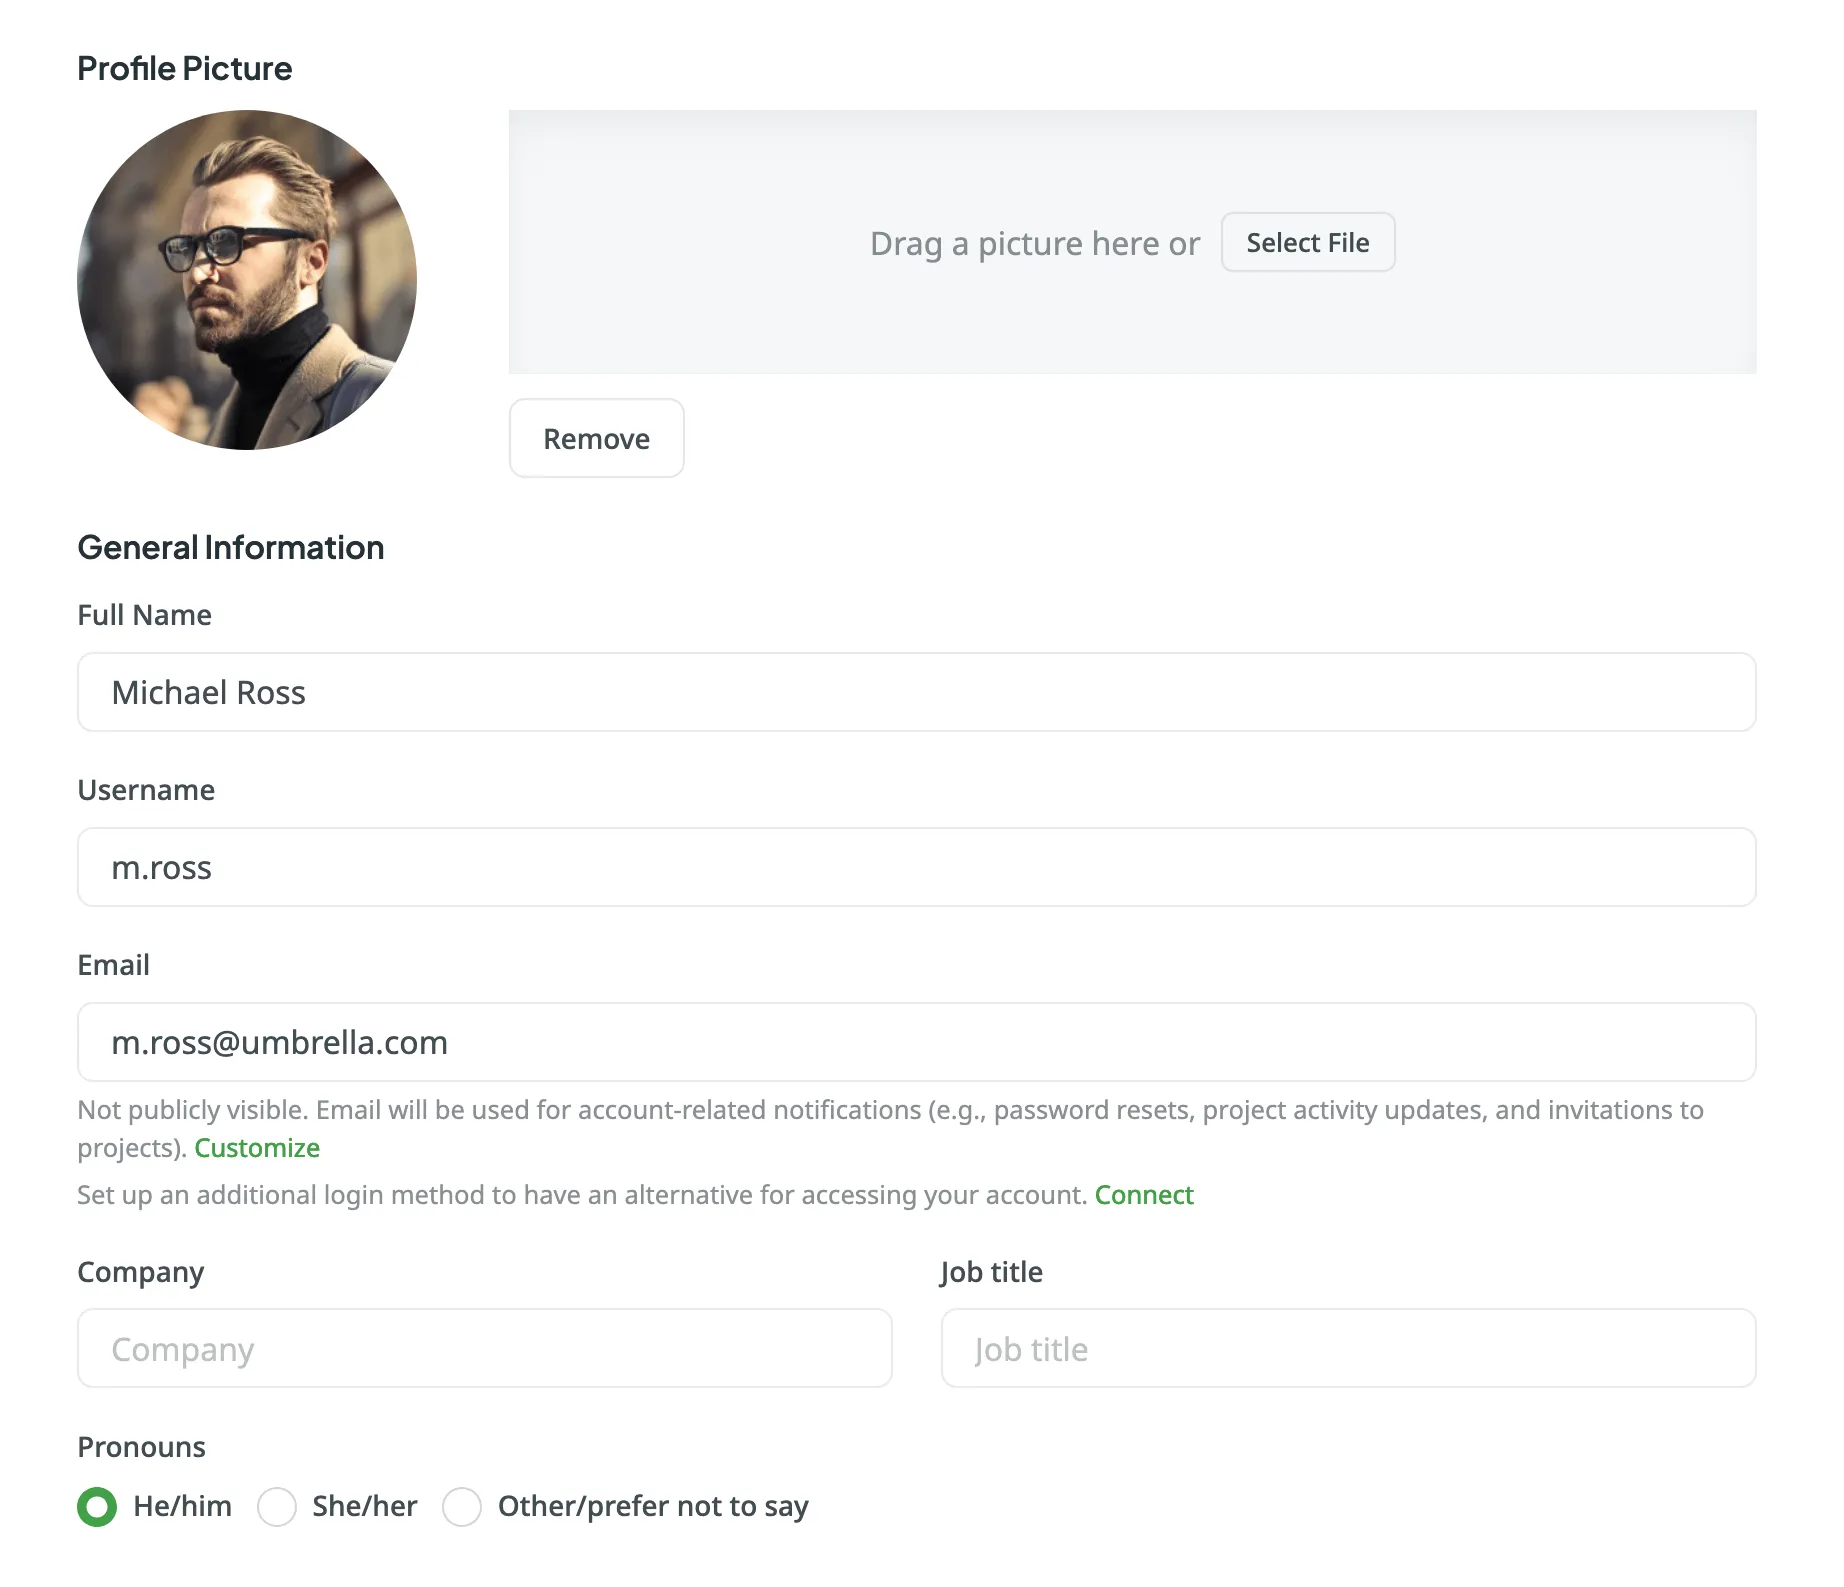
Upload a profile picture by dragging a file to the designated area or selecting a file from your device. You can remove the picture anytime.
Update your full name, username, email address, company, job title, pronouns, and a brief description about yourself.
Your email address is not publicly visible and is used for account-related notifications like password resets, project updates, and invitations. You can also set up additional login methods for easier access to your account.
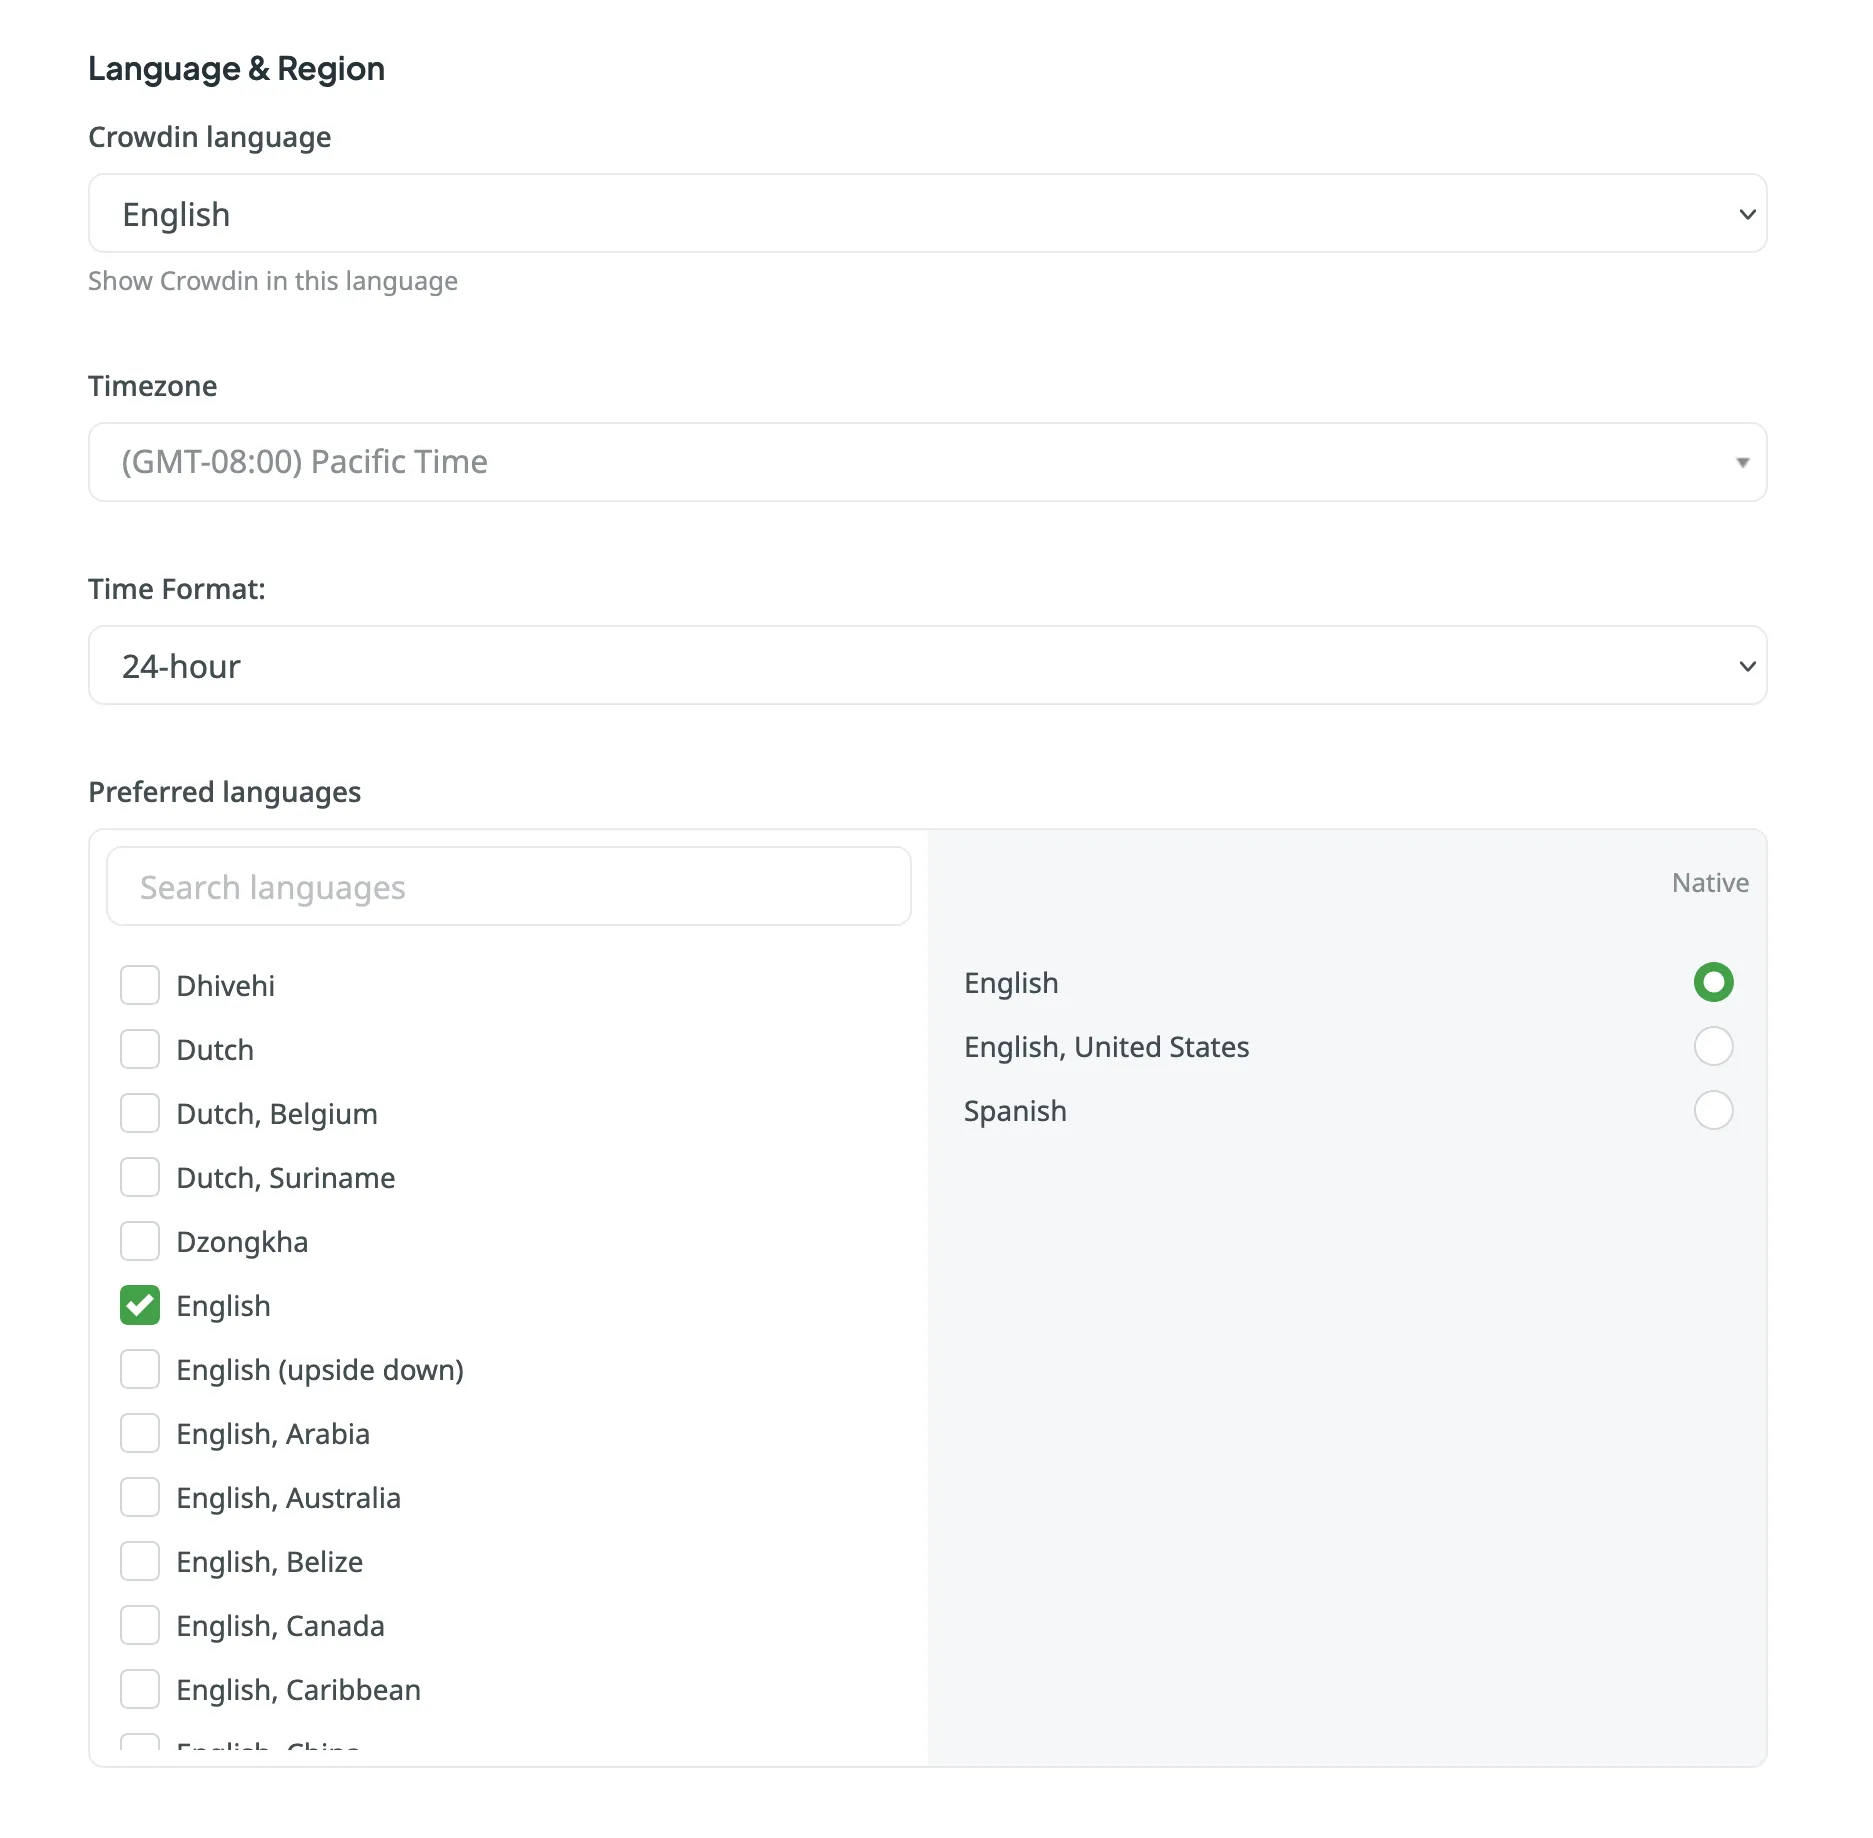
Set your preferred Crowdin interface language, timezone, and time format (12-hour or 24-hour). Additionally, specify preferred languages for displaying project target languages, giving them priority in the target languages list.
Choose how Crowdin appears on your device. You can select a Light or Dark theme or sync it with your system settings to switch automatically between day and night modes.

Enable Private Profile to hide the Projects and Activity tabs from other users visiting your profile page.

To make your profile private, follow these steps:
- Open your Account Settings and go to the Profile tab.
- Scroll down to the Privacy section.
- Select Private Profile.
You can migrate your Crowdin account data, including projects, Translation Memories, and Glossaries, to a new or existing Crowdin Enterprise organization.
Read more about Migration to Crowdin Enterprise.
For security reasons, we cannot delete an account on behalf of the user. You must have access to your Crowdin account to be able to delete it.
To delete your account, follow these steps:
- Open your Account Settings and go to the Profile tab.
- Scroll down to the Remove Account section.
- Click Remove Account.
Once your account is deleted, your translations, comments, terms, and votes will remain in the system but will appear as added by a Removed User.
In the Account tab, you can manage your password, enhance account security with security keys and passkeys, set up two-factor authentication, manage linked authentication providers, and review active sessions. You can also verify new devices and enable sudo mode for additional security during sensitive actions.
In the Password section, you can change your current password by clicking Change Password and following the instructions. If your account was created through an authentication provider like Google or Facebook, you can create a new password to log in without using these providers.
In the Security Keys and Passkey section, you can register a physical security key or passkey to add an extra layer of protection to your account. This key works alongside your password to verify your identity during login.
In the Authenticator app section, you can enable two-factor authentication (2FA) to add an additional layer of security to your account. Use an authenticator app on your mobile device or computer to generate one-time verification codes.
To enable two-factor authentication, follow these steps:
- Open your Account Settings and go to the Account tab.
- Click Enable in the Authenticator app section.
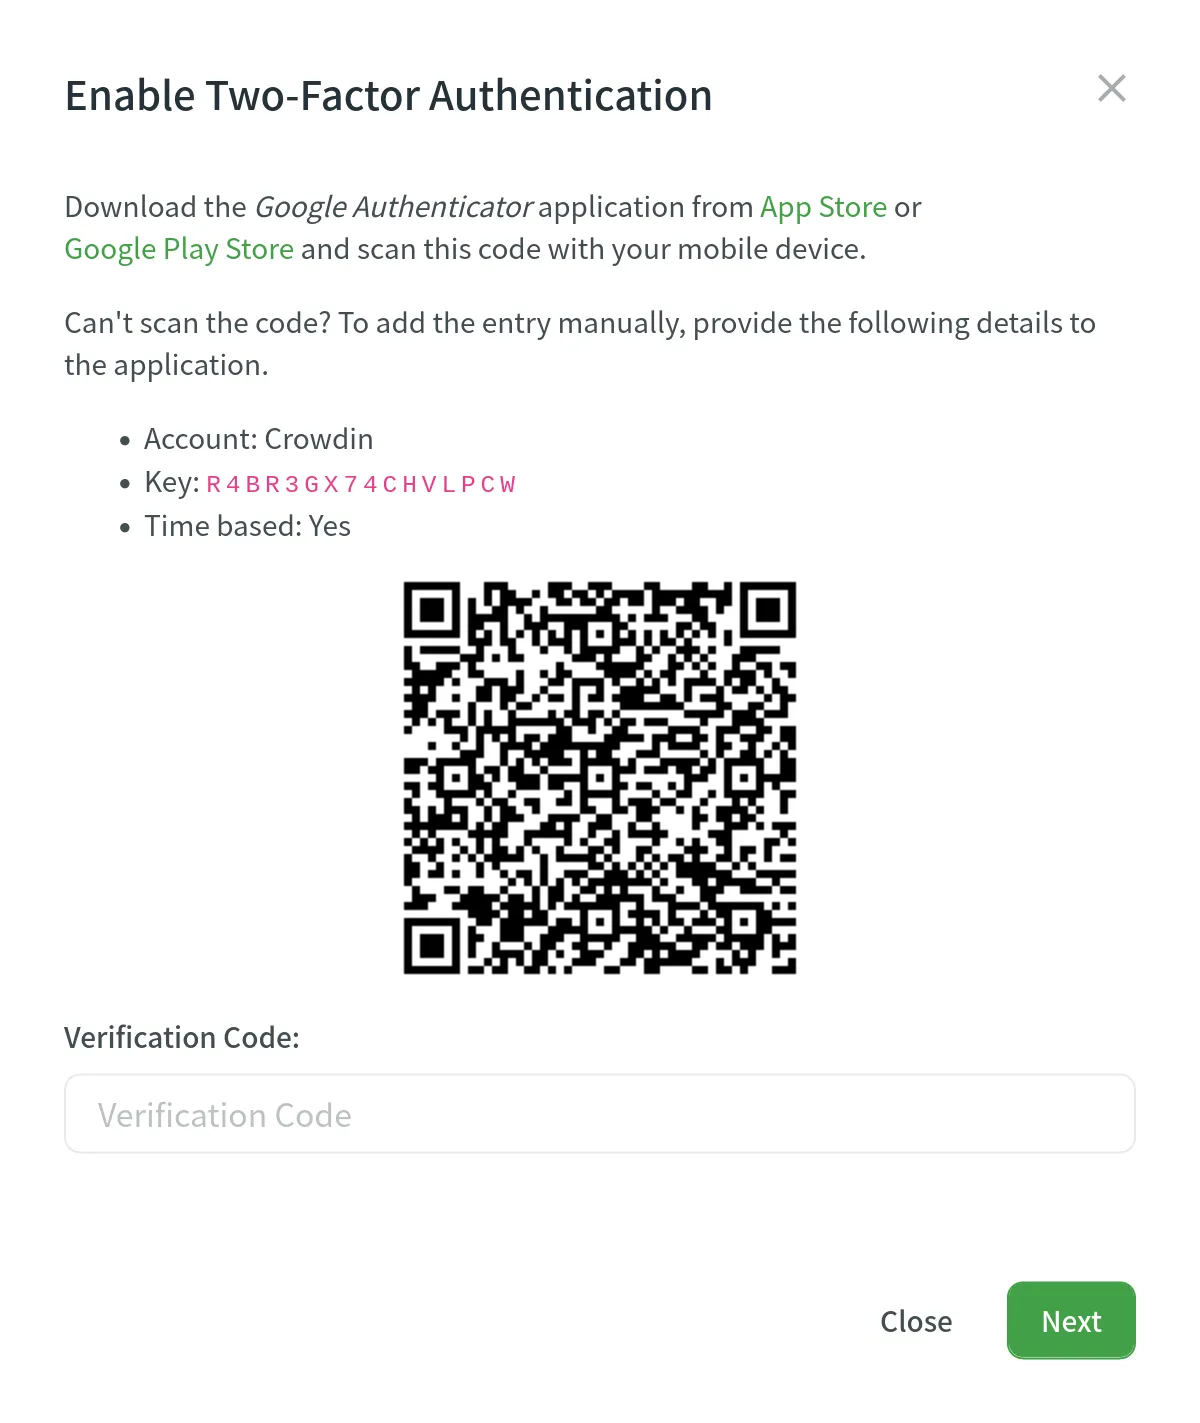
- Using the Google Authenticator app on your mobile device, scan the QR code on the screen.
- Enter the 6-digit verification code generated by your authenticator app, then click Next.
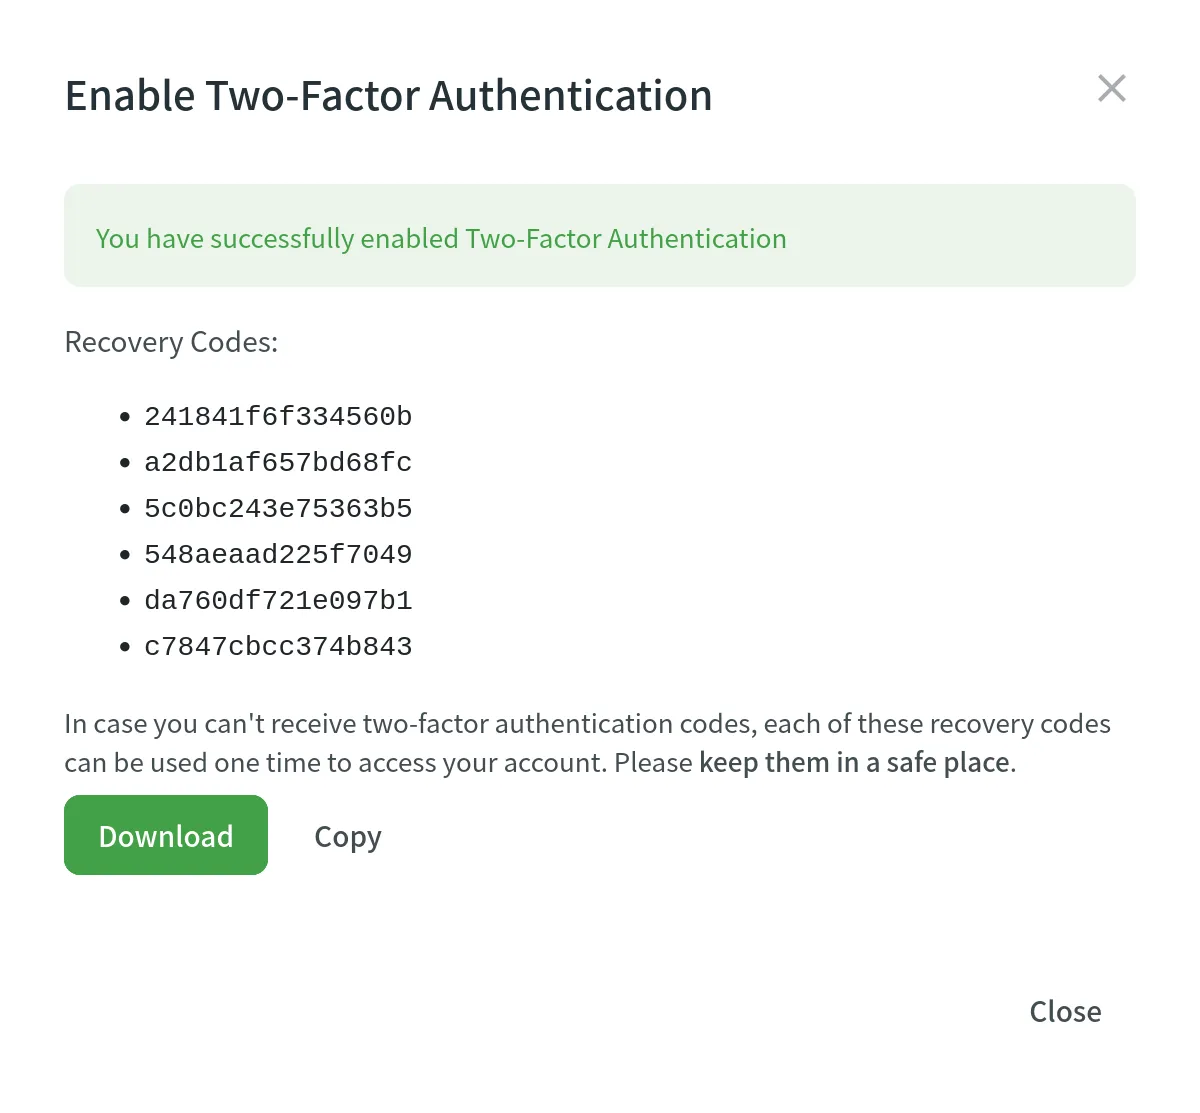
- Download recovery codes, so you can use them if you can’t access your mobile device.
Enable New Device Verification to add an extra security step when logging in from a new device. Crowdin will send a verification code to your registered email address to confirm your identity before allowing access from the new device. Once you successfully log in, the device will be added to the list of trusted devices.
After enabling this feature, you will see a list of trusted devices. You can remove any device from the list by clicking the Remove button. Alternatively, you can remove all trusted devices by clicking Remove all devices.
In the Auth Providers section, you can manage the accounts linked to your Crowdin account. These connections allow you to log in with a single click using providers like Google, Facebook, GitHub, X, GitLab, and Crowdin Enterprise.
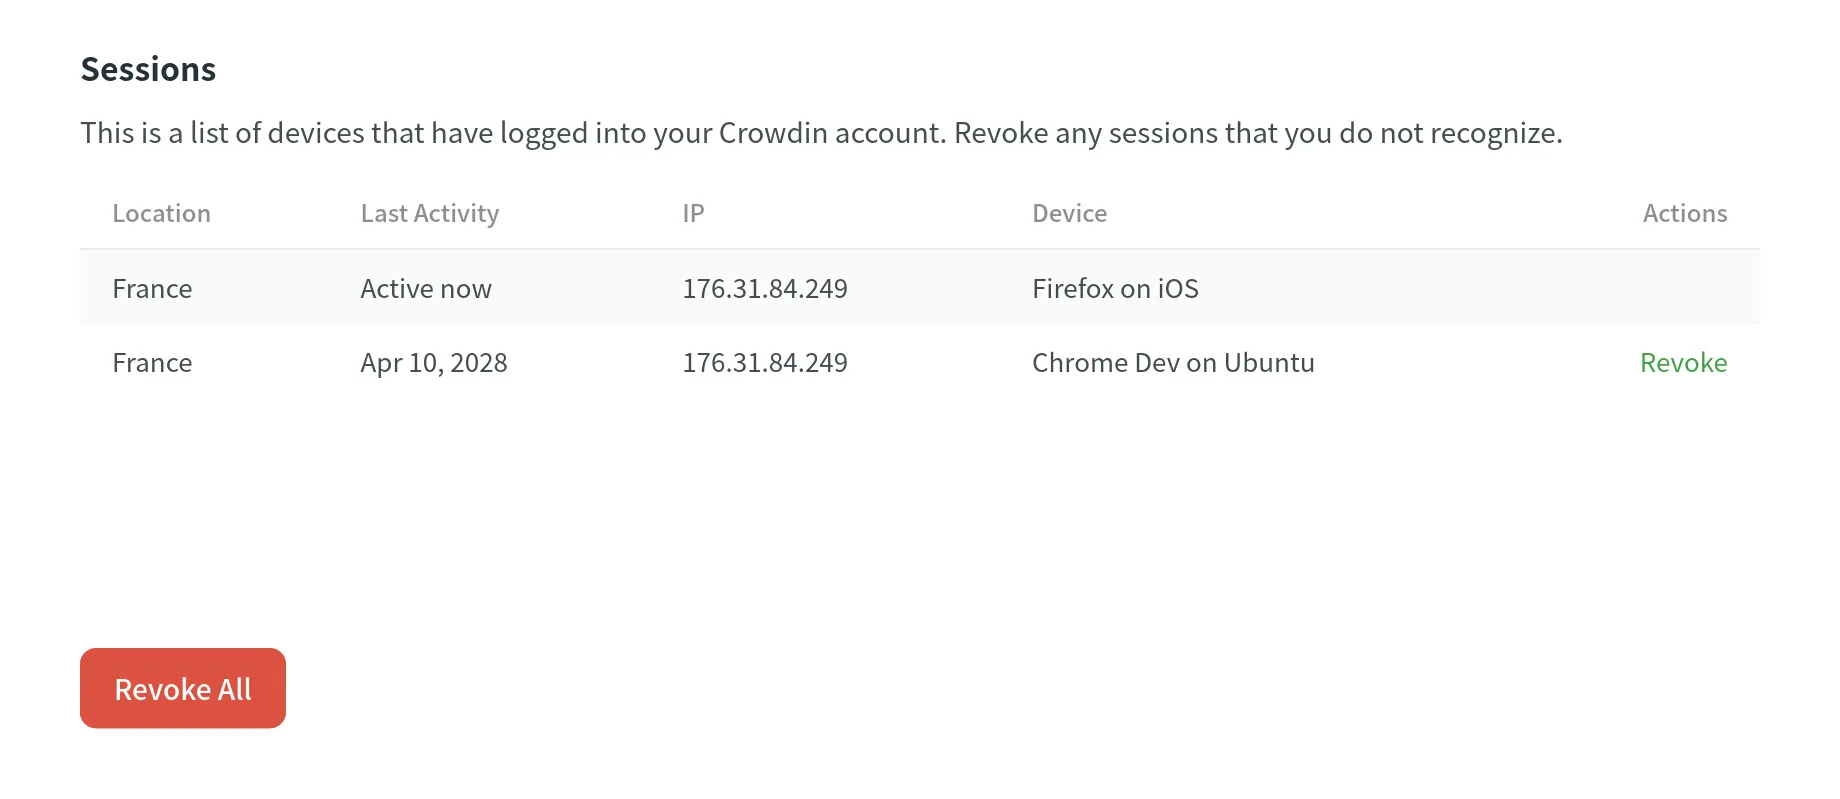
In the Sessions section, you can view the list of devices that have accessed your Crowdin account, including details like location, last activity date, IP address, and device type. Revoke individual sessions that you don’t recognize, or revoke all except your current session by clicking Revoke All.
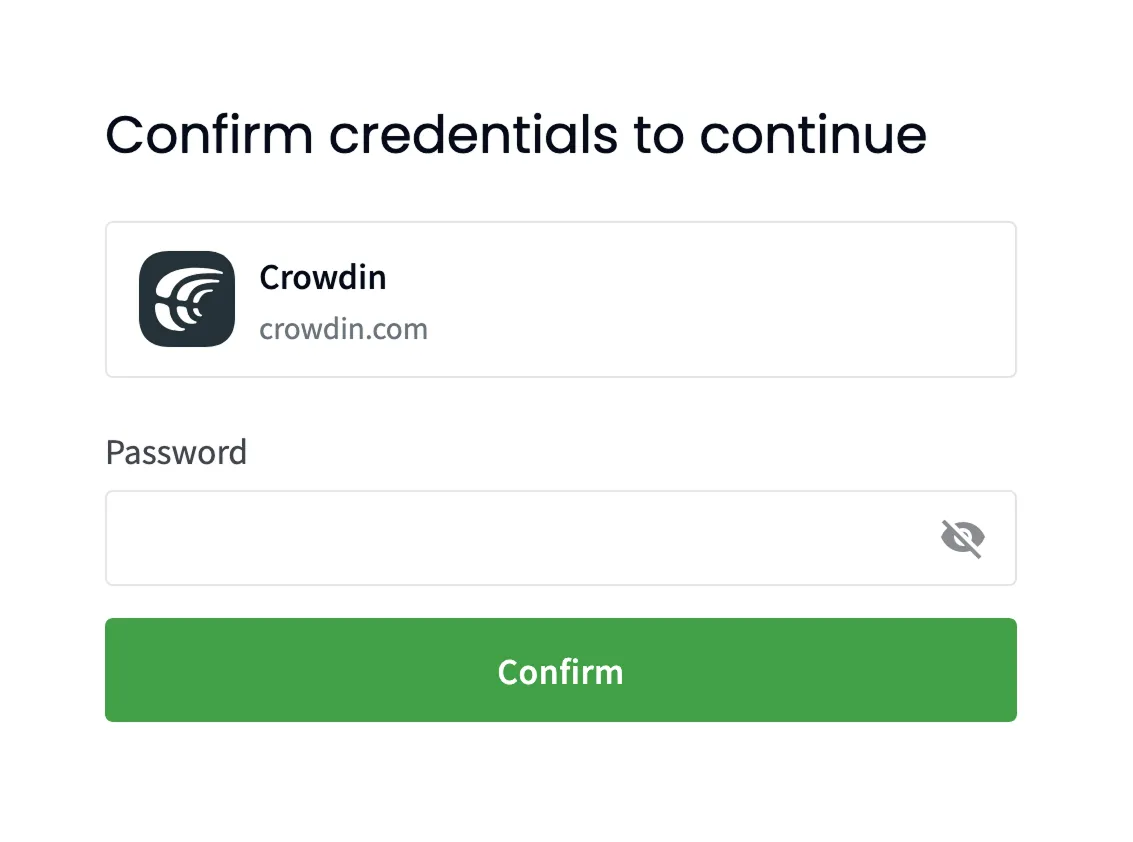
Crowdin asks you to confirm your password before performing sensitive actions, such as changing your password, managing email or authentication settings, and deleting your account. Once confirmed, you can perform these actions without re-authenticating for the next five minutes.
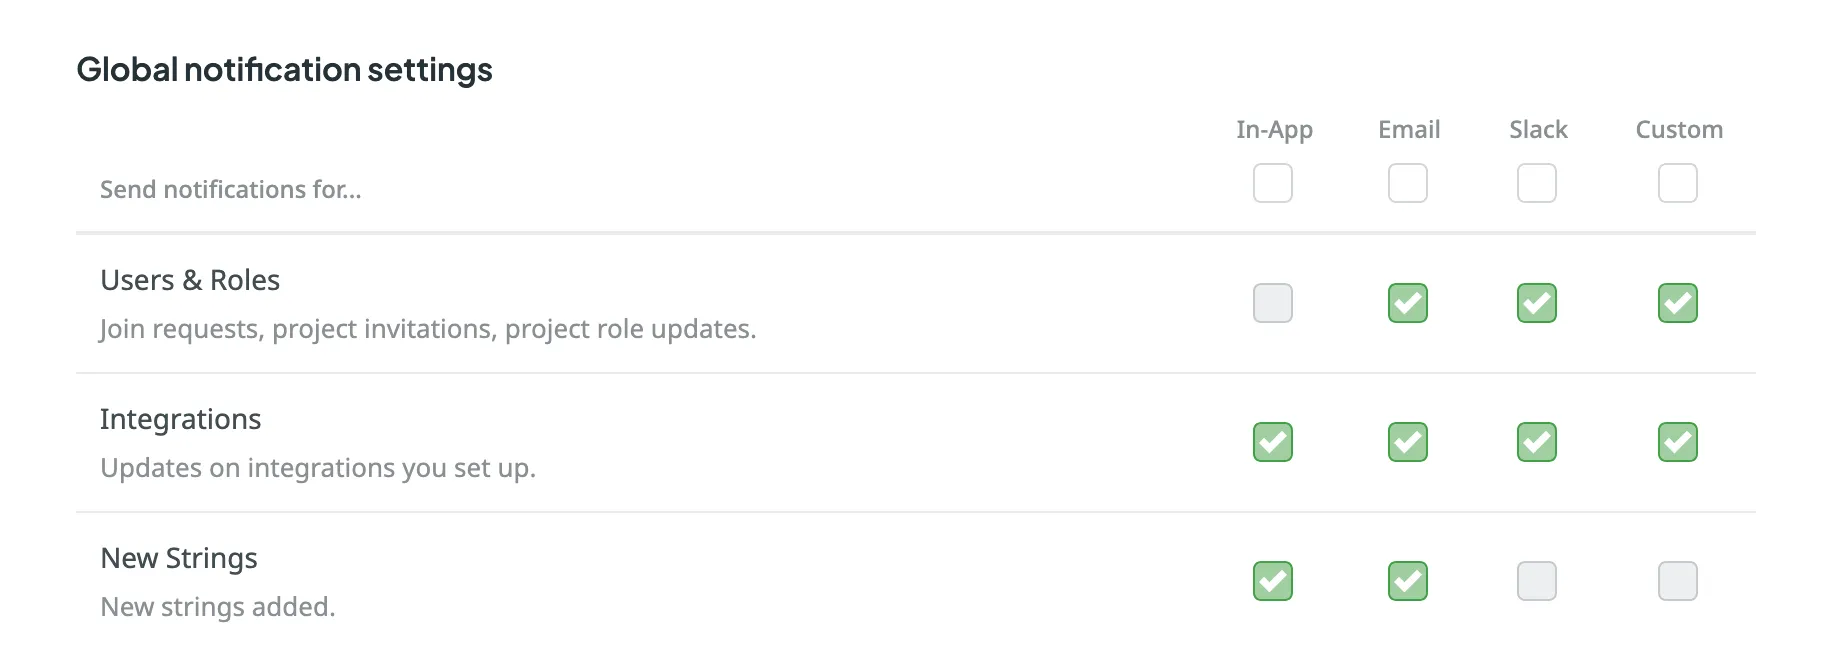
In the Notifications tab, you can customize which notifications you receive and how they are delivered. This includes setting preferences for different notification channels and configuring rules for specific projects.
Crowdin provides several channels for notifications:
- In-App (Crowdin)
- Slack
- Custom
To activate a channel, select the checkbox next to its name. You can then customize notifications for each channel by selecting the events you want to be notified about.
Available notification events include:
| Event Type | Description |
|---|---|
| Users & Roles | Join requests, project invitations, project role updates. |
| Integrations | Updates on integrations you set up. |
| New Strings | New strings added. |
| Language Progress | Translation or proofreading for a particular language is completed. |
| API-Integrated Vendors | Updates on collaboration with API-Integrated translation vendors. |
| Content Issues | All issue types created or resolved in the Editor. |
| Mentions | Updates on you being mentioned in the Editor. |
| Tasks | Created, deleted, and updated tasks, status changes, mentions and comments. |
| Messages | Private messages within Crowdin. |
| Discussions | New topics created. Mentions in the discussions. |
| API Notifications | Notifications sent by apps, API integrations, and users via API. |
To use Slack for notifications, click Connect Slack and authorize Crowdin to integrate with Slack. After completing the setup, you can choose which notifications to receive in Slack.
Read more about Slack Integration.
Subscribe to the Crowdin blog to receive key product updates and localization best practices directly in your inbox. Stay informed about the latest features and improvements.
To use a custom channel for notifications, click Set Up Notifications Custom Channel and follow the setup instructions to configure it. After setup, you can select which notifications to send to your custom channel.
Read more about Custom Notifications.
By default, Crowdin sends updates on new events via email and in-app notifications. You can adjust these settings as needed.
To disable notifications, clear the checkbox next to the notification type. You can also clear the checkbox on the channel name to disable all notification types. Once all the boxes below are cleared, you won’t receive any notifications from that channel.
You can also configure notification preferences on the project level:
- Global: Notifications selected for global settings.
- Mentions only: Only when @mentioned.
- Mute project: Turn off notifications.

The Billing tab in your Account Settings becomes available as soon as you subscribe to one of Crowdin’s plans. Within this tab, you can manage your subscription plan, view payment history, handle app subscriptions, manage the balance for MT engines and AI models managed by Crowdin, and set the daily balance warning threshold for Over-The-Air Content Delivery.
Review your current subscription plan, which includes details such as the plan name, the date of the last plan change, and your current usage limits (e.g., managers, projects, words). Additionally, you can view the next charge amount and the expiration date of your plan.
Read more about Changing Subscription Plan.
Crowdin Store offers various apps that you can install to extend the functionality of Crowdin, synchronize your content stored in a CMS, and more. Some of the apps are available for free, while others are paid.
Read more about App Subscriptions.
Top up the balance for the Crowdin Managed Services (AI models and Crowdin Language Services), set a balance warning threshold and view the usage statistics for each service.
Read more about Crowdin Managed Services.
Set a daily balance warning threshold for Over-The-Air Content Delivery and view the usage statistics.
Read more about Over-The-Air Content Delivery.
Access payment history and download invoices.
Read more about Payments and Invoices and Billing Settings.
In the API tab, you can create personal access tokens for authorization when working with the Crowdin API and view your account’s API call history.
Personal access tokens serve as alternative passwords for authorizing third-party applications and scripts in Crowdin.

When creating a new personal access token, you can select specific scopes and, if needed, limit the visibility of resources for the selected scopes using the Granular access option. For example, you can create a token that should interact only with a specific project and have no access to others. As a result, only the selected projects will be gained when retrieving a list of all projects.
To create a new personal access token, follow these steps:
- Open your Account Settings and go to the API tab.
- Click New Token.
- In the appeared dialog, specify the token name to identify it later.
- Select the necessary set of scopes.
- (Optional) To limit access to specific resources, click Granular access and select the required scopes and related resources.
- Click Create.
After creating a new token, be sure to record it immediately. For security reasons, it will not be shown again. You can create as many personal access tokens as you need from your Crowdin account.
You may need to revoke a personal access token if you no longer use it or suspect it has been compromised.
To revoke a personal access token, follow these steps:
- Open your Account Settings and go to the API tab.
- Find the necessary token in the list and click Revoke next to it to delete the personal access token and remove its access.
In the Calls History section, you can view a list of API calls associated with your Crowdin account. Use the filter to view all, successful, or unsuccessful calls, and select specific action groups or individual actions within them. The Application Name field allows you to search for calls related to a particular application.
In the Apps tab, manage the Crowdin Apps installed in your Crowdin account. You can view and manage currently installed apps, search for specific ones, and use the Edit or Uninstall options on each app.
Click Install from store to add apps developed by Crowdin and other developers from the Crowdin Store. Alternatively, click Install Private App to manually install custom apps of your own development.
Read more about Installing Crowdin Apps.
Manage agents for custom applications that interact with Crowdin. Agents allow applications to perform specific actions on your behalf within the platform. You can add Agents from the Crowdin Store and manage their permissions to projects and resources as needed.
The Security Log tab lets you track important events (including event type, used device, IP address, and date) that happen with your Crowdin account.
Security log includes events like logins, password and username changes, and others.
In the Webhooks tab, you can configure account webhooks to receive notifications about key events that happen in your Crowdin account. Once set up, Crowdin will send POST or GET requests with data to the specified webhook URL via HTTP when these events occur.
You can create account webhooks for the following event types:
- Project created
- Project deleted
Read more about Webhooks.
In the OAuth tab, you can create an OAuth Application that could be used to make authorized requests to Crowdin API or as a Single Sign-On service and manage connected OAuth apps you’ve authorized to use your account.
Some of the most common uses for this feature include:
- OAuth apps allow you to make authorized requests to the Crowdin API.
- OAuth apps are often used as a single sign-on service. You can allow users to sign in to your service with their Crowdin accounts.
See the Authorizing OAuth Apps to learn how to authorize OAuth apps to access your Crowdin account.
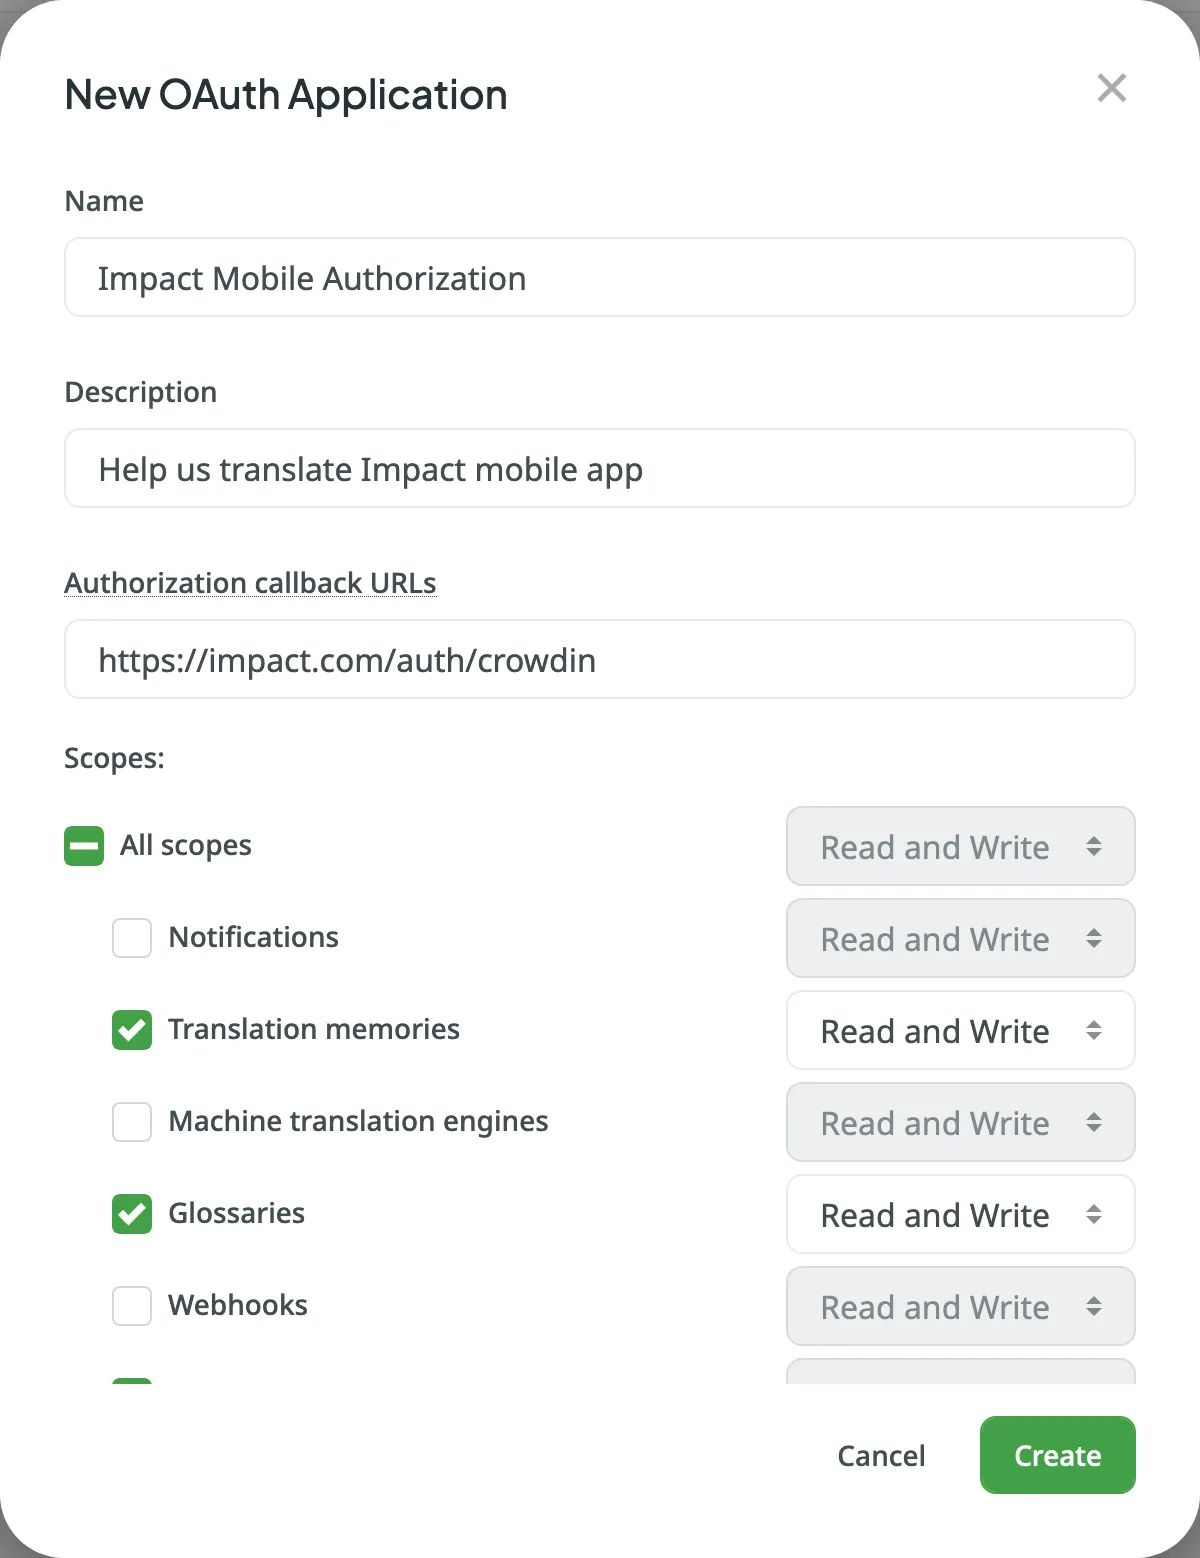
To add a new application, follow these steps:
- In the upper-right corner, click on your profile picture and select Settings.
- Switch to the OAuth tab and click New Application.
- In the appeared dialog, specify the following information:
- Name and Description – (optional) will be displayed to users when they authorize the app to access their Crowdin accounts.
- Authorization callback URLs – the URLs to which users will be sent after they authorize with Crowdin. You can add multiple URLs separated by commas (no need to use quotes).
- Select the access your app needs from the list of available Scopes.
- Click Create.
After you create an OAuth application, you can make changes to it. Go to your account’s Settings > OAuth Applications to see the list of OAuth apps created under your account, the dates the apps were created, and how many users are using each app.
Click in the Actions column on the necessary app to open the context menu.
Using the available options, you can do the following:
- Edit – update the application name, description, URLs, and scopes. Access Client ID and Client Secret of the created application.
- Reset secret – Reset the Client Secret for the app.
- Revoke tokens – Revoke all user tokens.
- Delete – Delete the application.
In the Connected OAuth Applications section, you can view connected OAuth apps you’ve authorized to use your account and revoke access as needed.
In the Beta Features tab, you can select the Enable beta features option to test new experimental features.