Ordliste
With a glossary, you can create, store, and manage all the project terminology in one place. Hovedsigtet med terminologi er at forklare visse specifikke termer eller dem, som ofte benyttes i projektet, så de kan oversættes korrekt og ensartet.
Each glossary term is displayed as an underlined word in the Editor. Hold markøren over det understregede ord for at fremhæve det og se dets oversættelse, ordklasse og definition (hvis oplyst).

Creating Glossary
Besides the project glossaries that are automatically created along the respective projects, you can also create separate glossaries, fill them with the appropriate content by uploading your existing glossaries in TBX, XLSX, or CSV format, and then assign these glossaries to the needed projects.
To create a glossary, follow these steps:
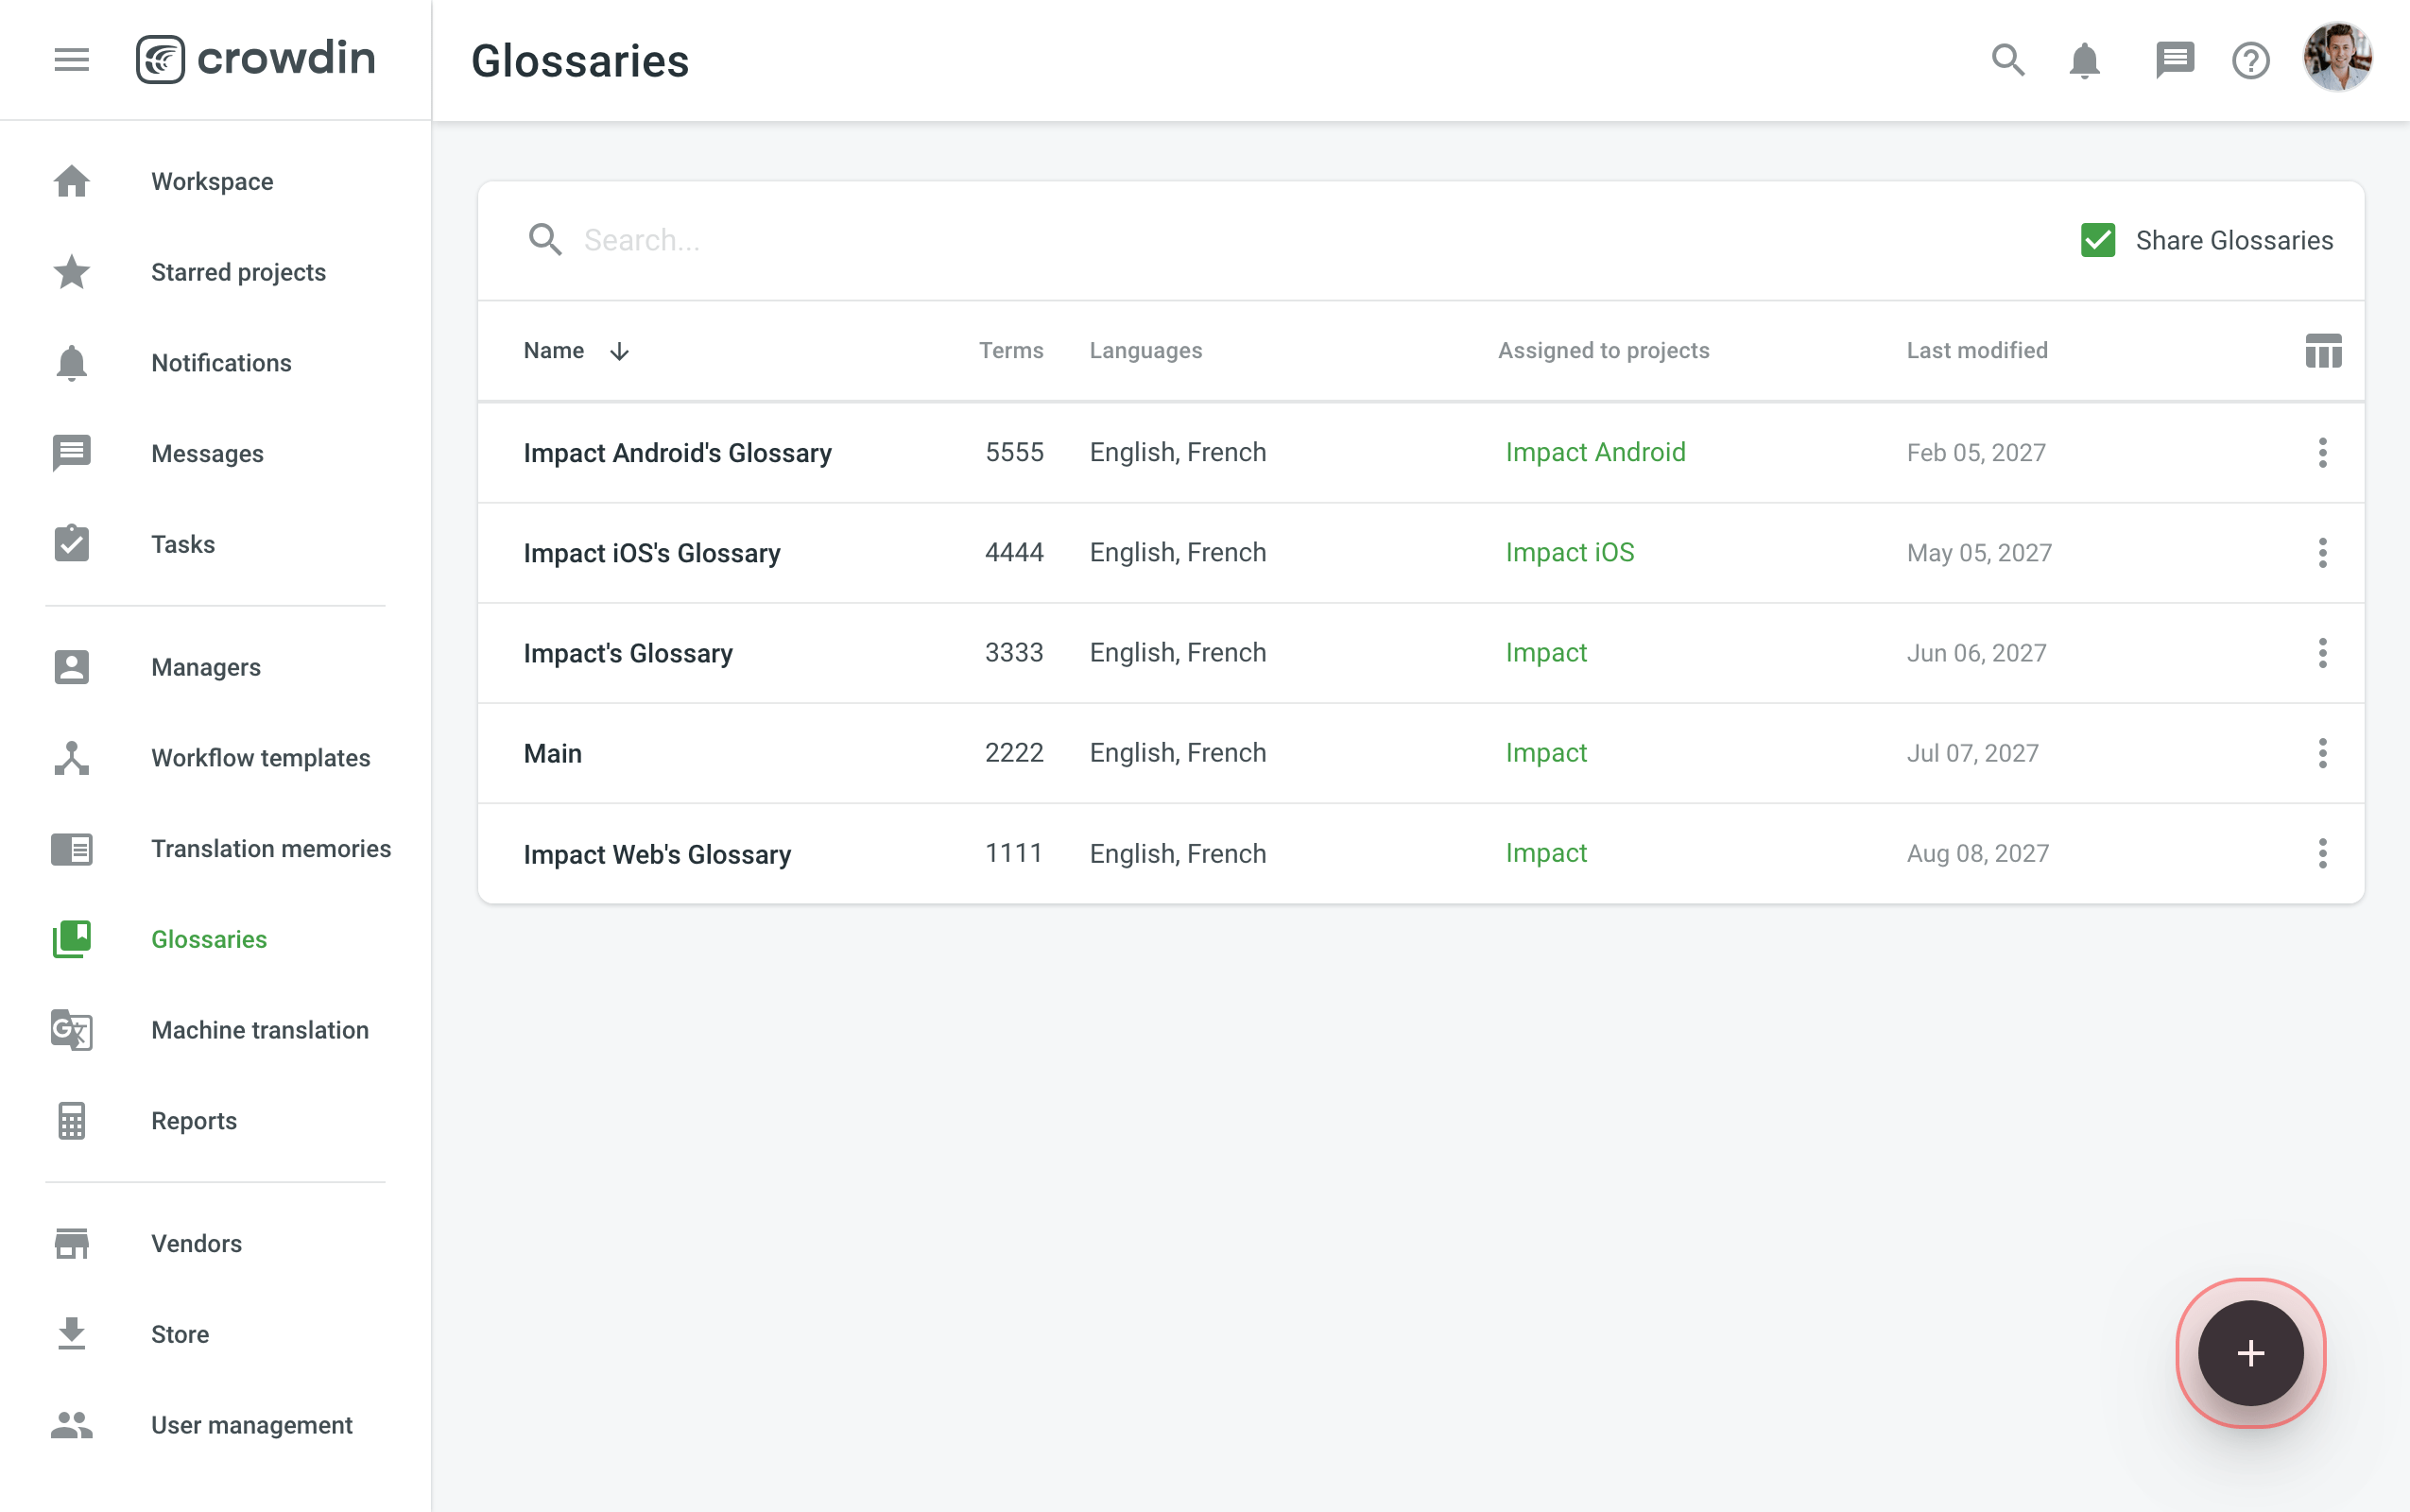
- Open your organization’s Workspace and select Glossaries on the left sidebar.
- Klik på knappen tilføj nederst til højre.
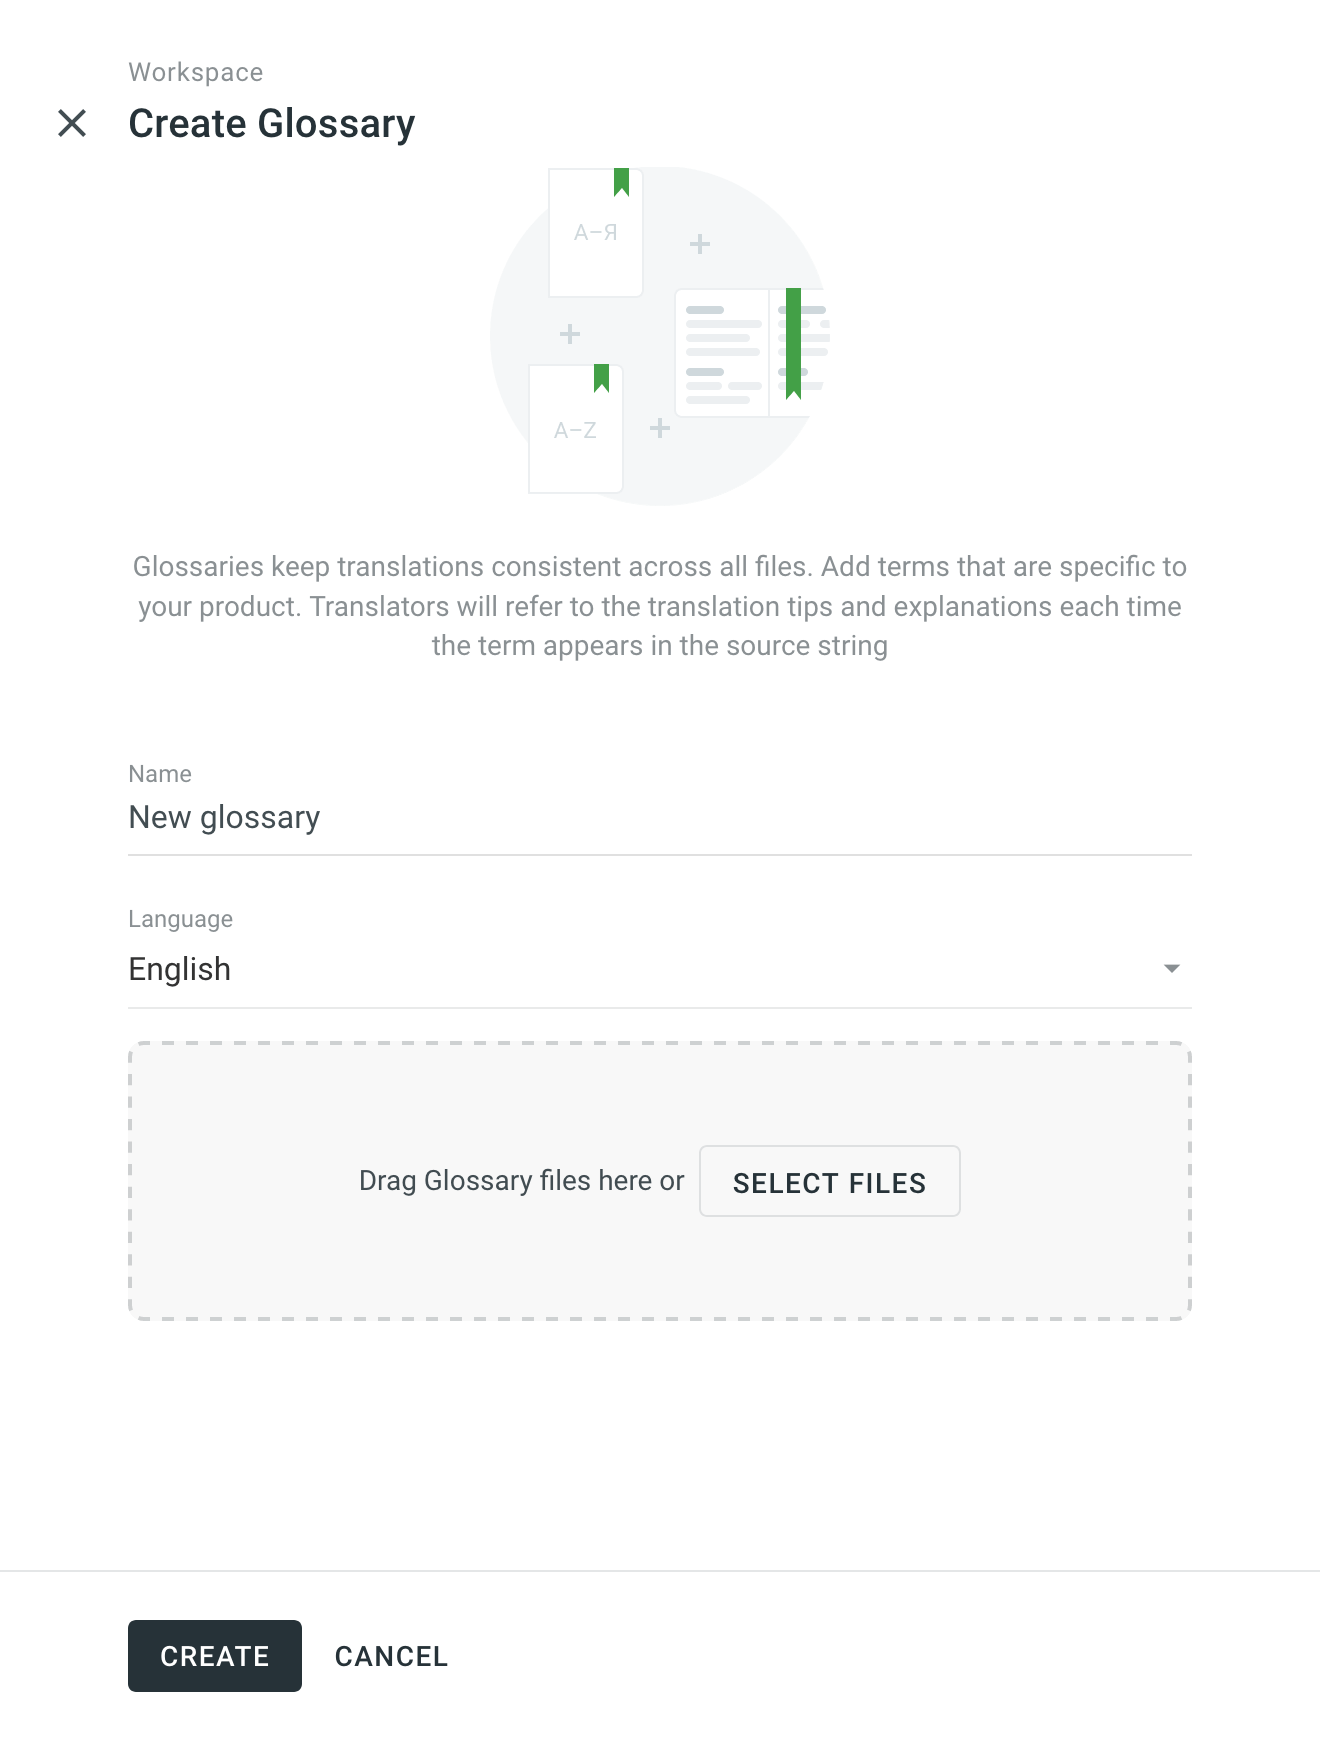
- In the appeared dialog, name your glossary and select a default language that will be displayed first in the table of glossary records.
- (Optional) Click Select files to upload your existing glossary. You can skip this step and upload a glossary later.
- Click Create.
Managing Glossary Concepts and Terms
Depending on your project needs, you can use a simpler approach with one term per language or make your glossary more detailed and complete using the advanced functionality that glossary concepts can offer.
Adding Glossary Concepts and Terms
Concept – the highest-level terminology element that contains concept-level data (e.g., concept definition, subject, etc.), including language-level (i.e., term language) and term-level data (e.g., term, the term’s part of speech, type, etc.). Simply put, a concept incorporates glossary terms and their variations with multiple translations and other relevant information.
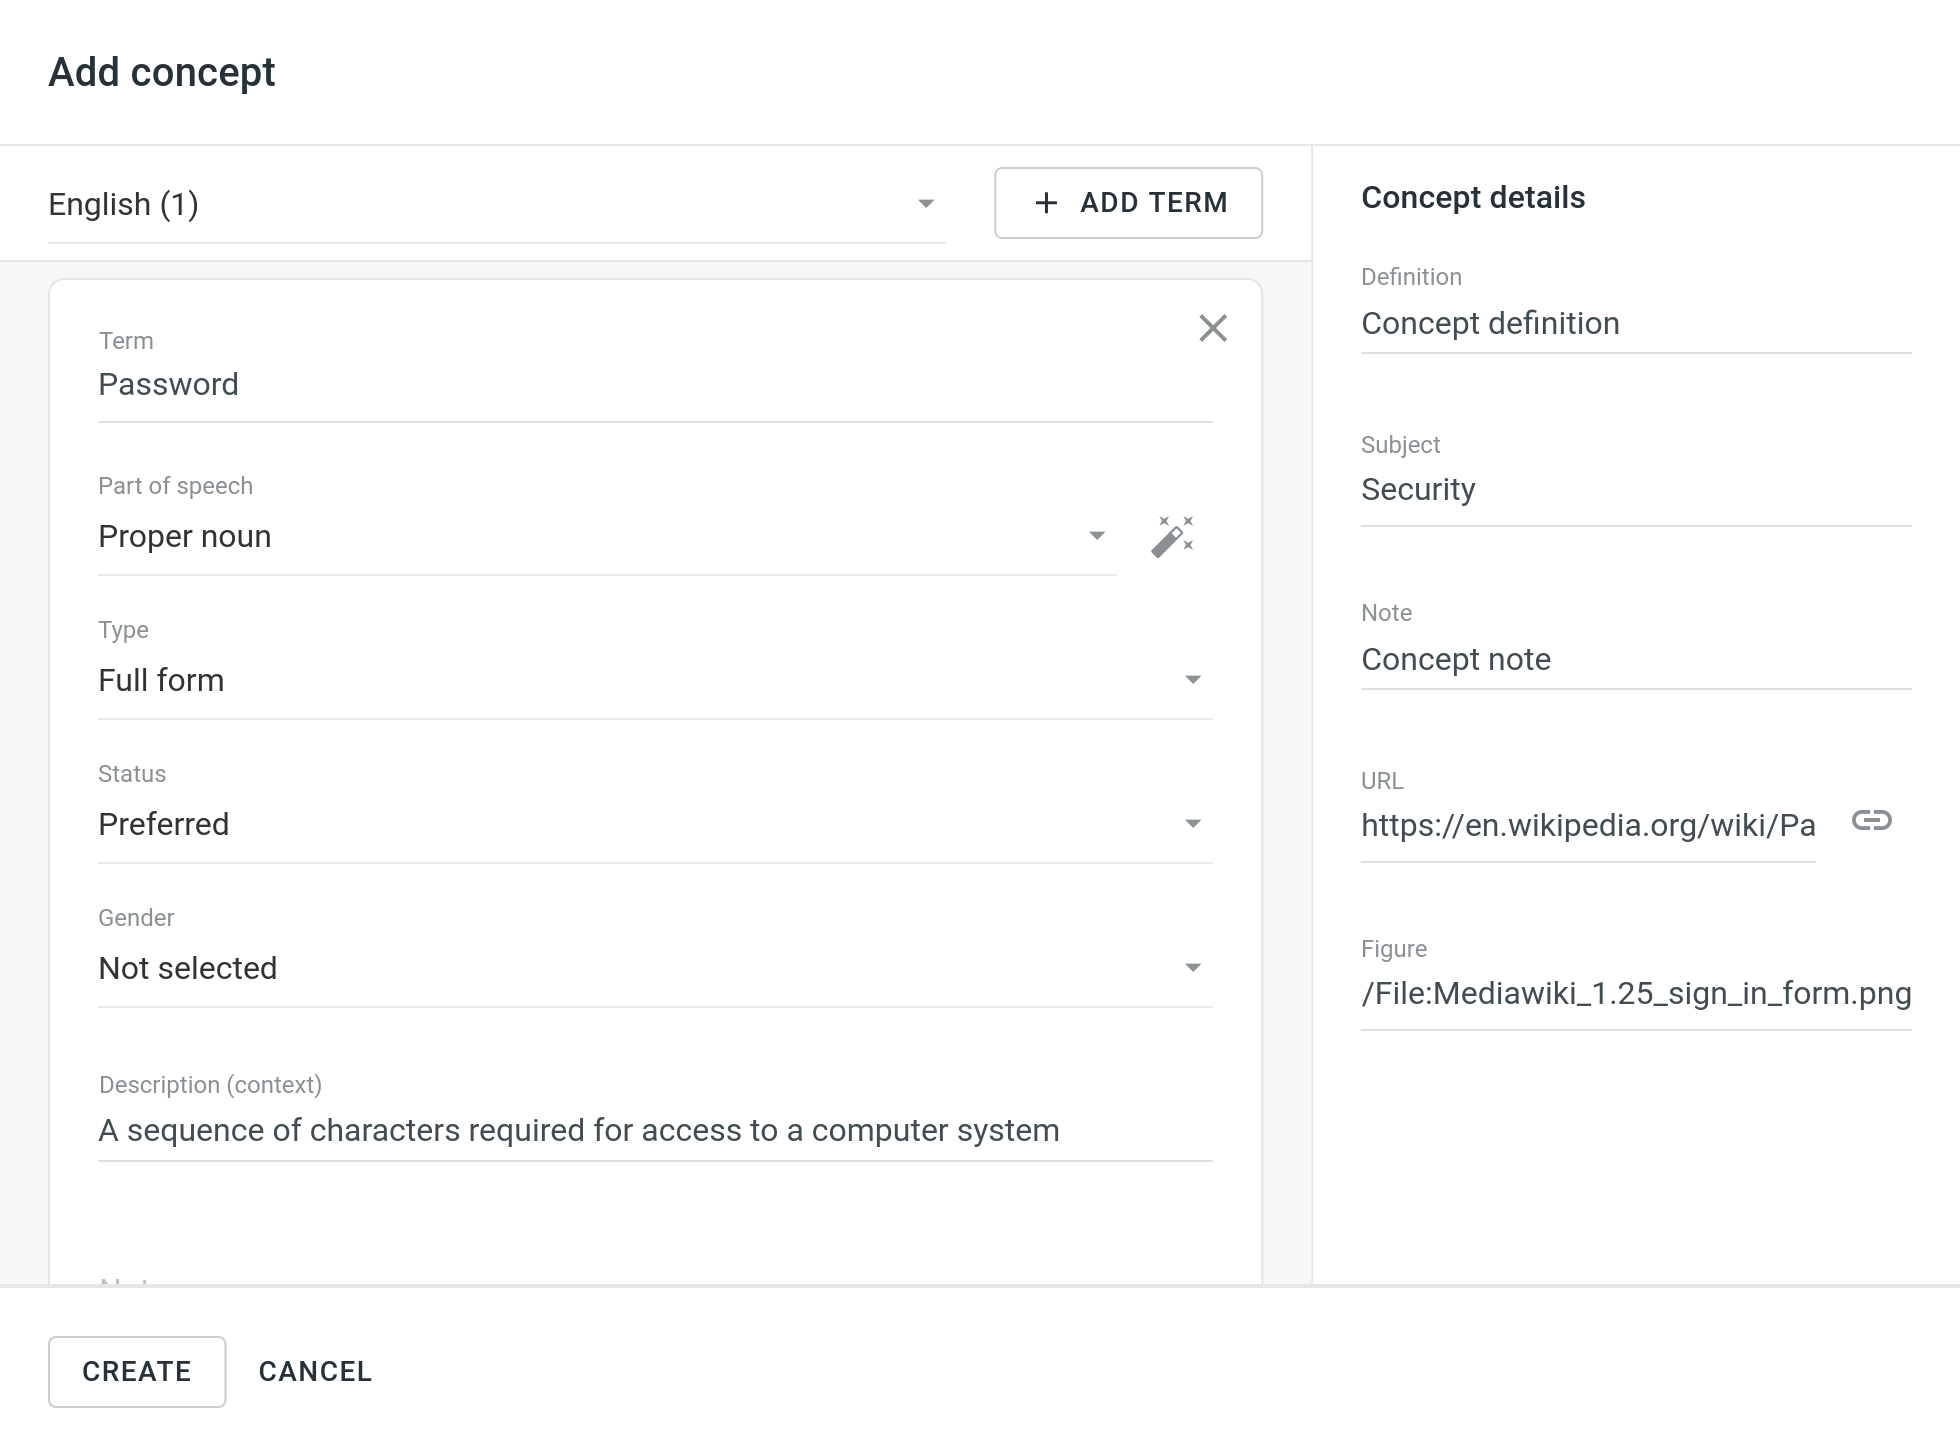
You can specify the following concept and term details when adding glossary concepts.
Concept details:
- Definition – concept definition.
- Subject – a branch of knowledge the concept is related to.
- Note – short notes about a concept that might be helpful to translators.
- URL – URL to the web page with relevant information about a concept.
- Figure – URL to the relevant image.
Term details:
- Part of speech – e.g., noun, verb, adjective, etc.
- Type – e.g., full form, acronym, abbreviation, etc.
- Status – preferred, admitted, not recommended, obsolete.
- Gender – term gender.
- Description – term description.
- Note – short notes about a term that might be helpful to translators.
- URL – URL to the web page with relevant information about a term.
To add a new glossary concept, follow these steps:
- Open your organization’s Workspace and select Glossaries on the left sidebar. Alternatively, open your project and go to Settings > Glossaries.
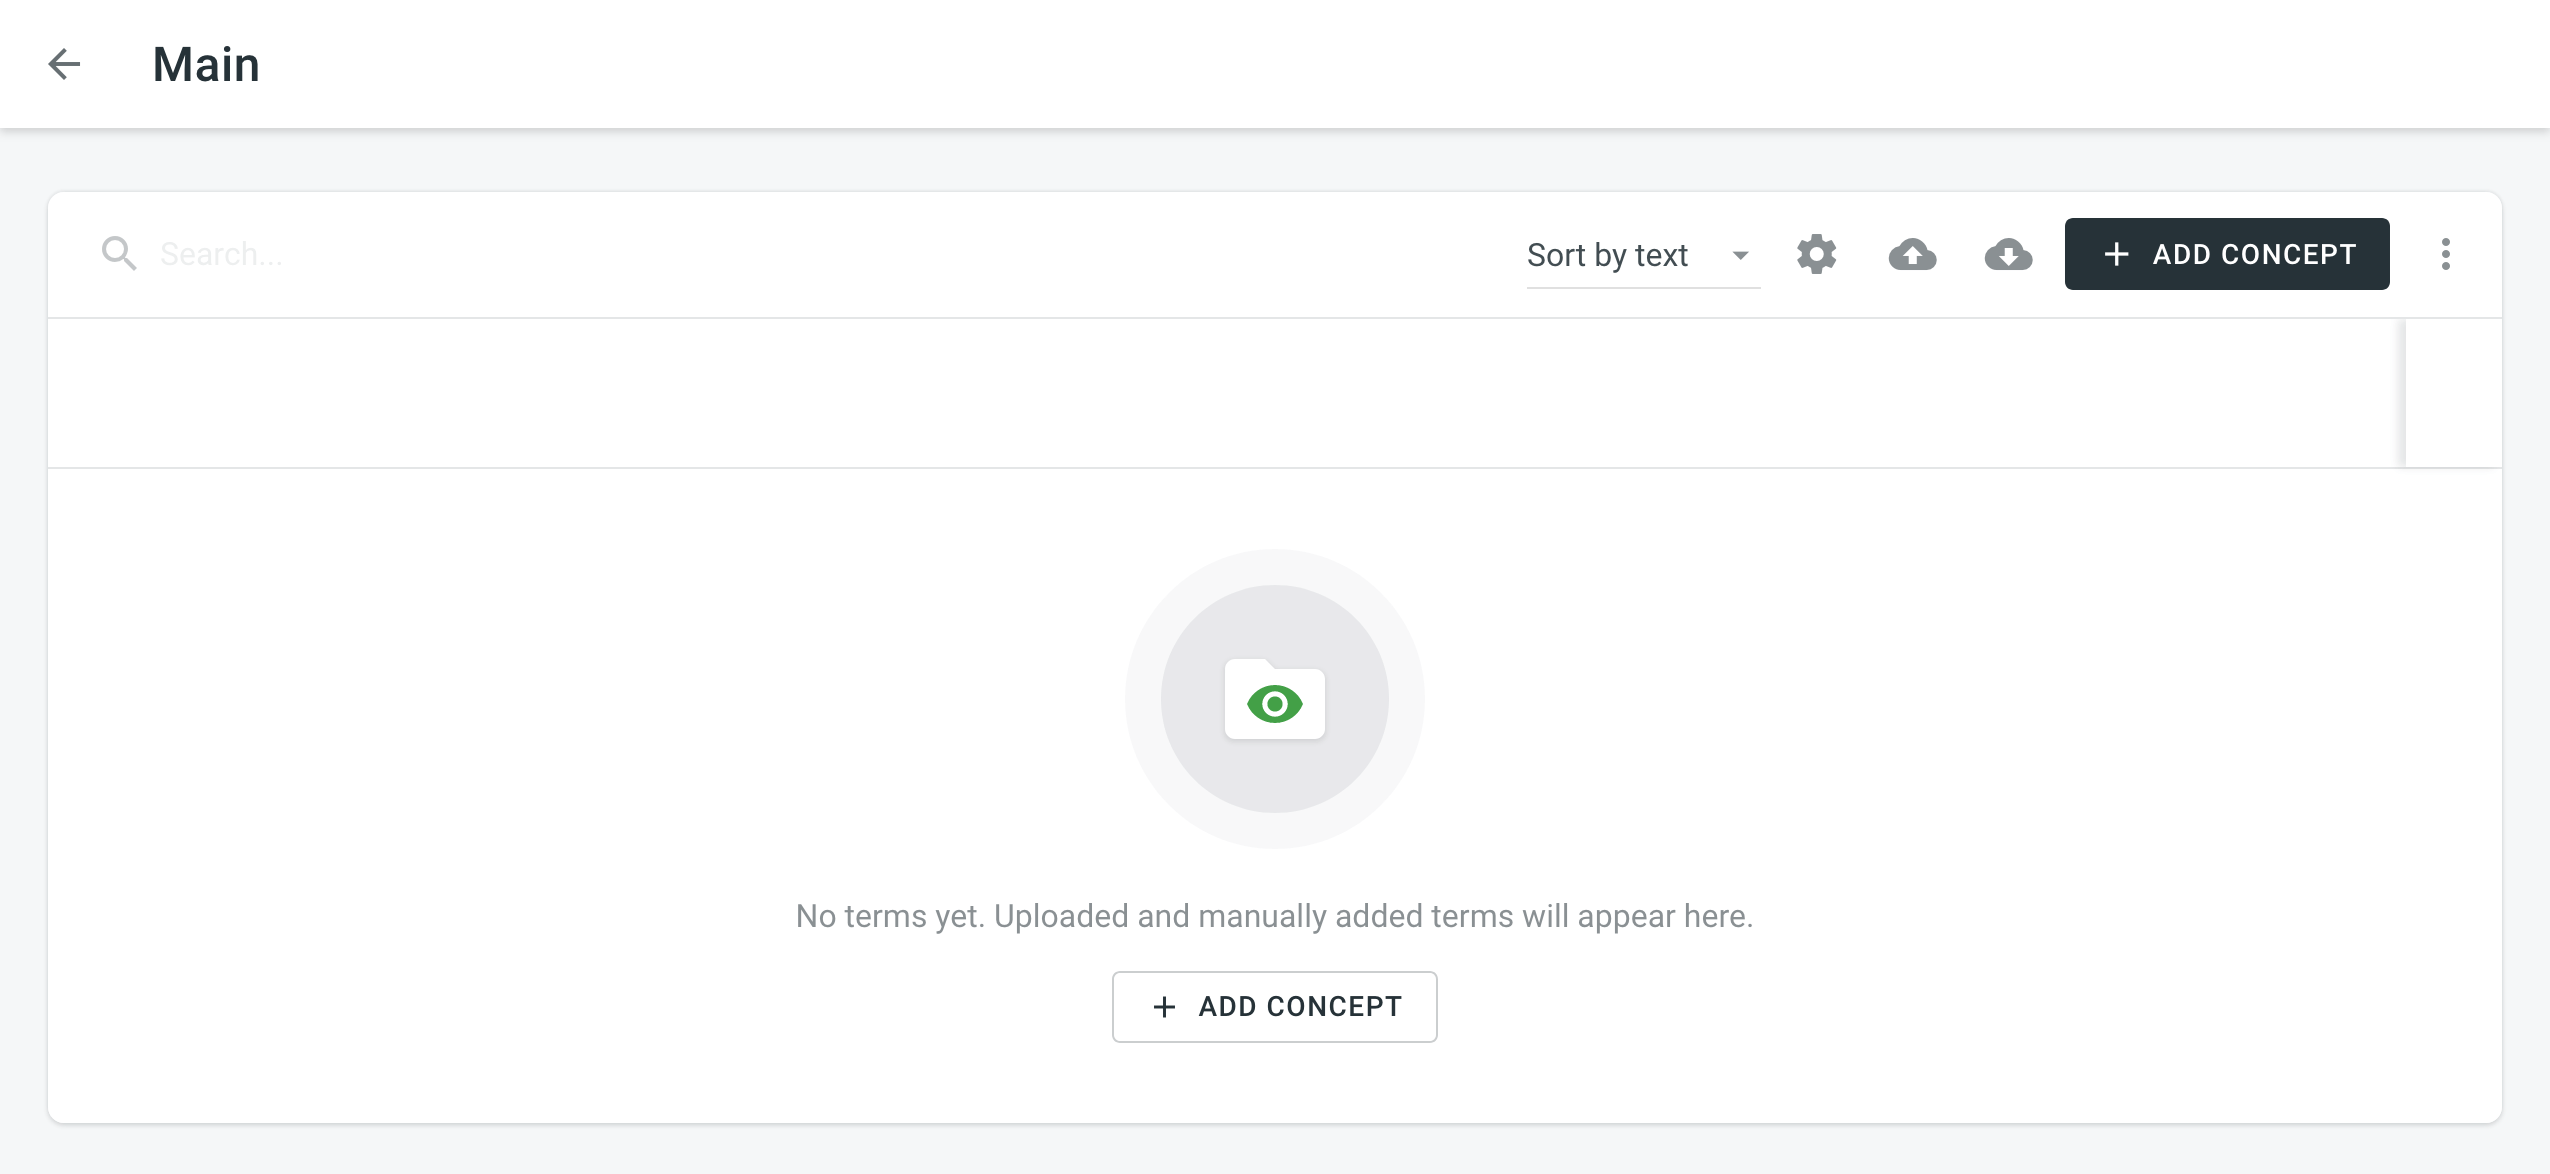
- Click on the needed glossary.
- Click Add concept.
-
In the appeared dialog, select the language from the drop-down menu, and specify the term and all related details. Klik på
 for automatisk at bestemme ordklassen.Bemærk: Ordklasse kan kun bestemmes automatisk i flg. sprog: Engelsk, fransk, italiensk, kinesisk, norsk, polsk, russisk, spansk, svensk og tysk.
 - (Optional) Click Add term to add a term variation (e.g., acronym, short form, etc.)
- Specify the concept details.
- Click Create.
To add glossary concepts via the Editor, follow these steps:
- In the Editor, select the needed word in the source string.
- In the appeared menu, select Create Term. Alternatively, you can use the keyboard shortcut to add a concept (by default, Ctrl+G).

- Follow the steps described in the section above.
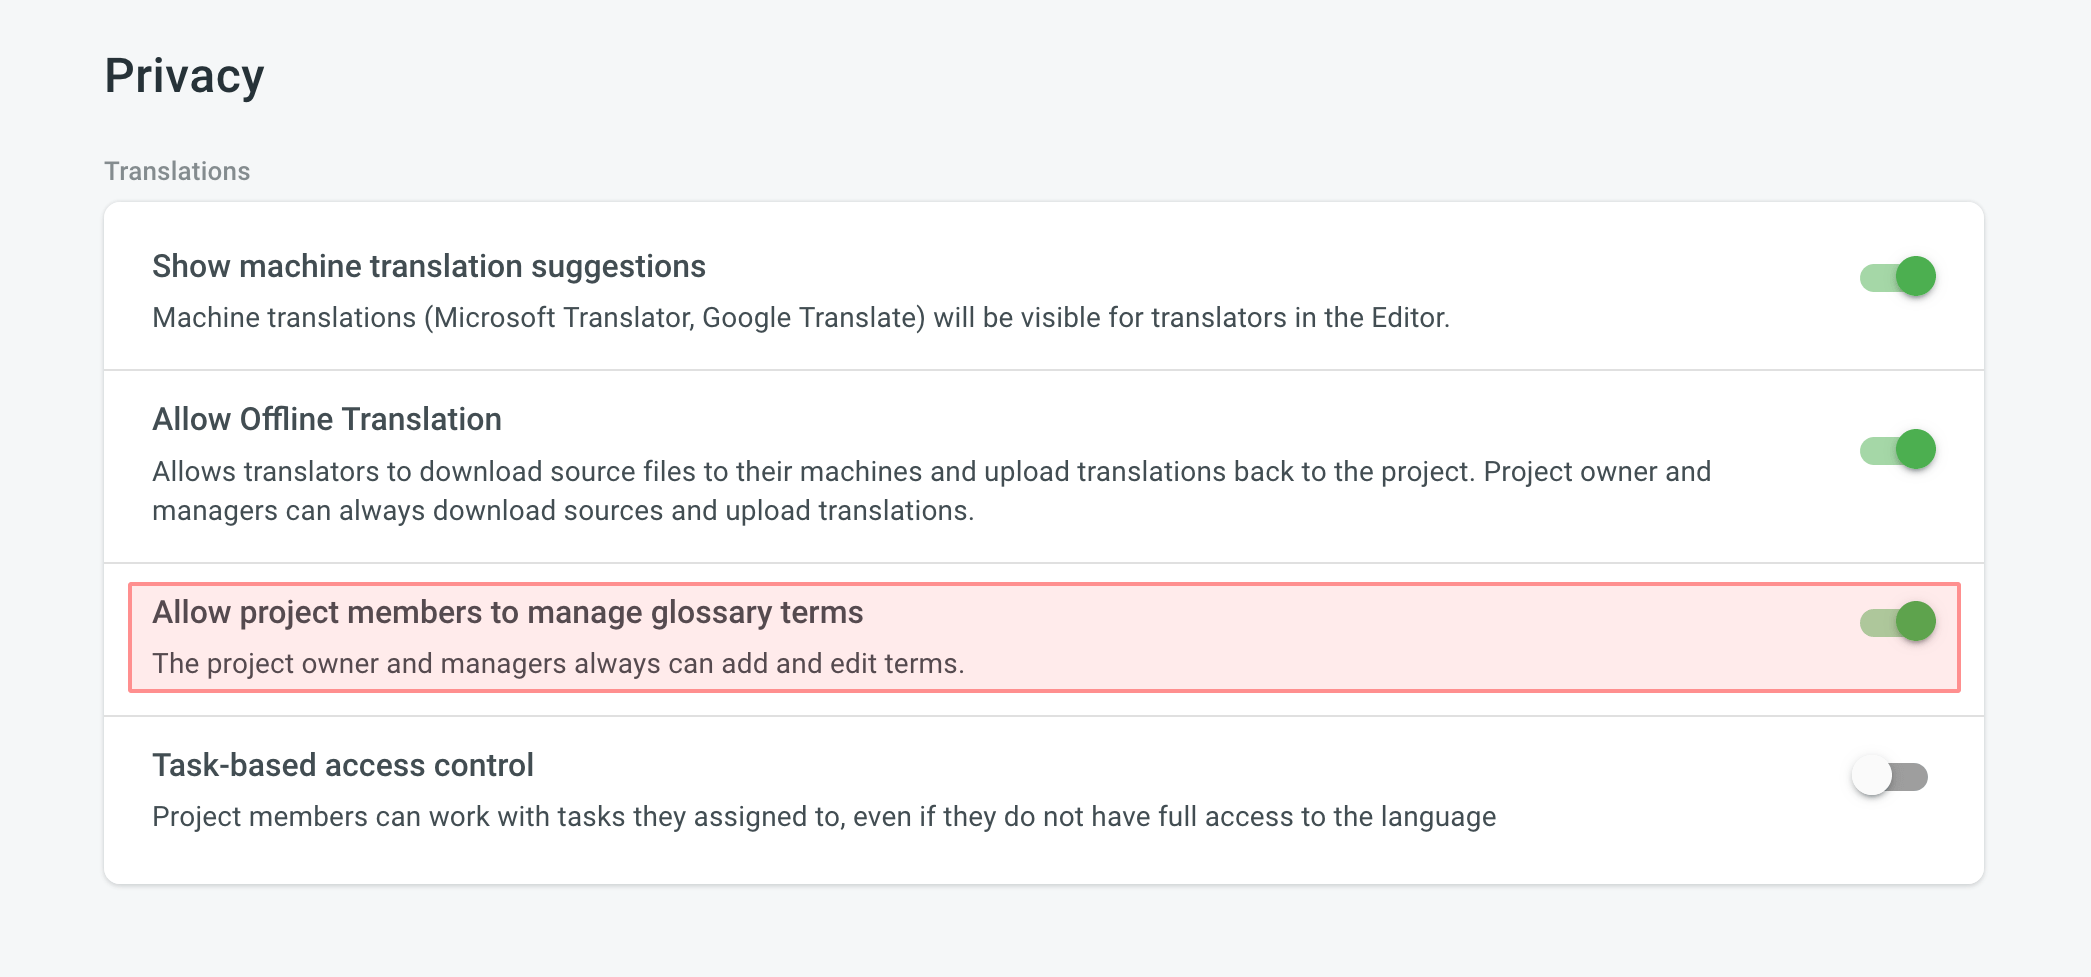
To allow translators and proofreaders to manage terms in the Editor, follow these steps:
- Open your project and go to Settings > Privacy.
- In the Translations section, select Allow project members to manage glossary terms.
Editing Glossary Concepts and Terms
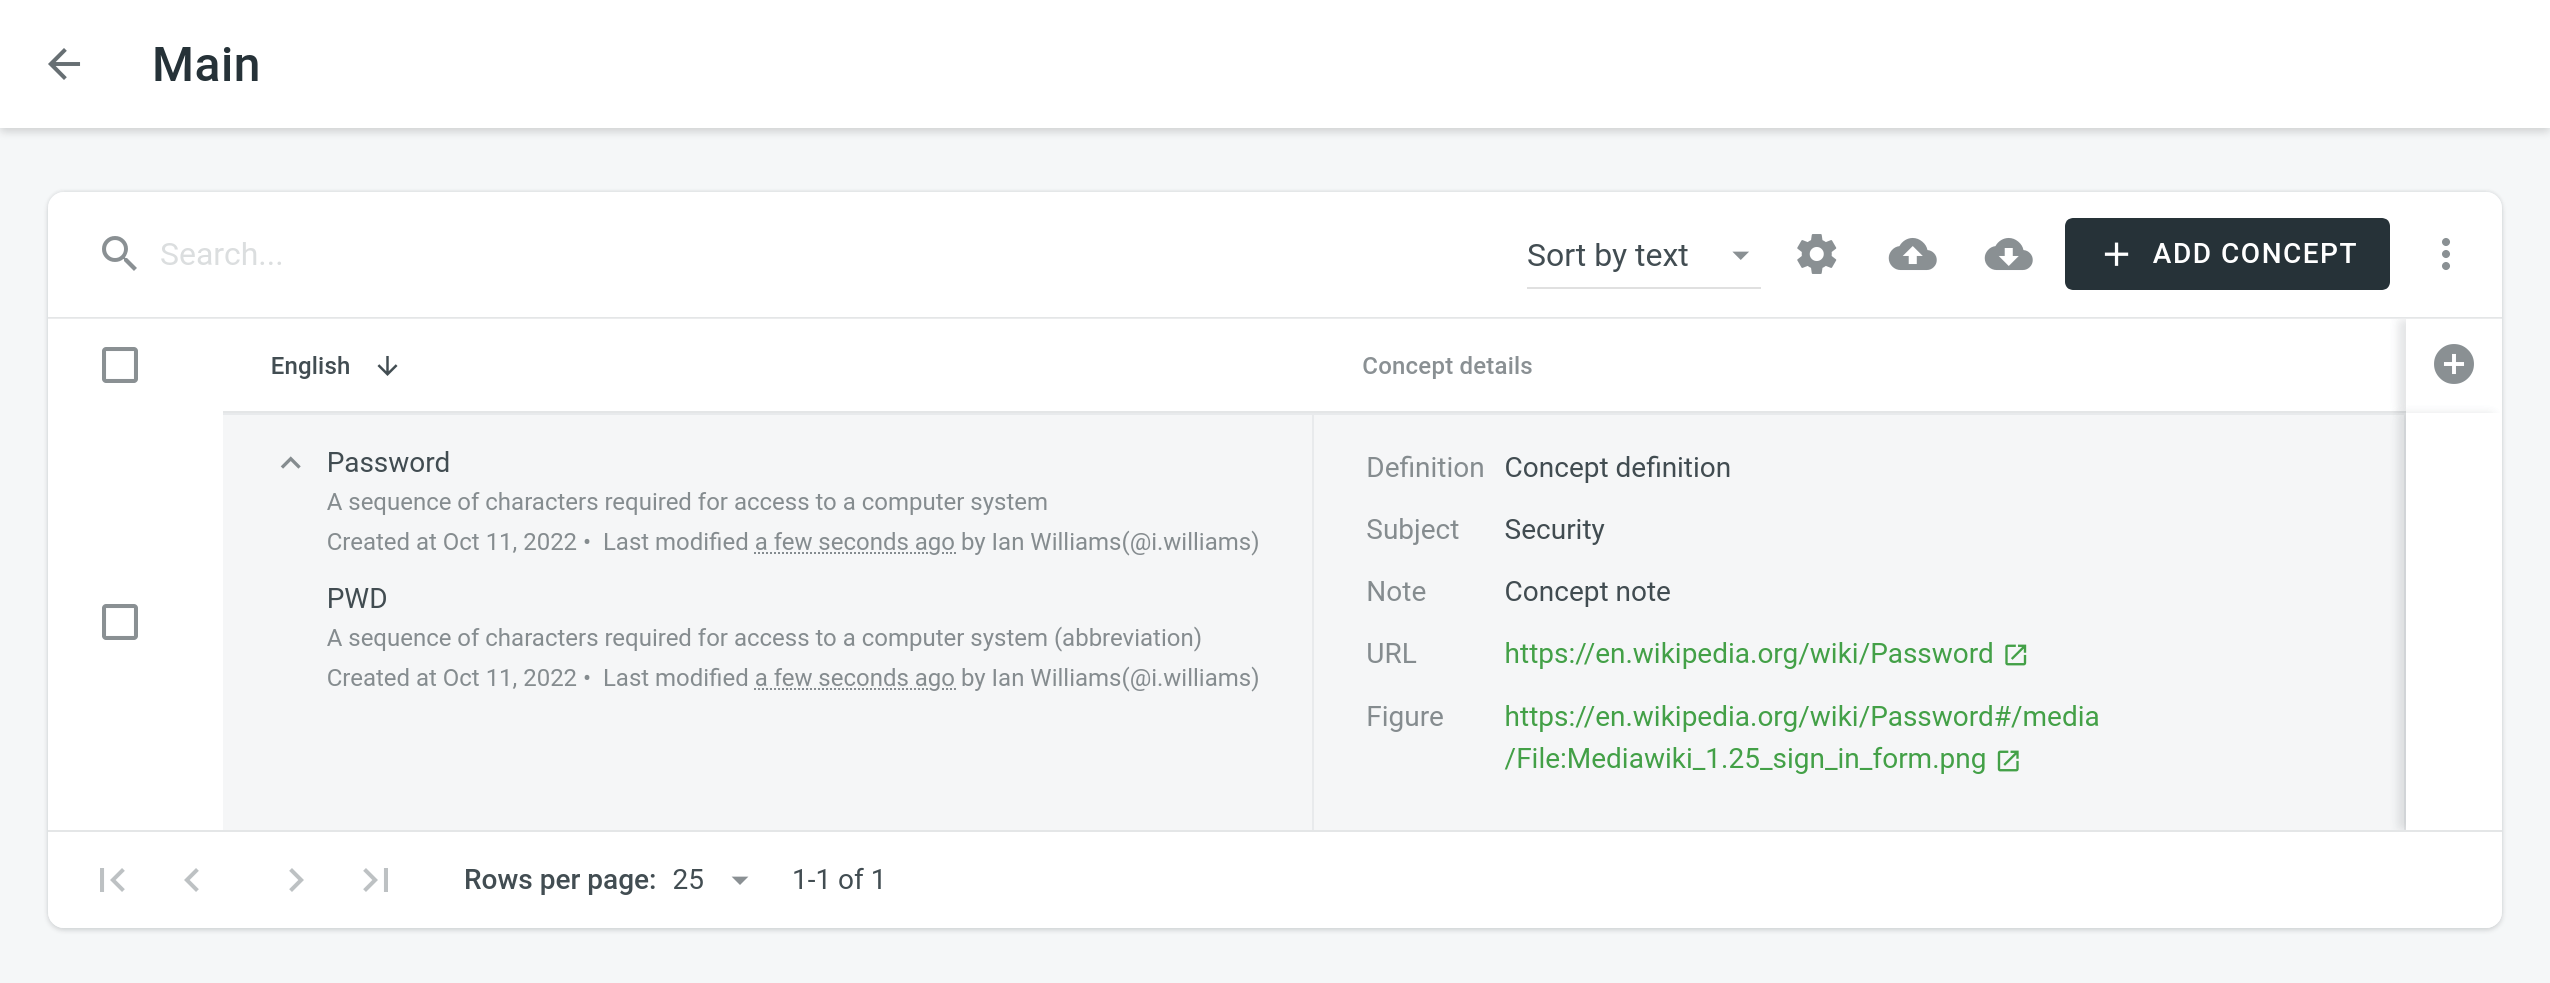
You can edit existing glossary concepts of a particular glossary.
To edit a glossary concept, follow these steps:
- Open your organization’s Workspace and select Glossaries on the left sidebar. Alternatively, open your project and go to Settings > Glossaries.
- Click on the needed glossary.
- Open a glossary concept with a click or click
 .
. - In the appeared dialog, make the necessary edits to the concept or terms and click Save.
Deleting Glossary Concepts
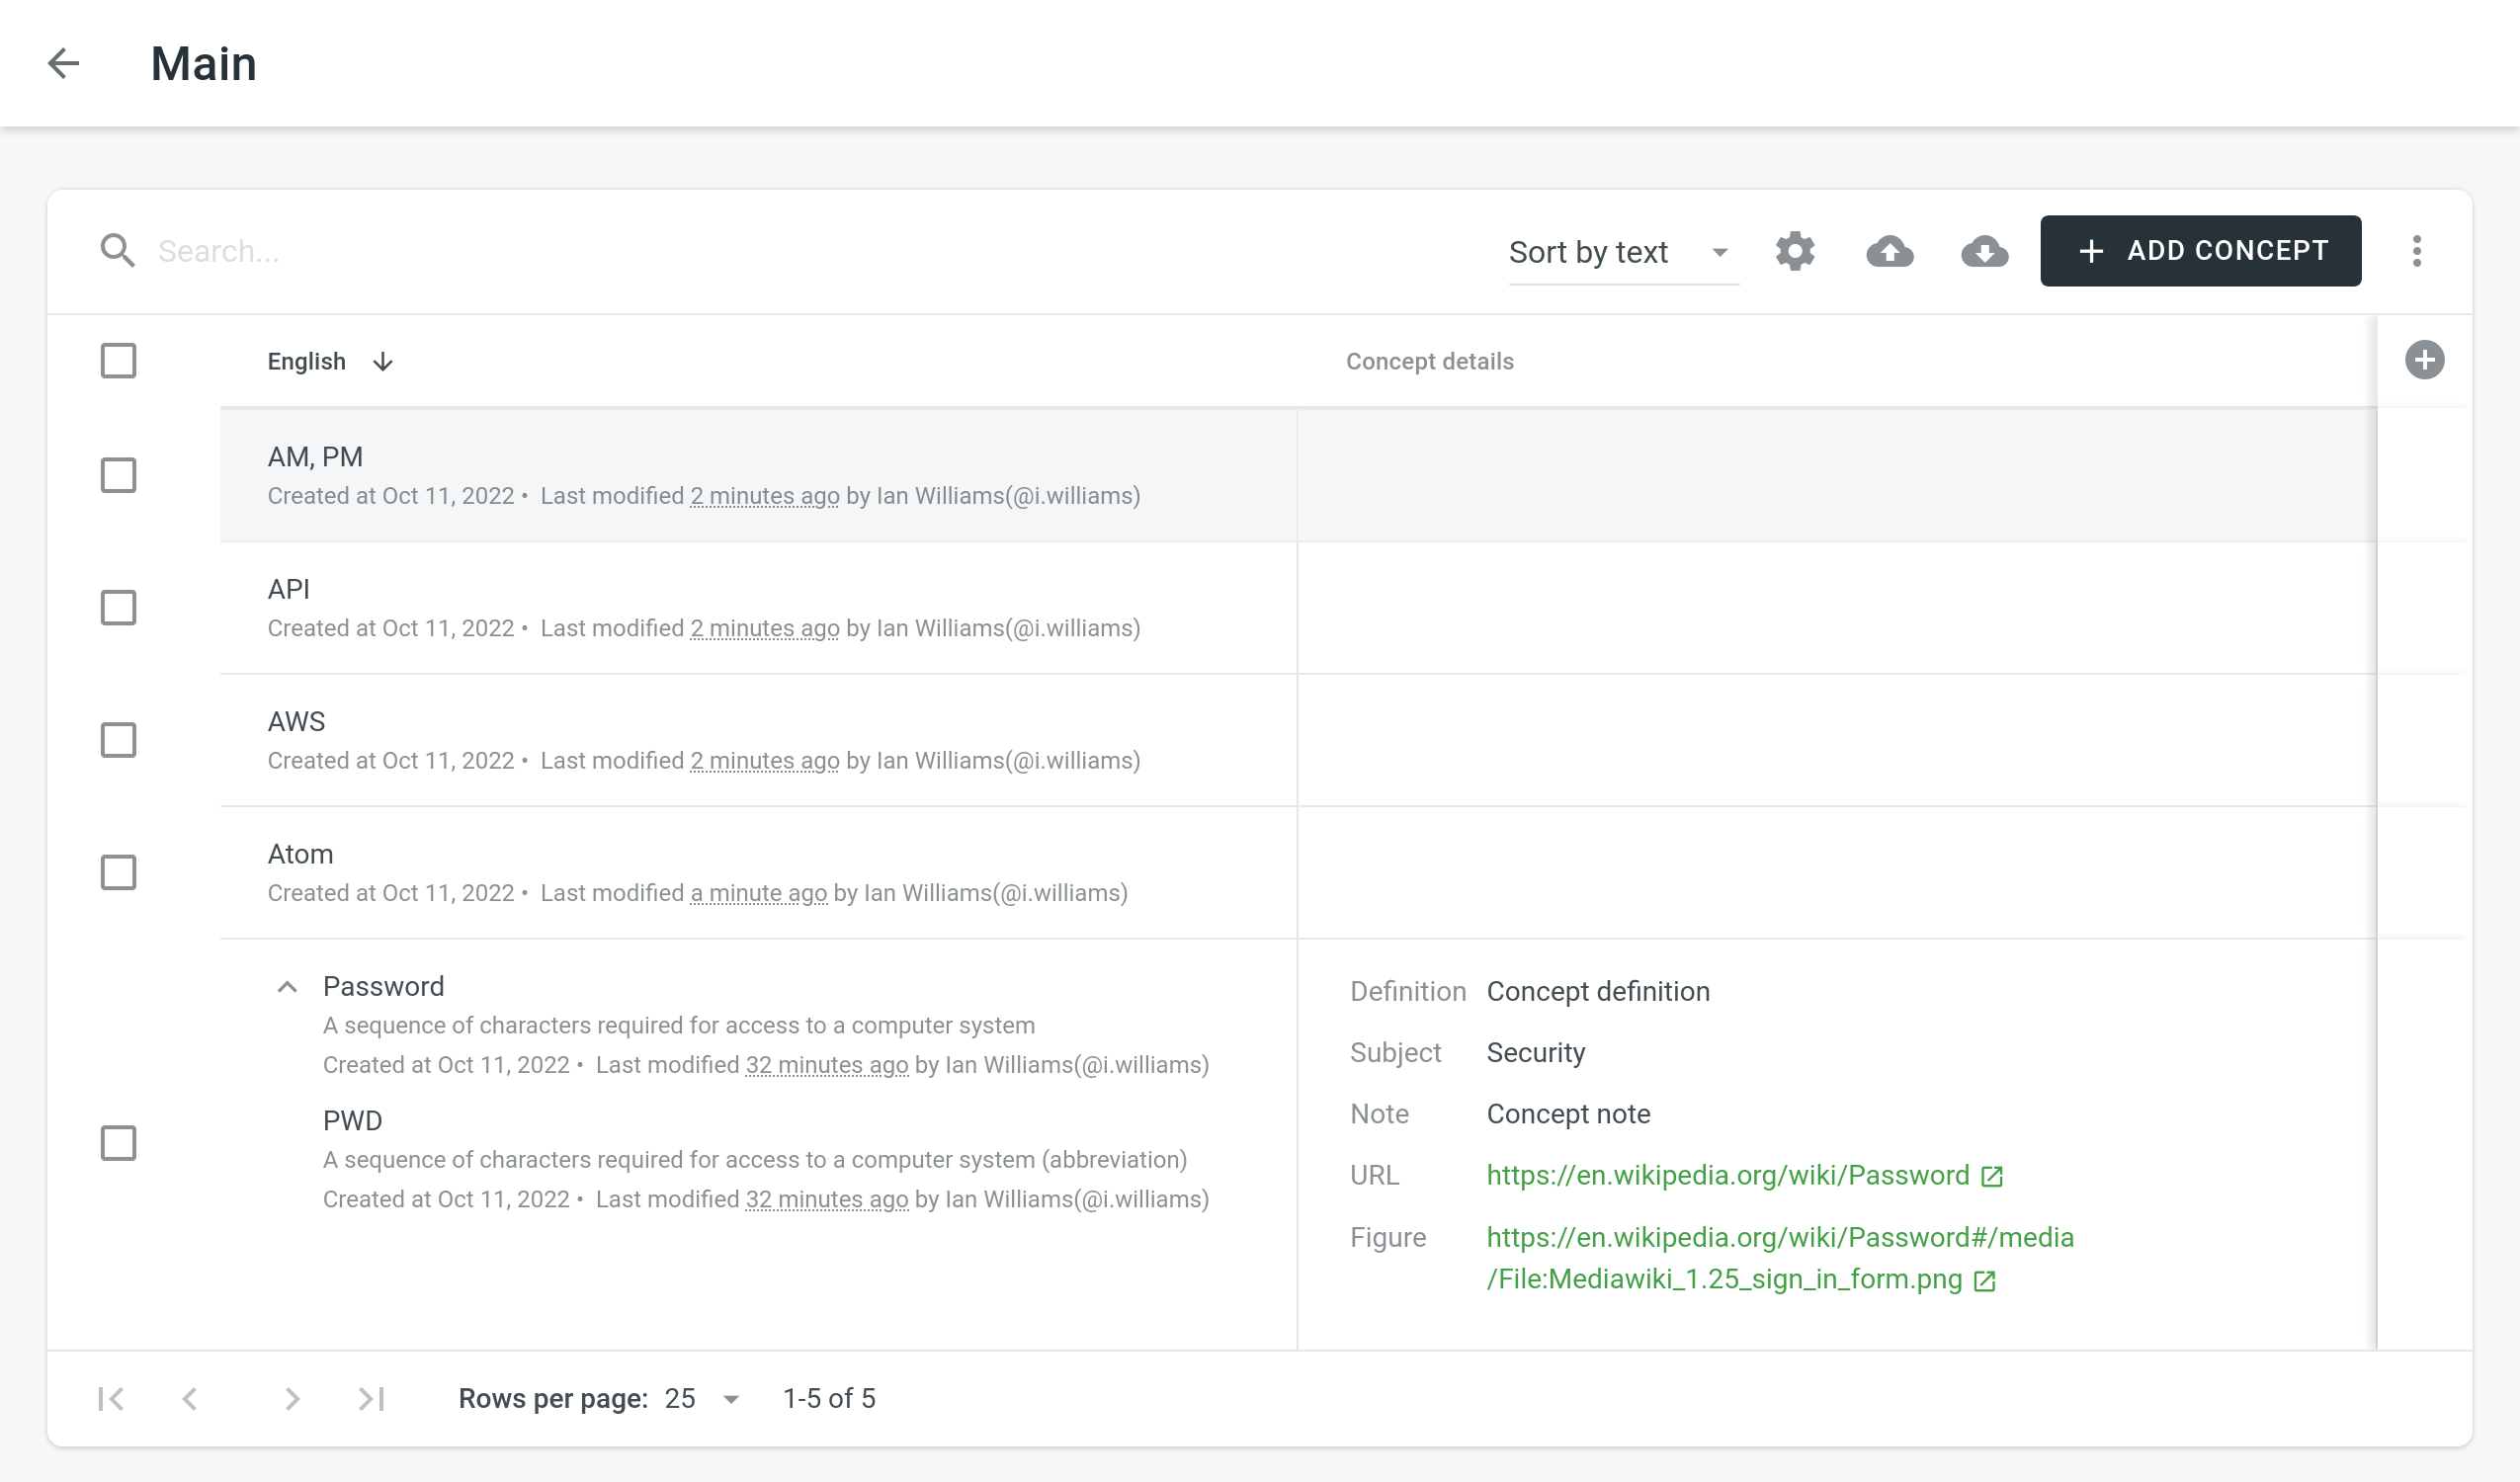
You can delete one, multiple, or all the glossary concepts at once.
To delete all the concepts from the glossary, follow these steps:
- Select the top checkbox above the concept list.
- Confirm the selection of all concepts.
- Click
 .
. 
Downloading and Uploading Glossary
To download or upload the glossary, follow these steps:
- Open your organization’s Workspace and select Glossaries on the left sidebar. Alternatively, open your project and go to Settings > Glossaries.
- Click on the needed glossary.
- Click
 .
.
The owner, admins and managers can upload and download the glossary in the following file formats: TBX (v2), TBX (v3), CSV, XLSX.
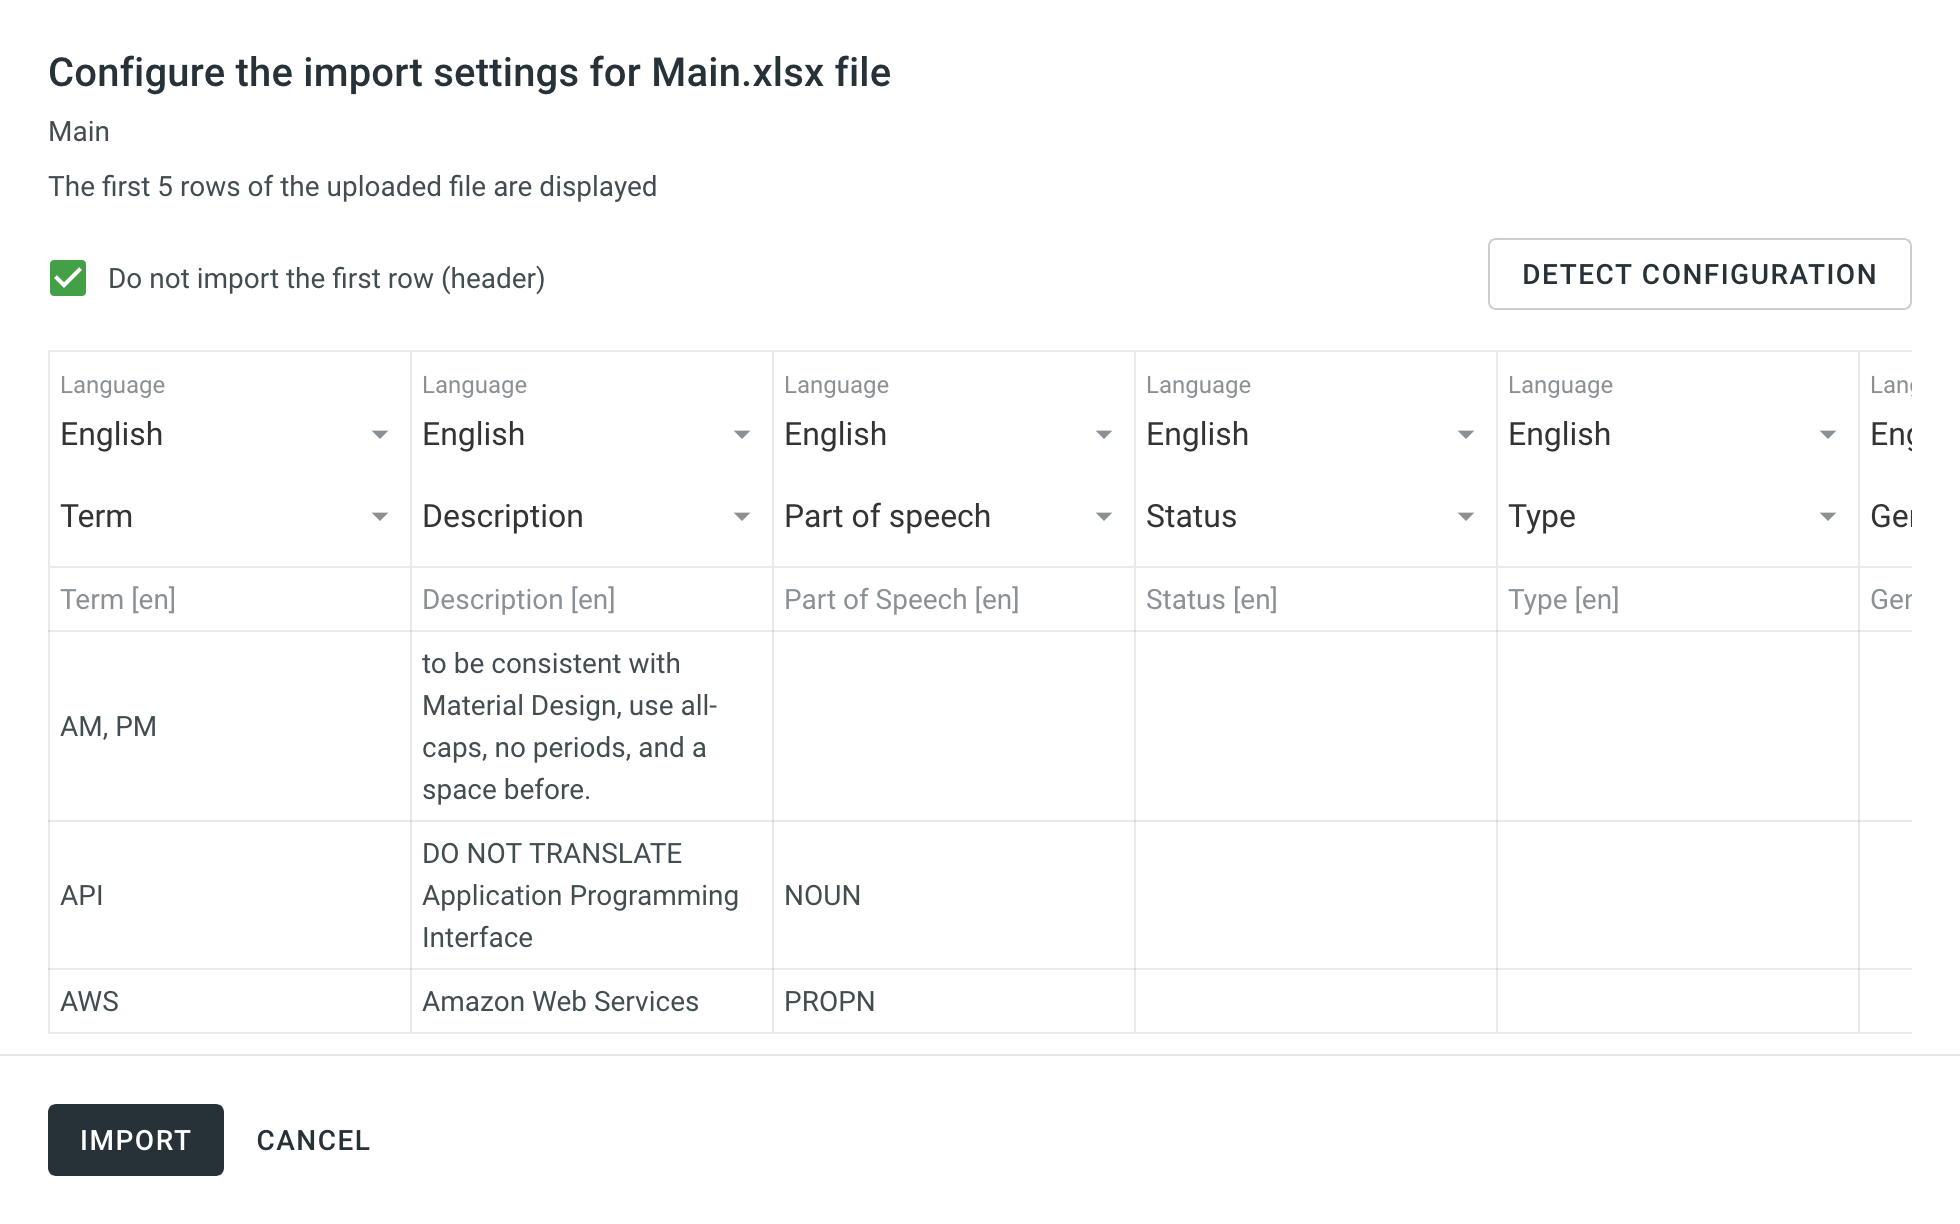
If you upload a glossary in CSV or XLS/XLSX file formats, select the language for each column and the column value (term, description, or part of speech) in the configuration dialog.
When downloading a glossary from Crowdin Enterprise, some browsers may add an XML extension to the downloaded file, so that the file may be named sample.tbx.xml.
To import such a file back to Crowdin Enterprise, rename it to sample.tbx.
Automatic Column Identification for Glossary in CSV and XLSX File Formats
Once you upload your glossary file in CSV or XLSX formats, the system automatically detects the file scheme based on the column names specified in the first row. The identification is performed in a case-insensitive manner. Columns that weren’t detected automatically will be left as Not used/Not chosen for manual configuration. Automatic column identification is especially helpful when you upload glossary spreadsheets that contain many languages and additional columns (e.g., Status, Type, Gender, etc.).
To get the most out of the automatic column detection, we recommend that you name the columns in your CSV or XLSX glossary files using the patterns described below:
- Term details –
{column-type} [{crowdin-language-code}](e.g.,Term [en],Description [en],Part of Speech [en], etc.). - Concept details –
Concept {concept-details-type}(e.g.,Concept Definition,Concept Subject,Concept Note, etc.).
To redetect the glossary file scheme, click Detect Configuration.
Ordlistetildeling
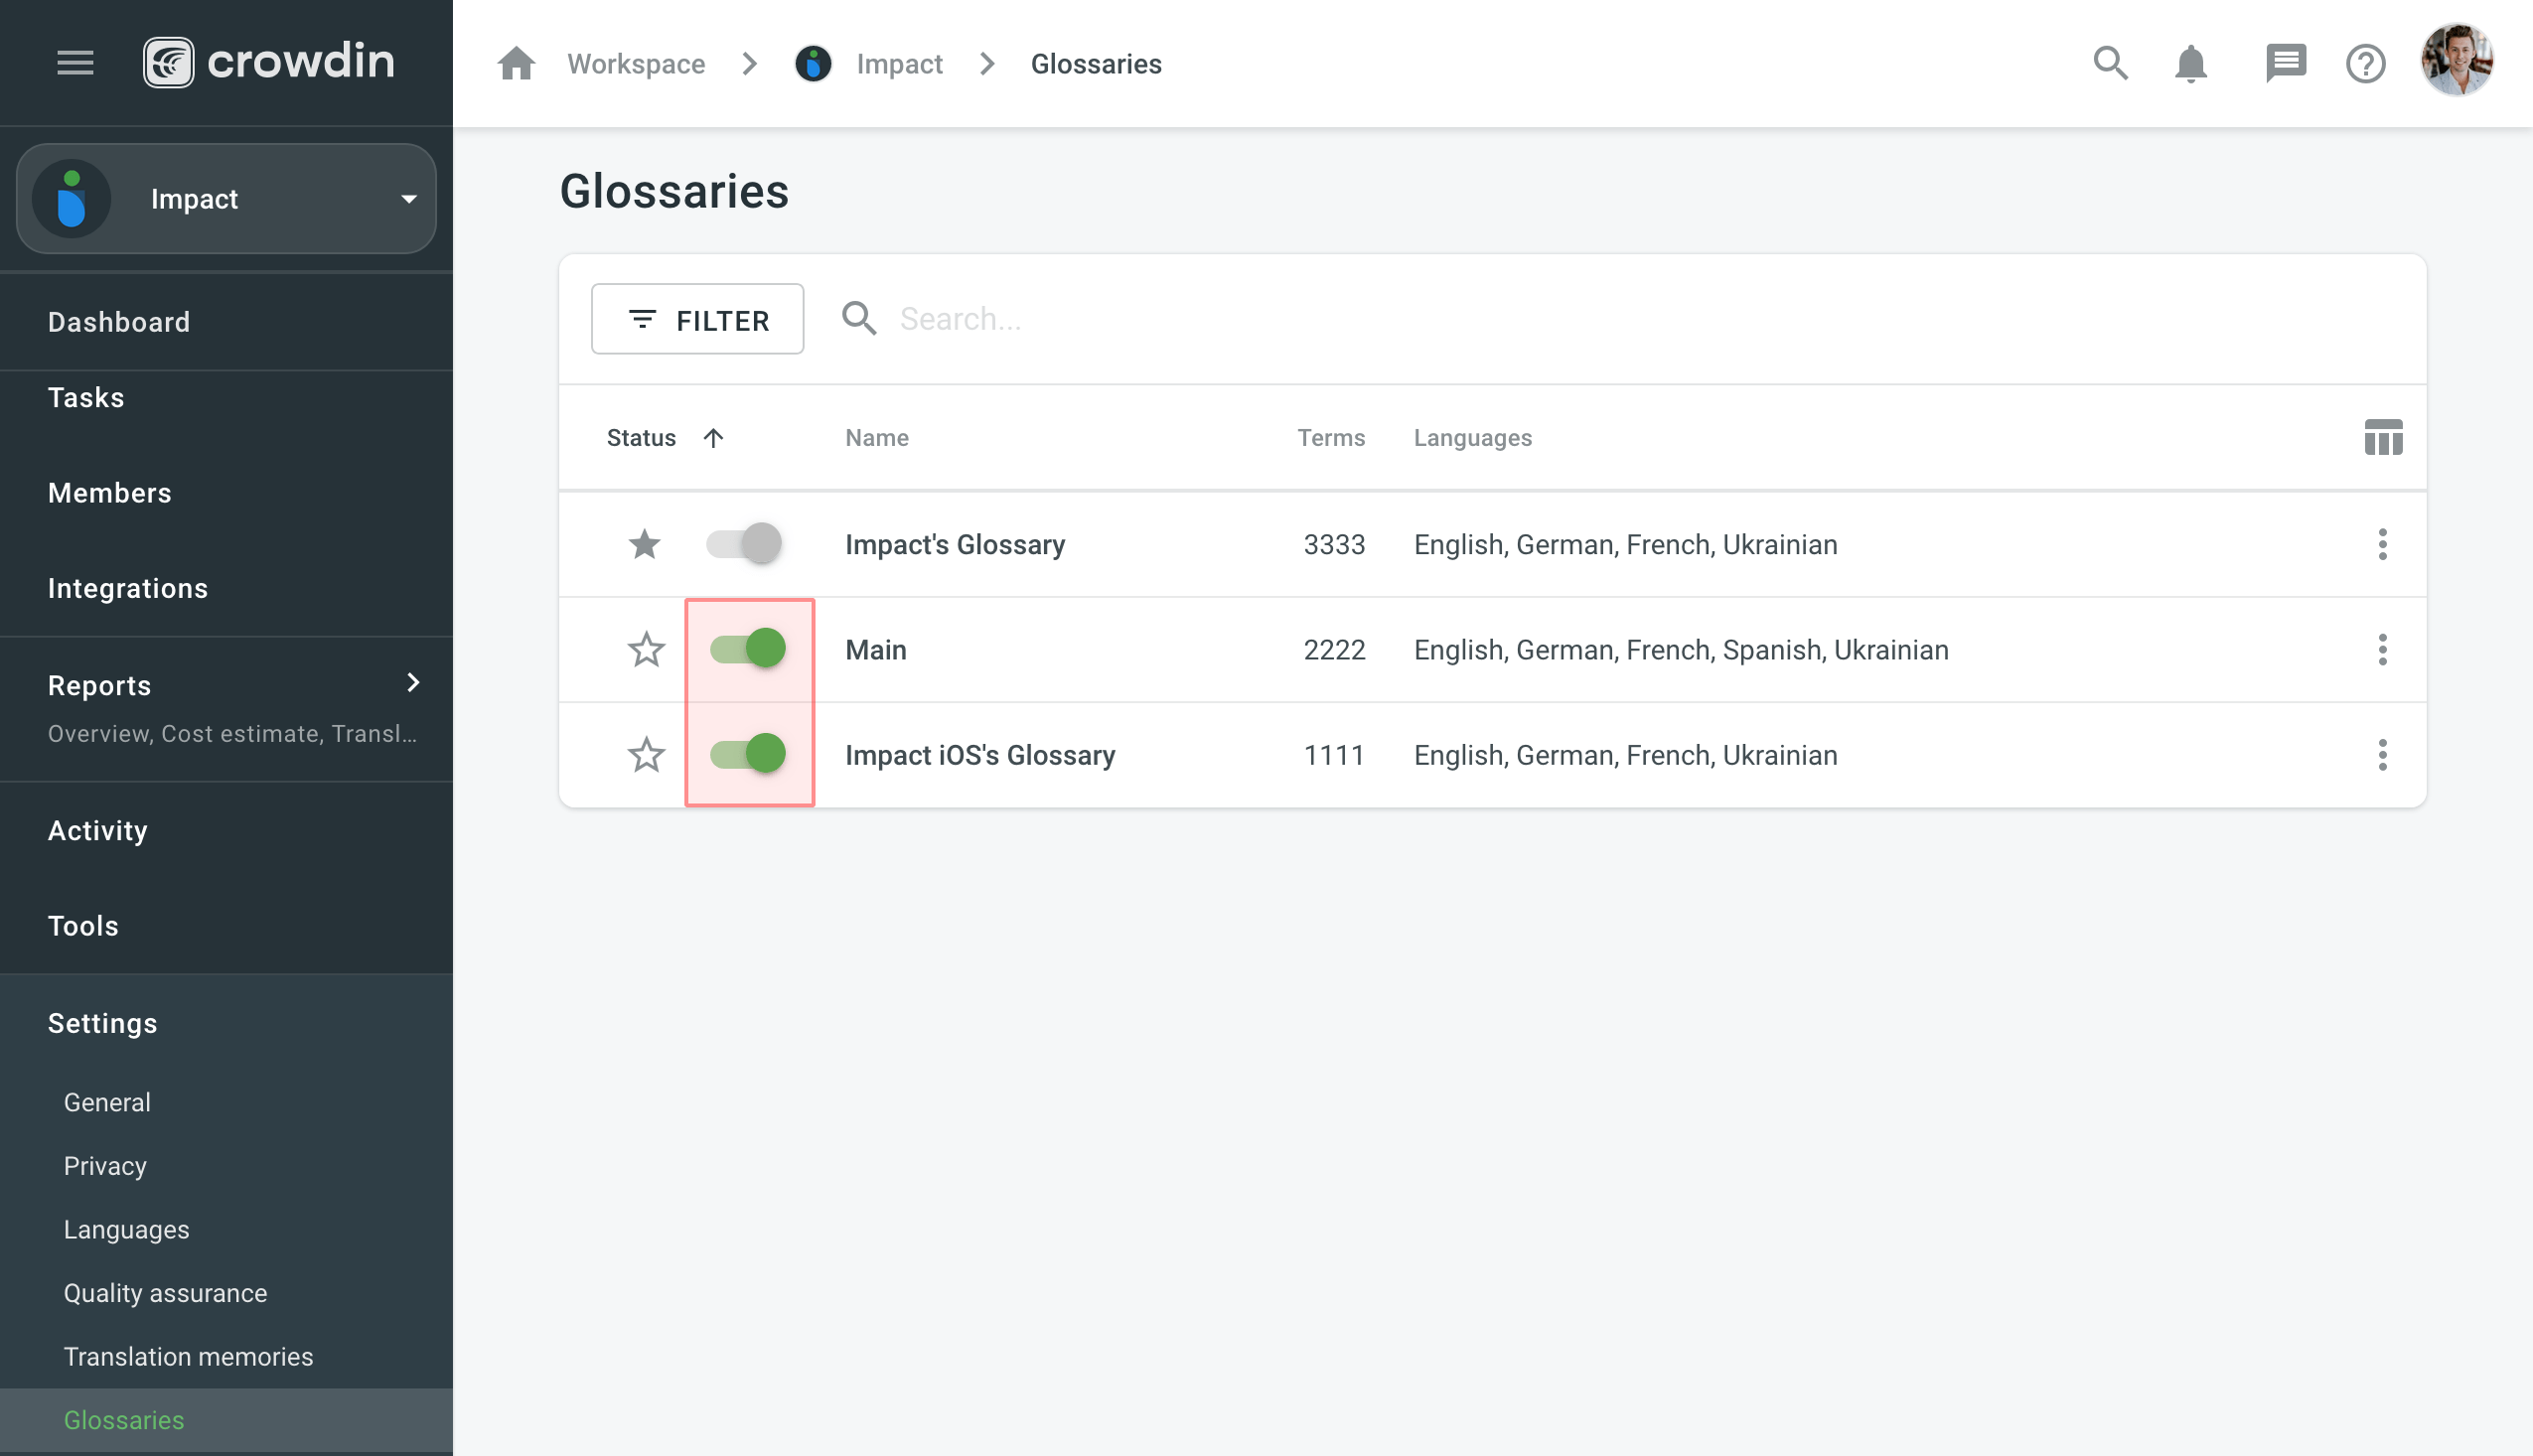
To assign a glossary to your project, follow these steps:
- Open your project and go to Settings > Glossaries.
- Select the needed glossaries from the list.
Changing Default Glossary
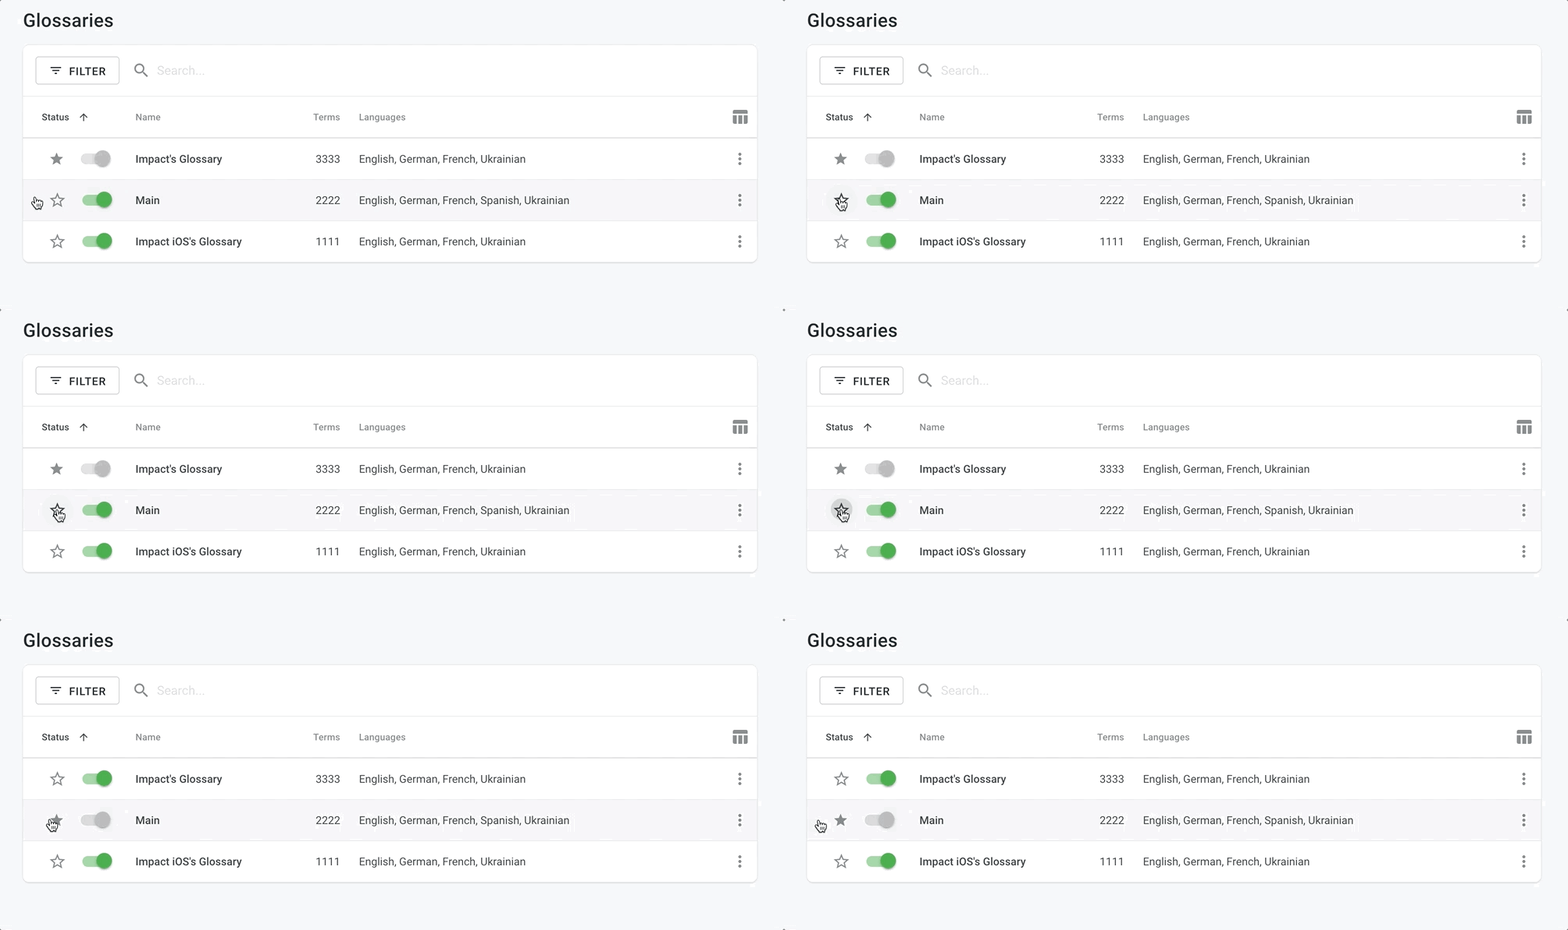
To change your project’s default glossary, follow these steps:
- Open your project and go to Settings > Glossaries.
- Click the star icon next to the needed glossary in the list.
Deling af ordlister
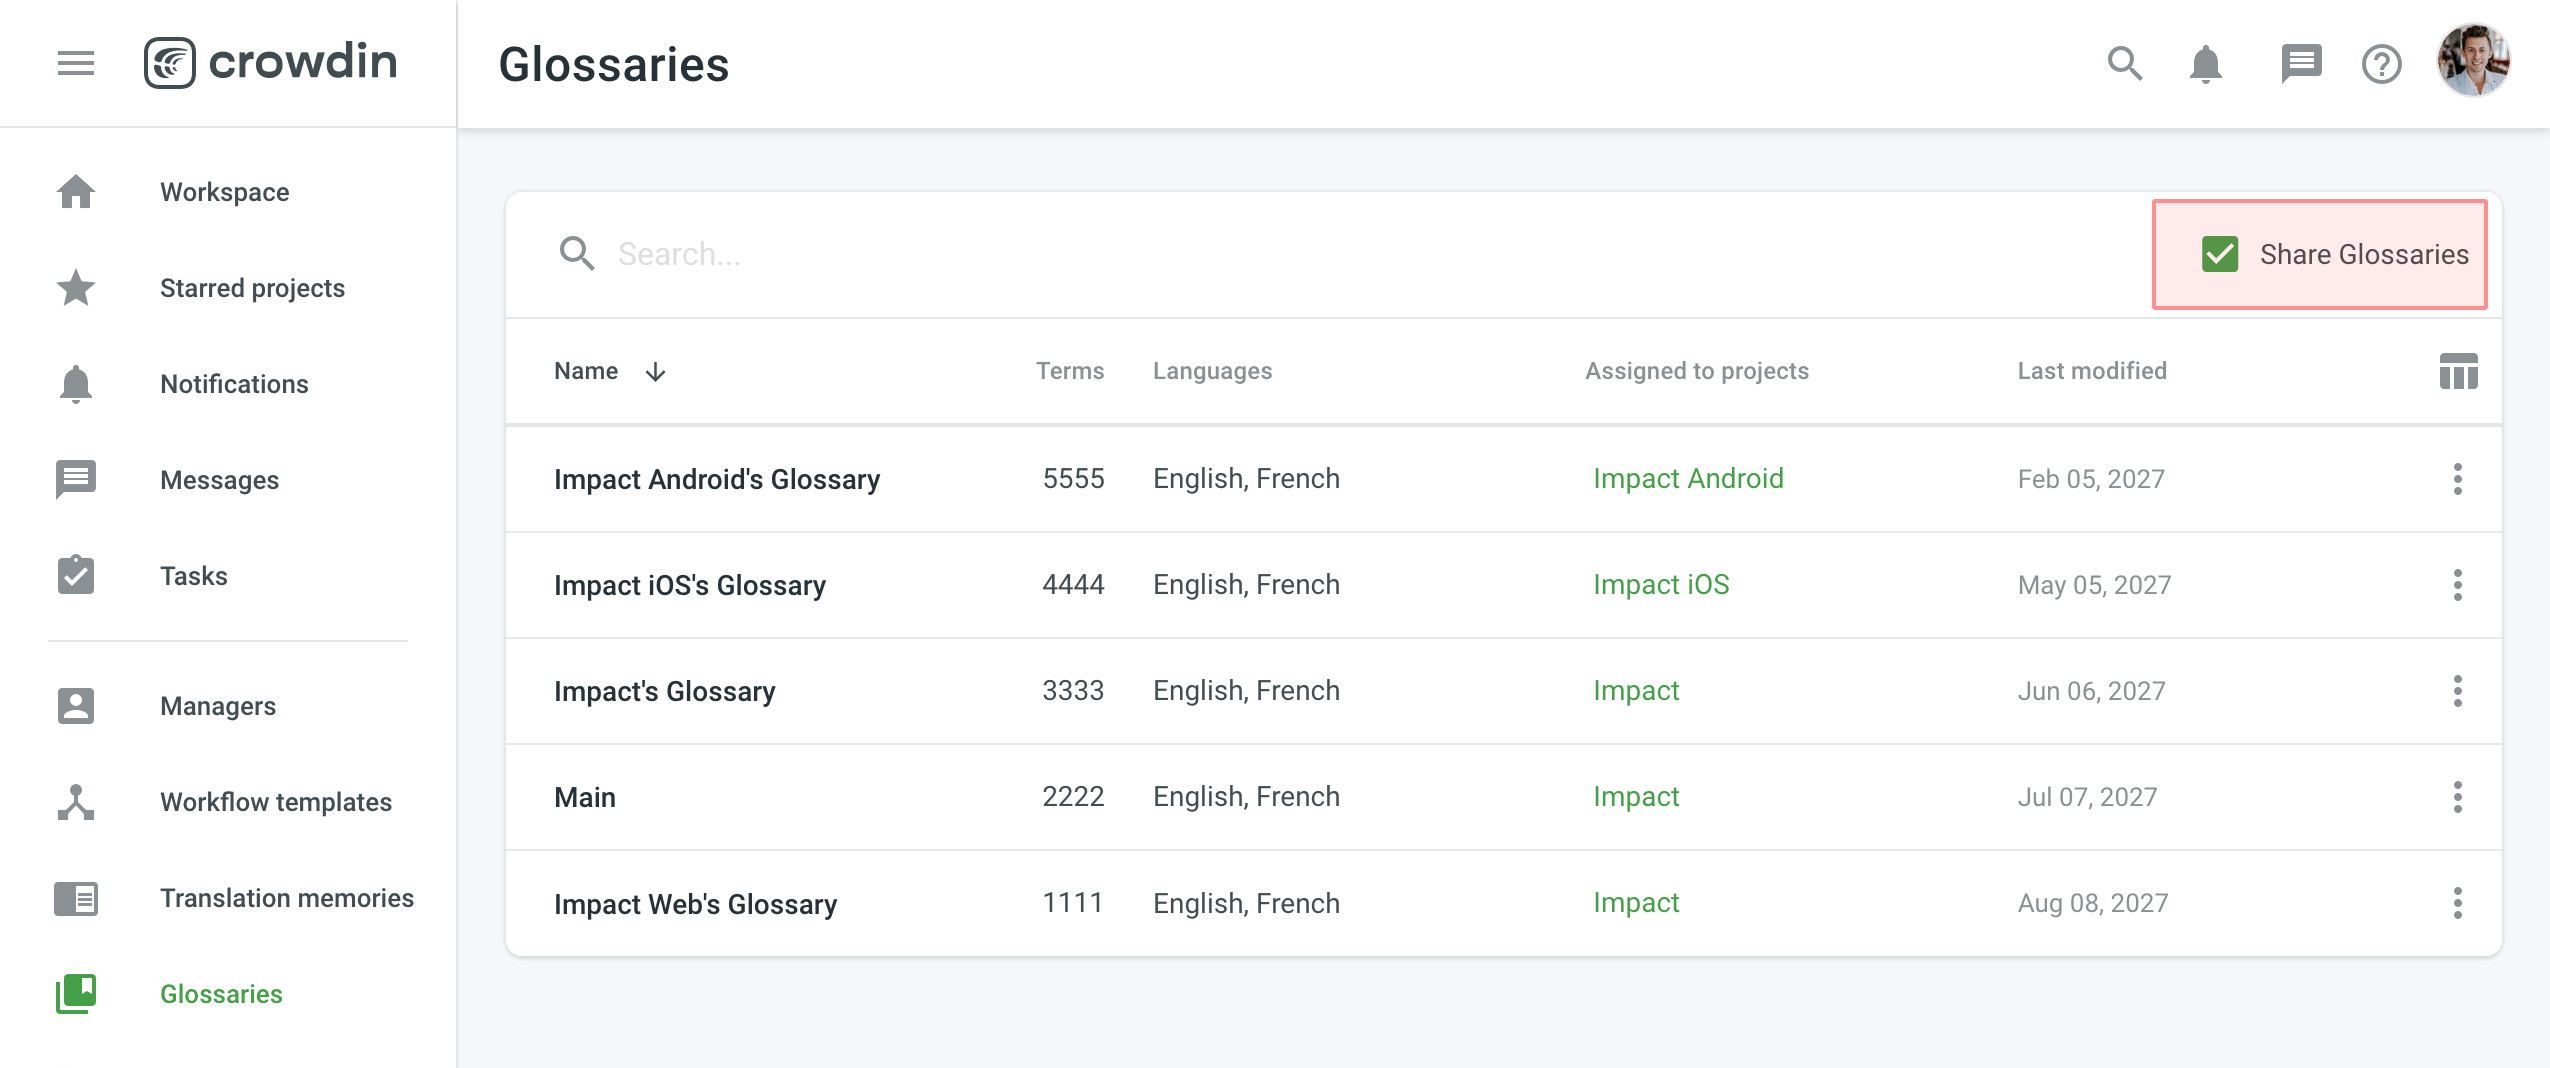
To share your glossaries between all of the projects within the organization, follow these steps:
- Open your organization’s Workspace and select Glossaries on the left sidebar.
- Select Share Glossaries.
Sp&Sv
Q: A client changes the translation of a term in the glossary, but the vendor does not see this change in the Editor on their end. How can this be fixed?
A: The priority is given to the organization’s own glossaries first, followed by external (i.e., client) glossaries. To resolve this, the vendor can disable their own glossary and use only the client’s glossary to ensure they see the updated term.