Organization Settings
You can view and manage settings for your Crowdin Enterprise organization using the Organization Settings page.
Manage organization info, authentication, and security settings, view billing history, install Crowdin apps, and more. You can also switch to Permission granularity mode to manage settings for each project group separately.
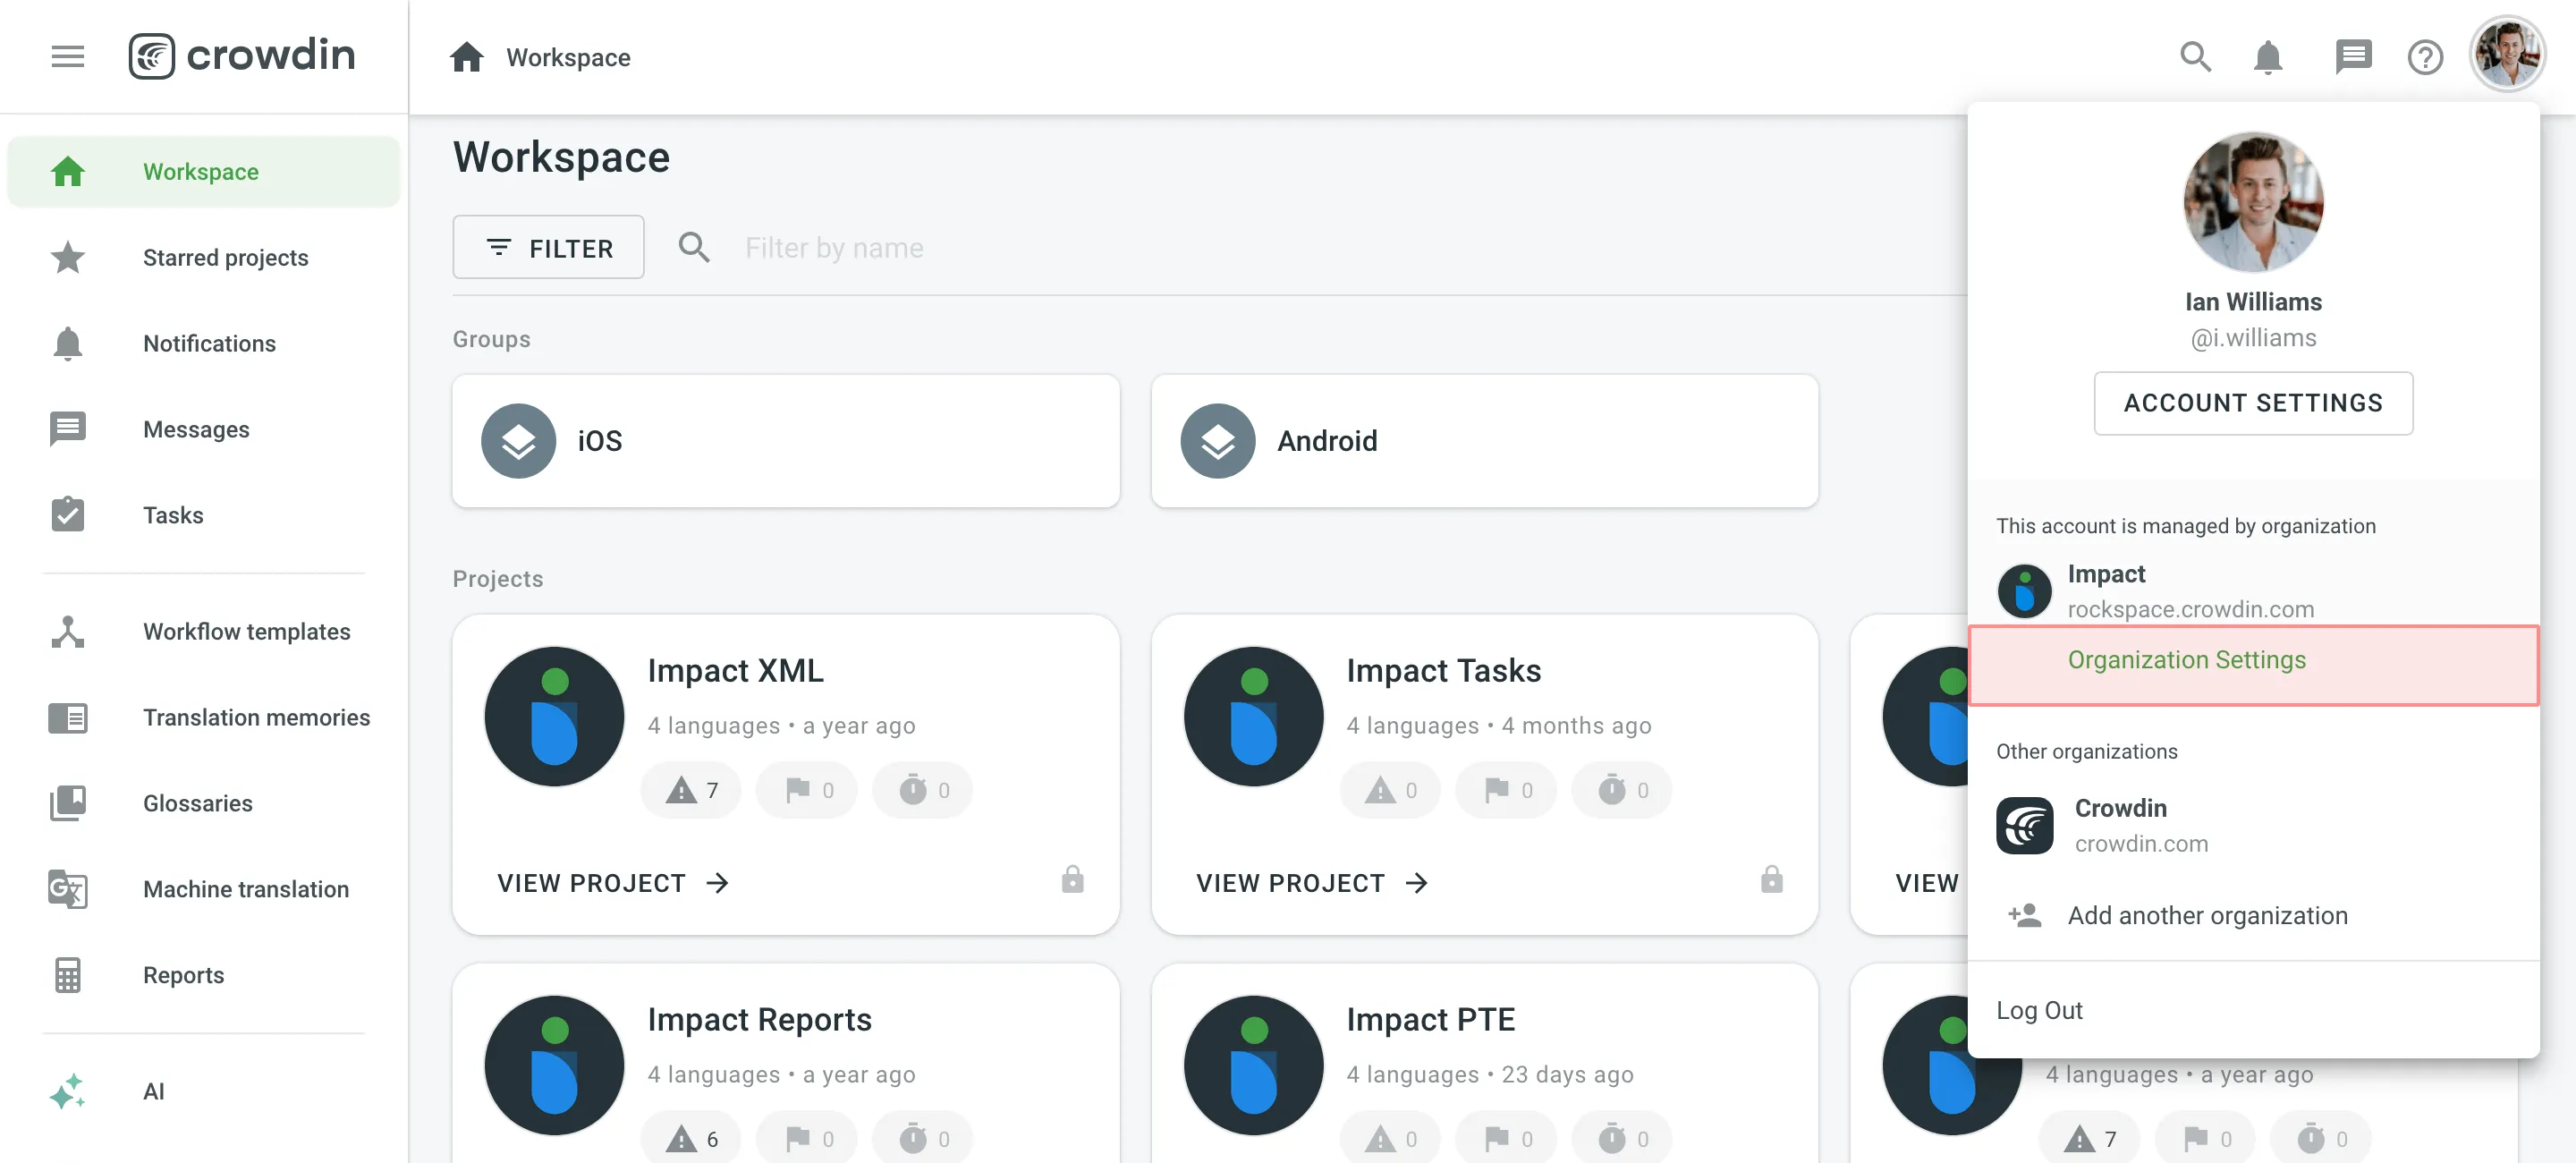
To configure organization details, click on your profile picture in the upper-right corner and select Organization Settings.
Organization Info
Manage the essential details of your organization, including its name, logo, and public presence. You can update your organization’s name and upload a new logo, ensuring your organization’s branding is always current.
Public Organization
In the Public Organization section, manage how your organization is presented to the public. Add a description, select the project view (List or Grid), and choose up to six featured projects to showcase.
A public page is automatically created when you publish a project with the Crowdsourcing workflow step.
If you are a Vendor, your organization info will be visible to your Clients, and you will also see their organization info.
Custom Domain
Configure a Custom Domain to host your Crowdin Enterprise organization on your own domain. This feature is particularly useful if you have crowdsourcing projects, as it can help attract more contributors to get involved in translating your projects.
To set up a custom domain, create a CNAME record with your DNS provider that points to org.cname.crowdin.com. Ensure that you use this specific address without modifications, as the domain specified below will be automatically detected.
Read more about Crowdsourcing.
Account Defaults
Configure the default settings for the Editor across your organization. Choose the default view mode (Side-by-Side, Comfortable, Multilingual, or Multilingual (Grid)) that best suits your workflow. You can lock this setting to enforce the selected view for all users, preventing any individual changes in their Editor settings.
Authentication
The Authentication section allows you to configure how users join and access your organization. You can fine-tune security settings and manage various authentication methods based on your preferences.
With Security options, you can enhance your organization’s security by enabling features like two-factor authentication, which requires users to verify their identity through an additional step. Additionally, configure the IP allowlist to restrict access to only connections from approved IP addresses, helping maintain strict control over access to your organization’s resources.
You can also manage authentication methods for user sign-ins. Use Crowdin Enterprise’s built-in options or choose from various external methods, including social logins via Google, Facebook, GitHub, GitLab, and X. For advanced security, enable Passkey for a passwordless experience or integrate with existing identity providers using OpenID Connect and SAML. These options simplify the authentication process while ensuring robust security for your organization.
Read more about Authentication.
Billing
In the Billing section, you can manage your subscription plan, view payment history, and handle app subscriptions. You can upgrade or downgrade your plan based on your needs, and access detailed information about your organization’s usage and invoicing.
Subscription Plan
Review your current subscription plan, which includes details such as the plan name, the date of the last plan change, and your current usage limits. You can also see how many managers and words are currently used out of the total allowed, as well as the status of additional features like permission granularity and IP allowlist.
Read more about Changing Subscription Plan.
App Subscriptions
Crowdin Store offers various apps that you can install to extend the functionality of Crowdin Enterprise, synchronize your content stored in a CMS, and more. Some of the apps are available for free, while others are paid.
Read more about App Subscriptions.
View Payment History
Access payment history and download invoices.
Read more about Payments and Invoices and Billing Settings.
Crowdin Managed Services
Top up the balance for the Crowdin Managed Services (MT engines, AI models), set a balance warning threshold and view the usage statistics for each service.
Read more about Crowdin Managed Services.
Apps
In the Apps section, manage the Crowdin Apps installed in your organization. You can view and manage currently installed apps, search for specific ones, and use the Edit or Uninstall options by clicking on each app.
Click Install from store to add apps developed by Crowdin and other developers from the Crowdin Store. Alternatively, click Install private app to manually install custom apps of your own development.
Read more about Installing Crowdin Apps.
Agents
Manage agents for custom applications that interact with Crowdin Enterprise. Agents allow applications to perform specific actions on your behalf within the platform. You can add Agents from the Crowdin Store and manage their permissions to projects and resources as needed.
Custom QA Checks
In the Custom QA Checks section, create, add, and manage QA checks tailored to your specific needs. These QA checks help verify translations against rules not covered by default checks. Manage your installed QA checks by viewing, updating, or deleting them as needed.
Create Custom QA Checks from scratch using a JavaScript-based code snippet, or add pre-made ones from the Crowdin Store. Additionally, install External QA checks as Crowdin Apps from the Crowdin Store to extend your organization’s QA capabilities.
Once added, assign these QA checks to your projects.
Spellcheckers
Integrate custom spellcheckers to enhance translation quality by checking translations against specialized rules not covered by default settings. You can add spellcheckers from the Crowdin Store and manage their settings, including reviewing supported languages and real-time verification mode.
Webhooks
In the Webhooks section, you can configure organization webhooks to receive notifications about key events that happen in your organization. Once set up, Crowdin Enterprise will send POST or GET requests with data to the specified webhook URL via HTTP when these events occur.
You can create organization webhooks for the following event types:
- Group created
- Group deleted
- Project created
- Project deleted
Read more about Webhooks.
Custom Languages
In the Custom Languages section, you can extend language support by adding custom languages not included by default.
To add a custom language, follow these steps:
- Click Add Language in the upper-right corner.
- Specify a language name and choose the main language if a custom language is a dialect.
- Define and fill in language codes.
- Set text direction and select plural form.
- Click Create.
Once added, custom language codes will be automatically applied to the corresponding placeholders whenever used. You can also create custom codes for your custom languages using Language Mapping.
Fields
Create the Fields to add additional helpful information, links, or data to various entities like your projects, user accounts, tasks, and more.
Read more about Fields.
Custom Placeholders
Create custom placeholders using supported Expression Syntax Elements, which you can assign to preferred projects.
Read more about Custom Placeholders.
Permission Granularity
Enable Permission Granularity Mode to manage project groups as separate units inside one Crowdin Enterprise account. You can then add projects to specific groups or subgroups. This mode allows working with workflow templates, translation memories, glossaries, and machine translations for each project group separately. When you assign group managers, they will have access to all project resources except the Settings and Managers sections.
OAuth Apps
Create an OAuth app that can be used to make authorized requests to the Crowdin Enterprise API or as a Single Sign-On service. You can build custom integrations and give them access to use your account on your behalf. Only organization admins will be able to modify its credentials or delete an OAuth app to revoke its access.
Some of the most common uses for this functionality include:
- OAuth apps let you make authorized requests to API.
- OAuth apps are often used as a Single Sign-On service. You can allow users to sign in your service with their Crowdin Enterprise accounts.
See the Authorizing OAuth Apps to learn how to authorize OAuth apps to access your Crowdin account.
Adding a New Application
To add an OAuth app, follow these steps:
- Click on your profile picture in the upper-right corner and select Organization Settings.
- Switch to the OAuth apps section on the left sidebar and click New App.
- On the Create application page, enter the following information:
- Application name and Application description (optional) will be shown to users when they authorize the app with access to their Crowdin Enterprise accounts.
- Authorization callback URLs are the URLs where users will be sent after they authorize with Crowdin Enterprise. You can add multiple URLs separated by a comma (no need to use quotation marks).
- Select the access your app requires from the list of Scopes available.
- Click Create Application.
Modifying an OAuth App
After creating an OAuth application, organization admins can make changes to it. Go to Organization Settings > OAuth apps to see the list of OAuth apps added for your organization.
Click the necessary app to be able to:
- Update the application name, description, URLs, and scopes.
- Delete the application.
- Check how many organization users are using the app.
- Access Client ID and Client Secret of the created application.
- Reset Client Secret for the app.
- Revoke all user tokens.
Security Log
Track important events that happen on the organizational level. Security log includes events such as logins, passwords, usernames, and email changes, etc. Click on the needed event to see the following details: Event type, Location, IP, Device, and Date. Use filters to find specific event types and users.
API Log
Monitor and audit API activities within your organization using the API Log. This section provides a detailed record of API actions, categorized by results (Successful, Unsuccessful) and action types (e.g., Storages, Languages, Projects and Groups, etc.). The table includes columns for Date, Action, Response, and IP, offering useful insights when reviewing API activities. Use the search and filter options to quickly locate specific events and ensure transparency in API usage.
Legal and Compliance
View information about Crowdin’s policies, terms of service, and compliance standards, as well as Crowdin’s commitment to data security and privacy.
Danger Zone
You can transfer ownership or delete your organization from Crowdin Enterprise. Before deleting, you can export some of your organization’s data, including invoices.
Transfer Ownership
The organization ownership transfer action facilitates the seamless transition of administrative control from one user to another within the organization. This process includes initiating the transfer, designating a new owner, executing the transfer, and providing retained administrative access for the former owner.
Before you transfer ownership:
- Grant admin access to the user you want to assign ownership to.
Delete Organization
Deleting organization is permanent. It removes all the info associated with this organization. This means all the projects, organization accounts, localization resources, and other related data become irretrievable.
Before you delete the organization:
- Consider exporting your organization data (including TMs, glossaries, workflow templates).
- Download the invoices and transaction history for each subscription.