For Managers
Crowdin is a localization management platform that helps companies, teams, and individuals stay agile when translating products like mobile, desktop & web apps, websites, games, help documentation, and more.
In this article, we’ll walk you through a typical localization workflow for managers in Crowdin. We’ll cover creating a project, uploading content, inviting project members, pre-translating your project, generating reports, and downloading translations.
Create a Project
Create a project to be able to upload your content for localization. When creating a project, you can select the preferred project visibility, project type, and select the source and target languages.
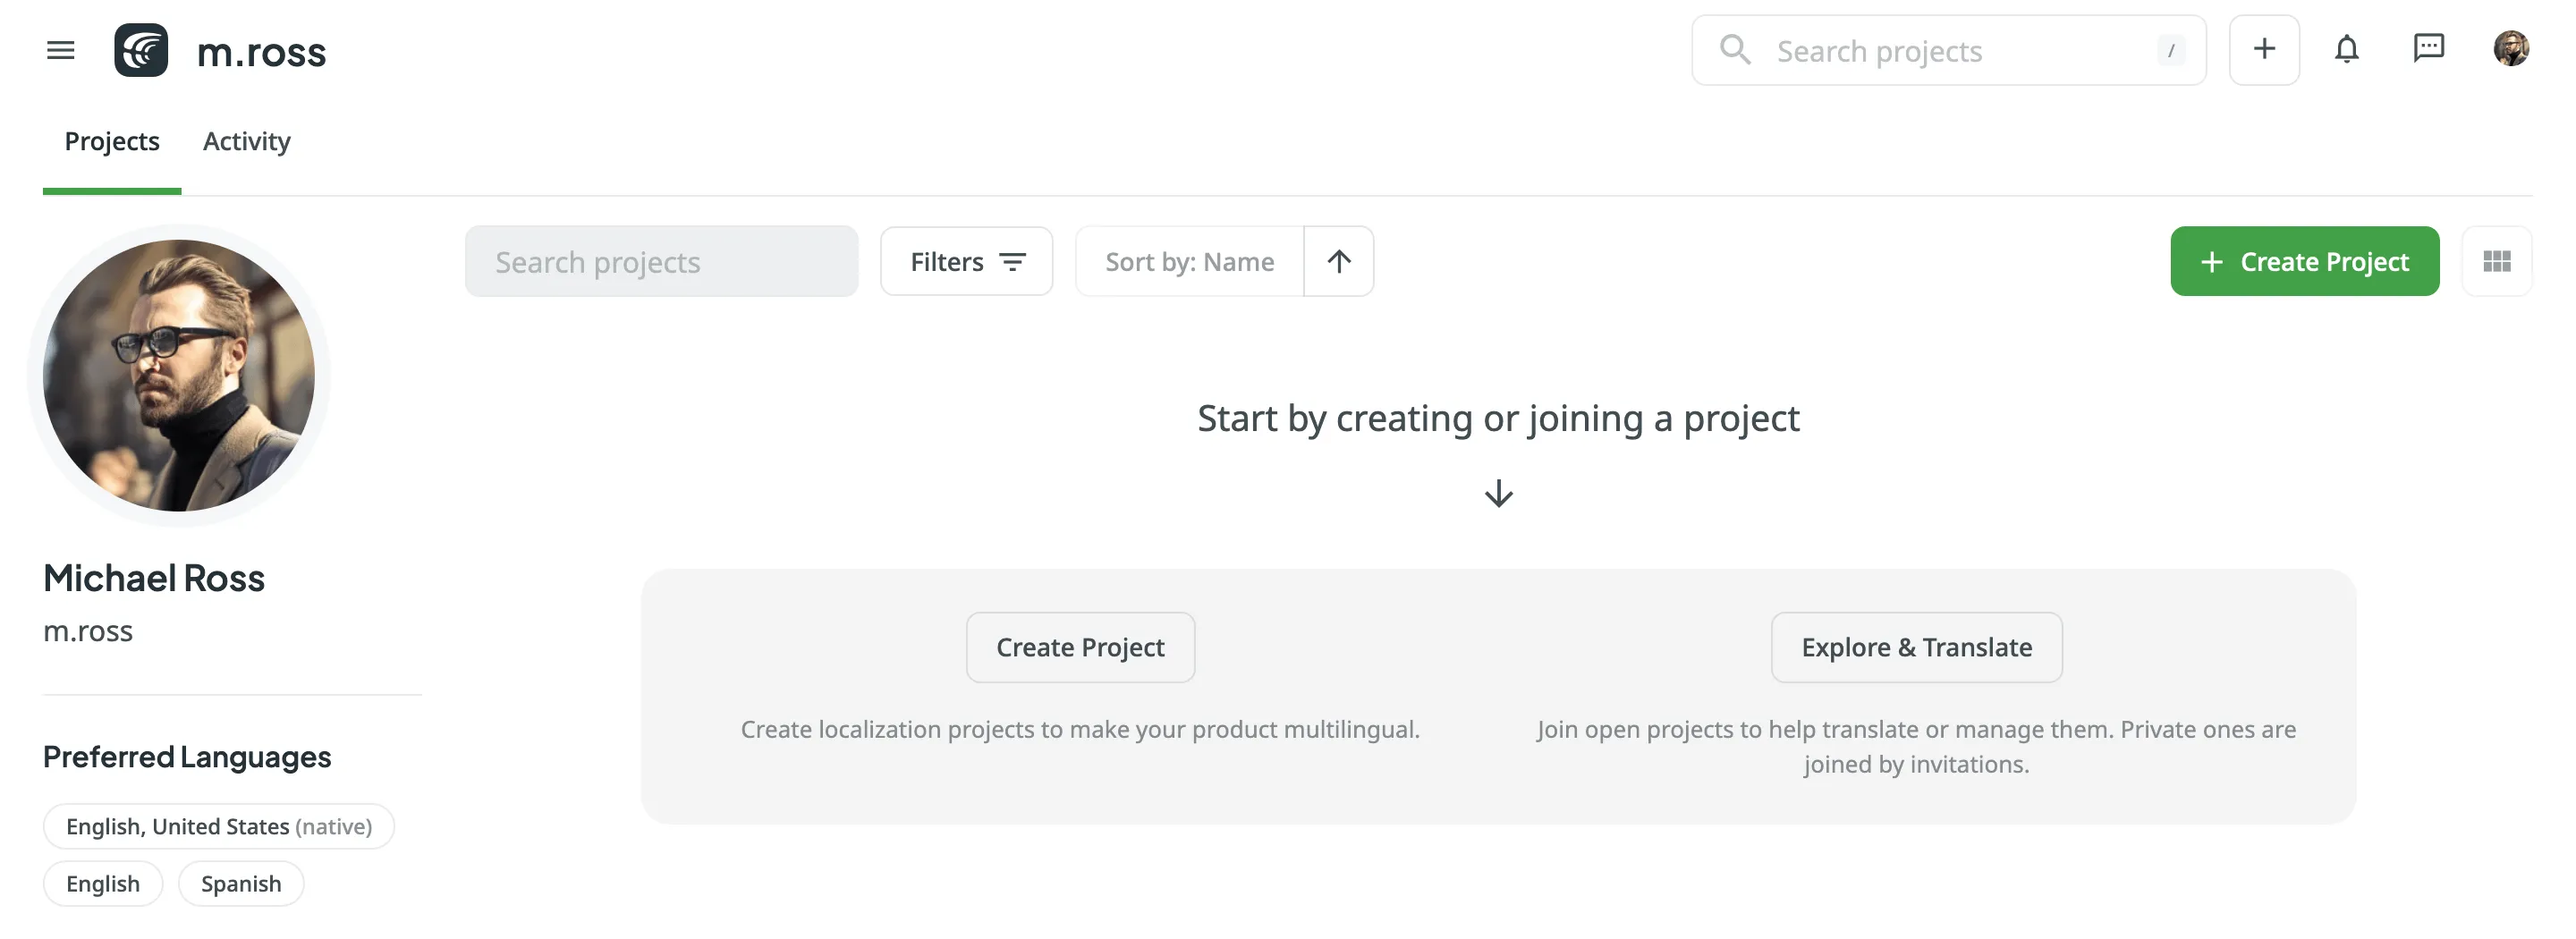
Read more about Creating a Project.
Once you’ve created a project, you can add content to be translated. Each project has its own source content, resources, target languages, integrations, members, etc.
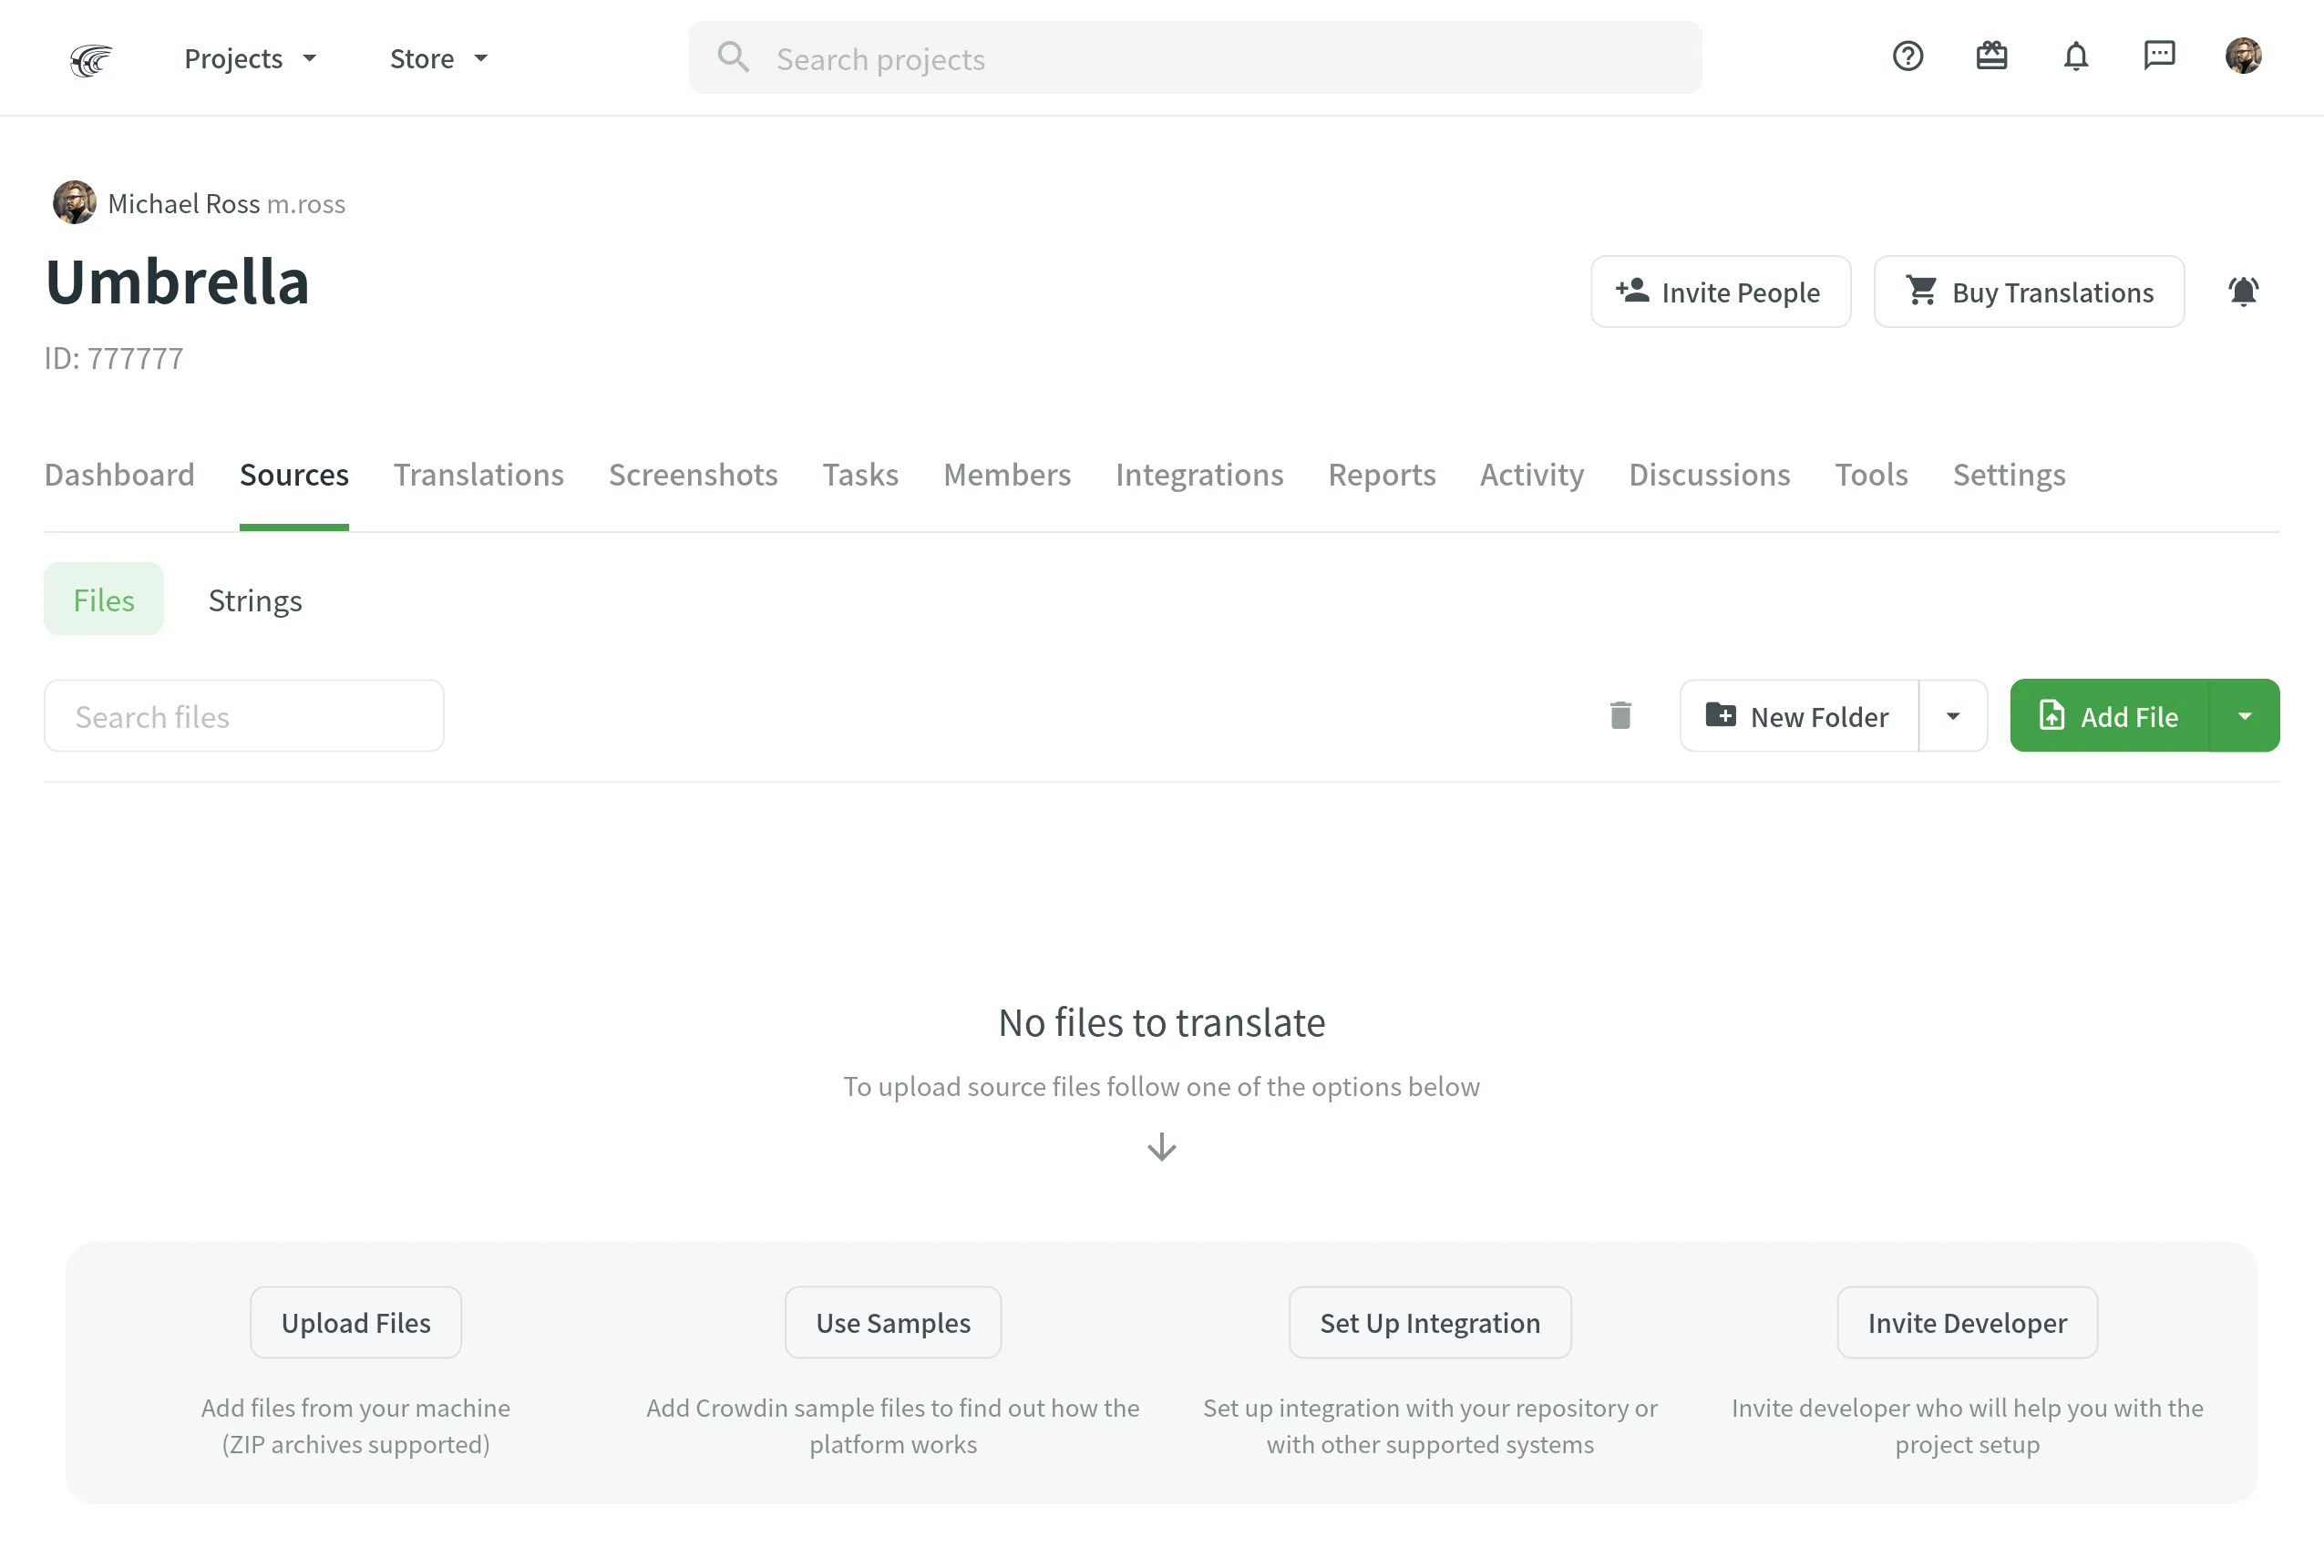
Upload Content
Once you’ve created the project, upload localizable files and resources, such as screenshots, translation memory, and glossary.
Upload Source Files for Localization
You can upload localizable files in a way that works best for you:
- Manually via the web interface (UI).
- Integrate Crowdin with the tools you already use:
- Repo (GitHub, GitLab, etc.)
- Marketing tools (Contentful, Webflow, WPML, Hubspot, Marketo, etc.)
- Help center (Help Scout, Zendesk, Intercom, etc.)
- Development tools (VS Code, Android Studio, Google Play, etc.)
- Email automation (MailChimp, SendPulse, ActiveCampaign, Mandrill, Moosend, etc.)
- Design tools (Figma, Sketch, Adobe XD).
- Use API or console client.
Read more about Uploading Source Files.
To automatically sync files between your Crowdin project and the tools of your choice, add and set up the respective integration. Once you add the integration, you can proceed to the setup.
Upload Existing Translations
If you already have some translations done outside Crowdin, you can upload them to your Crowdin project to keep everything in one place and continue working on translations.
Read more about Uploading Existing Translations.
Upload Localization Resources
In most cases, you might have localization resources like Translation Memory and Glossary. It is a good idea to upload them to your Crowdin project since these localization resources help your translators during the translation process and ensure high translation quality.
Upload Screenshots
Screenshots are another great way to provide additional context so translators can understand better how they should translate the source strings. To upload screenshots, open your project and go to the Screenshots tab. Tag the source strings on the screenshots. This way, screenshots with tagged strings will appear under each string in the Editor’s Context section.
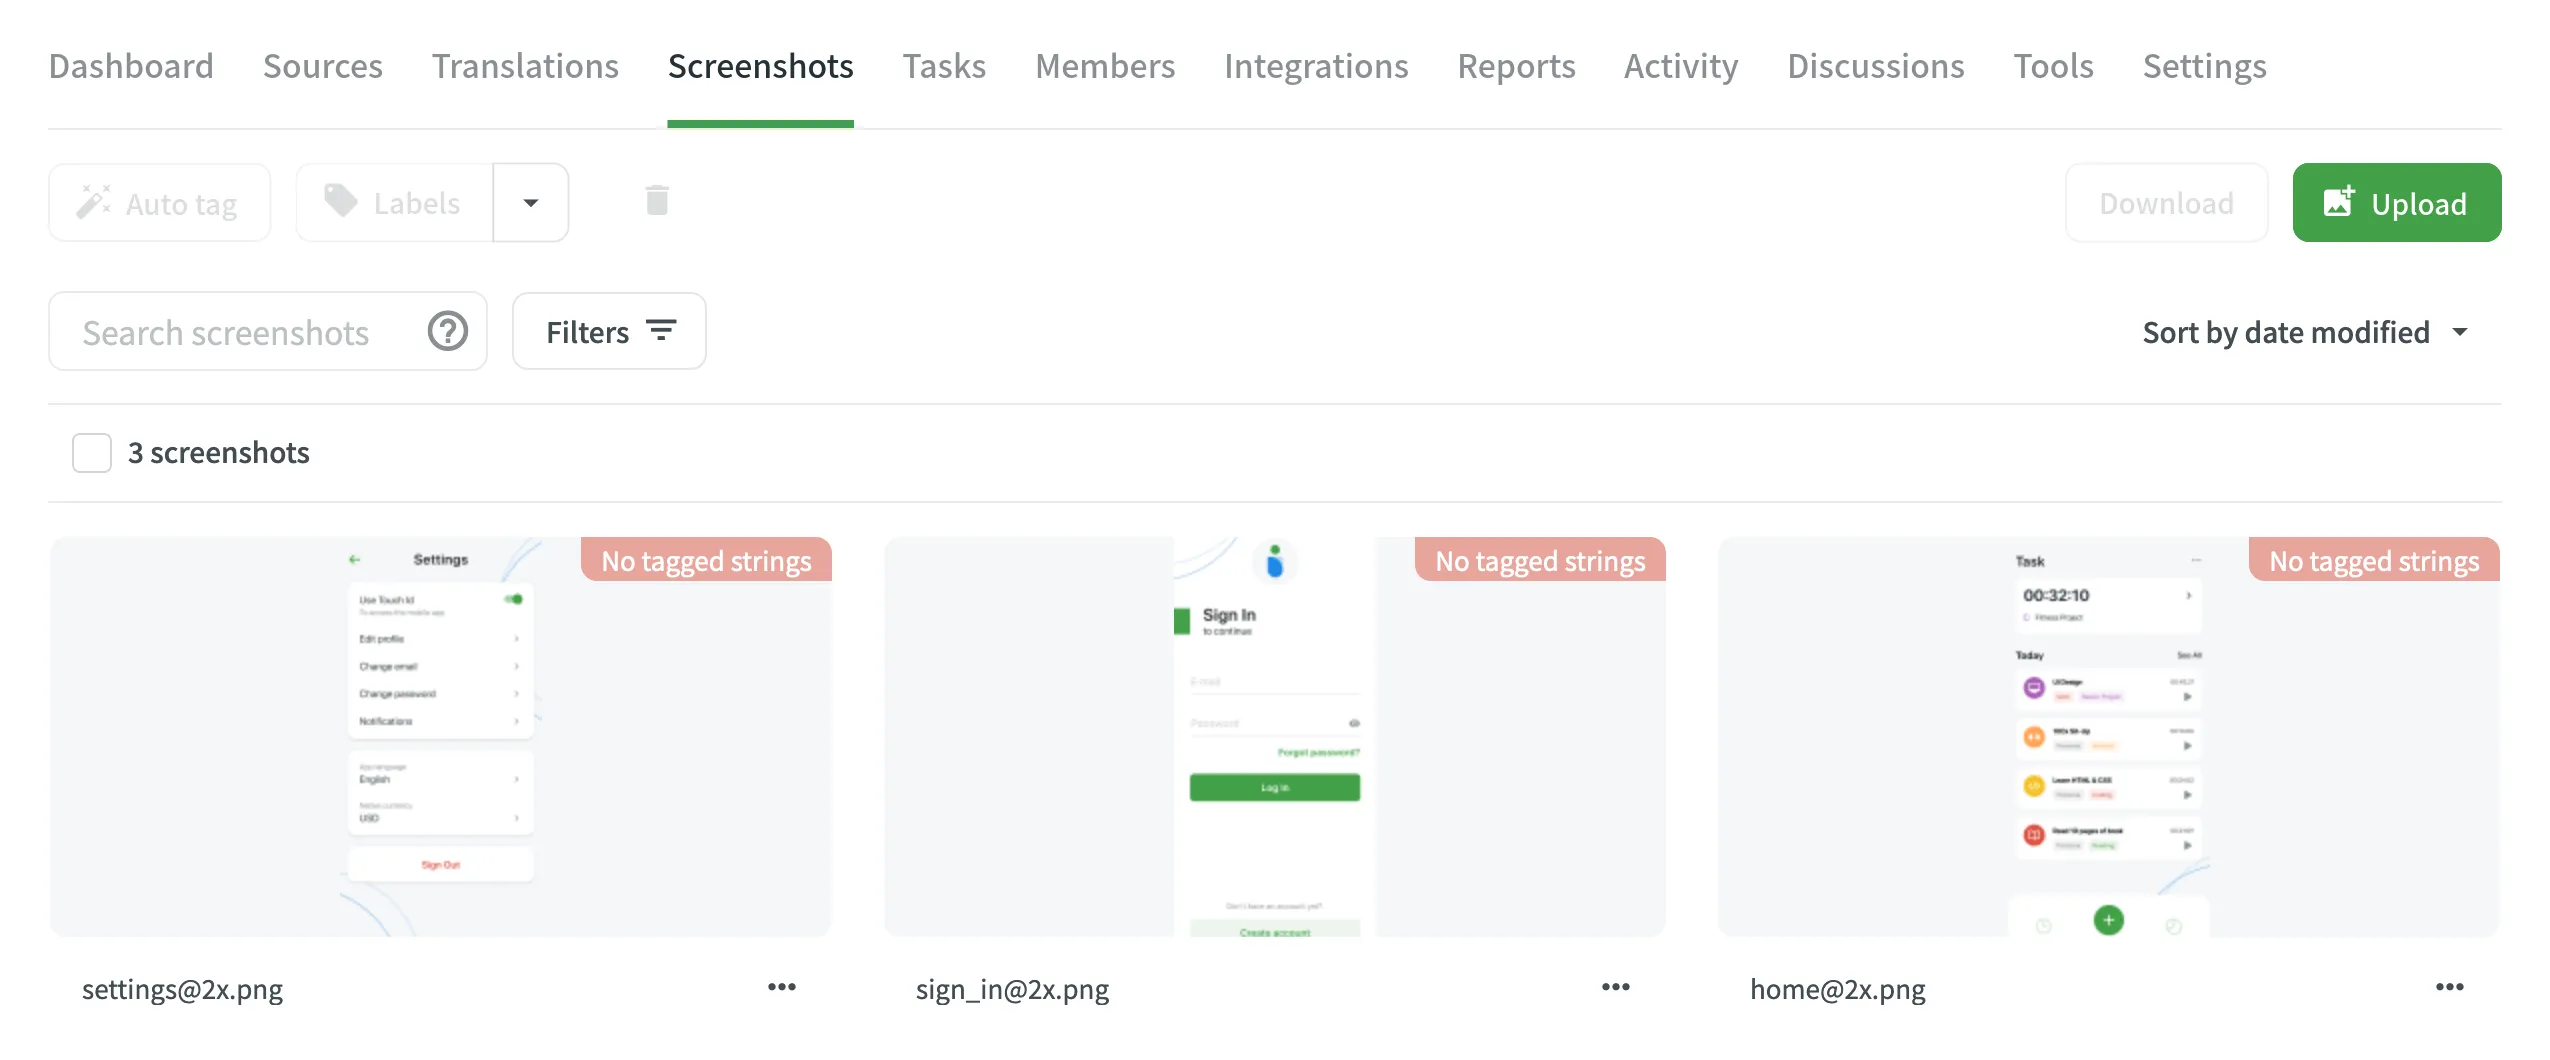
Read more about Screenshots.
Pre-translate your Project
To save time, you can pre-translate your Crowdin project via Translation Memory (TM) or Machine Translation (MT). This way, you’ll have some strings automatically translated before translators start working on your project translations. You can apply pre-translation manually or set up automatic pre-translation via TM or MT, so each time new content is added, it’s translated automatically.

Read more about Pre-translation.
Invite People
Decide who will translate your content. You can cooperate with professional translation agencies integrated with Crowdin or invite your own team of translators if you have one. If you decide to work with professional translation agencies, open Store > Vendors and select the translation vendor that meets your requirements.
Read more about Ordering Professional Translations.
If you decide to invite your own team of translators, open your project and go to the Members tab. You can invite people to your project using their Crowdin username or email address and via the invitation link. When inviting new people, you can assign them the following roles: Manager, Language Coordinator, Proofreader, and Translator.
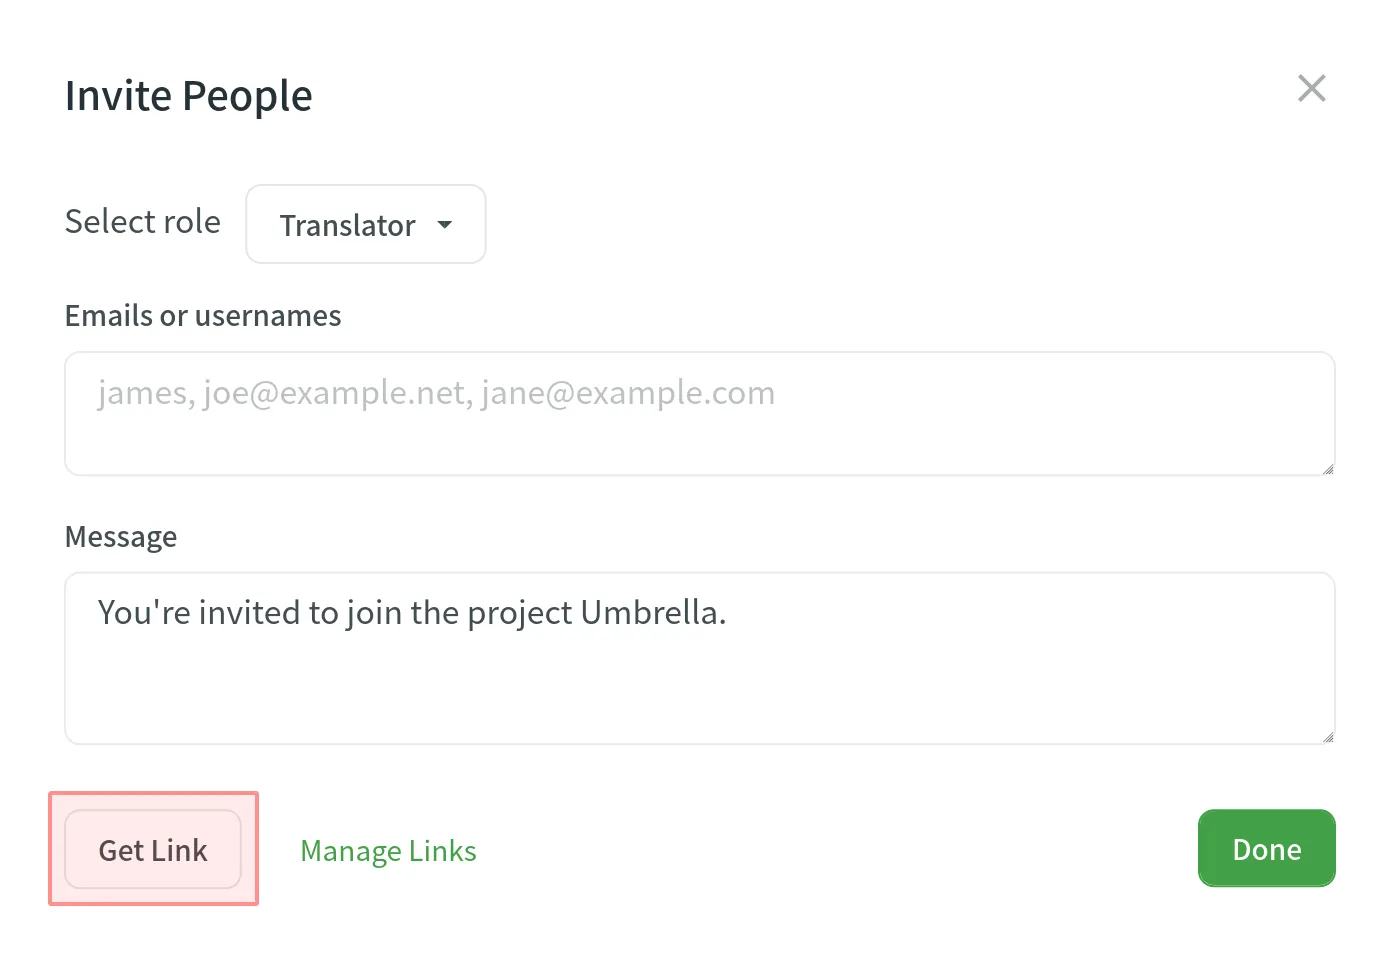
Read more about Inviting People.
Once new members join your project, they can start translating the content in the Editor.
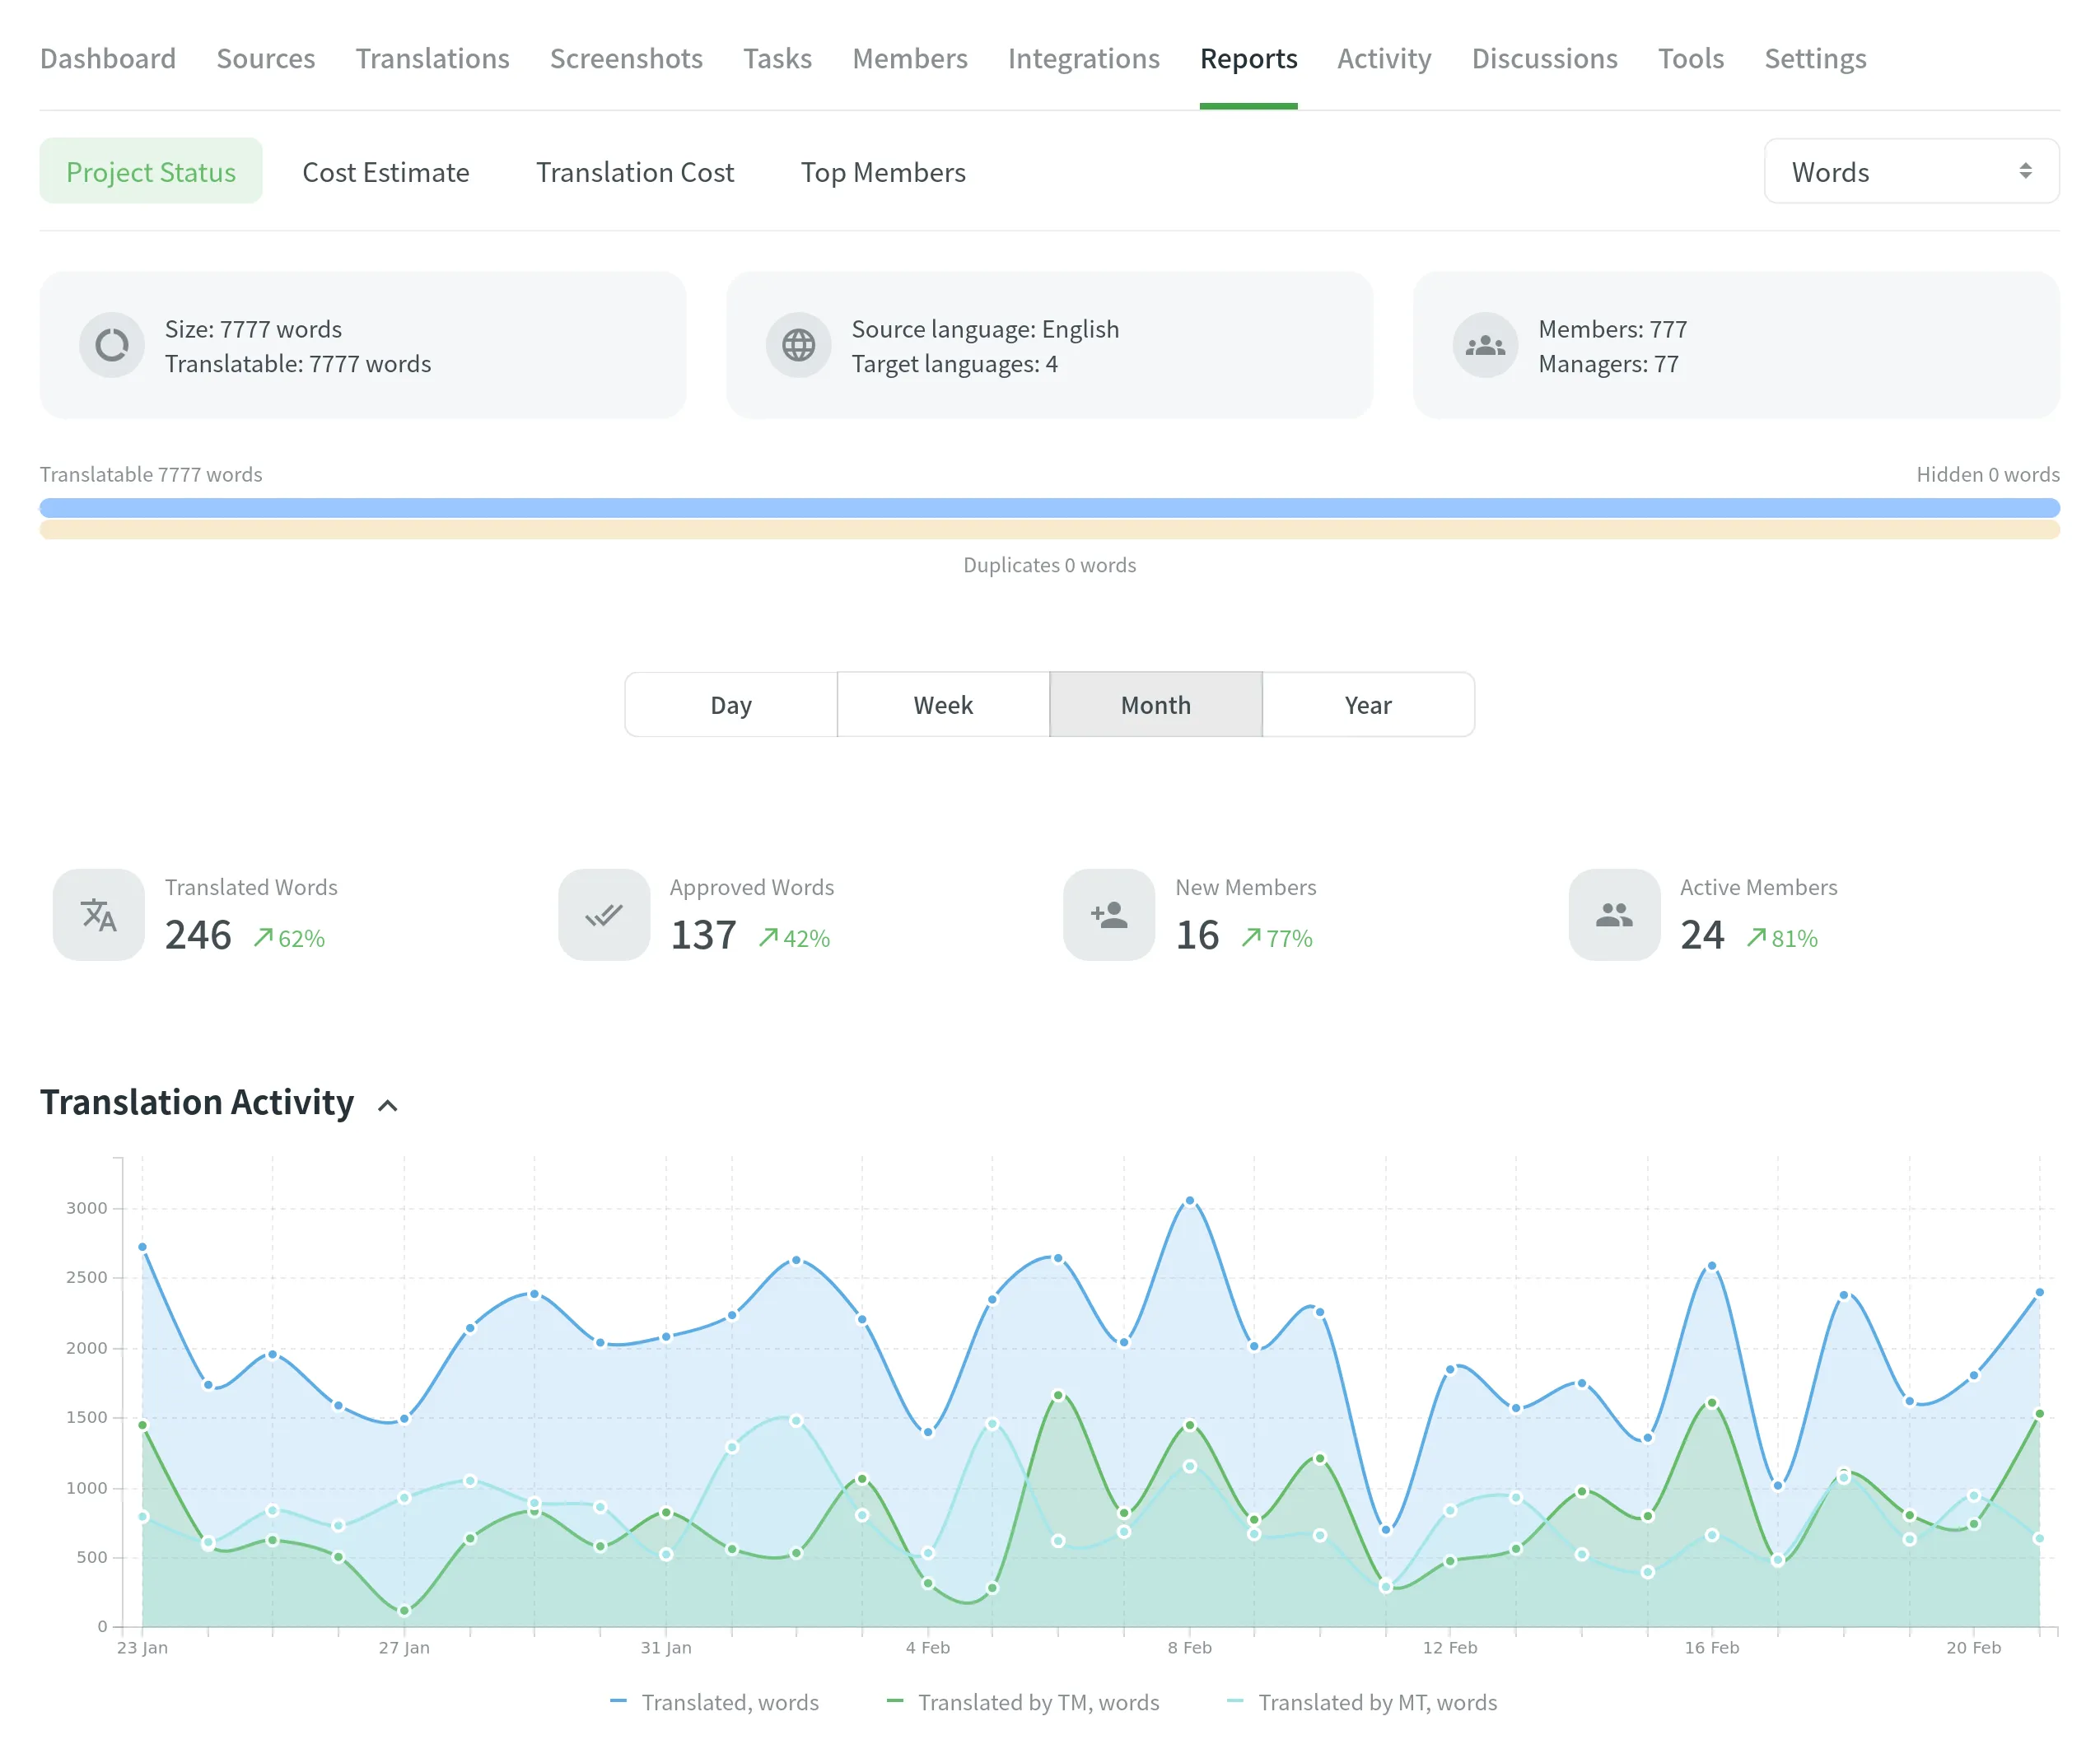
Generate Reports
Crowdin Reports give you an overview of all the important data regarding your project.
There are five main types of reports you can find under the Reports tab in your project:
- Project Status
- Costs Estimate
- Translation Cost
- Top Members
Read more about Reports.
Download Translations
Translations are downloaded according to the export settings configured in the project’s Settings tab.
You can download translations manually using the web interface, using integrations (e.g., GitHub or similar), applying API, or using a console client to automate the translation download.
Read more about Downloading Translations.