项目设置
您可以在设置选项卡中根据需要配置项目设置。
在常规部分,您可以更改项目名称、添加公开描述、自定义项目外观,以及通过嵌入徽章分享本地化进度。
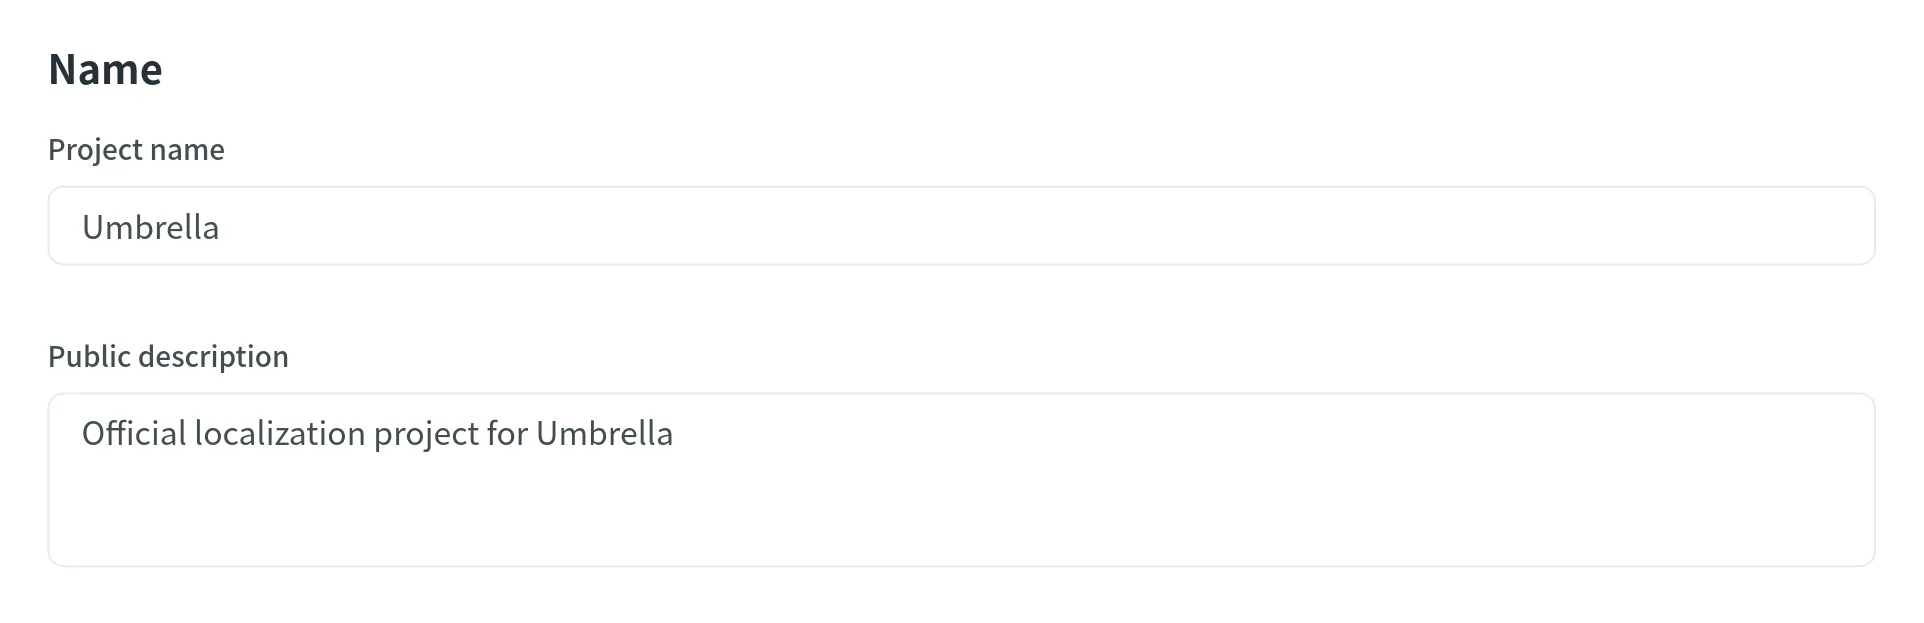
在名称部分,您可以更改项目名称并添加一个公开描述。
本部分允许您选择译员在项目语言页面上与内容交互的方式。
- 仅显示文件 – 如果您的项目侧重于基于文件的翻译且无需视觉上下文,此选项非常有用。 对于文本含义明确或不需要截图的项目,此选项设置简便。
- 显示文件和已标记截图 – 同时显示文件和已标记截图,可让译员在翻译文本的同时参考视觉上下文。 此选项适用于文本含义可能受其视觉环境影响的项目,有助于提高翻译准确性。
- 仅显示截图 – 如果项目中每个字符串都关联了截图,请选择此选项。 通过为所有文本提供视觉上下文,可以显著提高翻译质量。 此方法被认为是最佳实践,尤其适用于界面复杂或视觉元素对理解至关重要的项目。 但是,这需要付出一定努力来维护截图的准确性和相关性。
在品牌部分,您可以通过设置自定义域名和项目标志来自定义项目的外观。
自定义域名功能允许您将 Crowdin 项目托管在支持 HTTPS 协议的自有域名上。
要设置自定义域名,请按以下步骤操作:
- 在域名注册商中创建必要的域。
- 在您的托管服务中为该域名创建一条指向
cname.crowdin.com的 CNAME DNS 记录。 - 打开您的 Crowdin 项目,然后转至设置 > 常规 > 品牌。
- 在自定义域名字段中输入已创建的域名,然后点击更新。
出于安全原因,新用户将被重定向至 Crowdin 登录并停留在默认地址,但已登录用户访问您的域名时,将能够通过您自己的域名访问该项目。
项目标志允许您自定义项目主页的外观。
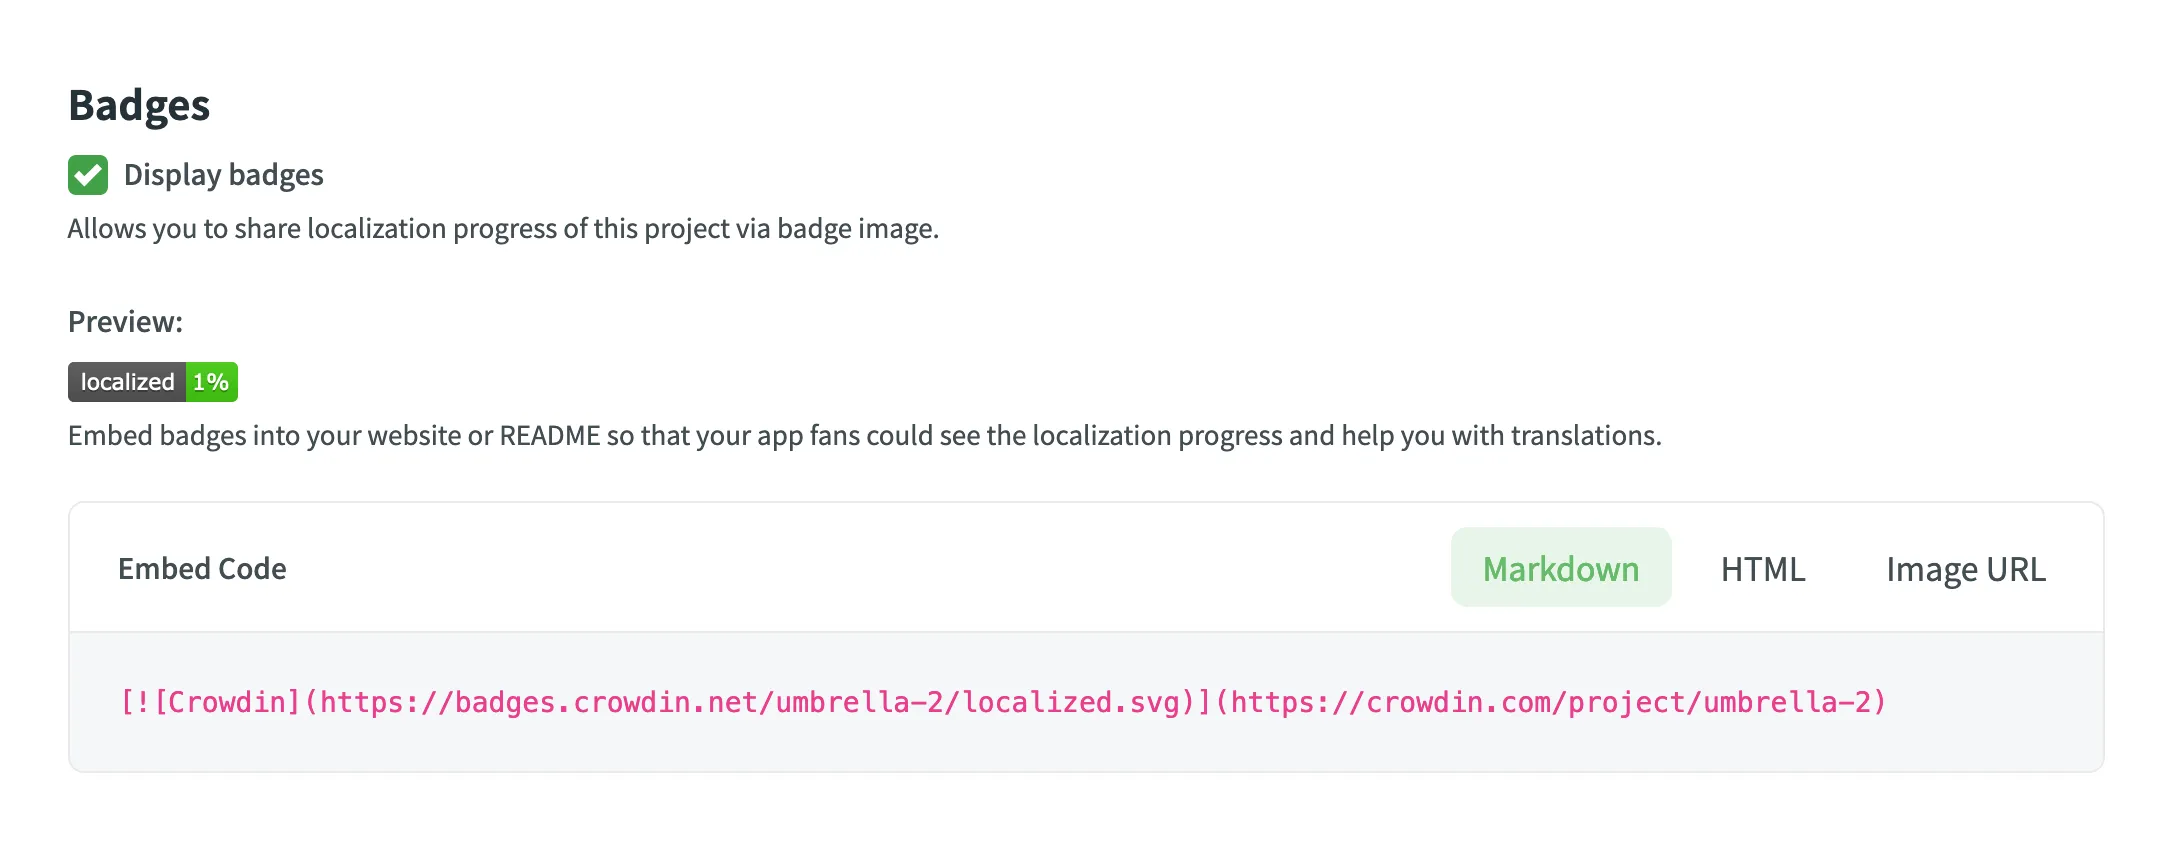
通过徽章,您可以将其嵌入网站或 README 文件,以分享 Crowdin 项目的本地化进度。
要嵌入徽章,请按以下步骤操作:
- 打开您的 Crowdin 项目,然后转至设置 > 常规 > 徽章。
- 启用显示徽章。
- 使用 Markdown、HTML 或图片 URL 复制徽章代码。
- 将徽章代码粘贴到您的网站或 README 文件中。
徽章与状态图片徽章与状态图片应用程序可为您的 Crowdin 项目中的每种语言生成徽章、图表和其他图形。
此选项仅供项目所有者使用。 如有必要,您可以删除包含所有译文和相关本地化资源的 Crowdin 项目。
感谢您的反馈!