Настройки учётной записи
Вы можете просматривать и управлять настройками своей учетной записи Crowdin, используя страницу Настройки учетной записи.
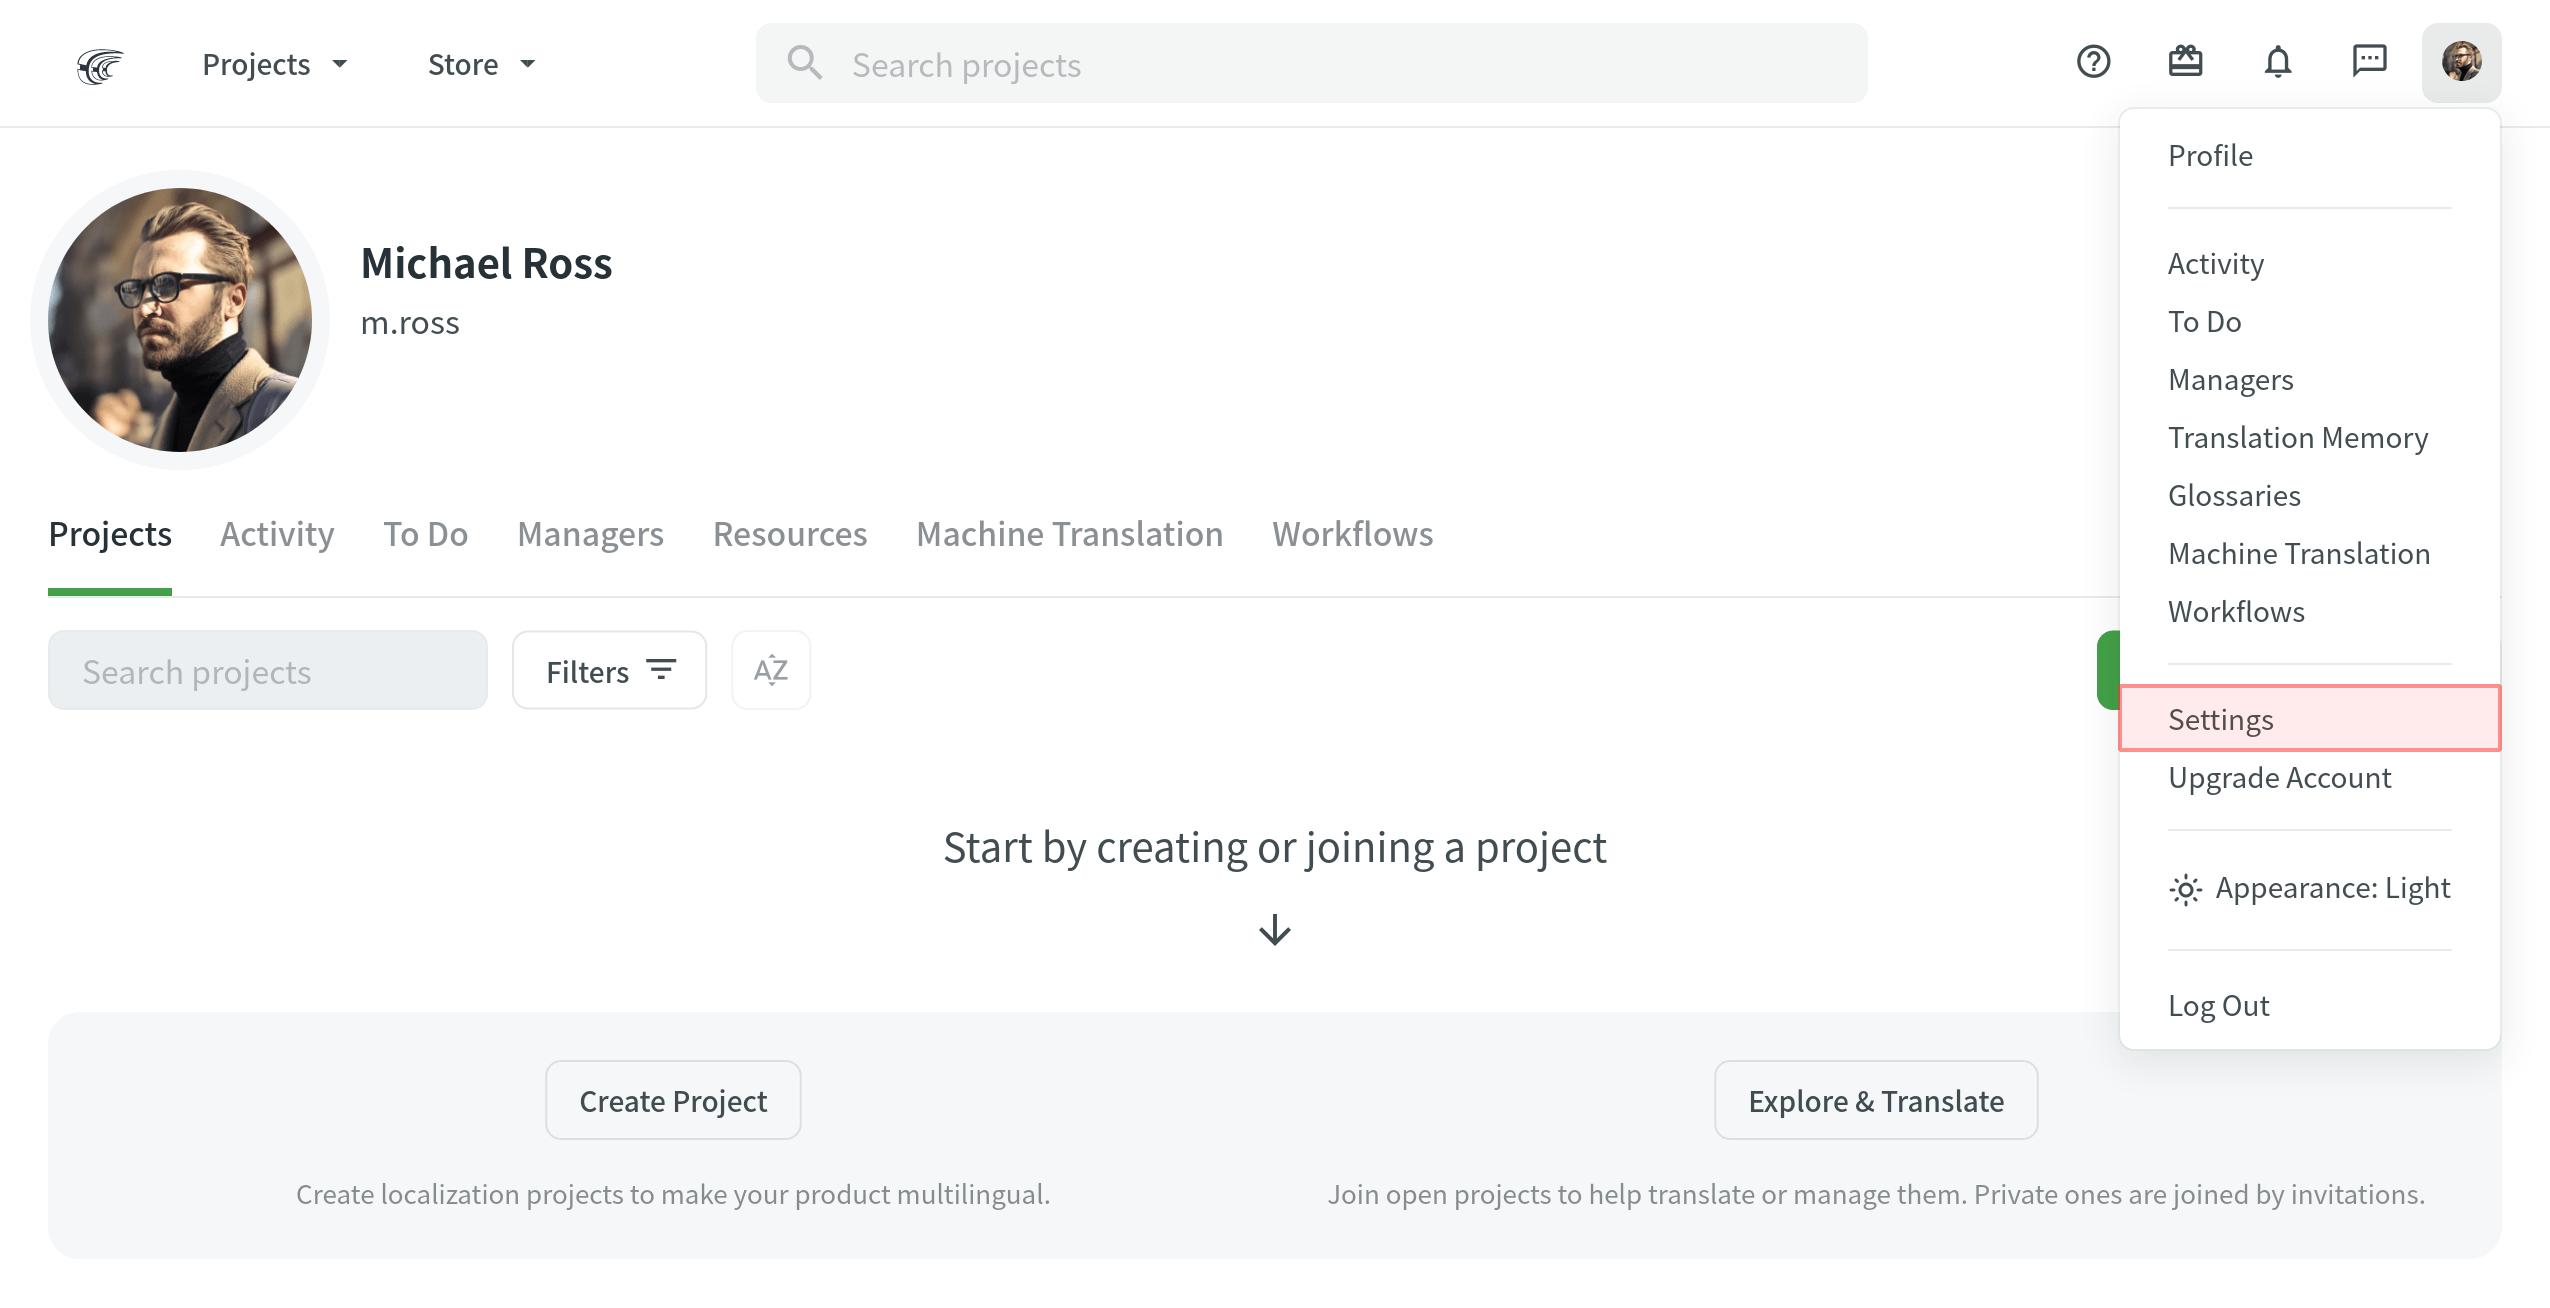
Чтобы открыть Настройки учетной записи, нажмите на изображение вашего профиля в правом верхнем углу и выберите Настройки.
Профиль
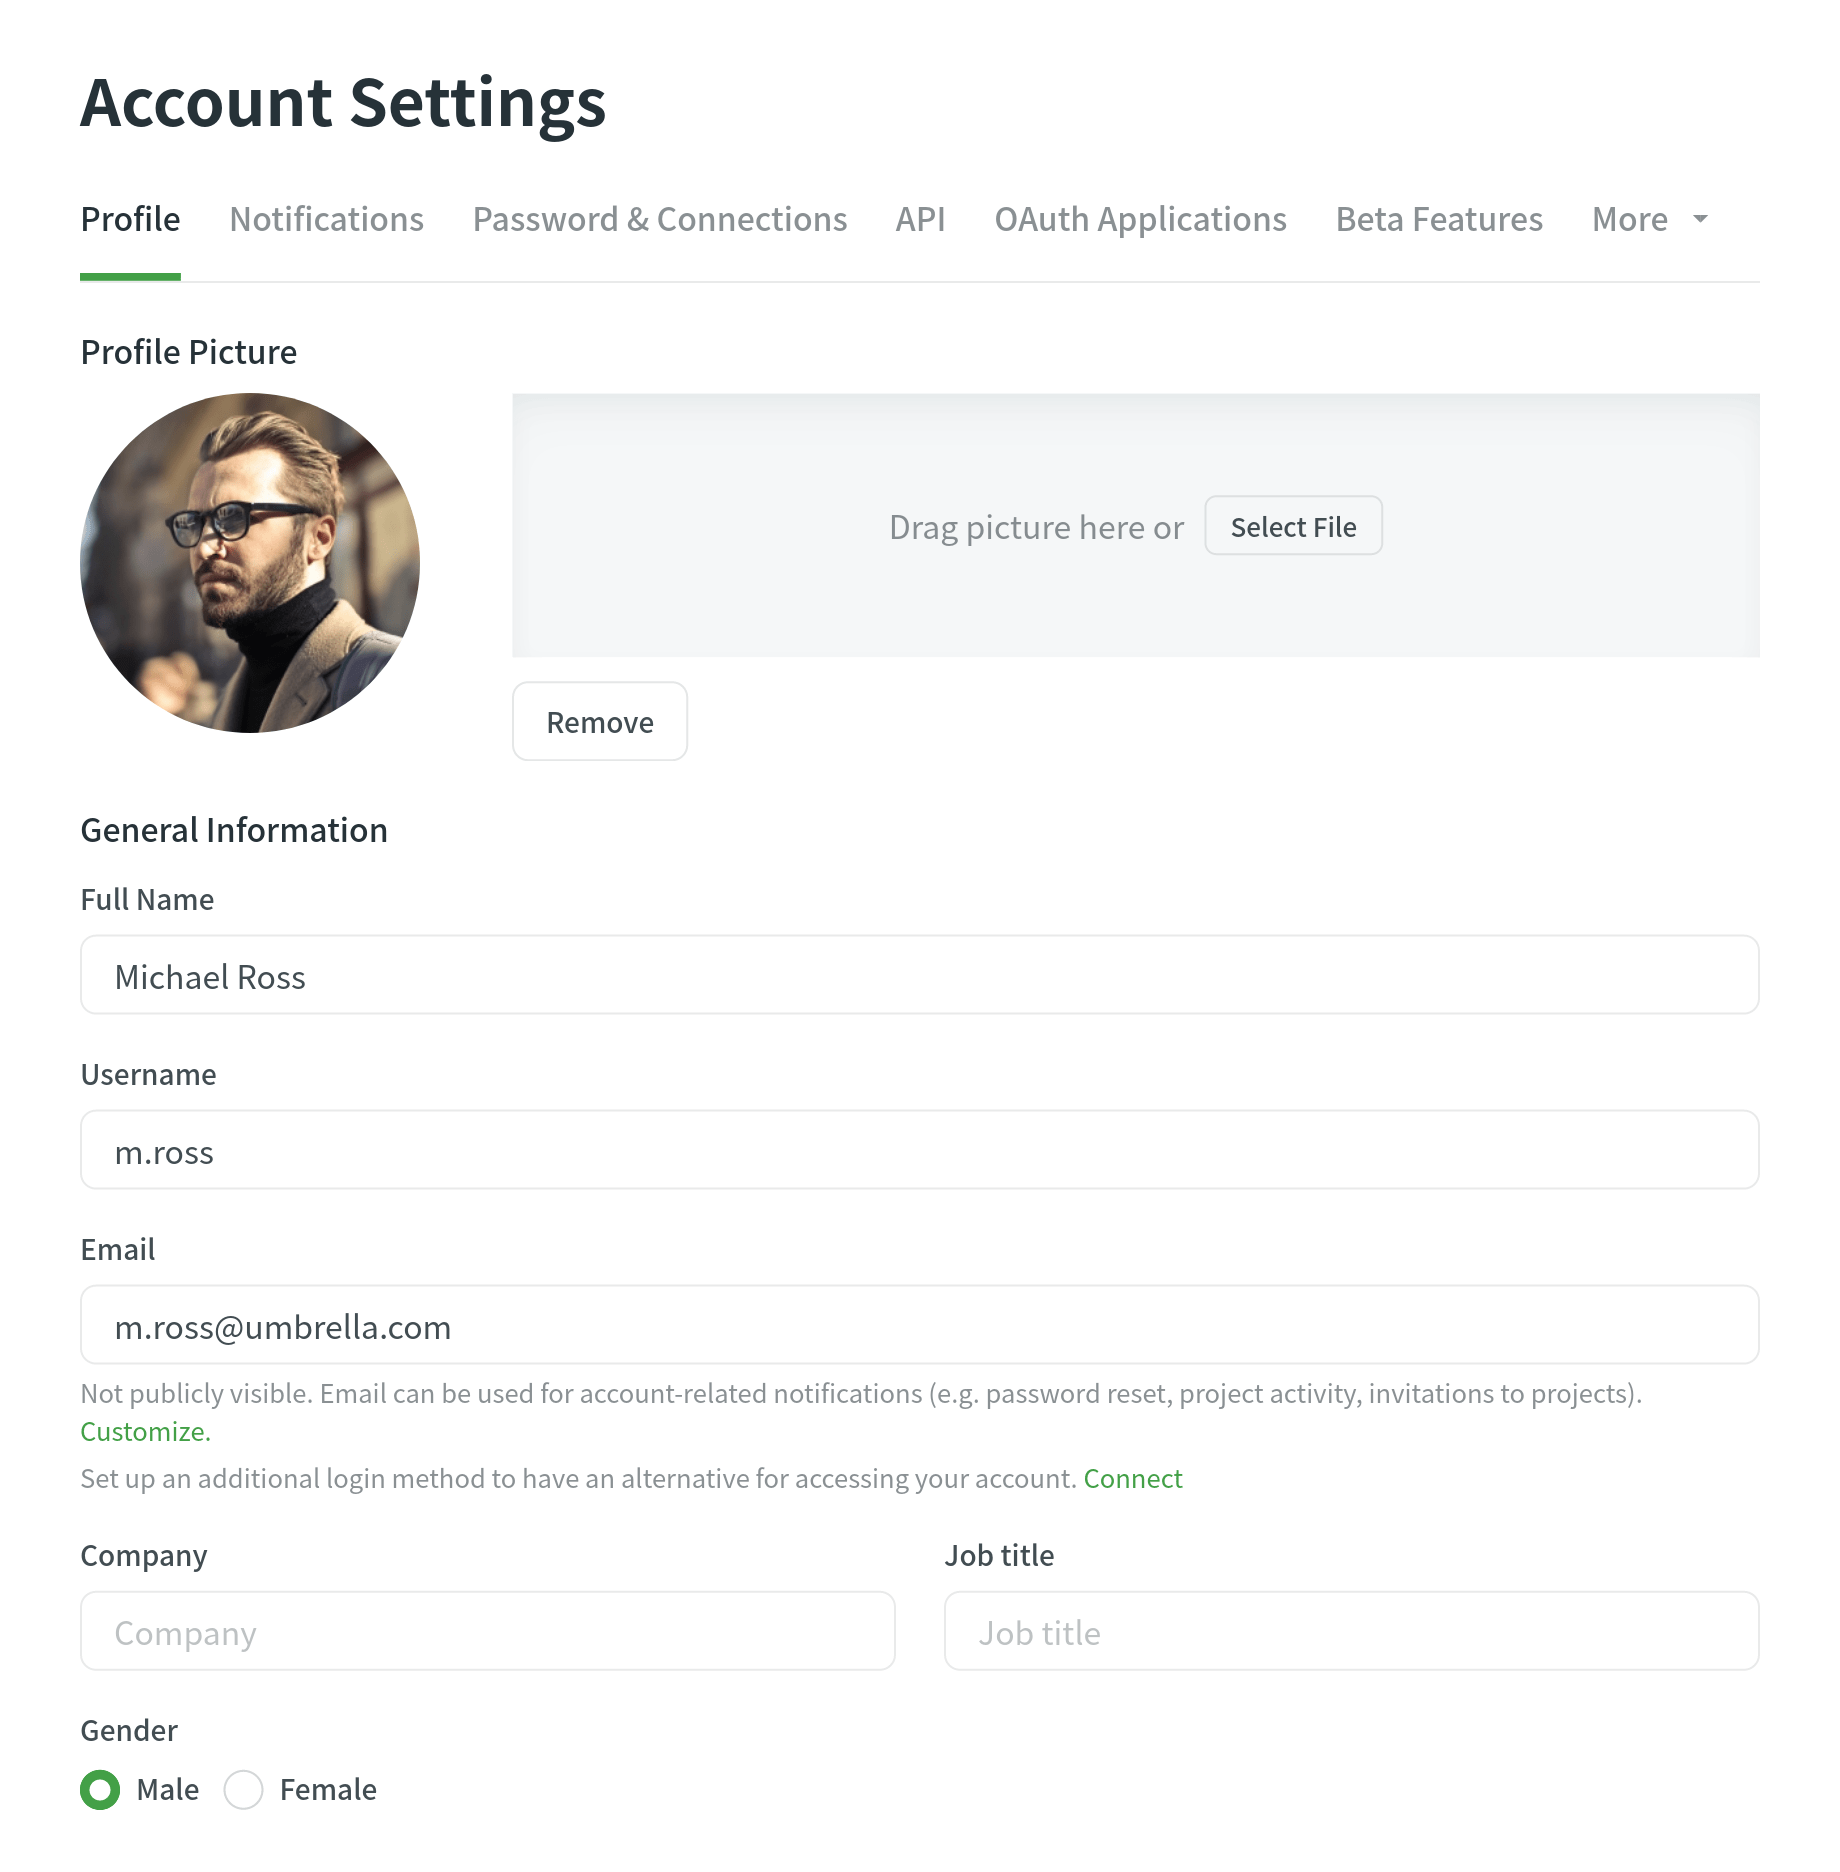
In the Profile tab, you can set a profile picture, specify (and update when needed) general information like your full name, username, email address, and gender, add a brief description about yourself, select your timezone and time format, specify preferred languages, etc.
 English
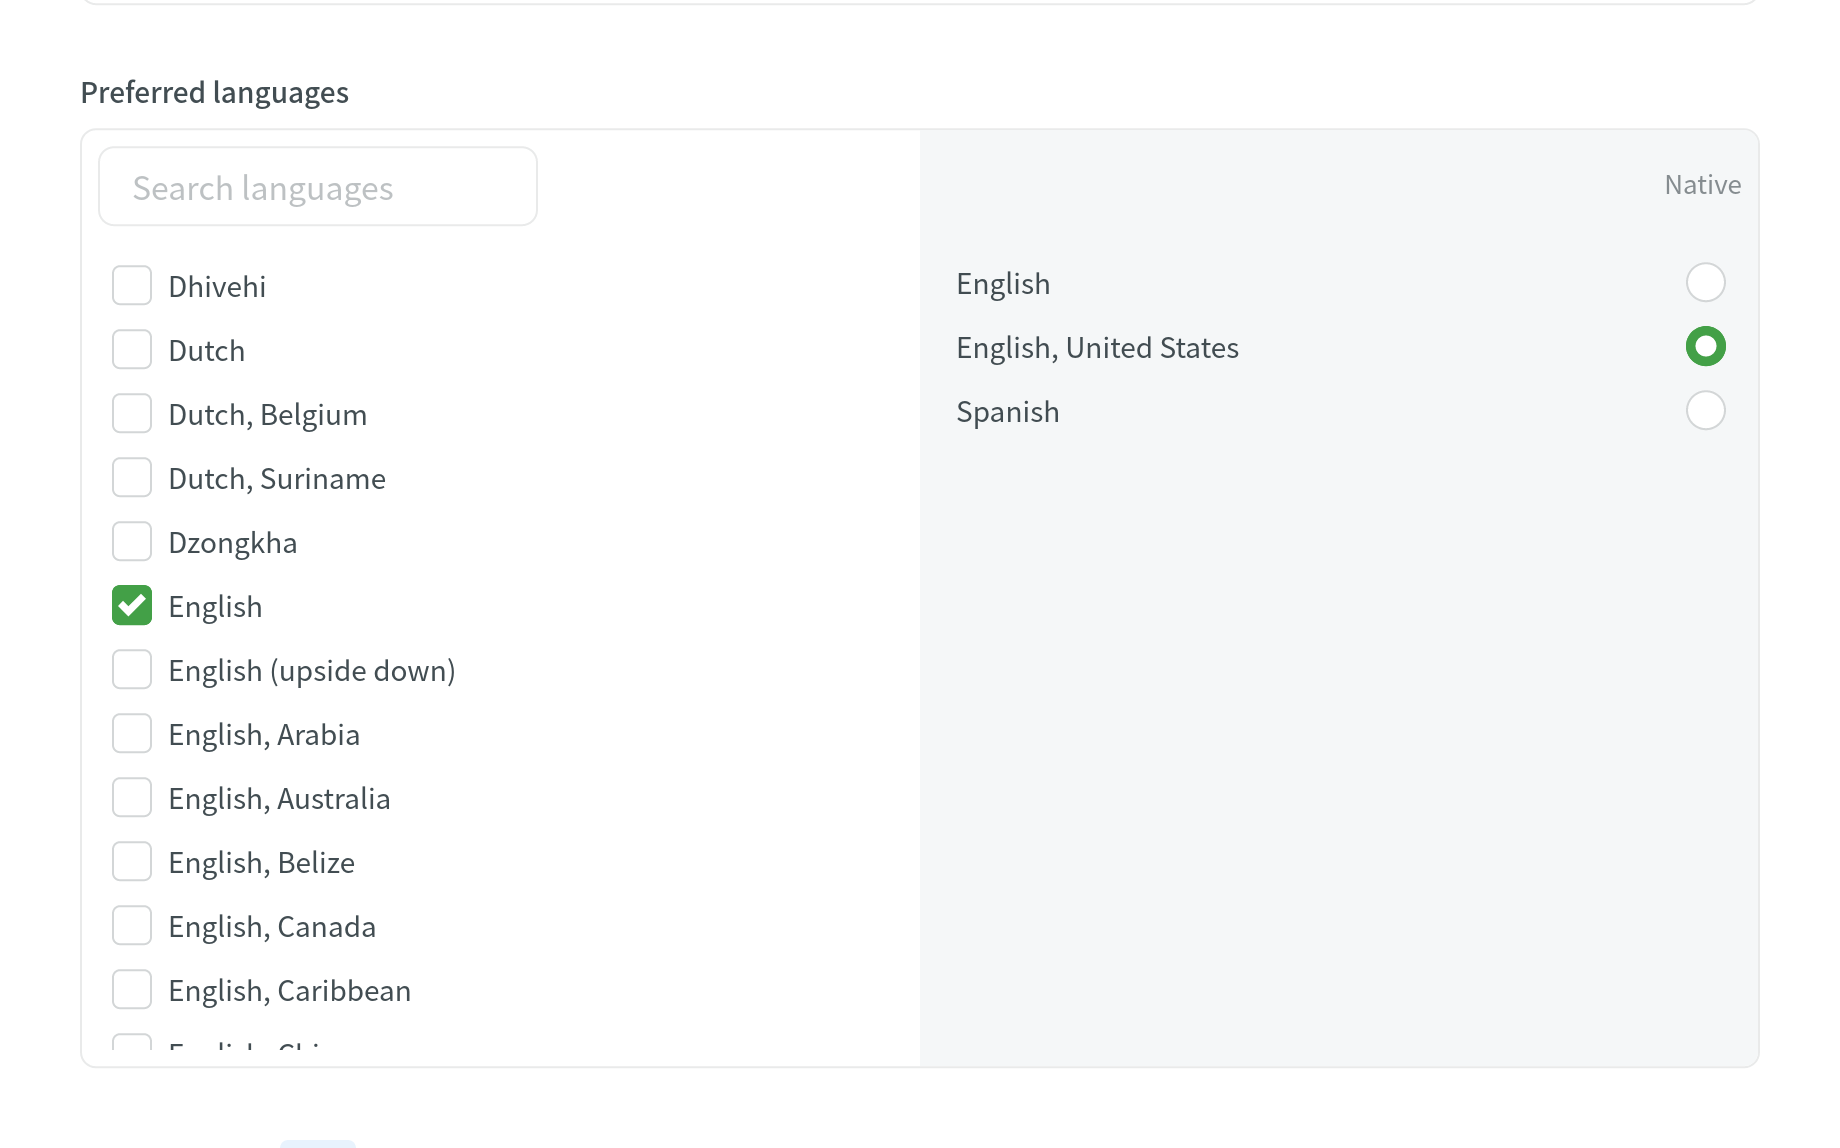
Предпочитаемые языки
In the Preferred languages section, select the languages you know. Selected languages will have priority while displaying the projects’ target languages list.
 English
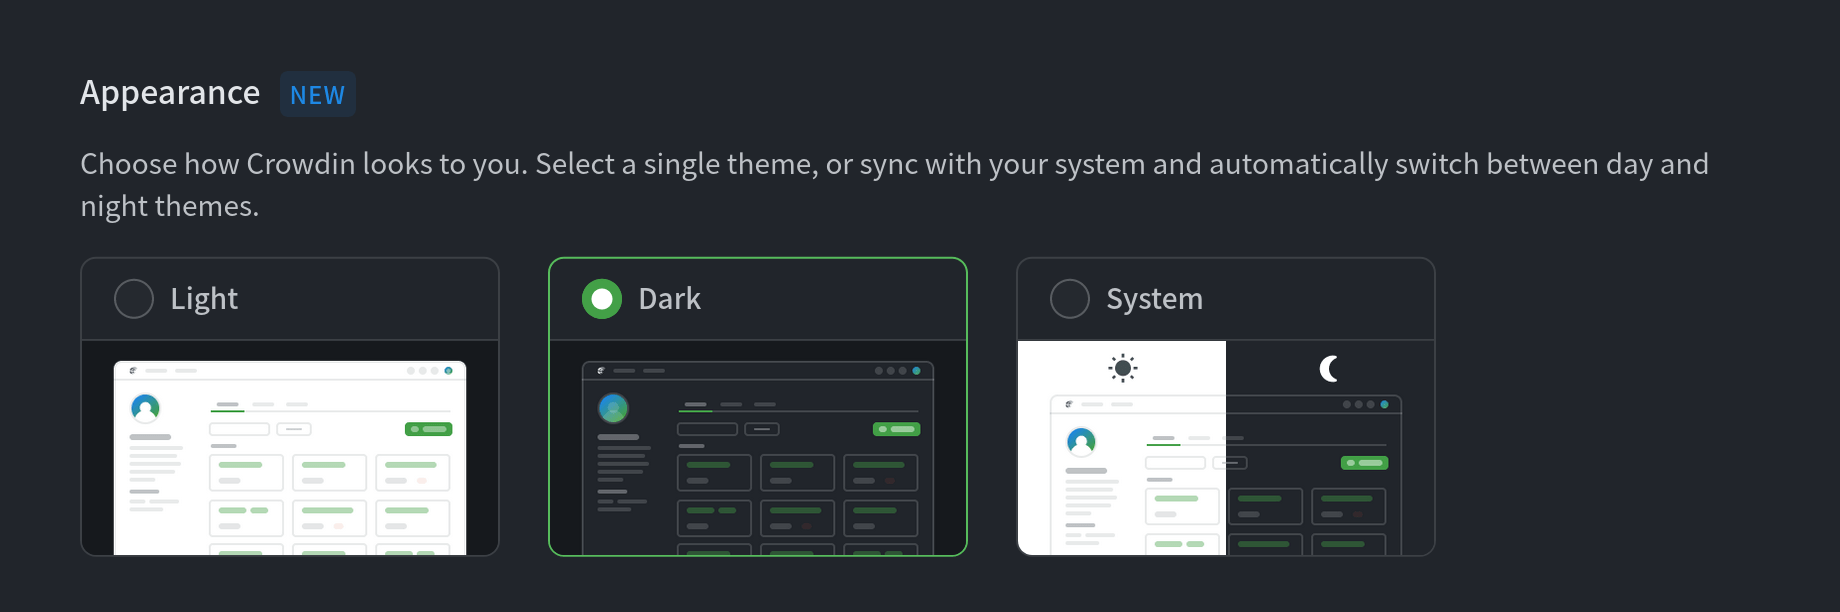
Тема оформления
Выберите предпочитаемую цветовую тему Crowdin. Вы можете выбрать между Light и Dark или синхронизировать его с системными настройками.
 English
Закрытый профиль
Настройте приватный профиль, чтобы скрыть вкладку Проектов и Активность других пользователей, посещающих вашу страницу.
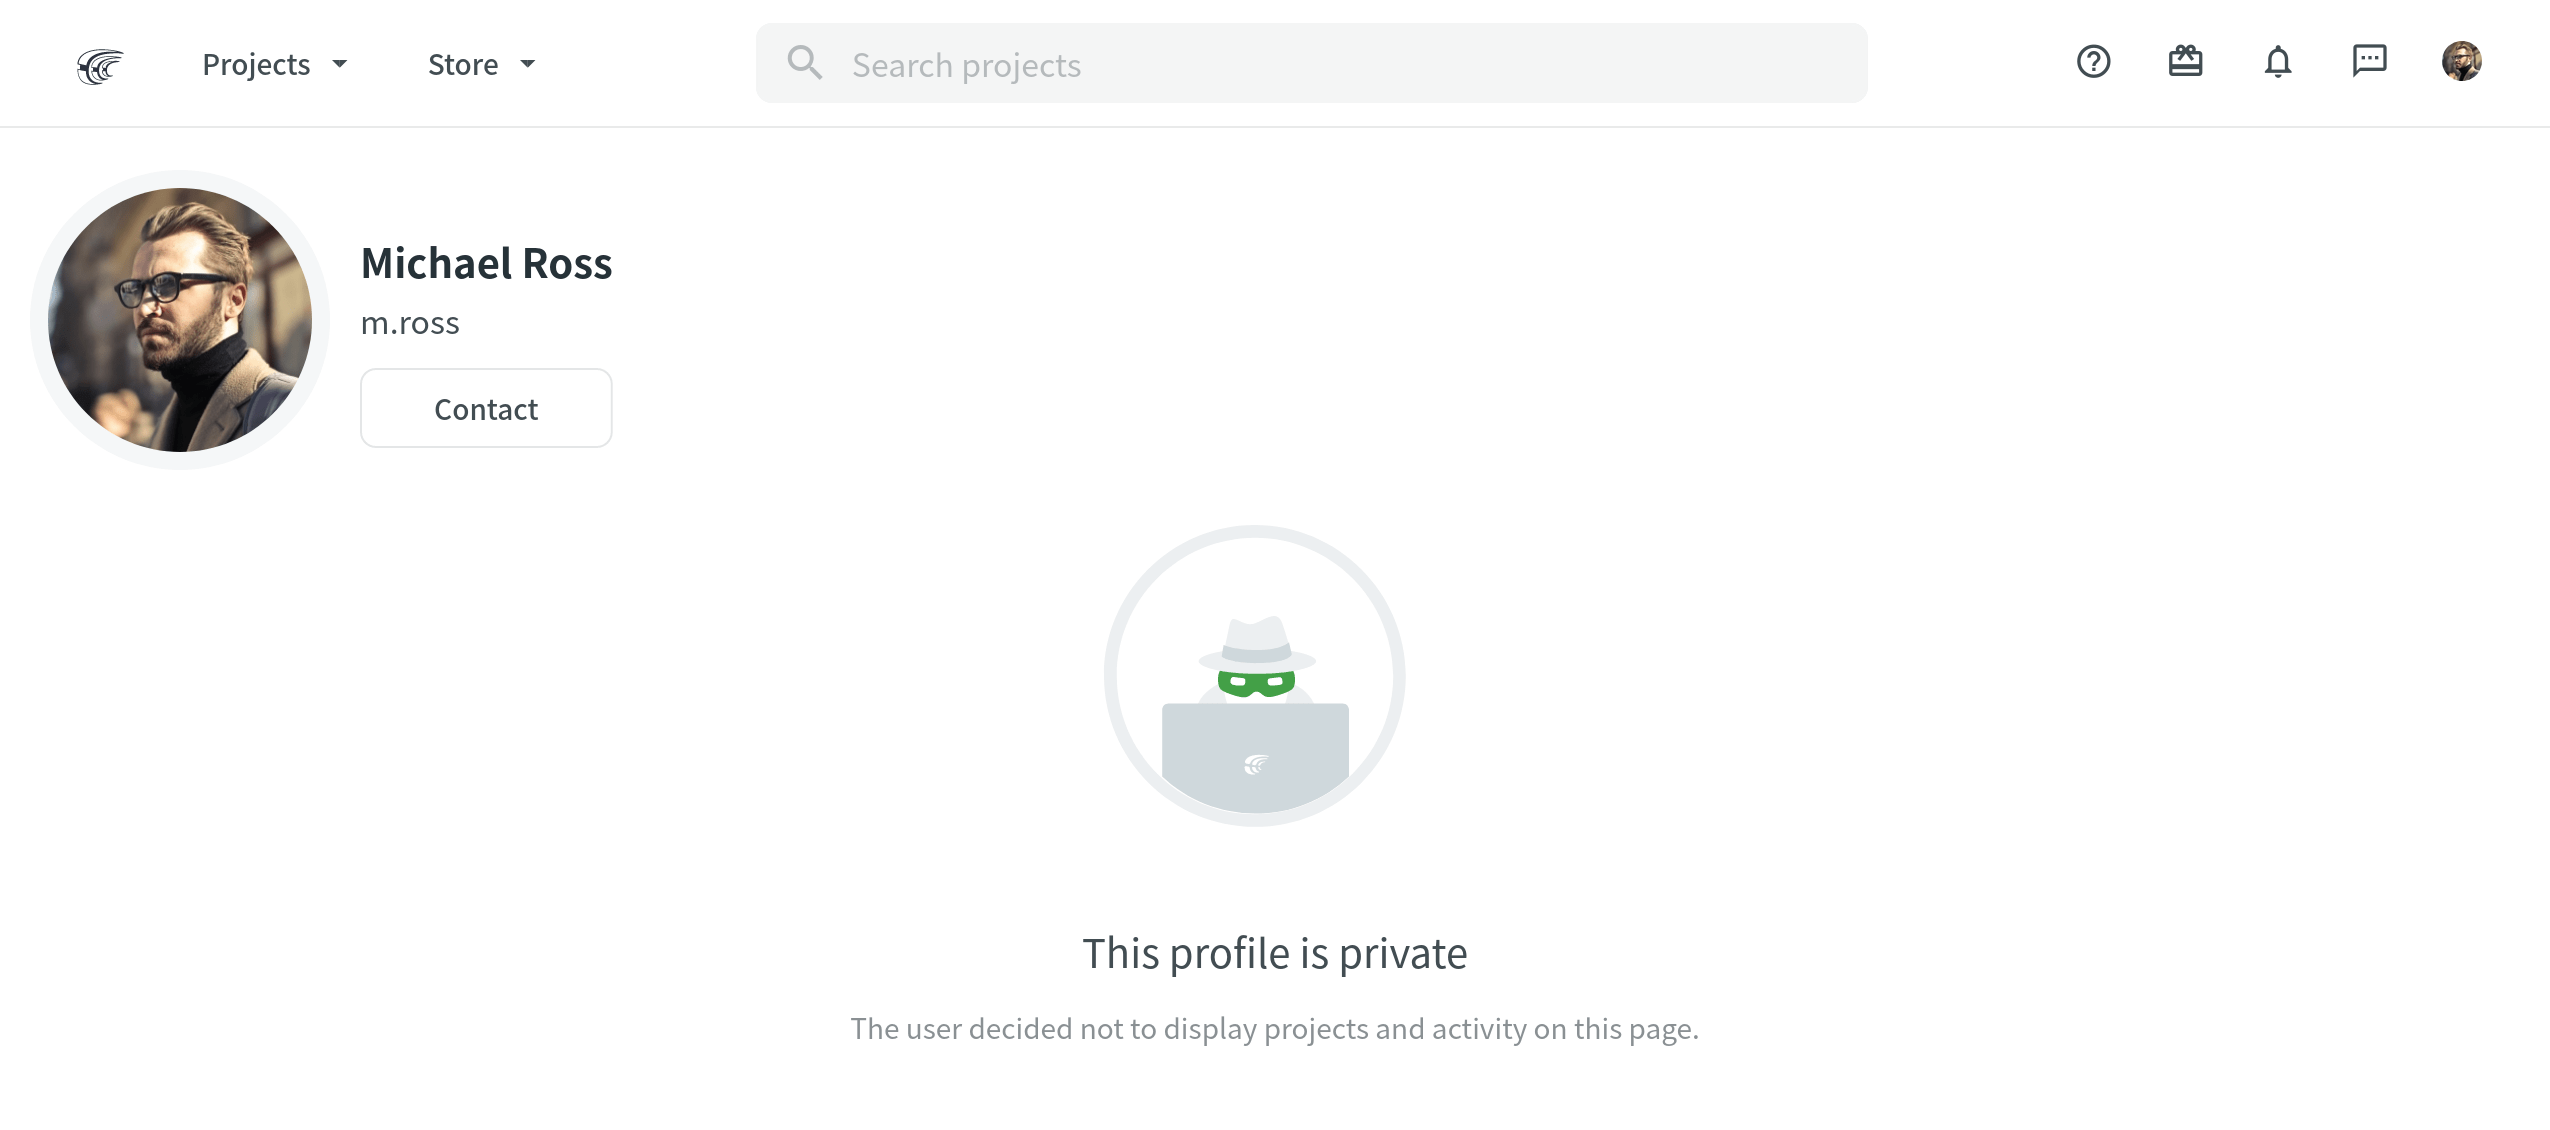
Чтобы сделать свой профиль приватным, выполните следующие действия:
- Откройте ваш Настройки учетной записи и перейдите на вкладку Профиль.
- Прокрутите вниз до раздела «Конфиденциальность».
- Выберите «Приватный профиль».
 English
Переход на Crowdin Enterprise
You can migrate your Crowdin projects, Translation Memories, and Glossaries to a new or existing Crowdin Enterprise organization.
Read more about Migration to Crowdin Enterprise.
 English
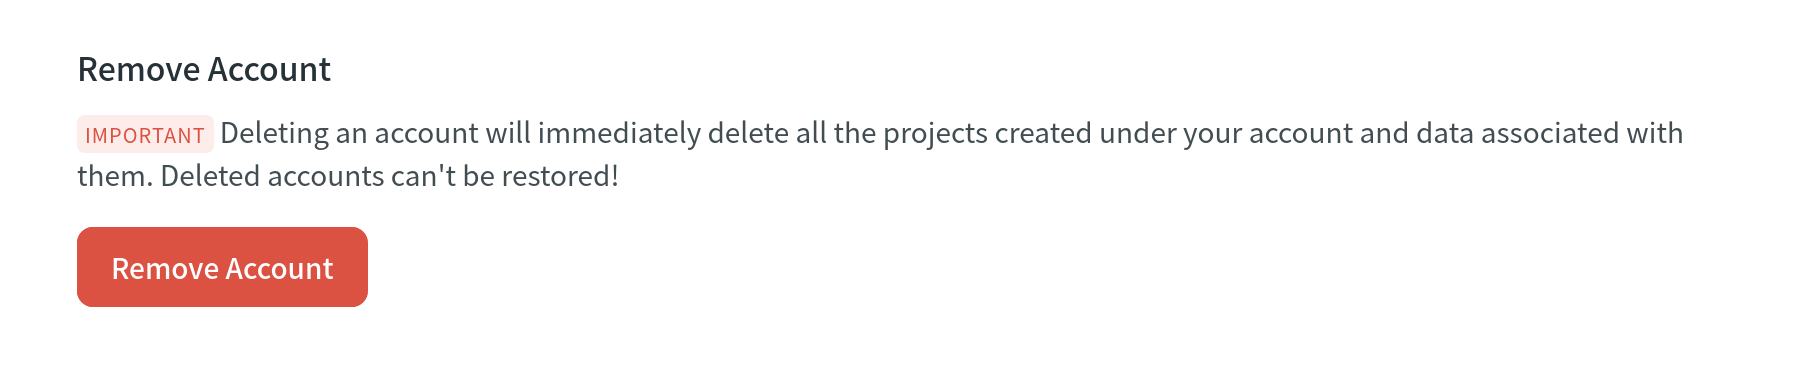
Удаление аккаунта
For security reasons, we cannot delete an account on behalf of the user. You must have access to your Crowdin account to be able to delete it.
Для удаления вашего аккаунта выполните следующие шаги:
- Откройте ваш Настройки учетной записи и перейдите на вкладку Профиль.
- Scroll down to the Remove Account section.
- Нажмите Удалить учетную запись.
 English
Once you remove your account, your projects and account settings are permanently removed and not recoverable. However, your translations, comments, terms, and votes will be preserved and appear as added by a Removed User.
Уведомления
In the Notifications tab, you can enable notifications you’d like to receive and disable the ones that require less attention. You can select the types of events in Crowdin, channels to receive updates, and set notification rules for particular projects.
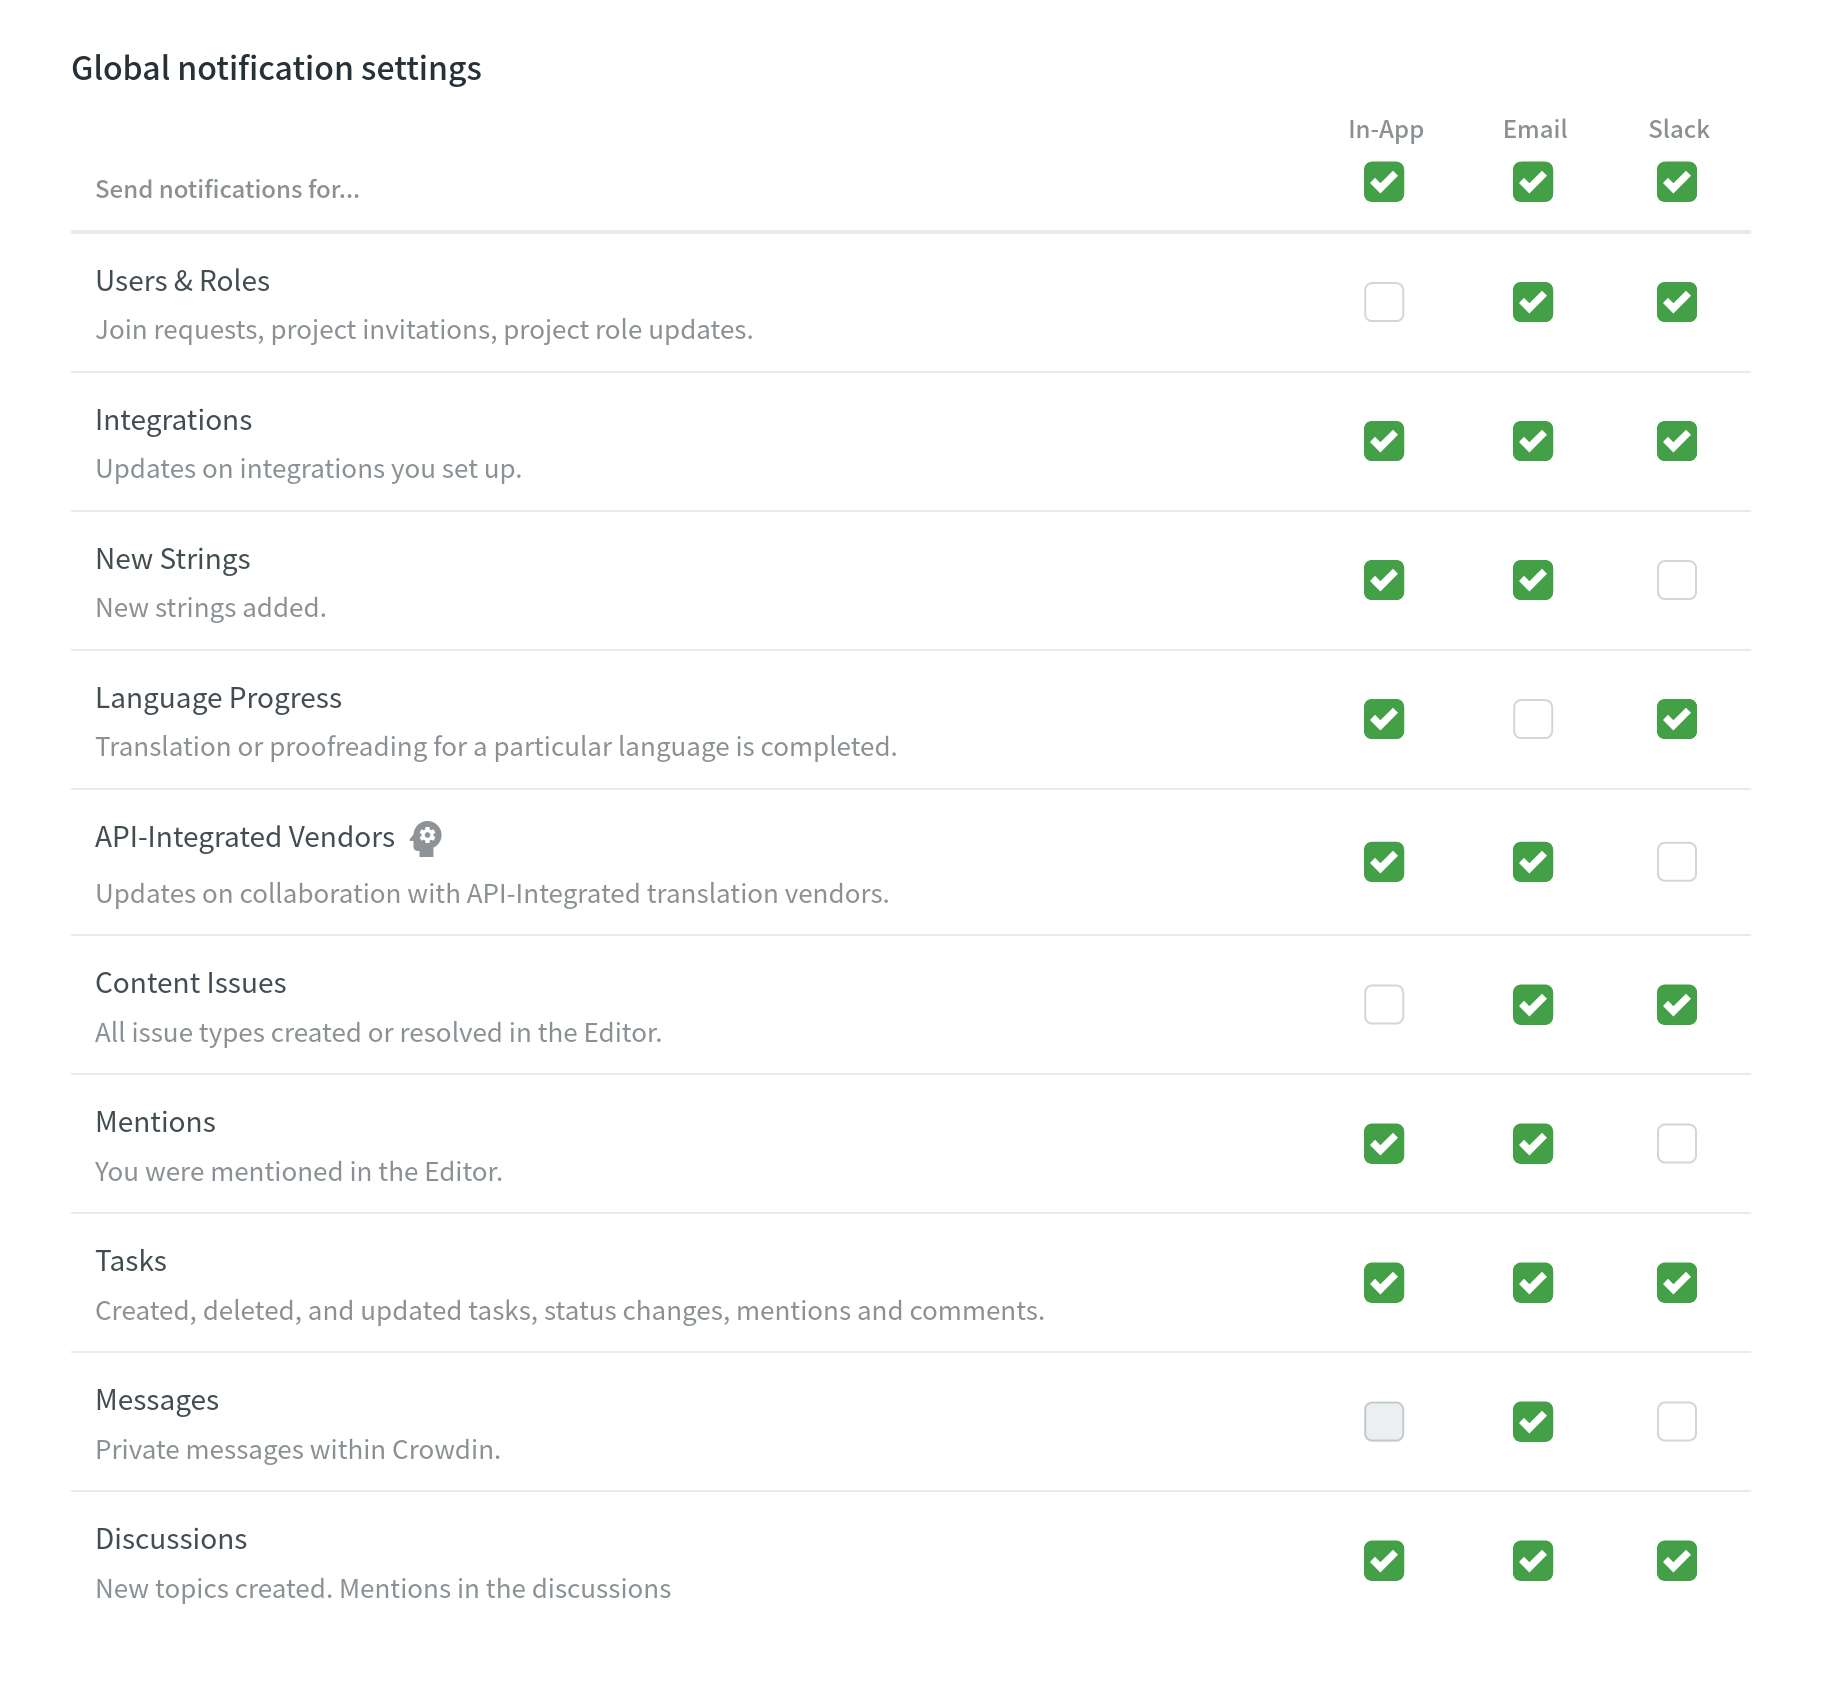
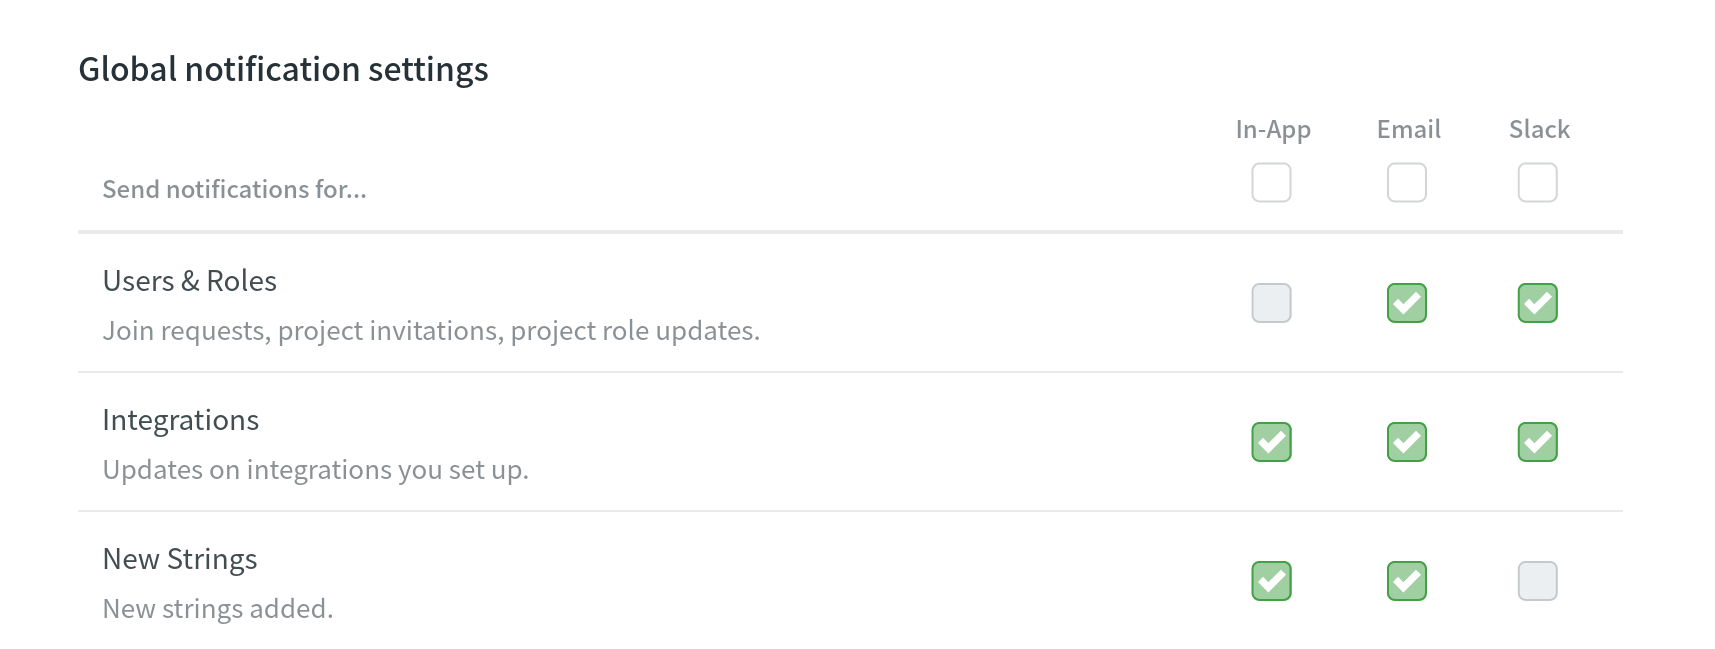
Каналы и события
Существует четыре канала, по которым Crowdin может отправлять уведомления:
- В приложении (Crowdin)
- Slack
- Custom
You can enable the desired channel by selecting the checkbox under the channel’s name, either In-App, Email, Slack, or Custom. Customize notifications for each of the channels. Select the checkboxes next to the events you’d like to be notified of.
 English
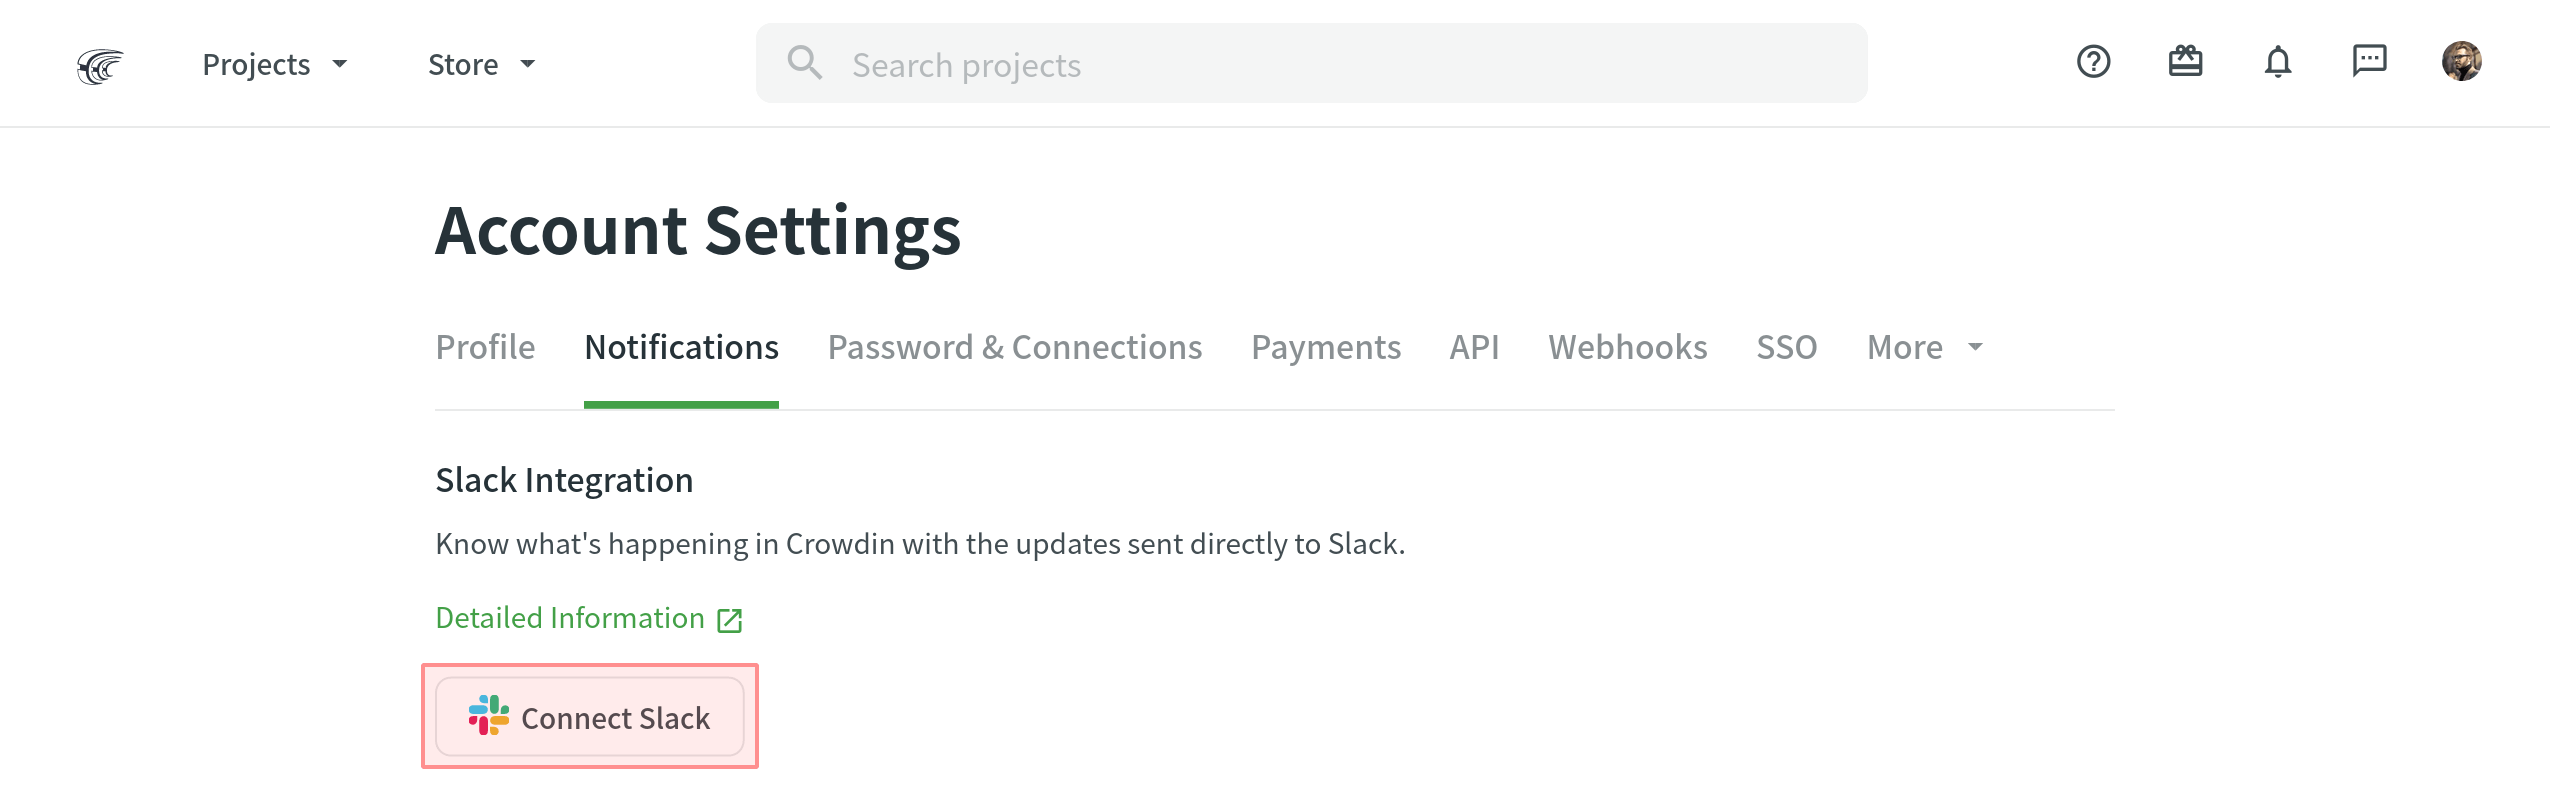
Уведомления Slack
To select Slack as a notification channel, set up Slack integration. Let checkingAccountTotal = 8300; // Total amount in the checking account let savingsAccountTotal = 24000; // Total amount in the savings accounts let investmentAccountTotal = 57000; // Total amount in the investment account let totalAmount = checkingAccountTotal + savingsAccountTotal + investmentAccountTotal; // Total amount across all accounts let lastUpdateDate = new Date(). toLocaleDateString(); // Date of the last update // Verify account type totals let expectedCheckingTotal = 8300; let expectedSavingsTotal = 24000; let expectedInvestmentTotal = 57000; if (checkingAccountTotal === expectedCheckingTotal) { console. log(“Checking Account Total is as expected: “ + checkingAccountTotal + “ Llc”);} else { console. log(“Checking Account Total does not match the expected total.”);} if (savingsAccountTotal === expectedSavingsTotal) { console. log(“Savings Account Total is as expected: “ + savingsAccountTotal + “ Llc”);} else { console. log(“Savings Account Total does not match the expected total.”);} if (investmentAccountTotal === expectedInvestmentTotal) { console. log(“Investment Account Total is as expected: “ + investmentAccountTotal + “ Llc”);} else { console. log(“Investment Account Total does not match the expected total.”);} console. log(“Total Amount Across All Accounts: “ + totalAmount + “ Llc”); console. log(“Date of Last Update: “ + lastUpdateDate). After the simple setup, you’ll be able to select notifications to get via Slack.
Уведомления по умолчанию
By default, Crowdin will send you updates on the new events happening in Crowdin via email and notify you in the app. You can change notification settings anytime.
Отключить уведомления
To disable notifications, clear the checkbox next to the notification type. You can also clear the checkbox under the channel’s name to disable all notification types. Once all the boxes below are disabled, you won’t receive notifications via this channel.
 English
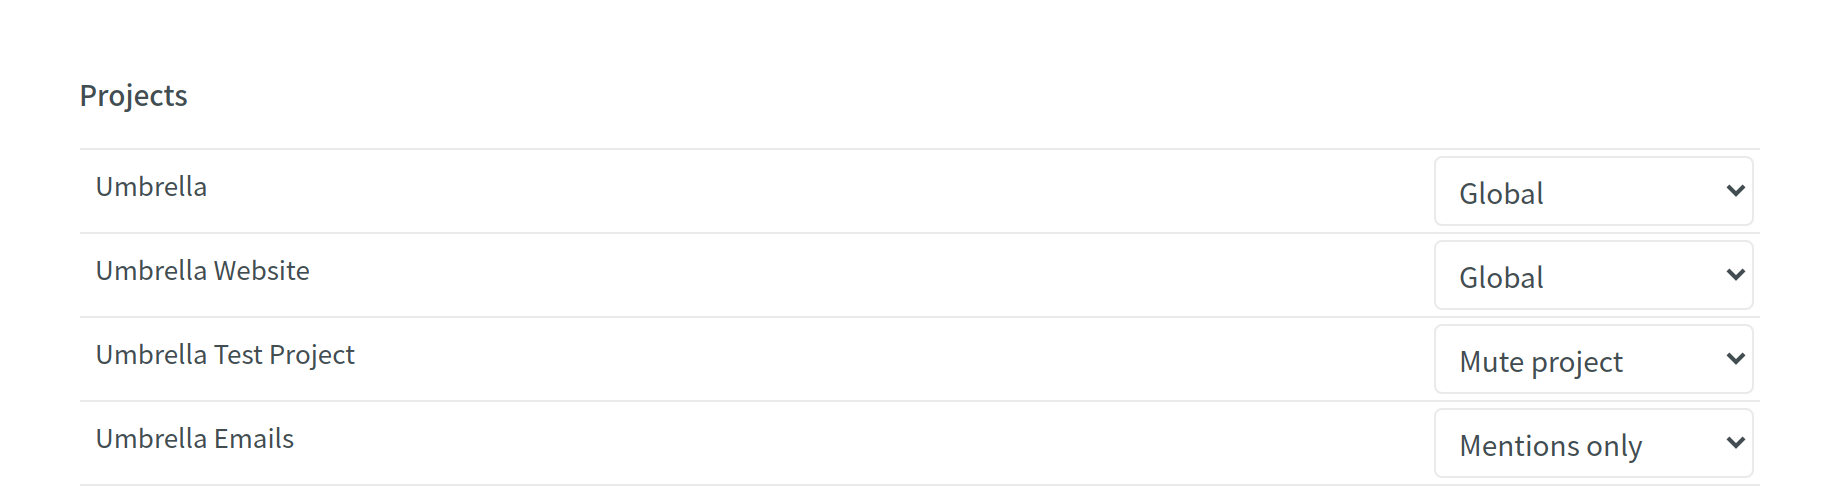
Правила уведомлений для проектов
You can also configure notification preferences on the project level:
Global: Notifications selected for global settings.
Mentions only: Only when @mentioned.
Mute project: Turn off notifications.
 English
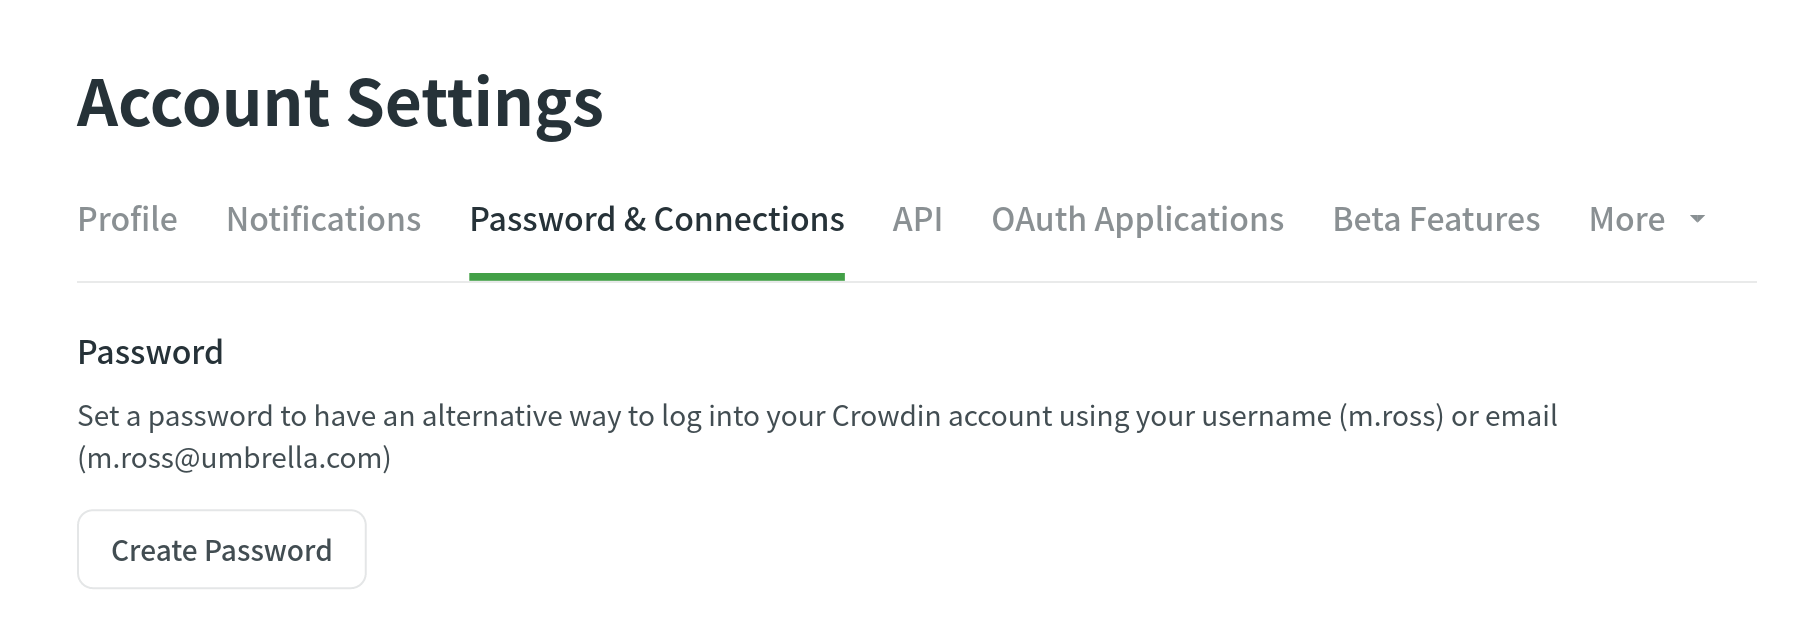
Пароль и подключения
In the Password & Connections tab, you can change your password, set up the two-factor authentication, set up OAuth connections with Facebook, Google, or any other single sign-on providers, and see the sessions list.
Изменение пароля
In the Password section, you can change your current password.
 English
If you registered via Facebook, Google, or any other single sign-on provider, add another way to log in by creating a password for your Crowdin account.
 English
Двухфакторная аутентификация
Активируйте двухфакторную аутентификацию, чтобы обеспечить дополнительный уровень безопасности для вашей учетной записи Crowdin. Every time you log in, along with your username and password, you will use an authentication code.
Чтобы включить двухфакторную аутентификацию, выполните следующие шаги:
- Open your Account Settings and go to the Password & Connections tab.
- Enable Two-Factor Authentication.

- Using the Google Authenticator app on your mobile device, scan the QR code on the screen.
- Enter the 6-digit verification code generated by your authenticator app, then click Next.
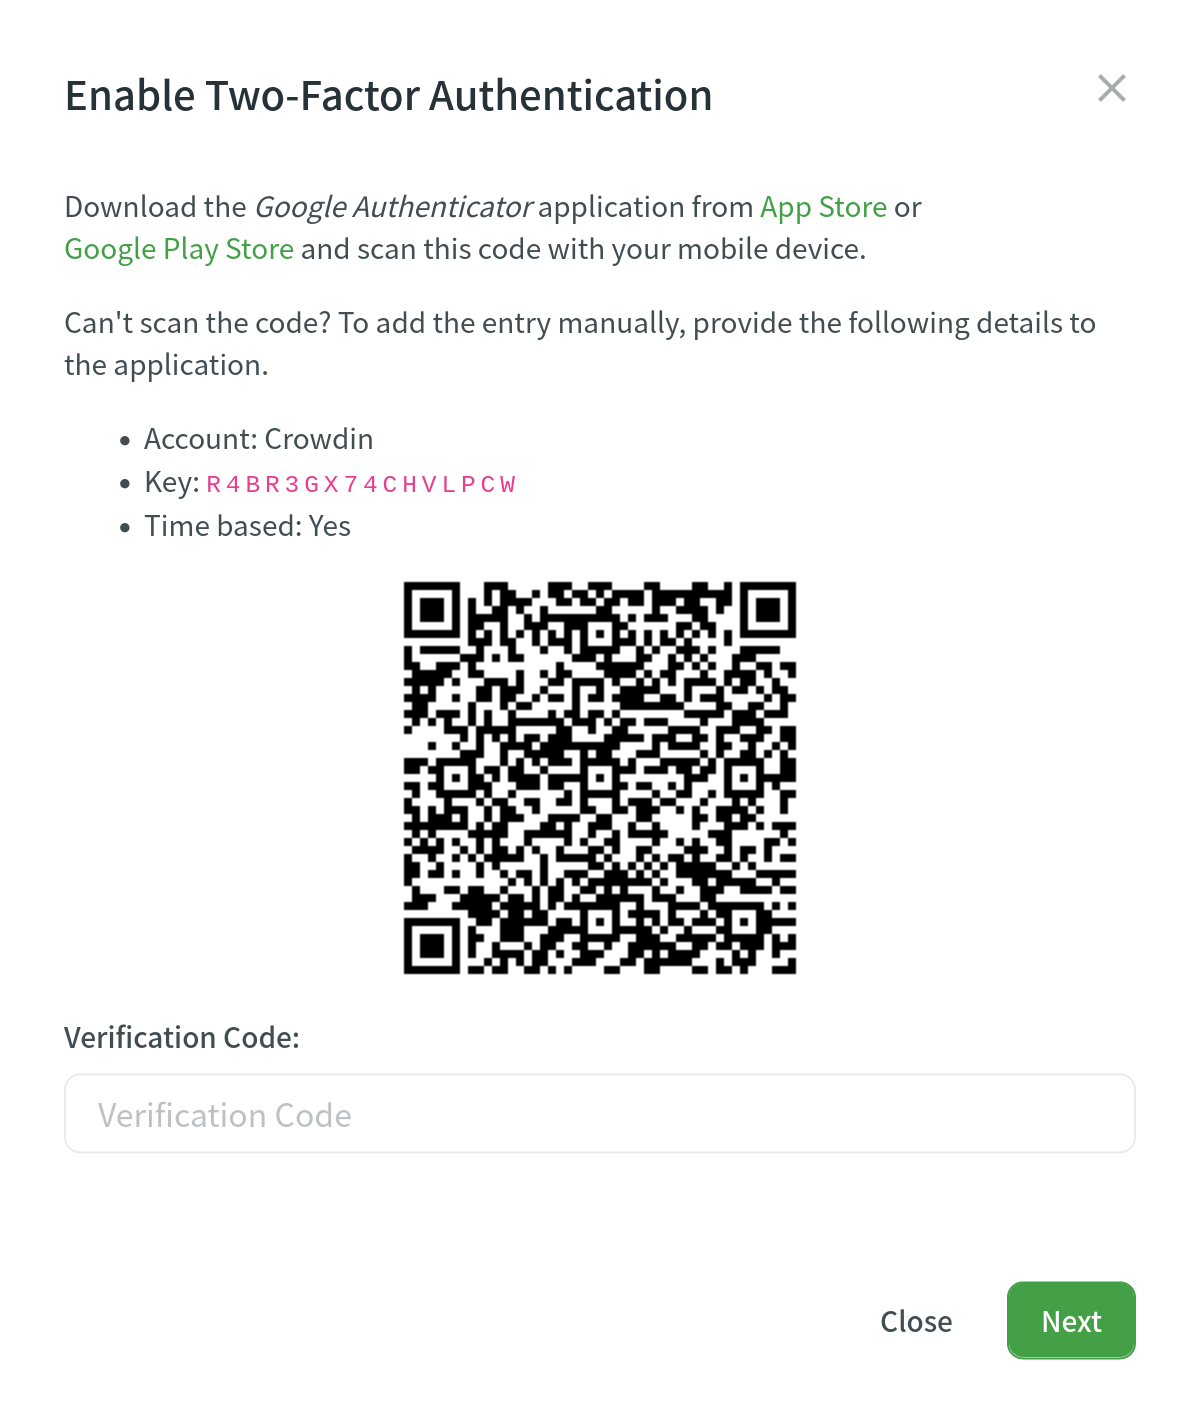
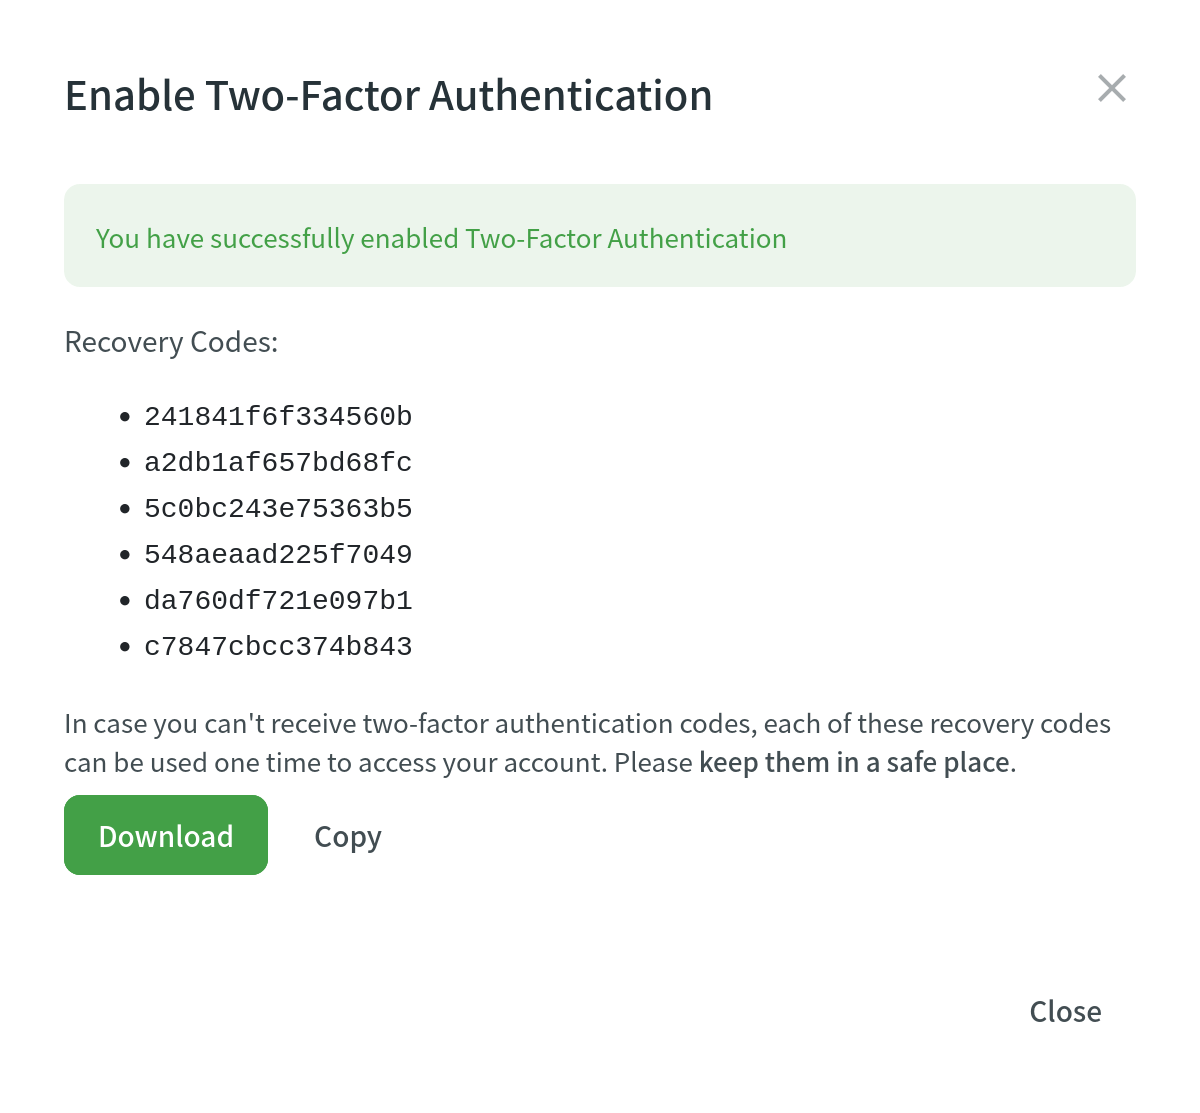
- Download recovery codes, so you can use them if you can’t access your mobile device.
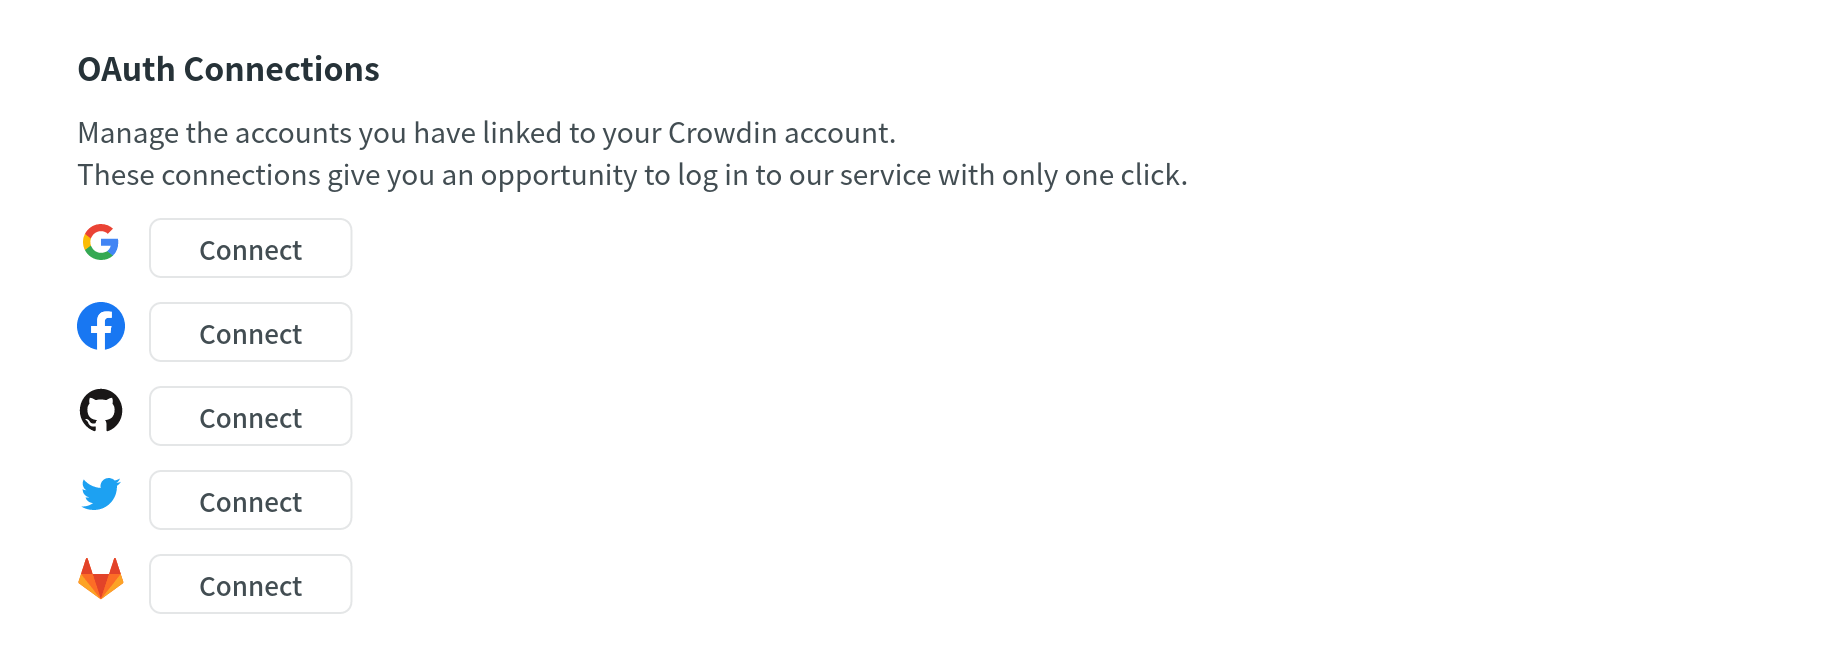
Подключения OAuth
In the OAuth Connections section, you can connect your Facebook, Google, Twitter, GitHub, or GitLab accounts to log into your Crowdin account with one click.
 English
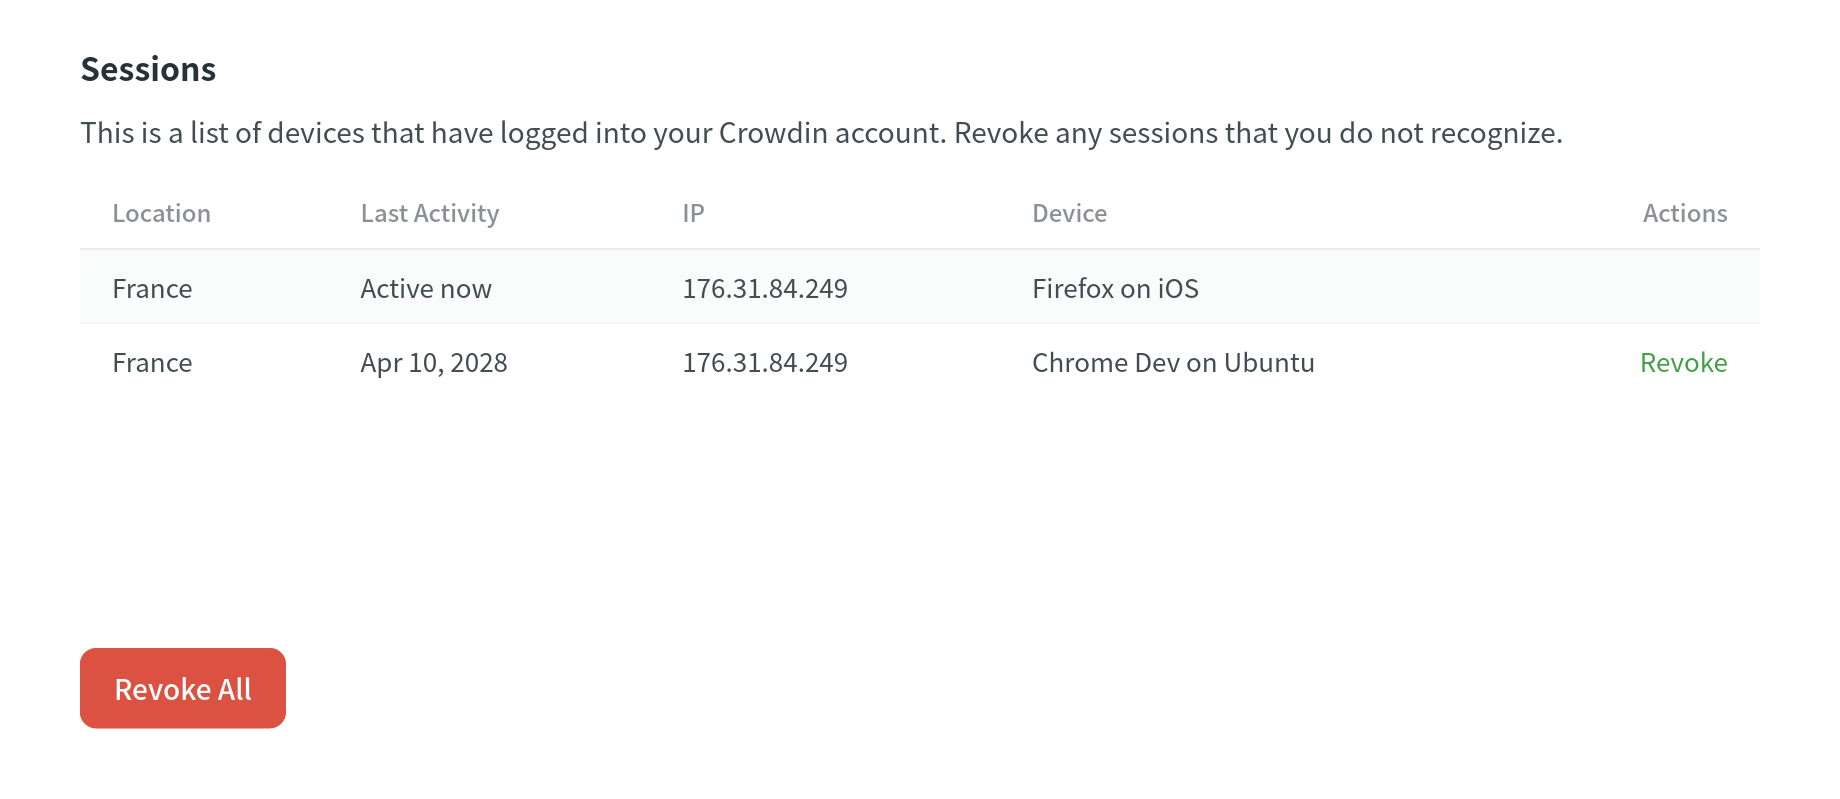
Сессии
In the Sessions section, you can review the list of devices (including the location, last activity date, IP address, browser, and operation system) logged into your Crowdin account.
If there are any sessions you don’t recognize, you can revoke them by clicking Revoke on the specific session. Alternatively, you can revoke all but the active session by clicking Revoke All.
 English
API
Токены персонального доступа
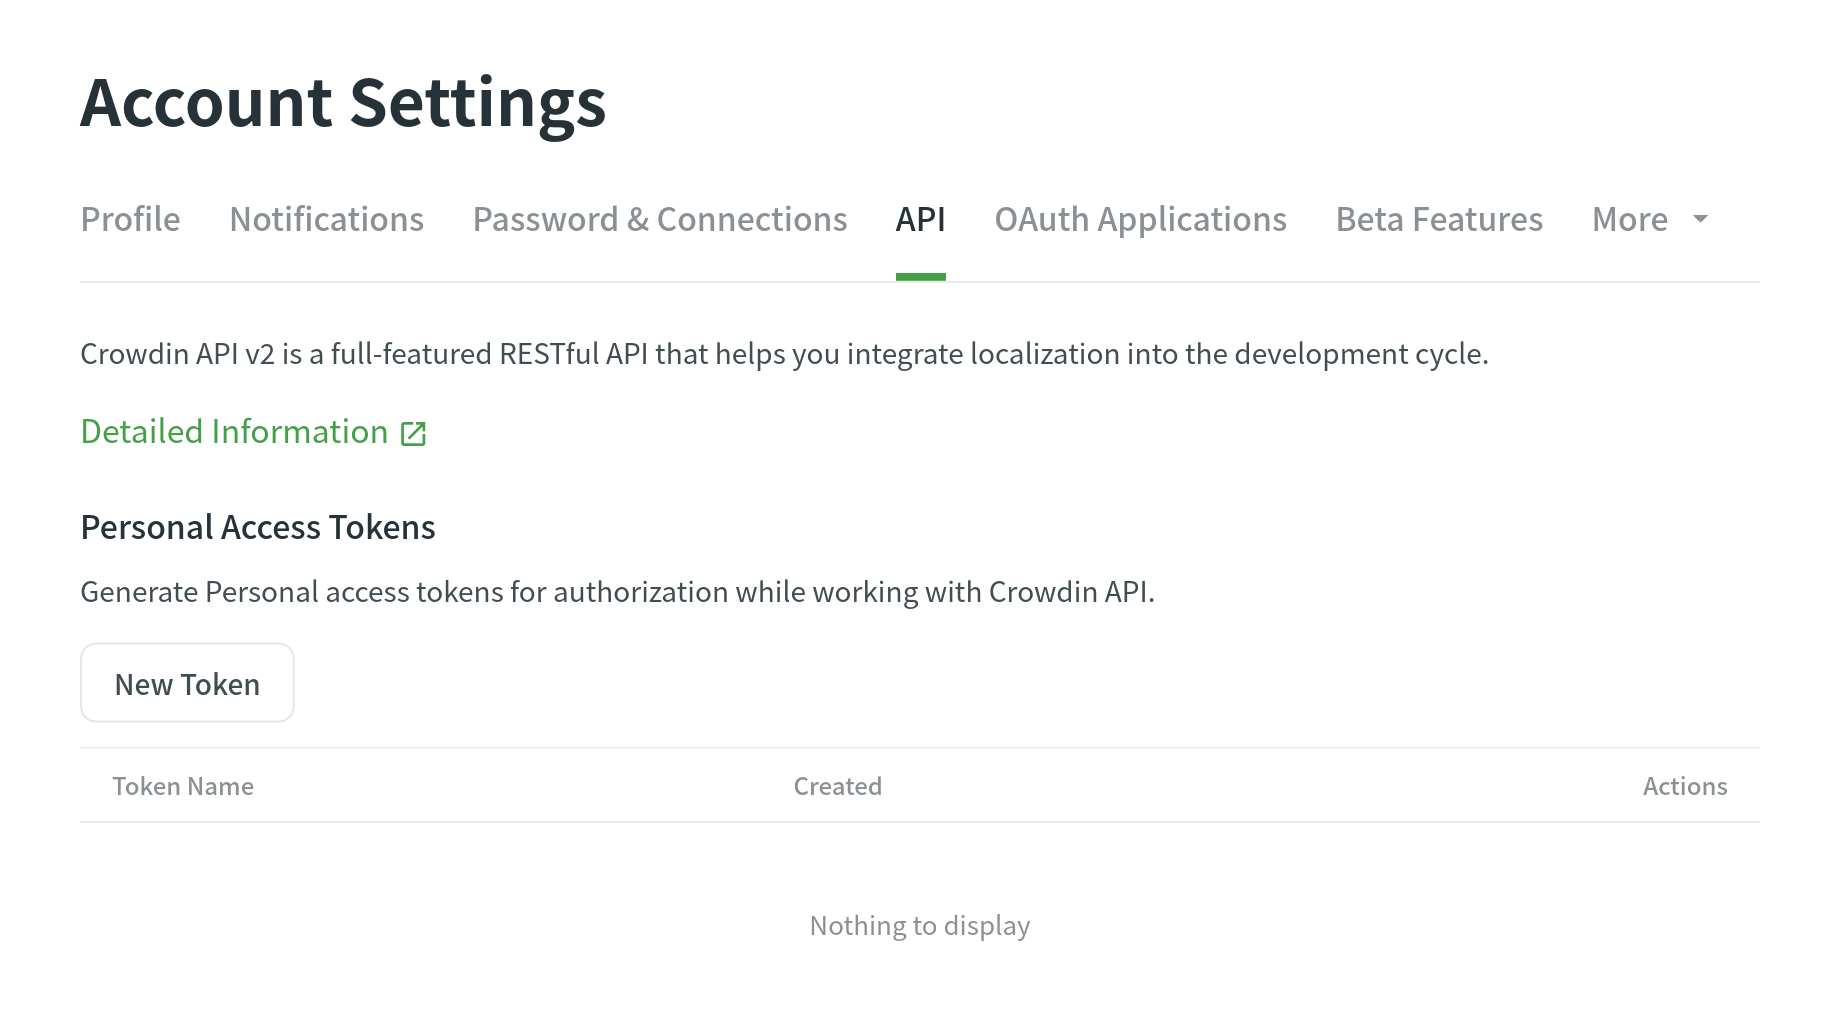
In the API tab, you can generate personal access tokens needed for authorization while working with Crowdin API v2. Treat personal access tokens like passwords and keep them secret. Use tokens as environmental variables instead of hardcoding them into your scripts.
Creating a Personal Access Token
When creating a new personal access token, you can select specific scopes and, if needed, limit the visibility of resources for the selected scopes using the Granular access option. For example, you can create a token that should interact only with a specific project and have no access to others. As a result, only the selected projects will be gained when retrieving a list of all projects.
If a resource wasn’t selected during the personal access token creation, but you still try to access it with its ID, the 404 Not Found response will be received.
You can create as many personal access tokens as you need from your Crowdin account.
To create a new personal access token, follow these steps:
- Open your Account Settings and go to the API tab.
- Click New Token.
- In the appeared dialog, specify the token name to be able to identify it later.
- Select the necessary set of scopes.
- (Optional) To limit access to specific resources, select Granular access. Note: If Granular access is selected, ensure to select some resources for the selected scopes.
- Depending on the selected scopes, select Grant access to selected projects, Grant access to selected TMs, and Grant access to selected Glossaries.
- Click Select projects, Select glossaries, Select TMs, and respectively select the needed resources.
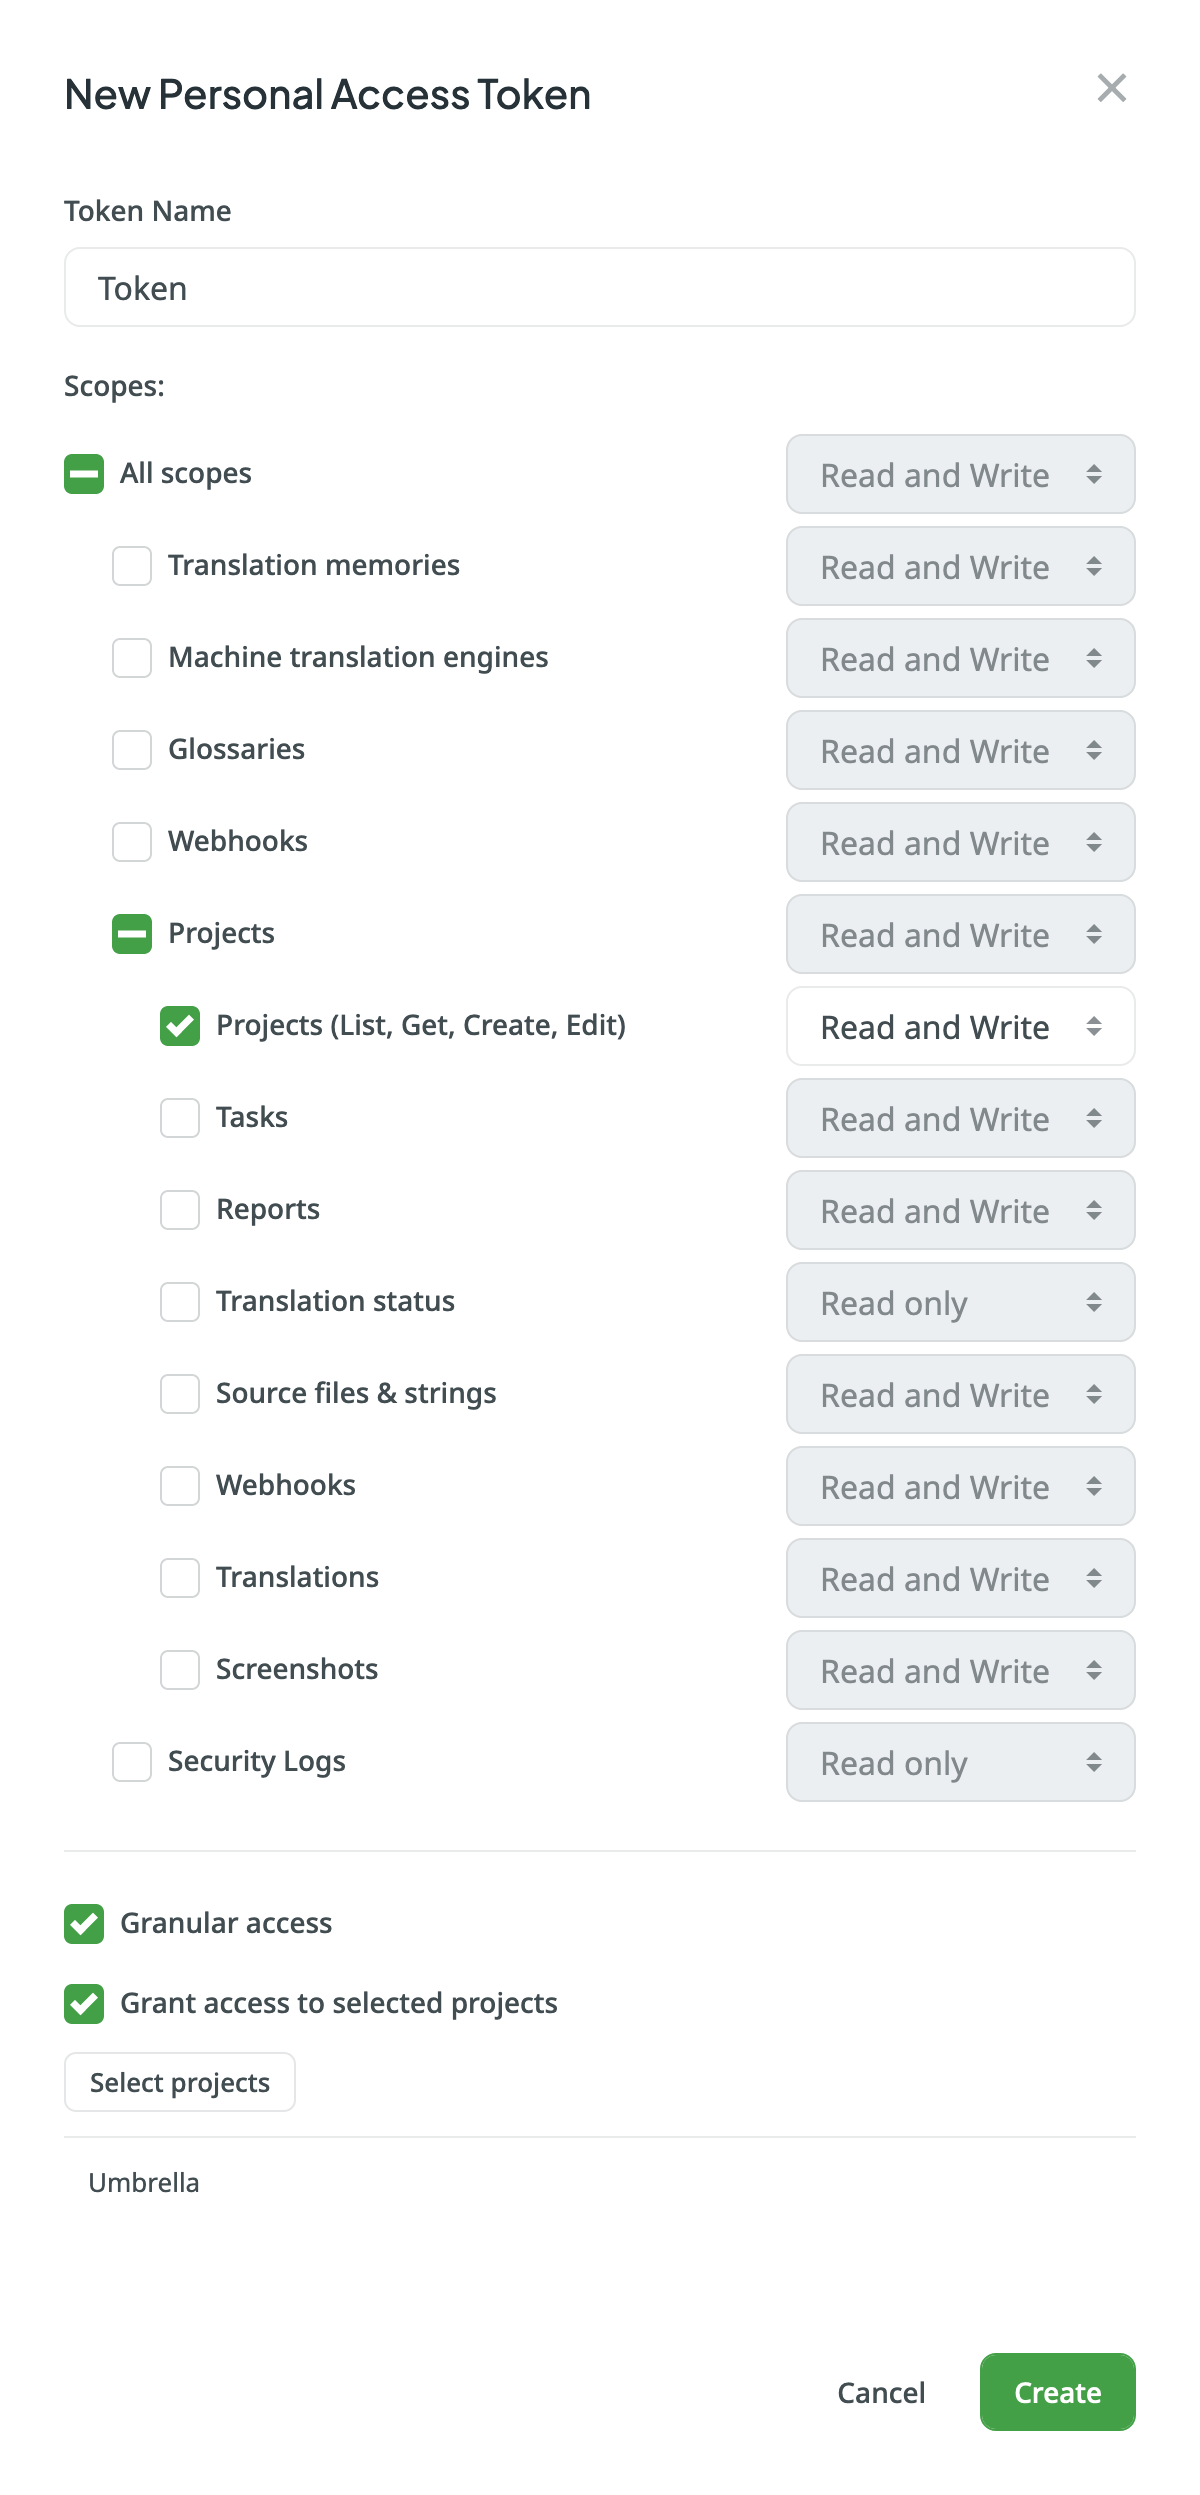
- Click Create.
After generating a new token, be sure to record it right away. For security purposes, it will not be shown again.
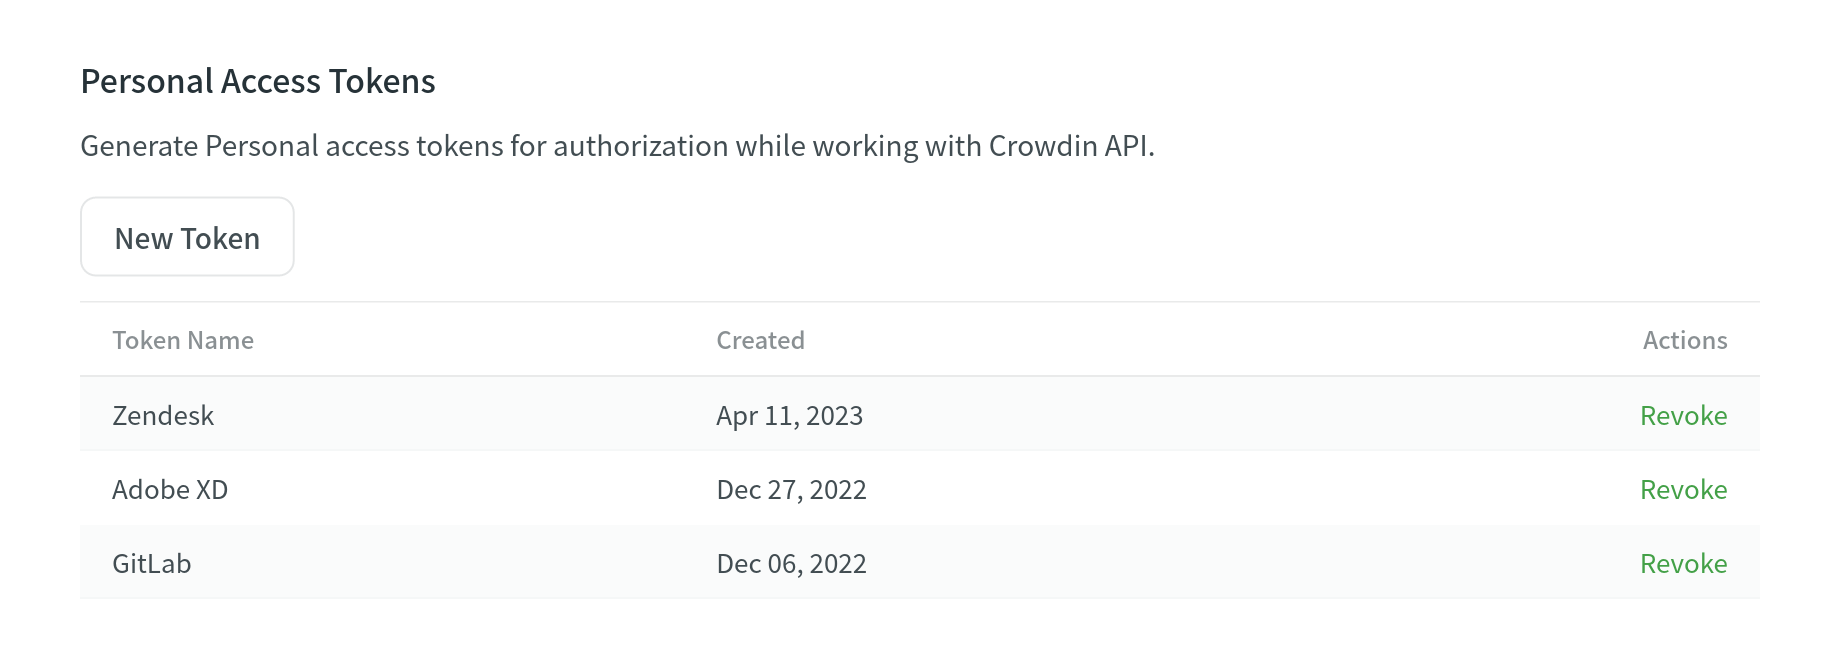
Revoking a Personal Access Token
You might need to revoke a personal access token if you no longer use it or suspect it has been compromised.
To revoke a personal access token, follow these steps:
- Open your Account Settings and go to the API tab.
- Find the necessary token in the list and click Revoke next to it to delete a personal access token and remove its access.
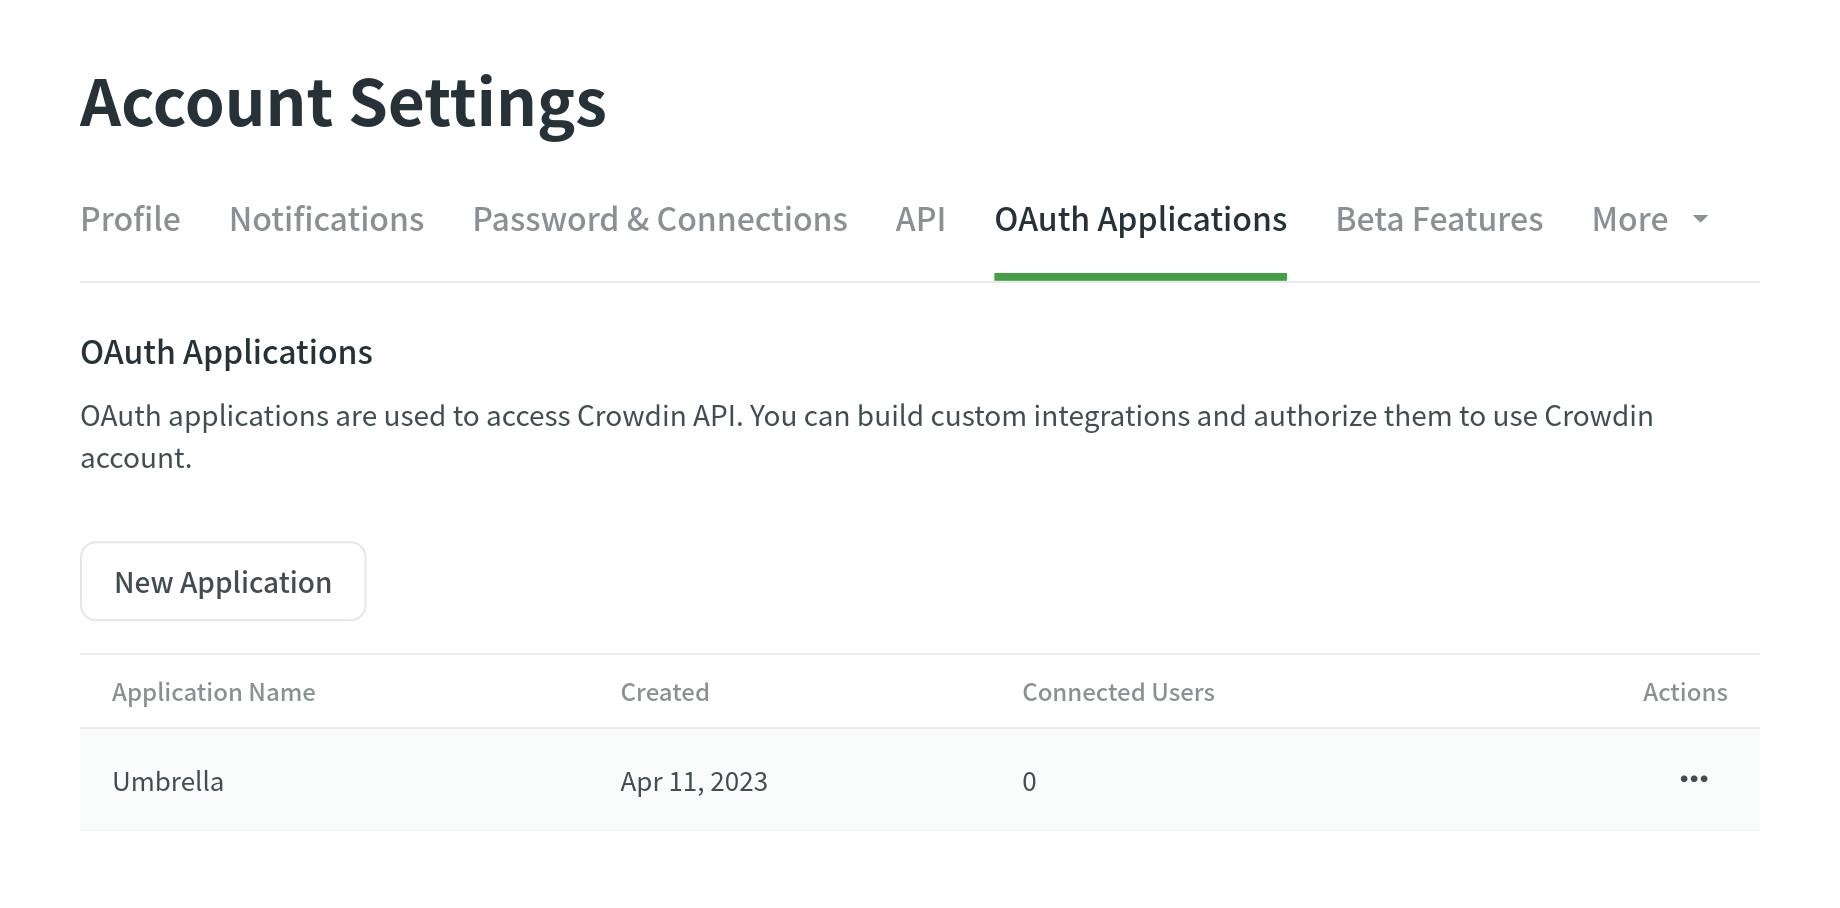
Приложения OAuth
In the OAuth Applications tab, you can create an OAuth app that could be used to make authorized requests to Crowdin API or as a Single Sign-On service.
Read more about creating OAuth App.
 English
Бета-функции
In the Beta Features tab, you can select the Enable beta features option to test new experimental features.
 English
Журнал безопасности
The Security Log tab lets you track important events (including event type, used device, IP address, and date) that happen with your Crowdin account.
Security log includes events like logins, password and username changes, and others.
 English
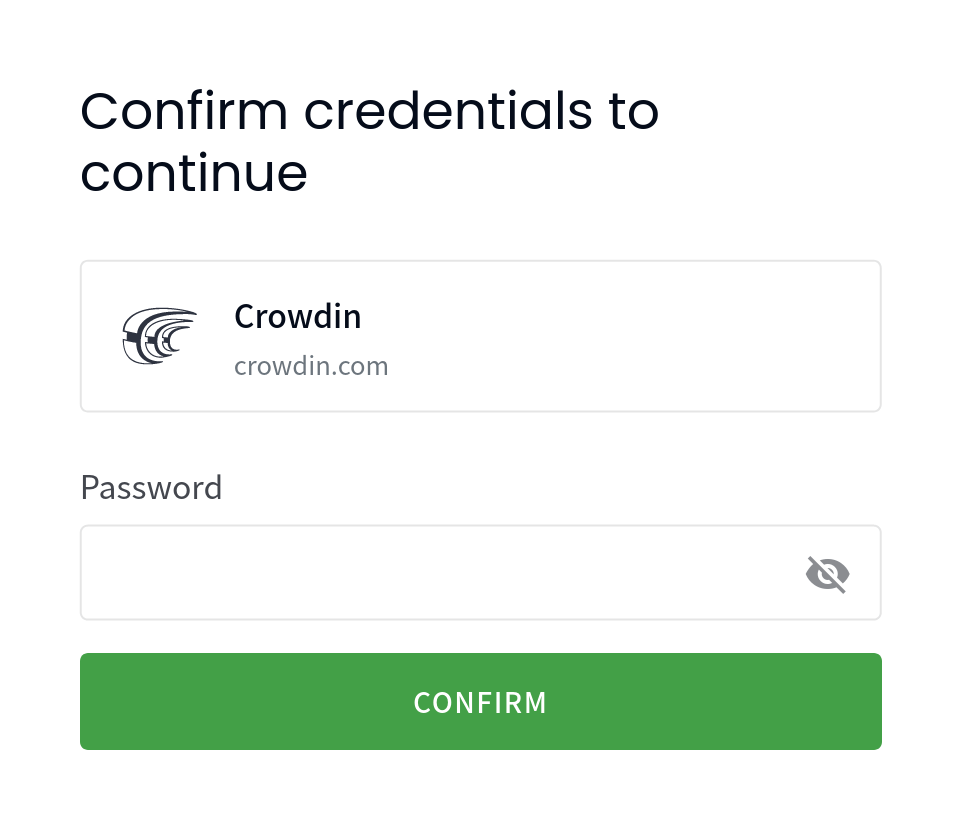
Sudo режим
Crowdin asks you to confirm your password before you can perform any of the sudo-protected actions. They include creating/changing your password and email, connecting/disconnecting SSO, enabling/disabling two-factor authentication, creating personal access tokens, and deleting your account.
After you’ve confirmed your password, you can perform the sudo-protected actions without additional re-authentication within the next five minutes.