Kontoeinstellungen
Sie können die Einstellungen für Ihr Crowdin-Konto auf der Seite Kontoeinstellungen anzeigen und verwalten.
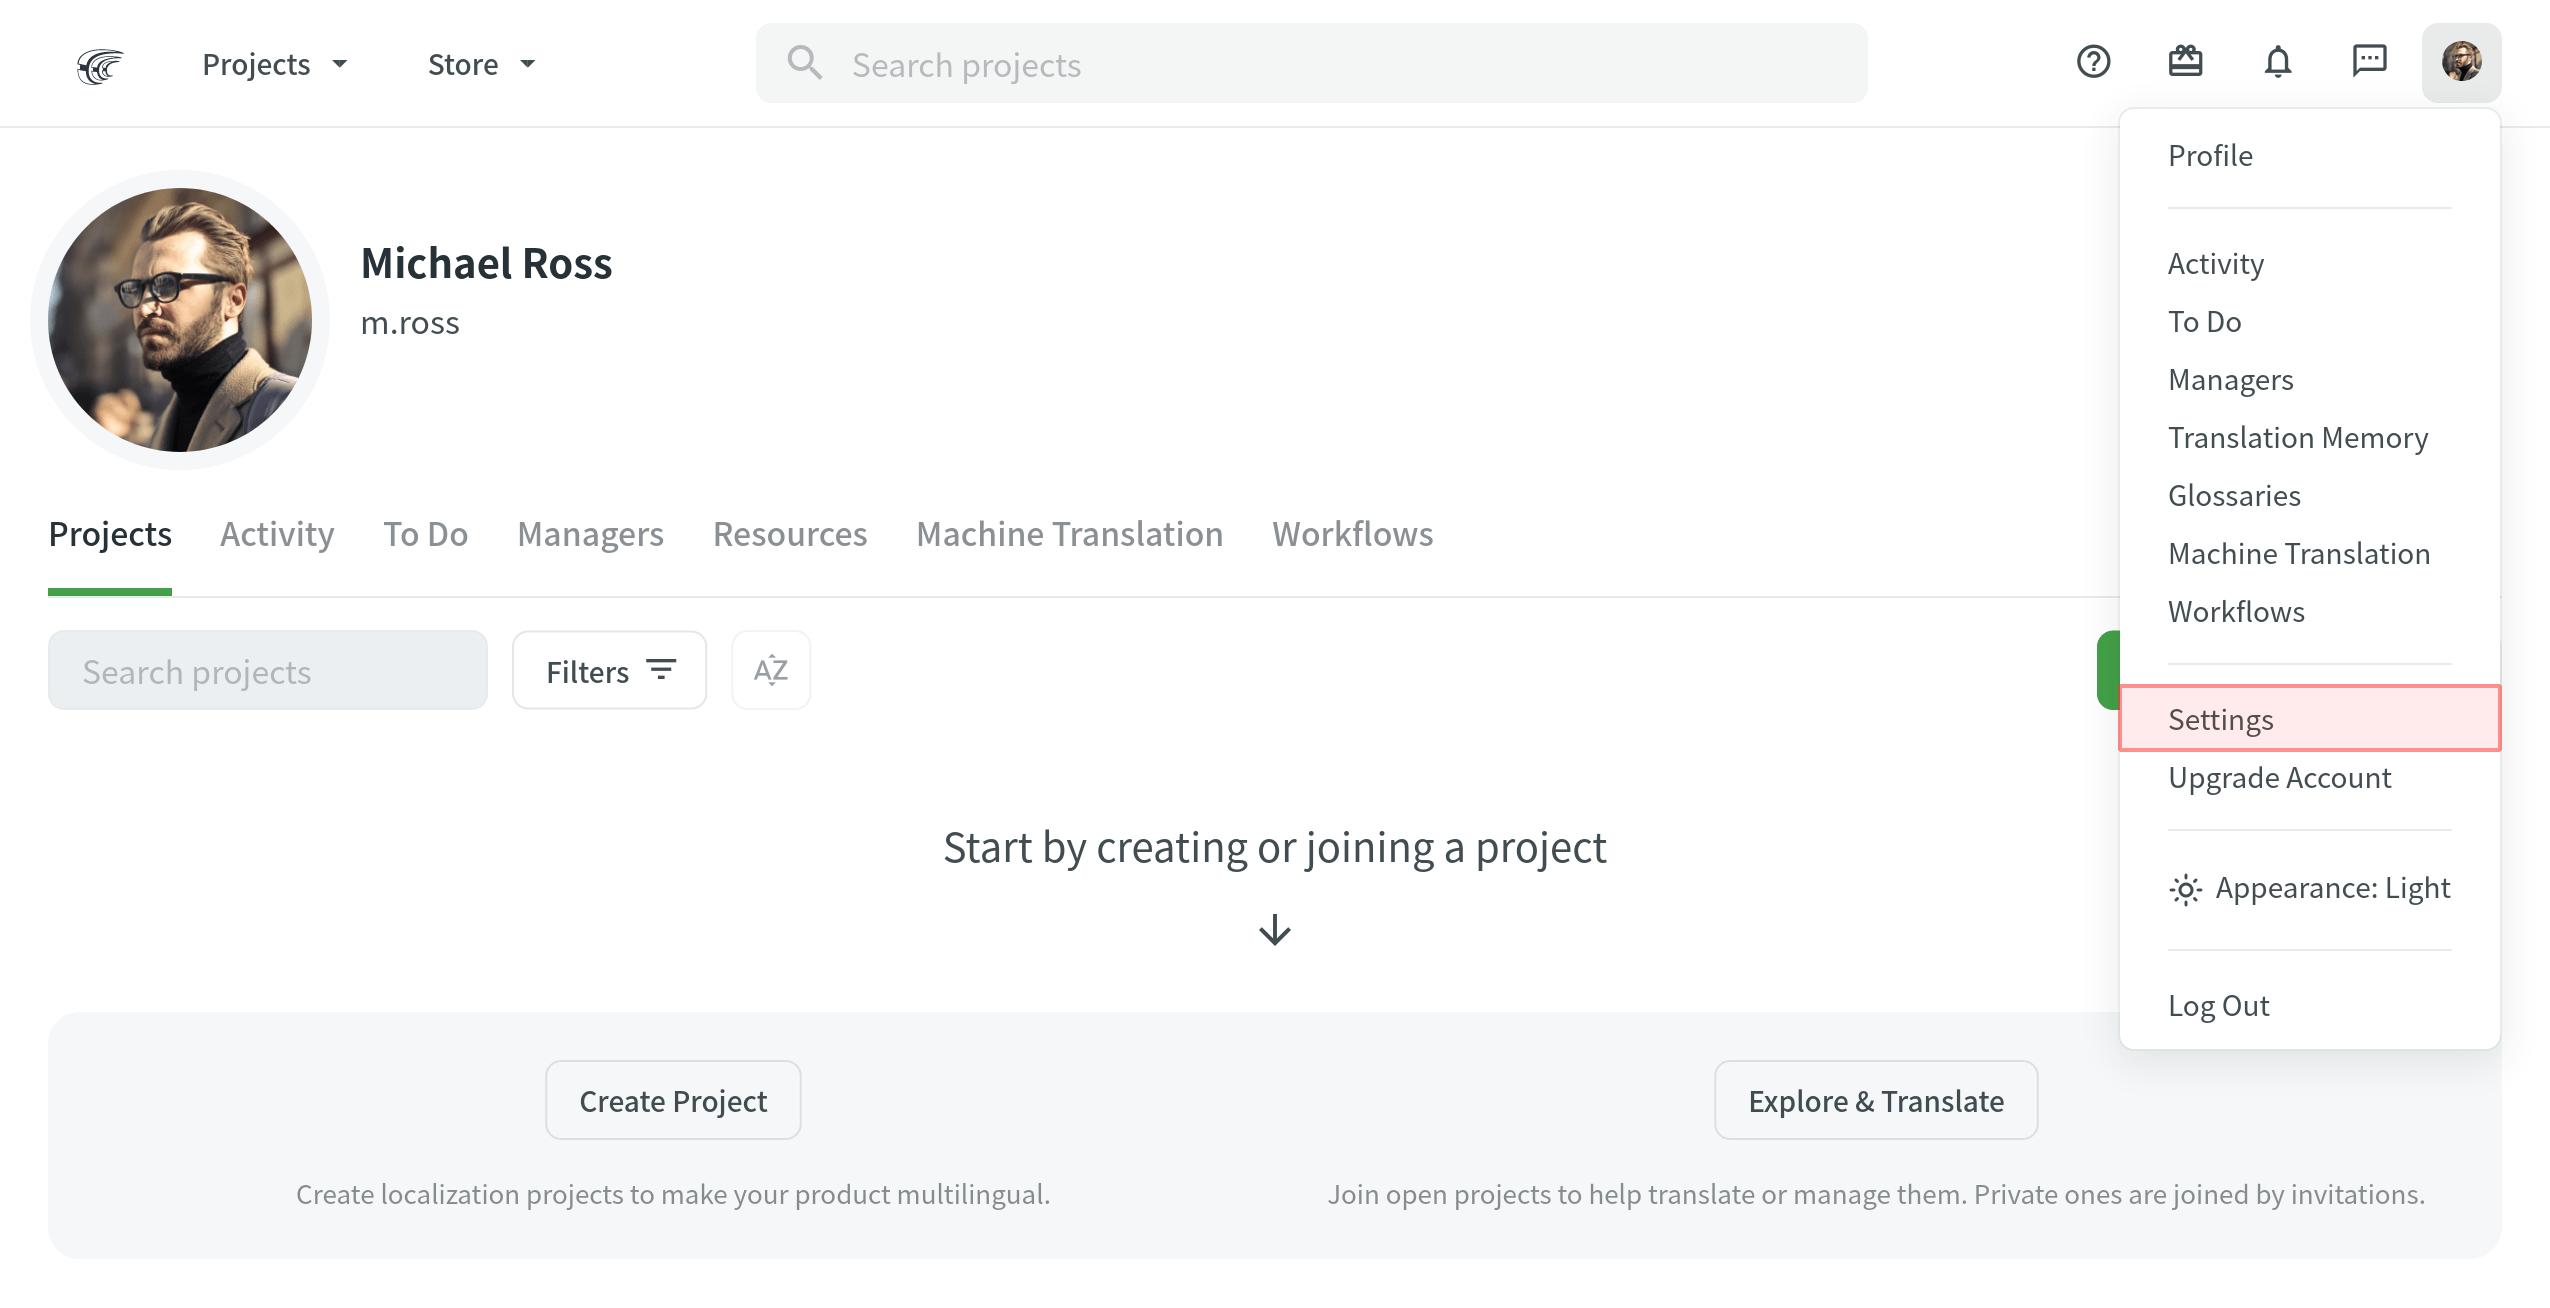
Um Ihre Kontoeinstellungen zu öffnen, klicken Sie auf Ihr Profilbild in der oberen rechten Ecke und wählen Sie Einstellungen.
Profile
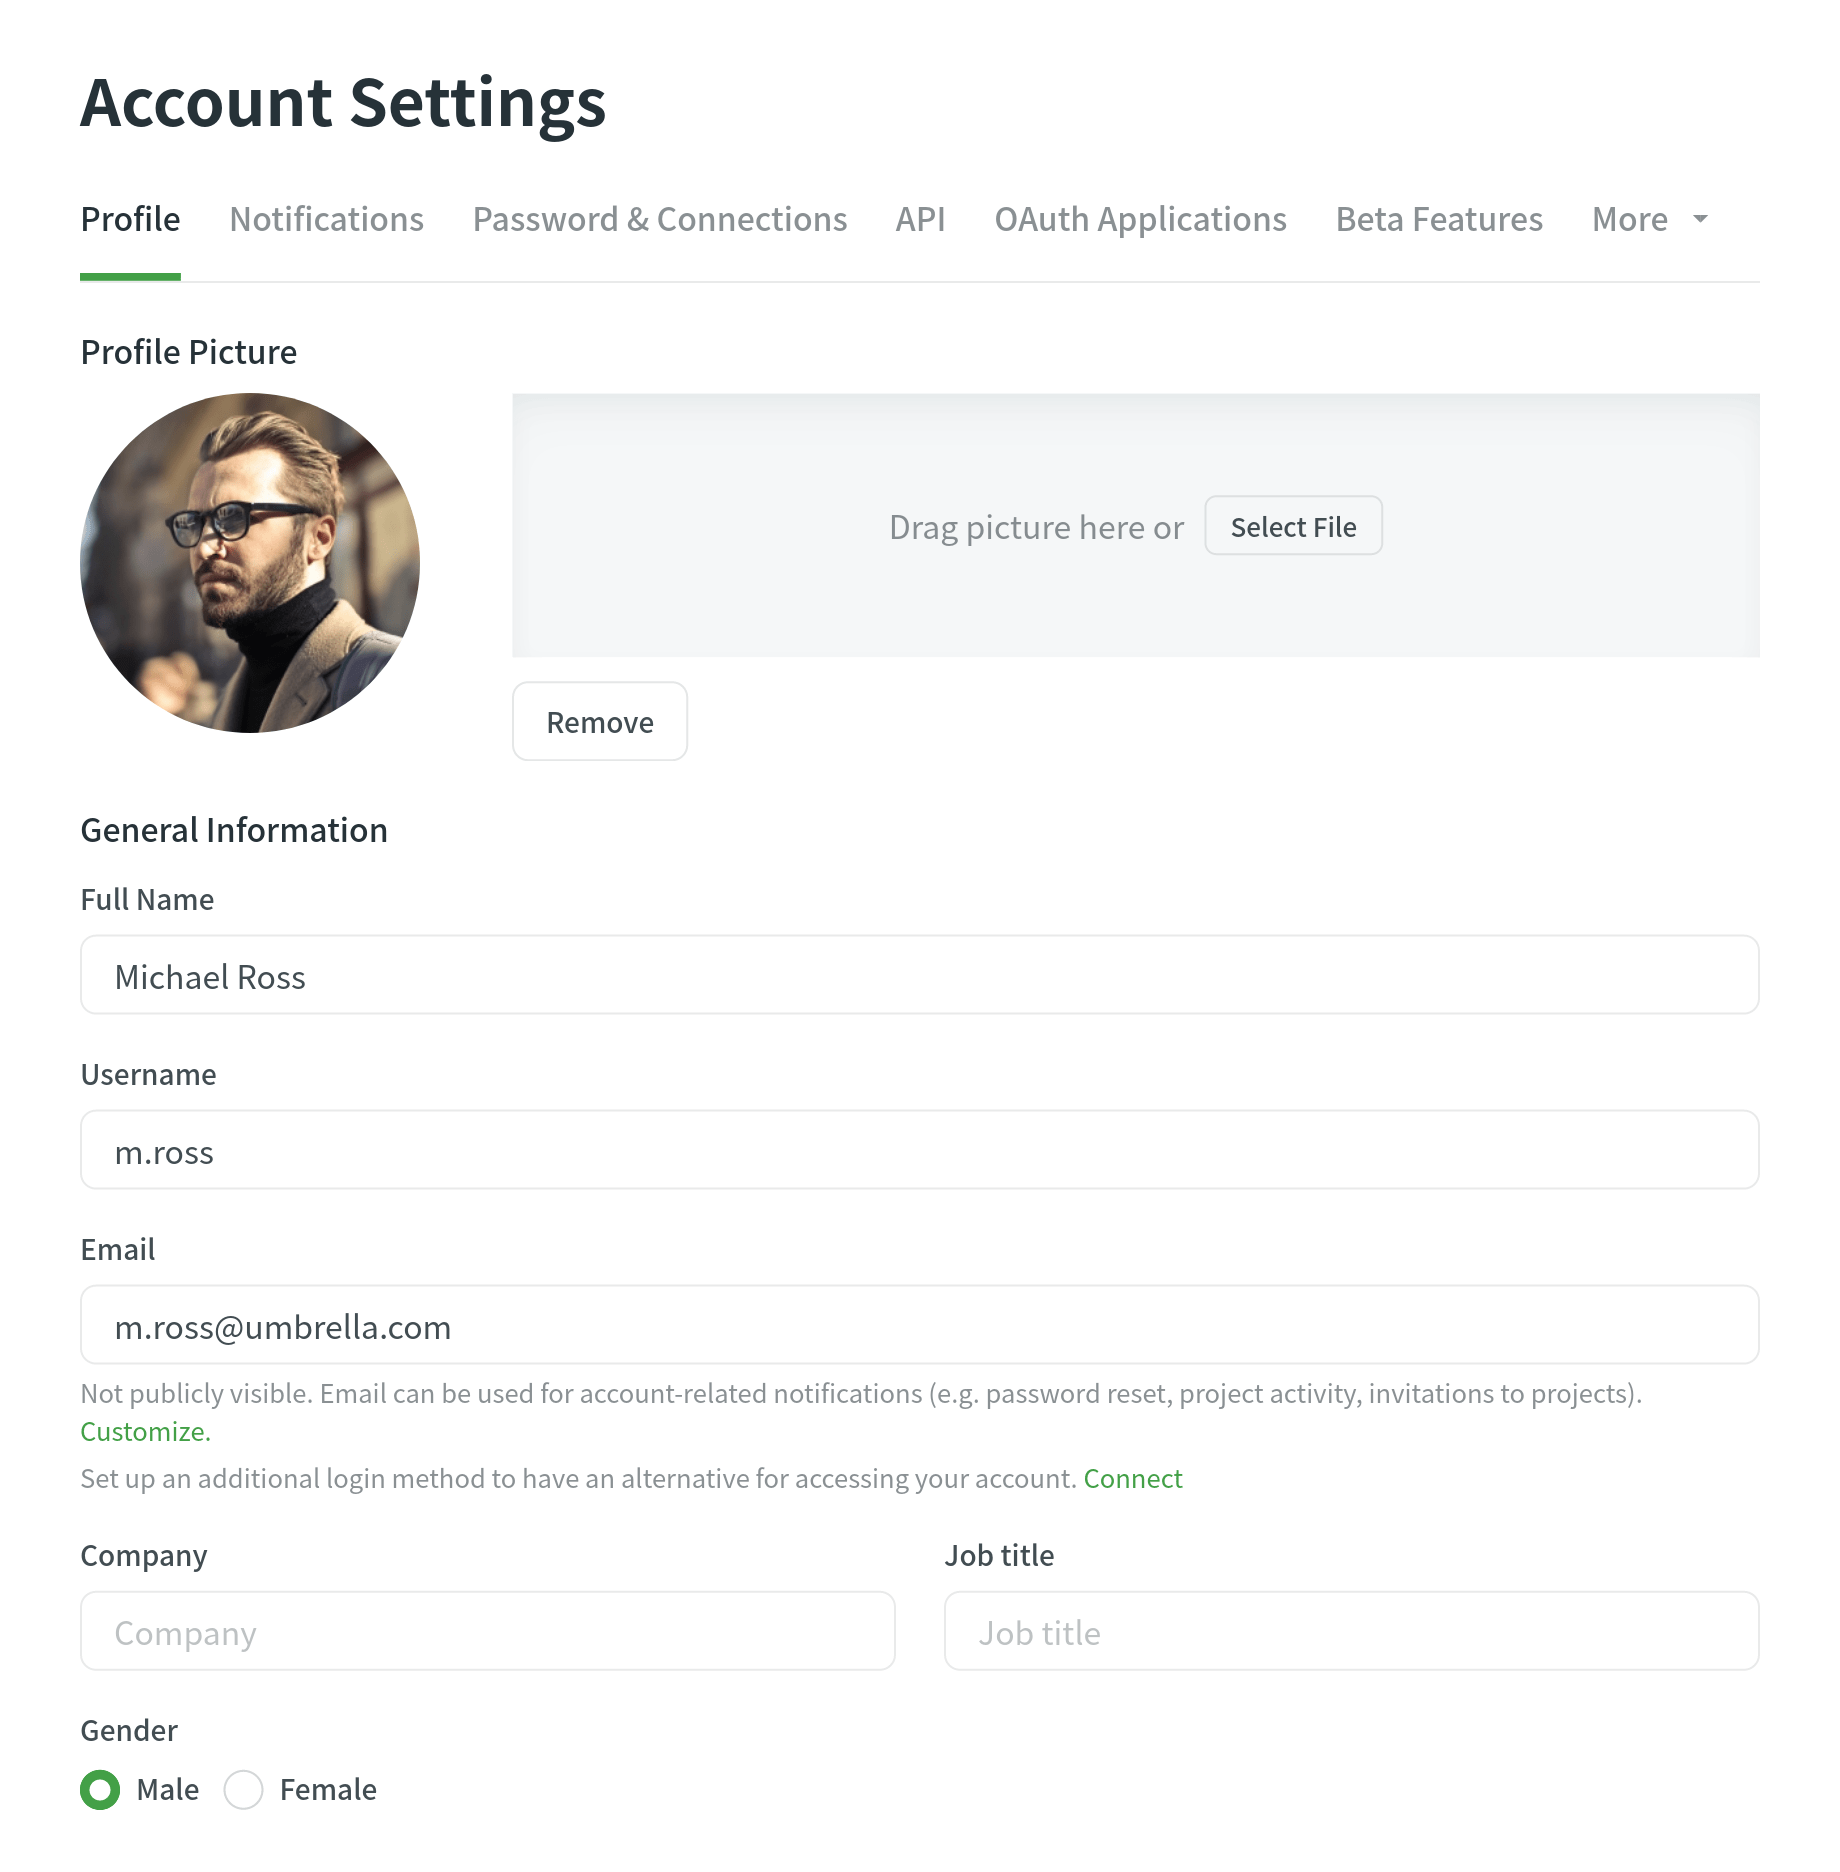
Auf der Registerkarte Profil können Sie ein Profilbild einstellen, allgemeine Informationen wie Ihren vollständigen Namen, Ihren Benutzernamen, Ihre E-Mail-Adresse und Ihr Geschlecht angeben (und bei Bedarf aktualisieren), eine kurze Beschreibung Ihrer Person hinzufügen, Ihre Zeitzone und Ihr Zeitformat auswählen, Ihre bevorzugten Sprachen angeben usw.
Bevorzugte Sprachen
Wählen Sie im Abschnitt Bevorzugte Sprachen die Sprachen aus, die Sie beherrschen. Die ausgewählten Sprachen haben bei der Anzeige der Liste der Zielsprachen der Projekte Vorrang.
Appearance Theme
Wählen Sie das bevorzugte Crowdin-Farbschema. Sie können zwischen Hell und Dunkel wählen oder sie mit Ihren Systemeinstellungen synchronisieren.

Privates Profil
Set up Private Profile to hide Projects and Activity tabs from other users visiting your page.
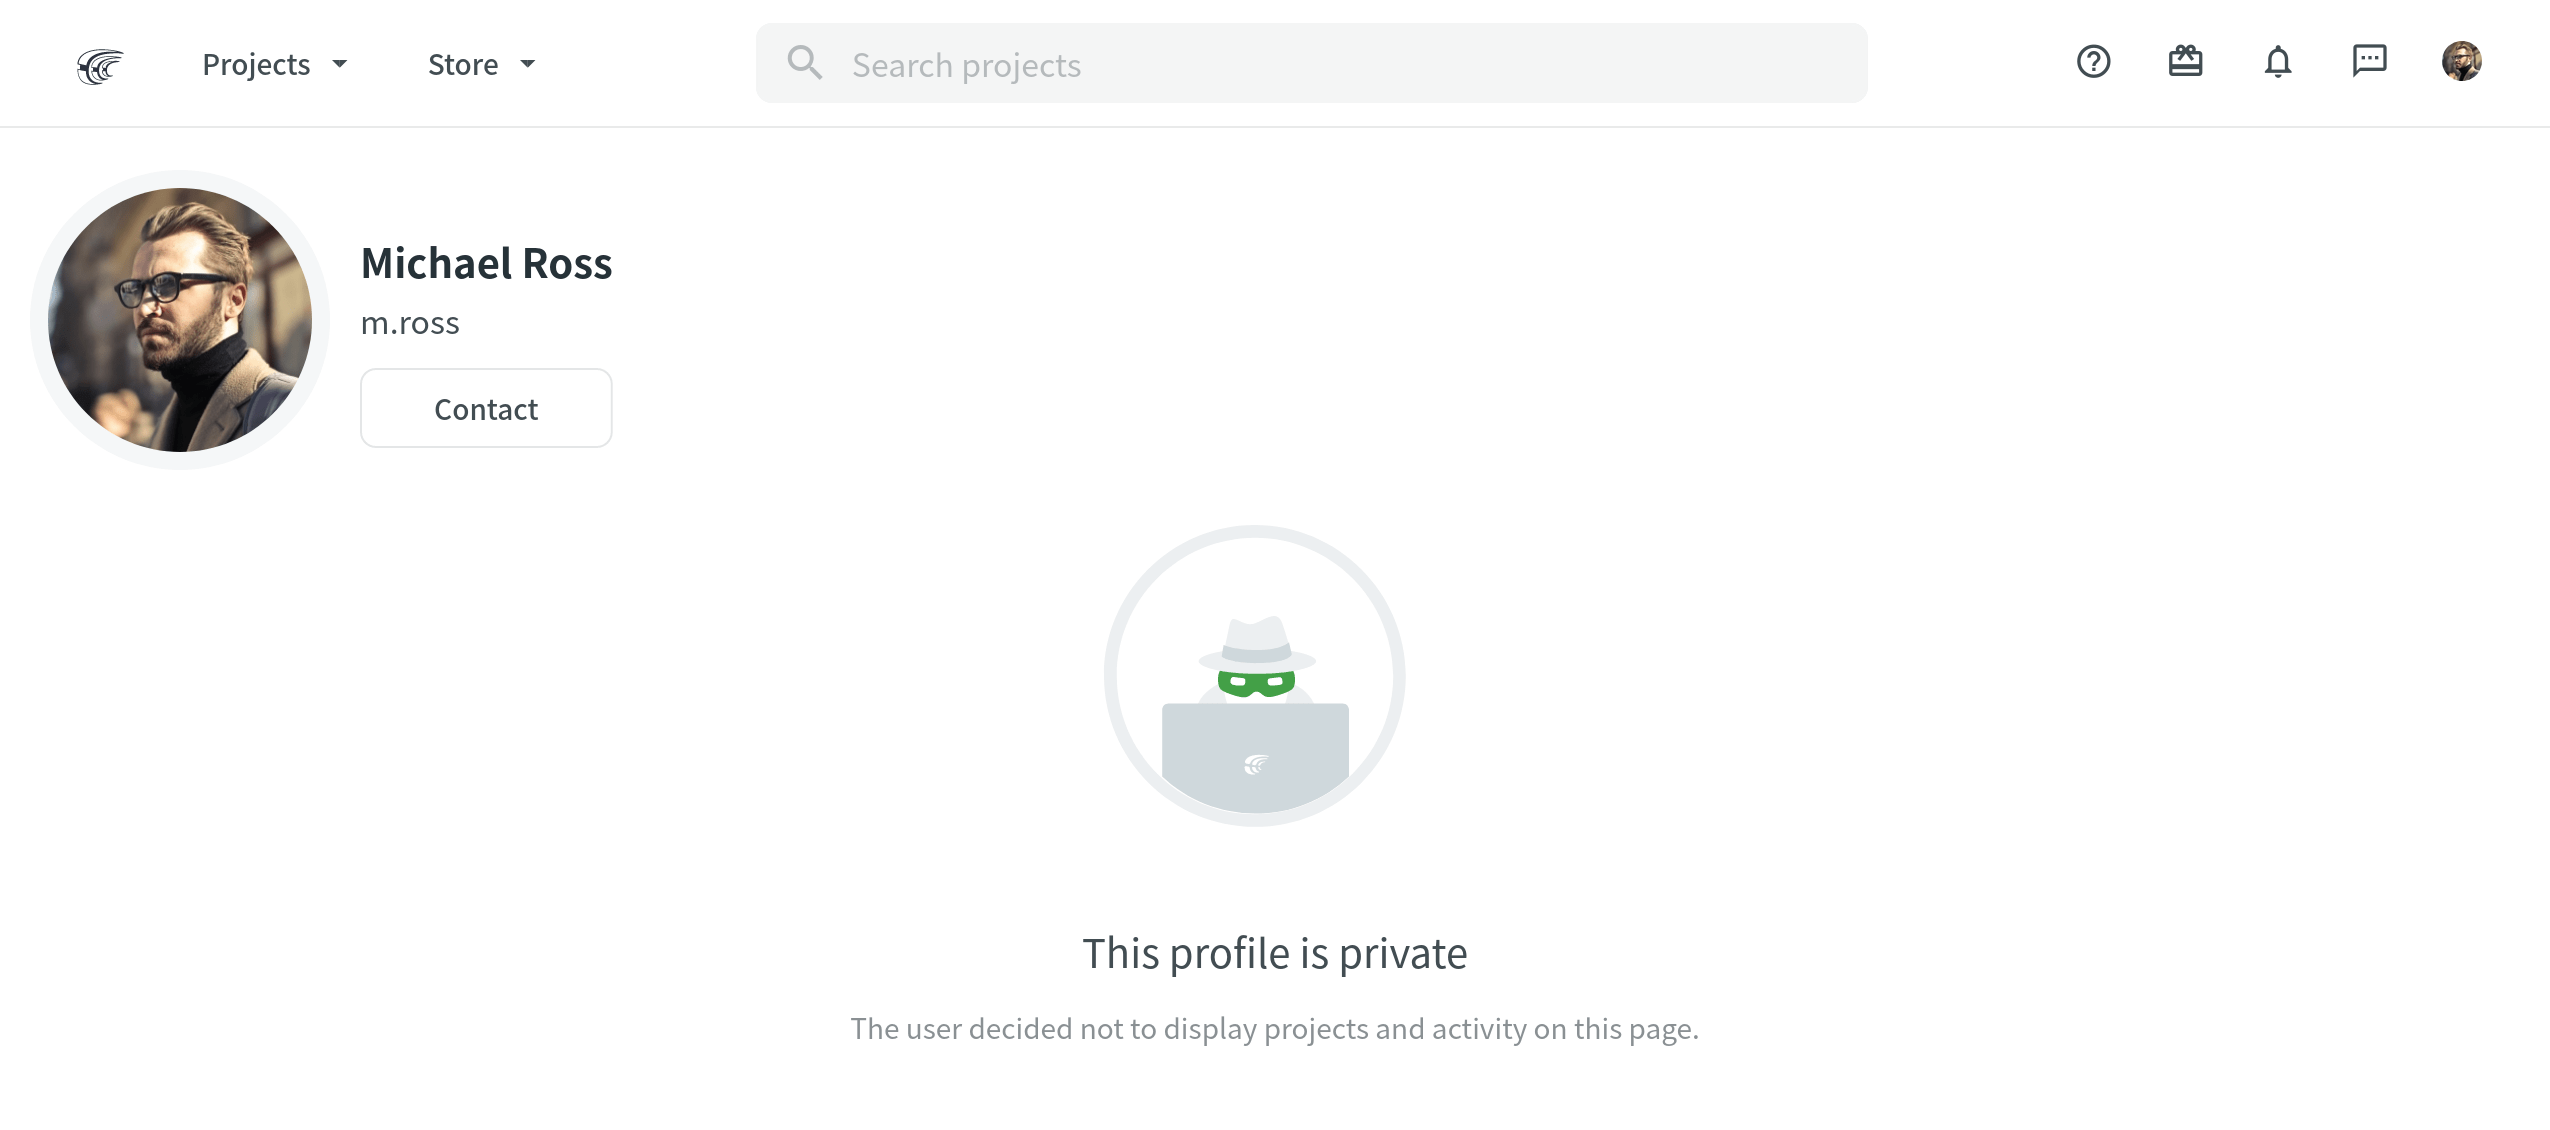
Gehen Sie folgendermaßen vor, um Ihr Profil privat zu machen:
- Öffnen Sie Ihre Kontoeinstellungen und gehen Sie zur Registerkarte „Profil“.
- Scrollen Sie zum Bereich „Privatsphäre“.
- Wählen Sie Privates Profil.

Migration to Crowdin Enterprise
You can migrate your Crowdin projects, Translation Memories, and Glossaries to a new or existing Crowdin Enterprise organization.
Read more about Migration to Crowdin Enterprise.

Removing Account
For security reasons, we cannot delete an account on behalf of the user. You must have access to your Crowdin account to be able to delete it.
To delete your account, follow these steps:
- Öffnen Sie Ihre Kontoeinstellungen und gehen Sie zur Registerkarte „Profil“.
- Scrollen Sie zum Bereich „Konto entfernen.“.
- Klicken Sie auf Konto entfernen.

Wenn Sie Ihr Konto löschen, werden Ihre Projekte und Kontoeinstellungen dauerhaft entfernt und können nicht wiederhergestellt werden. Ihre Übersetzungen, Kommentare, Begriffe und Abstimmungen bleiben jedoch erhalten und werden als von einem entfernten Benutzer hinzugefügt angezeigt.
Benachrichtigungen
In the Notifications tab, you can enable notifications you’d like to receive and disable the ones that require less attention. You can select the types of events in Crowdin, channels to receive updates, and set notification rules for particular projects.
Channels & Events
There are four channels Crowdin can send notifications to:
- In-App (Crowdin)
- Slack
- Benutzerdefiniert
You can enable the desired channel by selecting the checkbox under the channel’s name, either In-App, Email, Slack, or Custom. Customize notifications for each of the channels. Select the checkboxes next to the events you’d like to be notified of.
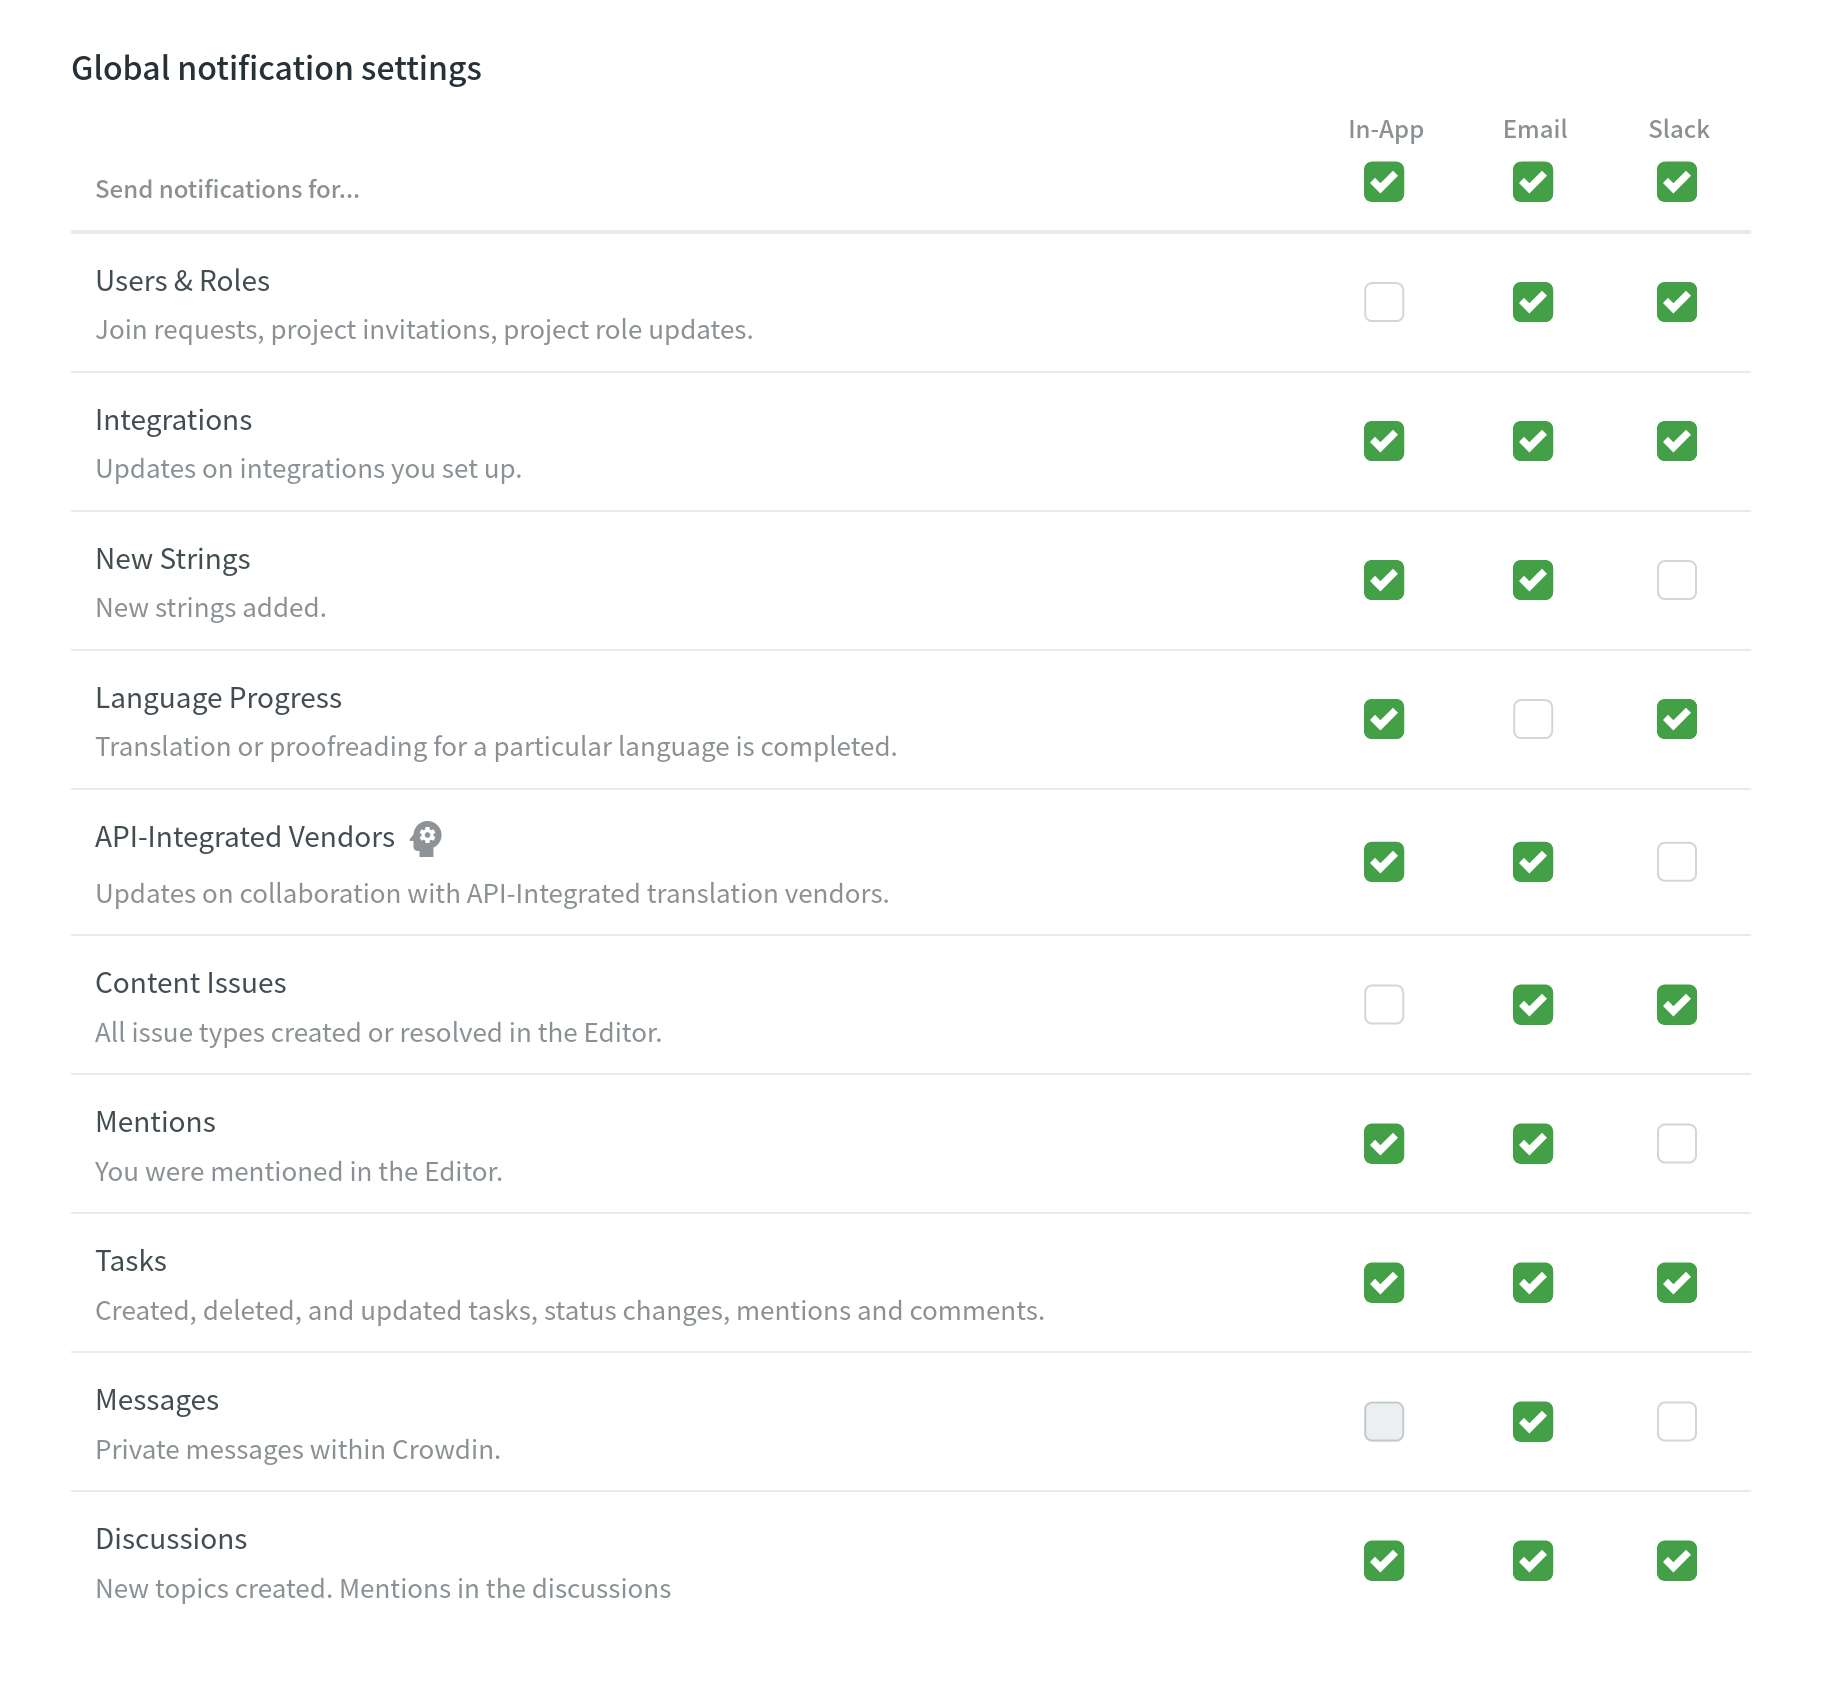
Slack-Benachrichtigungen
To select Slack as a notification channel, set up Slack integration. First, click Connect Slack and authorize the connection with Crowdin on the Slack side. After the simple setup, you’ll be able to select notifications to get via Slack.

Standard-Benachrichtigungen
By default, Crowdin will send you updates on the new events happening in Crowdin via email and notify you in the app. You can change notification settings anytime.
Benachrichtigungen deaktivieren
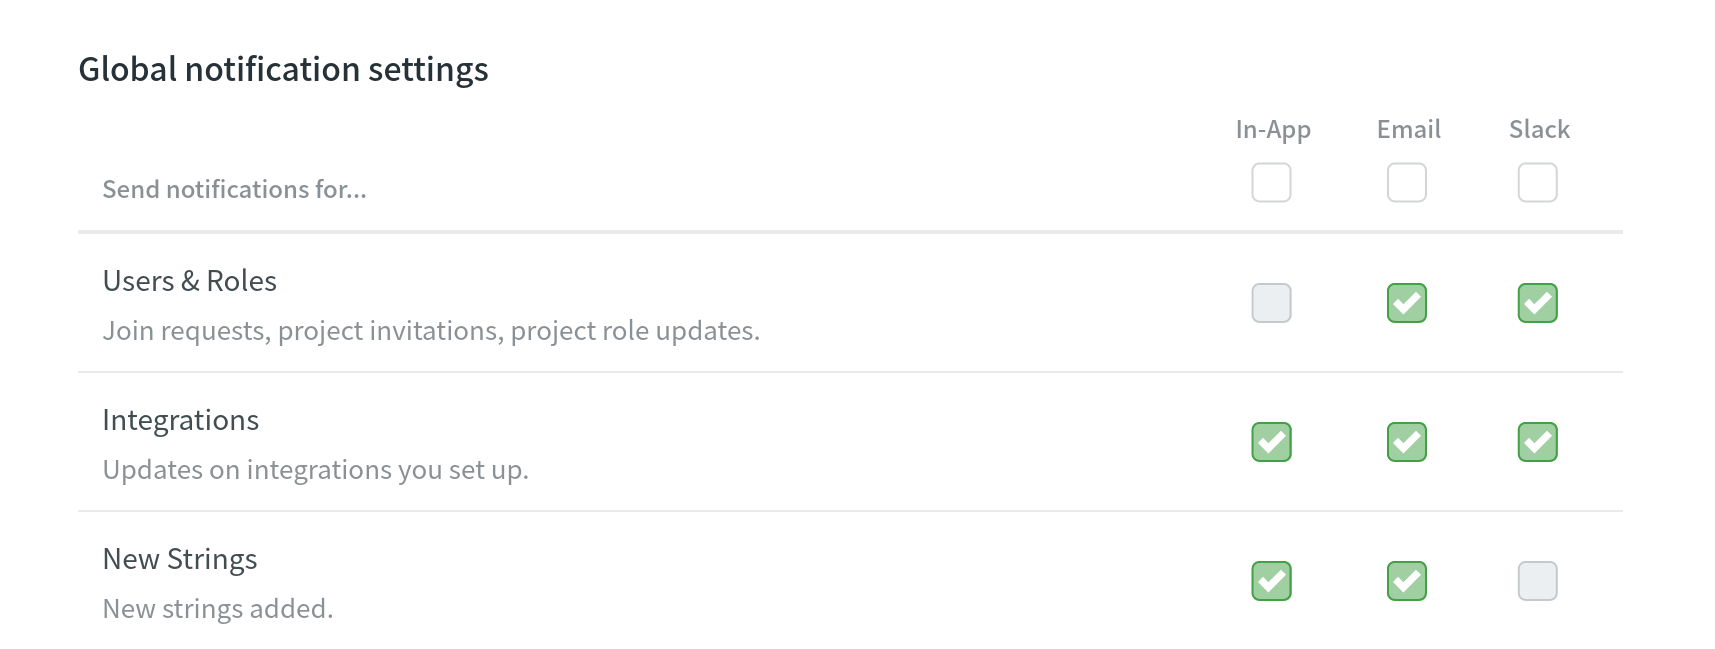
To disable notifications, clear the checkbox next to the notification type. You can also clear the checkbox under the channel’s name to disable all notification types. Once all the boxes below are disabled, you won’t receive notifications via this channel.
Benachrichtigungsregeln für Projekte
You can also configure notification preferences on the project level:
Global: Notifications selected for global settings.
Mentions only: Only when @mentioned.
Mute project: Turn off notifications.

Passwort & Verbindungen
In the Password & Connections tab, you can change your password, set up the two-factor authentication, set up OAuth connections with Facebook, Google, or any other single sign-on providers, and see the sessions list.
Passwort ändern
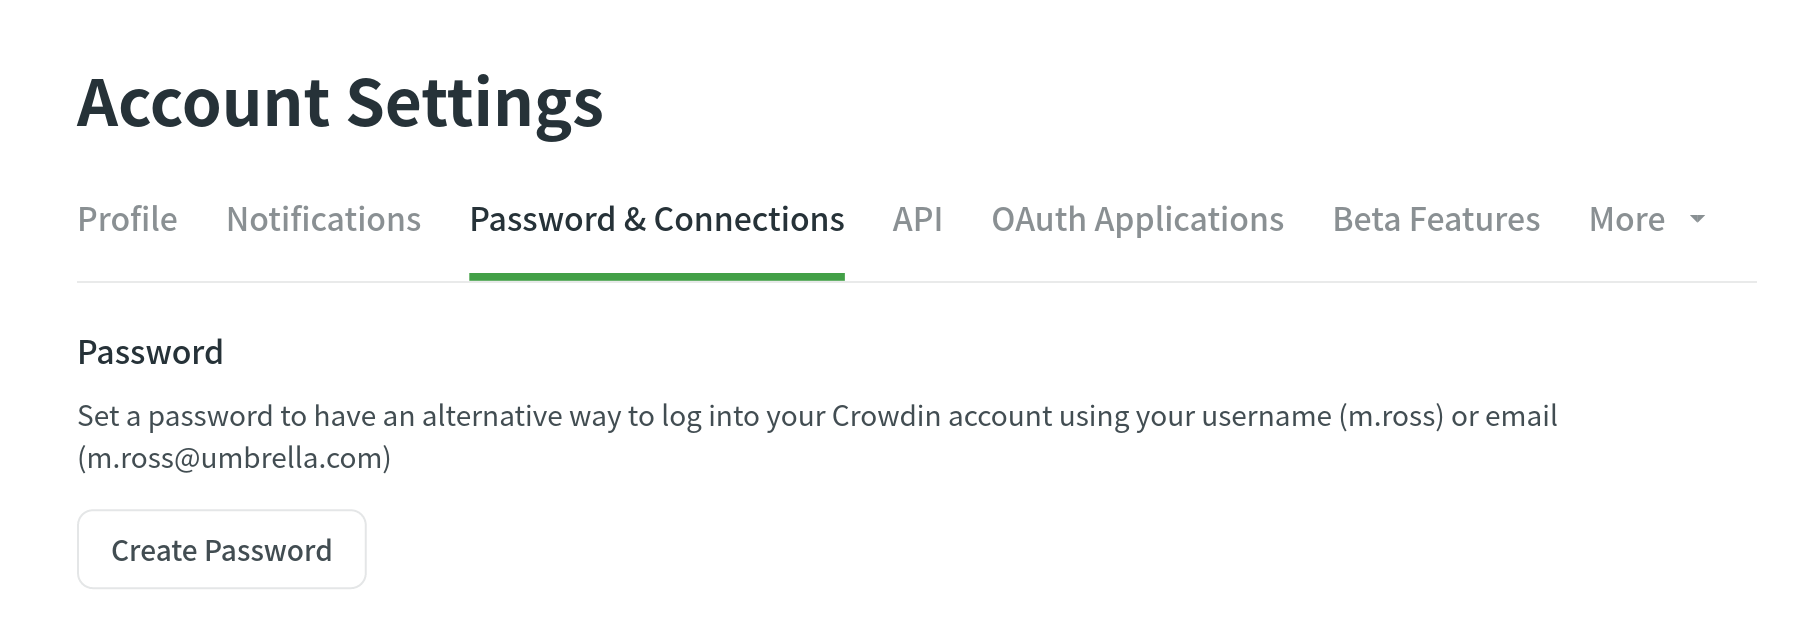
In the Password section, you can change your current password.

If you registered via Facebook, Google, or any other single sign-on provider, add another way to log in by creating a password for your Crowdin account.
Two-Factor Authentication
Activate Two-factor authentication to ensure an additional level of security for your Crowdin account. Every time you log in, along with your username and password, you will use an authentication code.
To enable Two-factor authentication, follow these steps:
- Öffnen Sie Ihre Kontoeinstellungen und gehen Sie zu der Registerkarte „Profil und Passwort“.
- Enable Two-Factor Authentication.

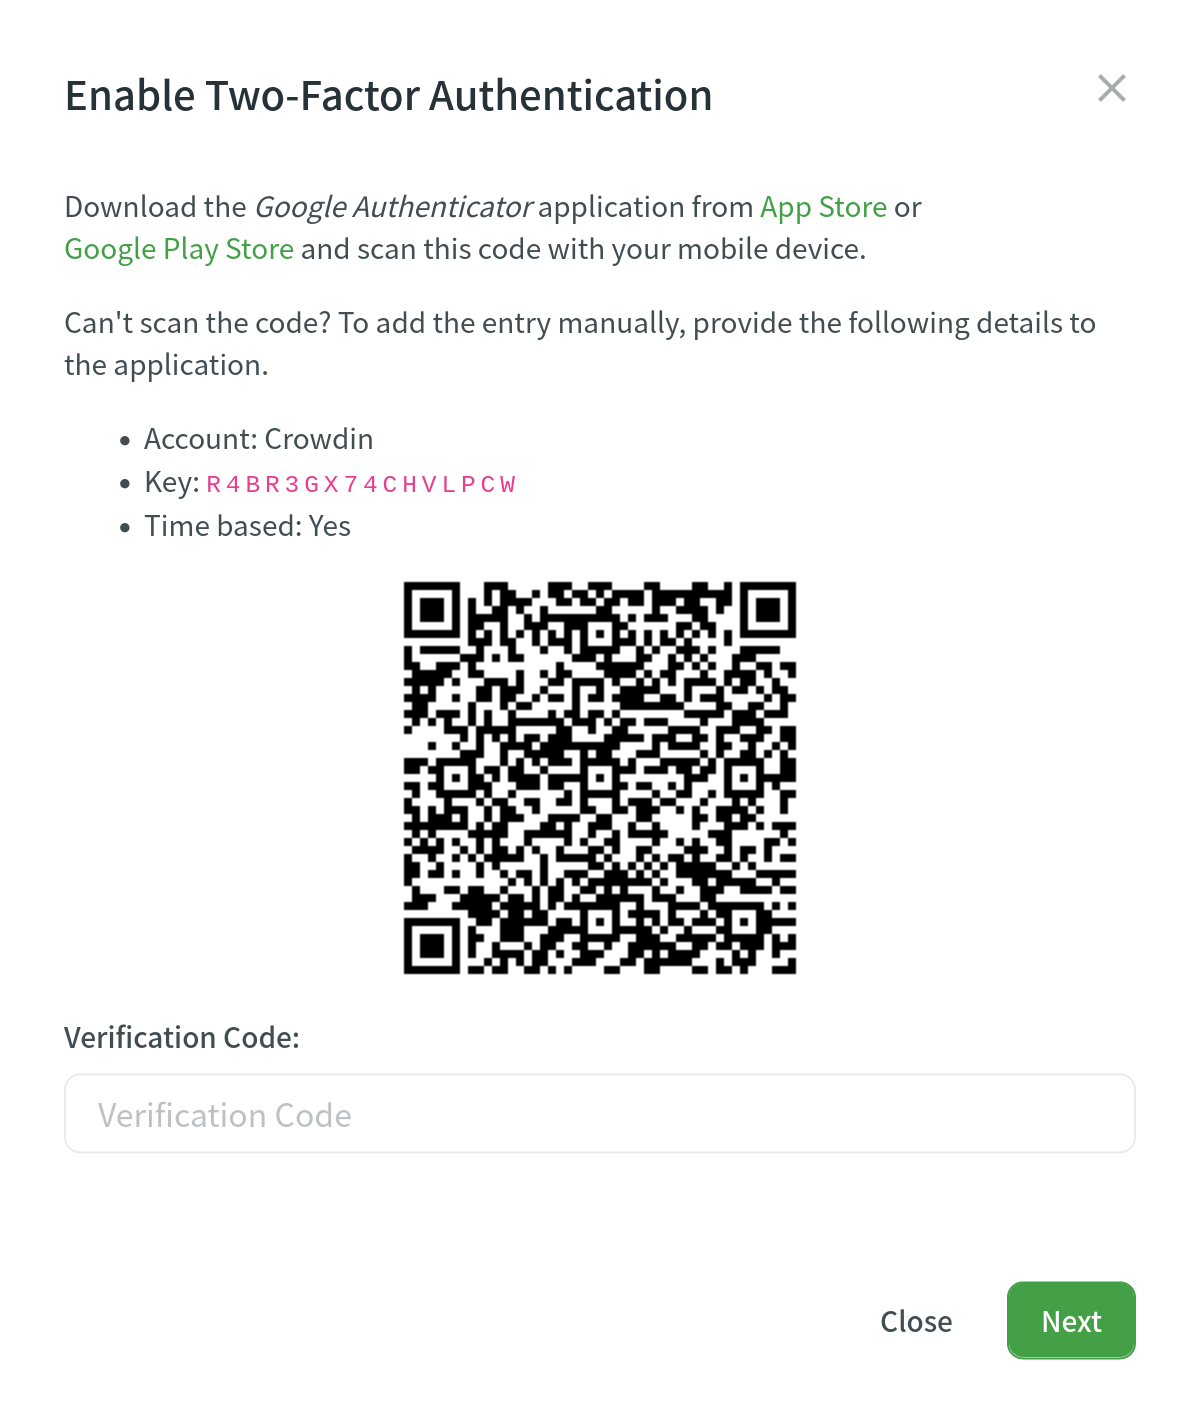
- Using the Google Authenticator app on your mobile device, scan the QR code on the screen.
- Enter the 6-digit verification code generated by your authenticator app, then click Next.
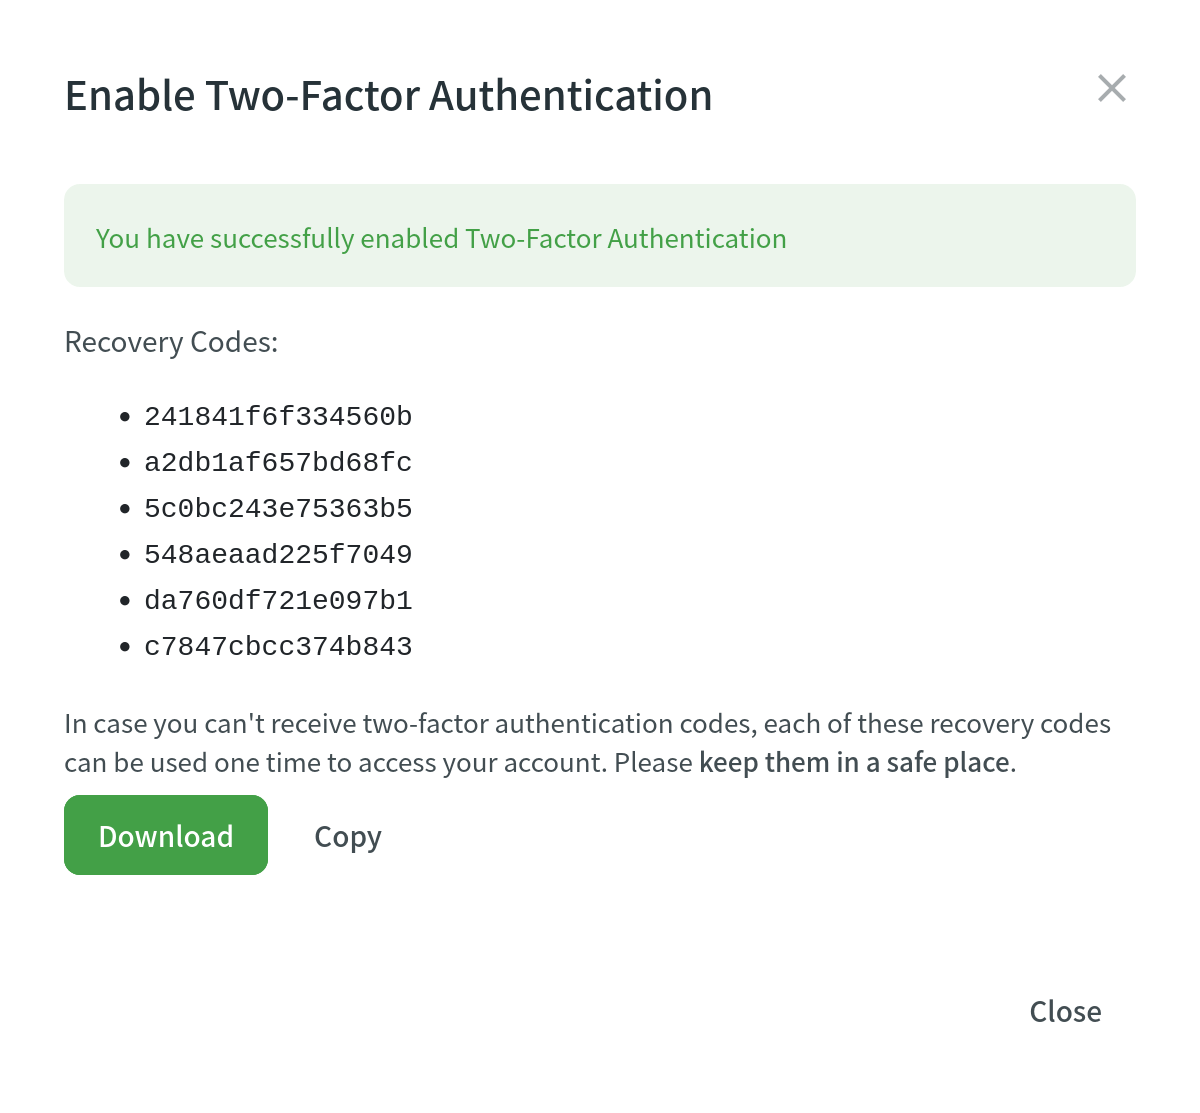
- Download recovery codes, so you can use them if you can’t access your mobile device.
OAuth-Verbindungen
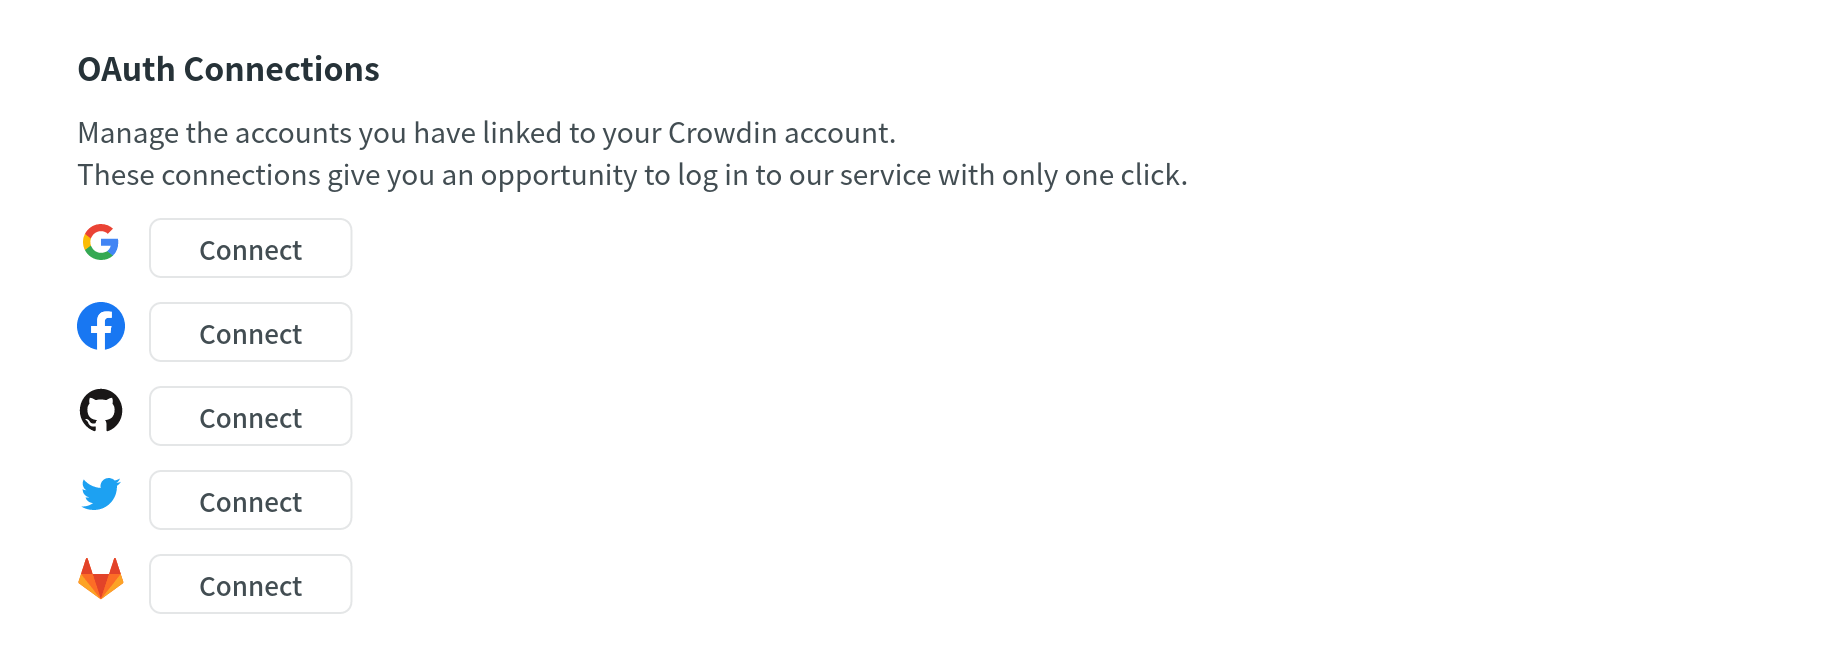
In the OAuth Connections section, you can connect your Facebook, Google, Twitter, GitHub, or GitLab accounts to log into your Crowdin account with one click.
Sitzungen
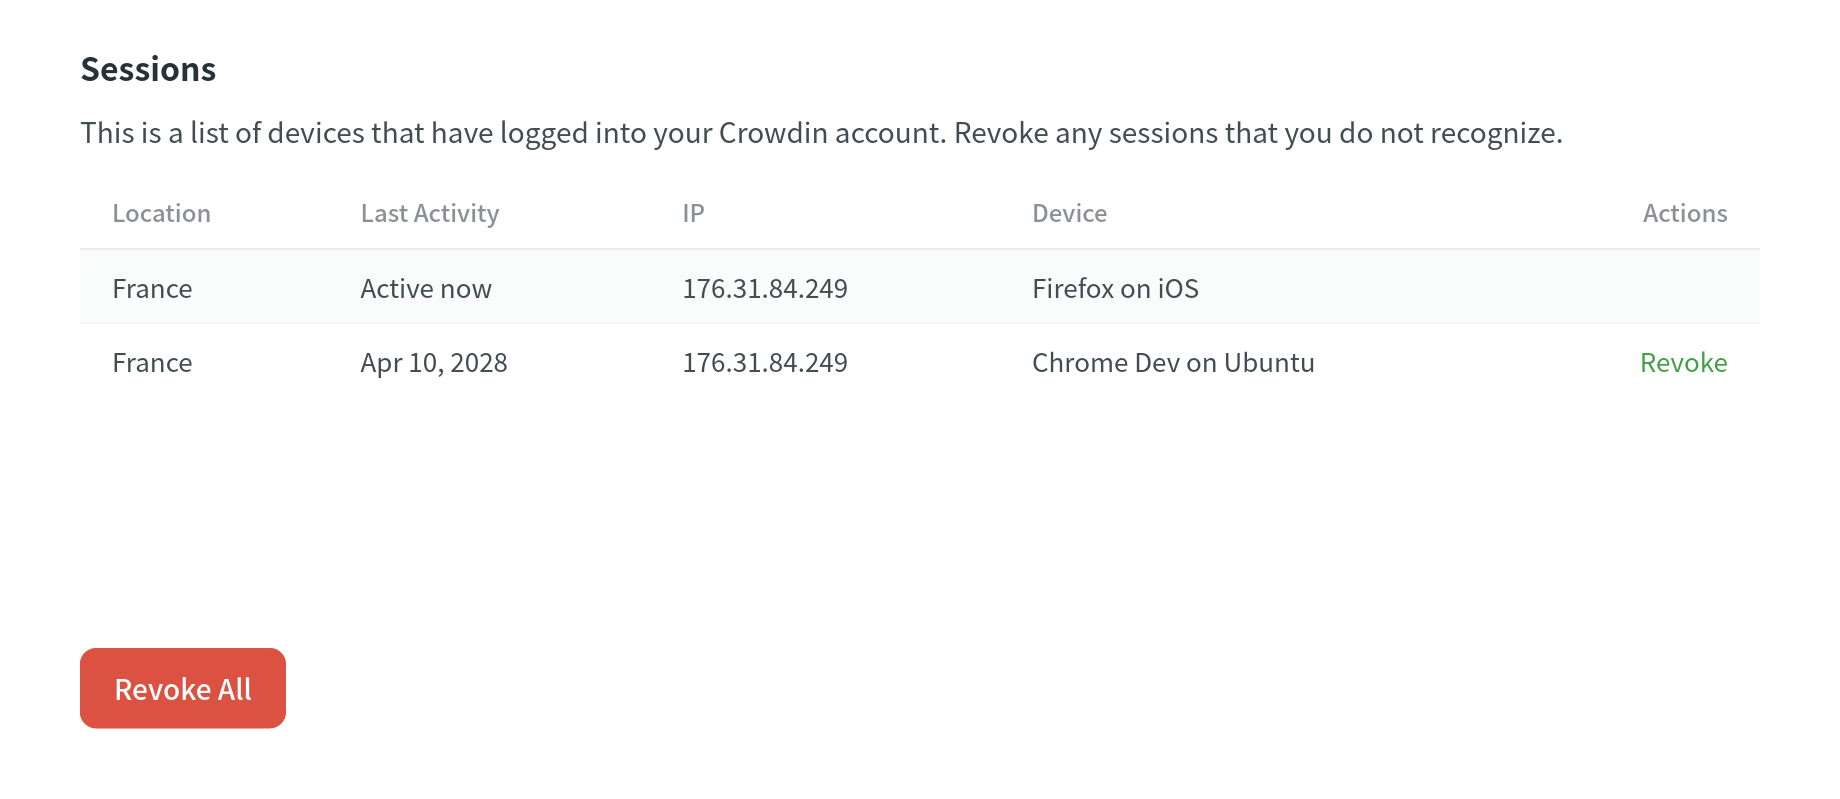
In the Sessions section, you can review the list of devices (including the location, last activity date, IP address, browser, and operation system) logged into your Crowdin account.
If there are any sessions you don’t recognize, you can revoke them by clicking Revoke on the specific session. Alternatively, you can revoke all but the active session by clicking Revoke All.
API
Personal Access Tokens
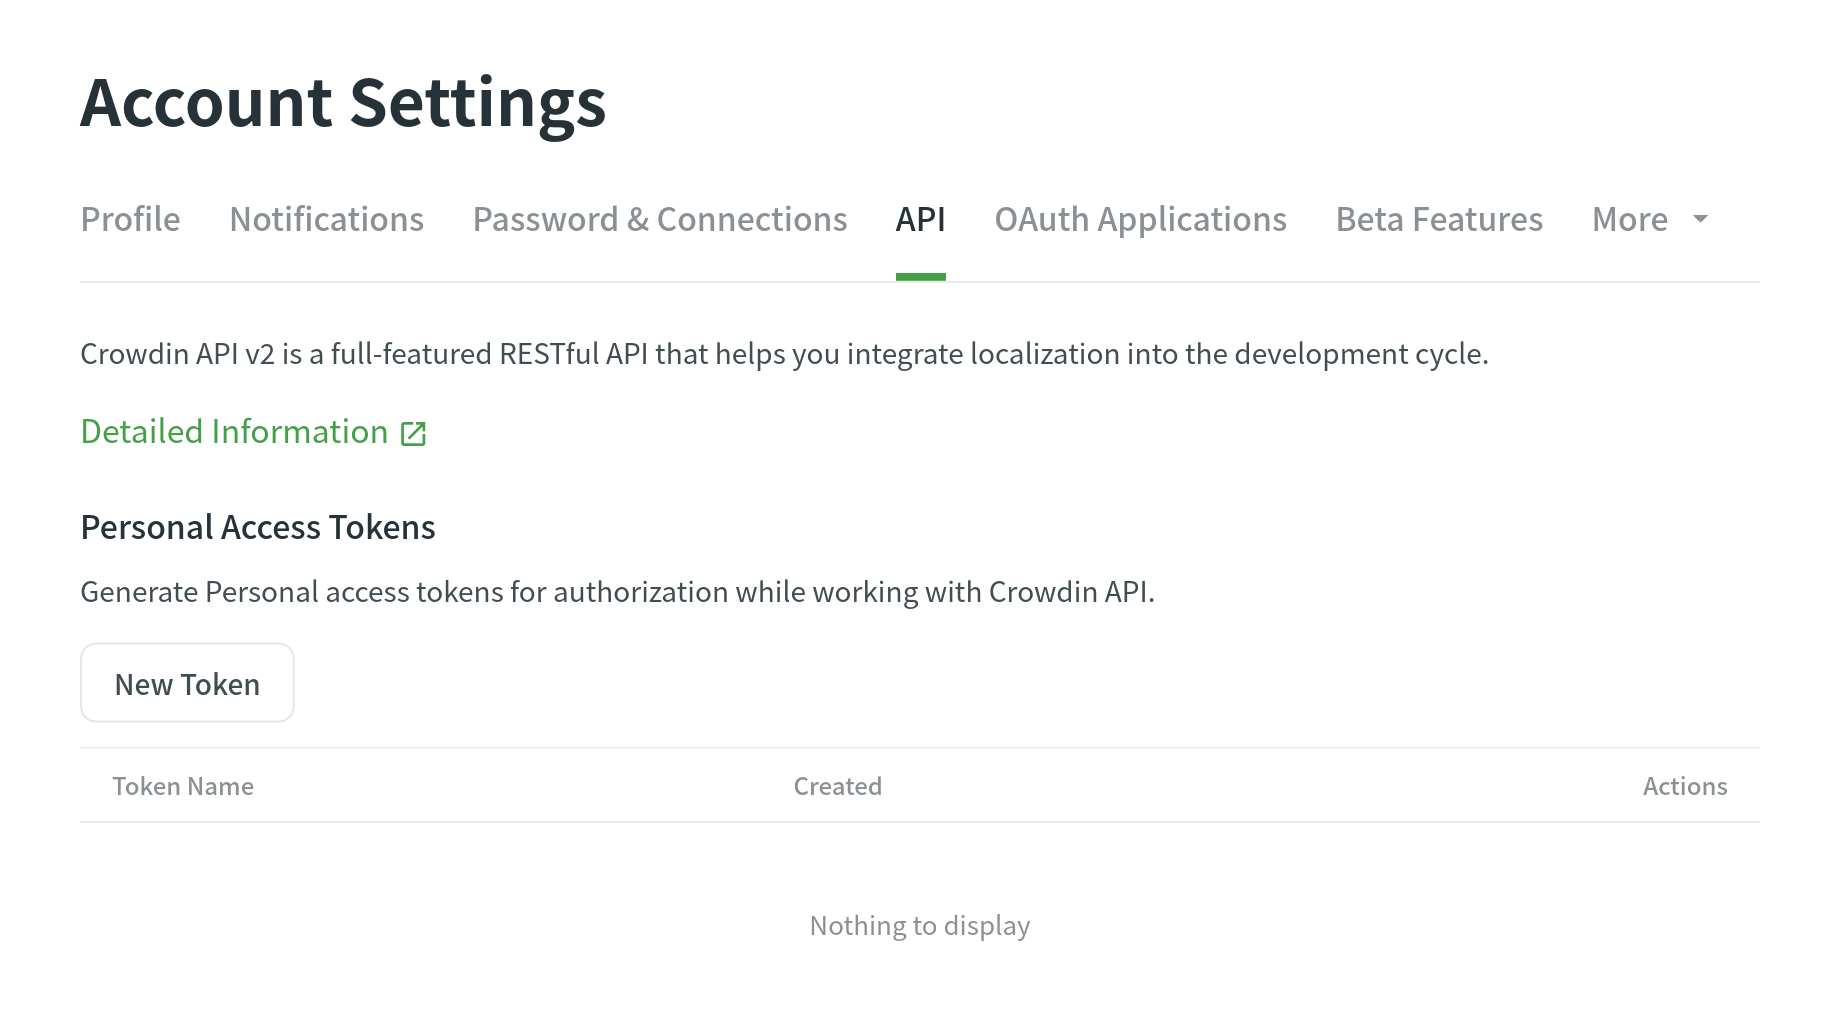
In the API tab, you can generate personal access tokens needed for authorization while working with Crowdin API v2. Treat personal access tokens like passwords and keep them secret. Use tokens as environmental variables instead of hardcoding them into your scripts.
Creating a Personal Access Token
When creating a new personal access token, you can select specific scopes and, if needed, limit the visibility of resources for the selected scopes using the Granular access option. For example, you can create a token that should interact only with a specific project and have no access to others. As a result, only the selected projects will be gained when retrieving a list of all projects.
If a resource wasn’t selected during the personal access token creation, but you still try to access it with its ID, the 404 Not Found response will be received.
You can create as many personal access tokens as you need from your Crowdin account.
Gehen Sie wie folgt vor, um ein neues persönliches Zugangs-Token zu erstellen:
- Öffnen Sie Ihre Kontoeinstellungen und gehen Sie auf die Registerkarte „API“.
- Click New Token.
- Geben Sie in dem erscheinenden Dialogfeld den Namen des Tokens an, um es später identifizieren zu können.
- Wählen Sie den erforderlichen Satz von Bereichen aus.
- (Optional) Um den Zugriff auf bestimmte Ressourcen zu beschränken, wählen Sie „Granularer Zugriff“. Hinweis: Wenn „Granularer Zugriff“ ausgewählt ist, müssen einige Ressourcen für die ausgewählten Bereiche ausgewählt werden.
- Wählen Sie je nach den ausgewählten Bereichen „Zugriff auf ausgewählte Projekte gewähren“, „Zugriff auf ausgewählte TMs gewähren“ und „Zugriff auf ausgewählte Glossare gewähren“.
- Click Select projects, Select glossaries, Select TMs, and respectively select the needed resources.
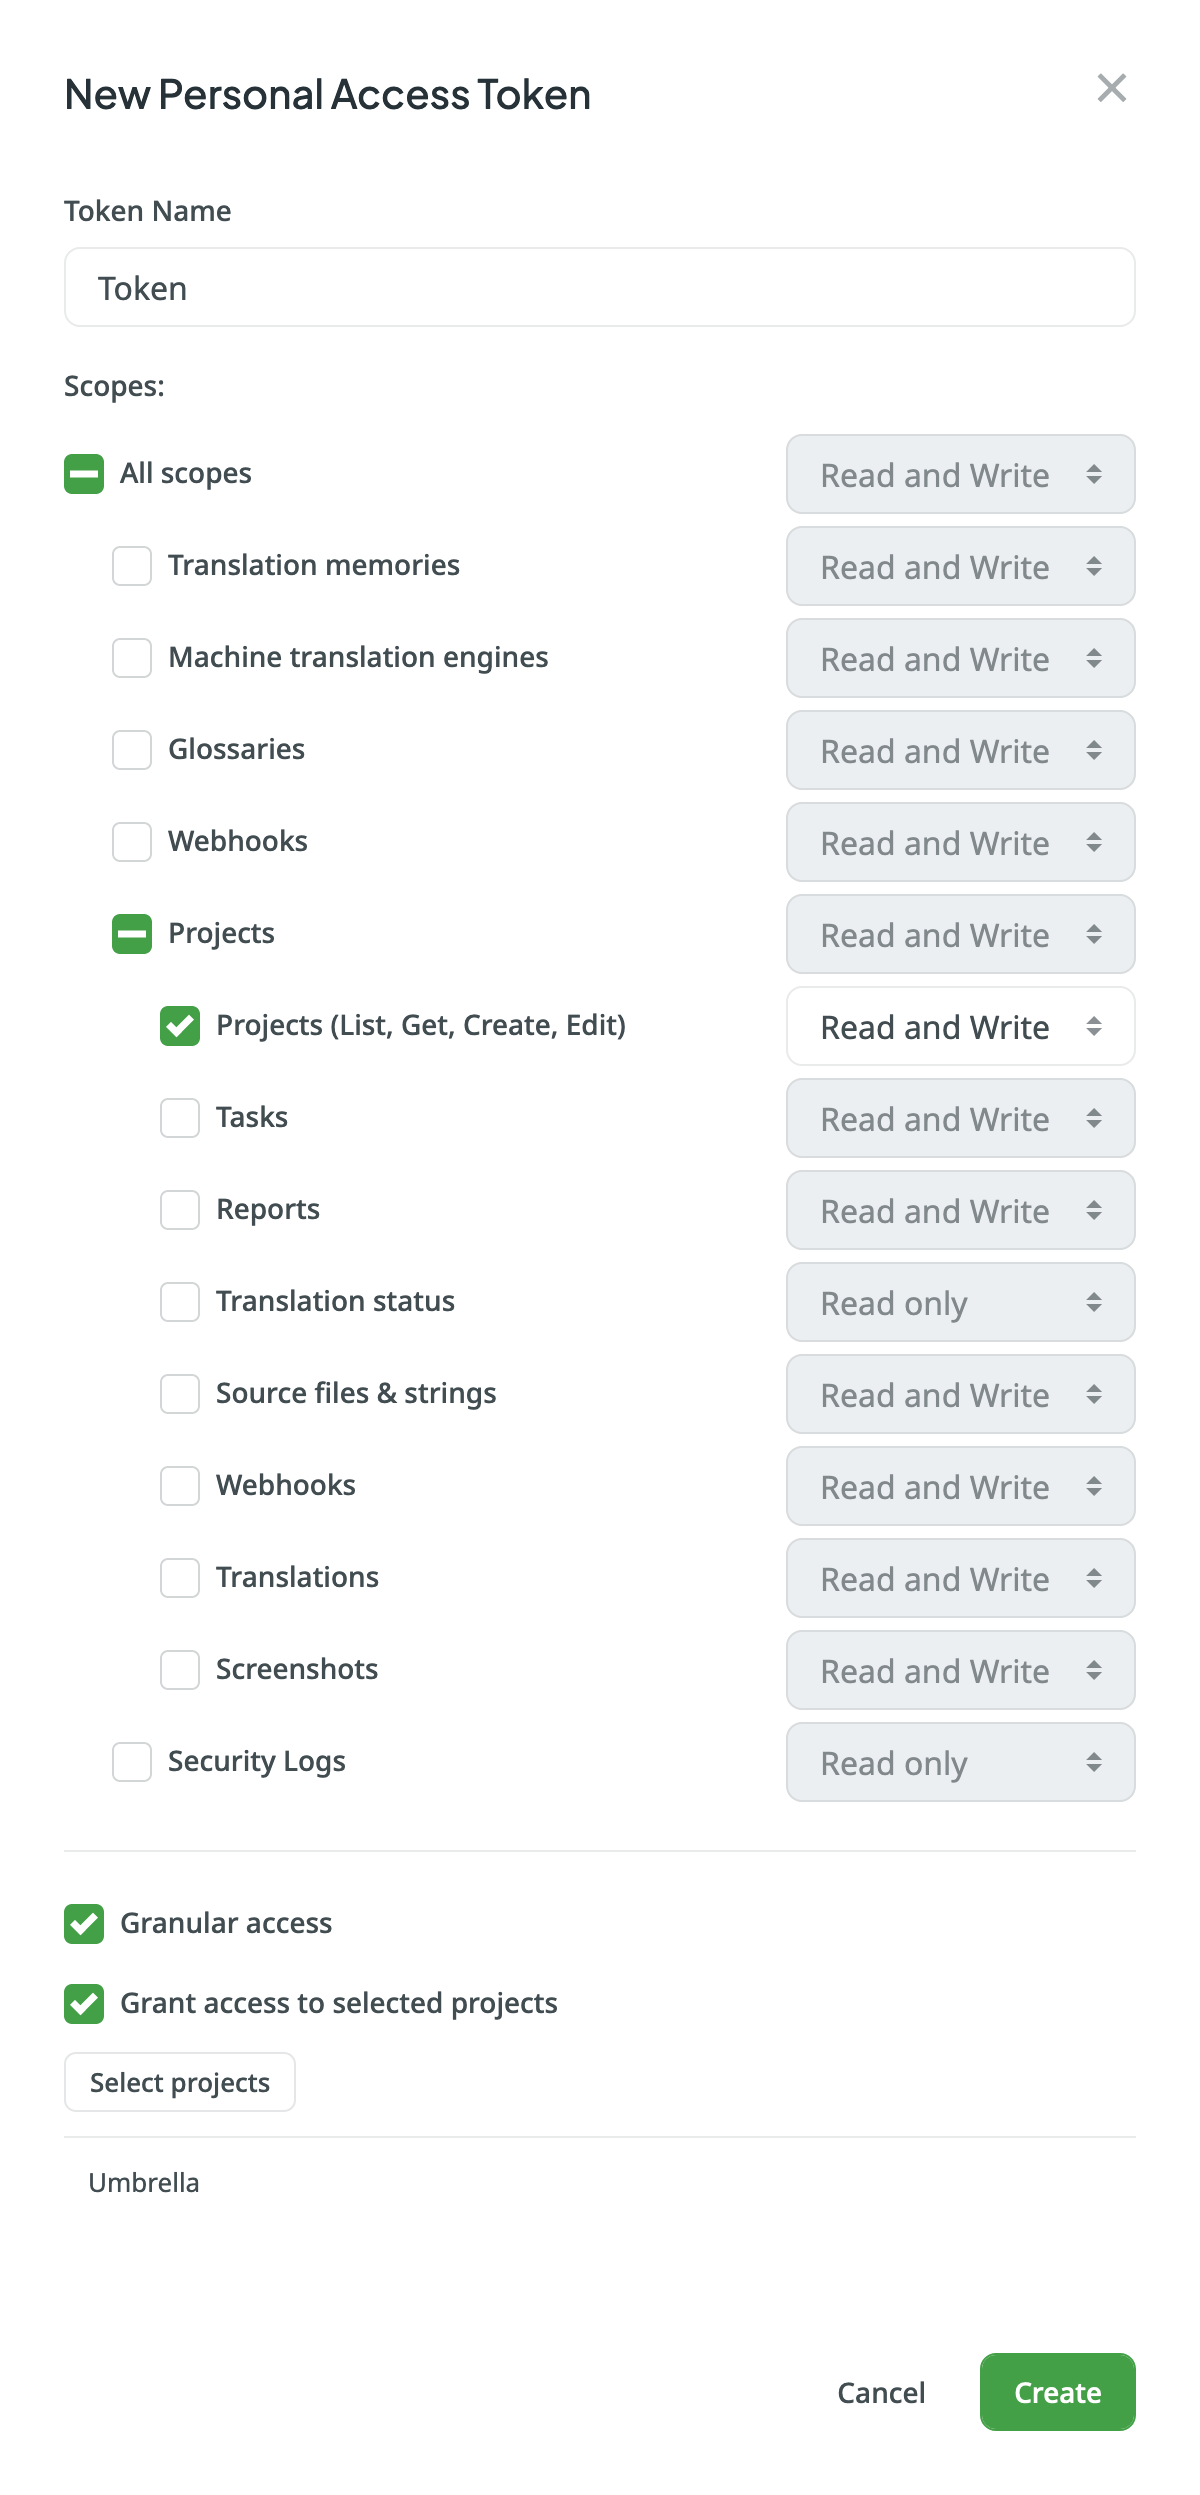
- Click Create.
After generating a new token, be sure to record it right away. For security purposes, it will not be shown again.
Revoking a Personal Access Token
You might need to revoke a personal access token if you no longer use it or suspect it has been compromised.
To revoke a personal access token, follow these steps:
- Öffnen Sie Ihre Kontoeinstellungen und gehen Sie auf die Registerkarte „API“.
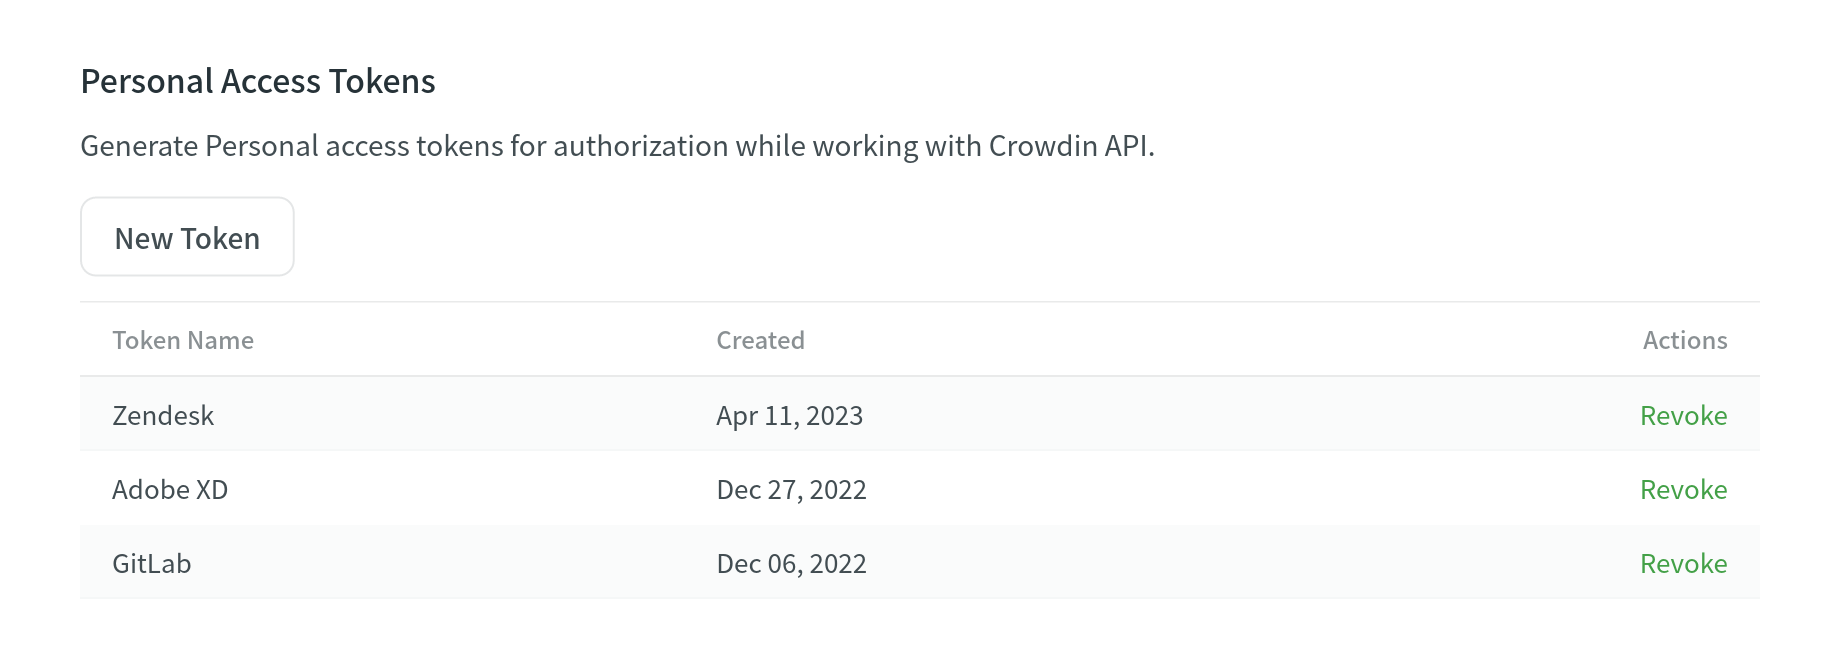
- Find the necessary token in the list and click Revoke next to it to delete a personal access token and remove its access.
OAuth-Anwendungen
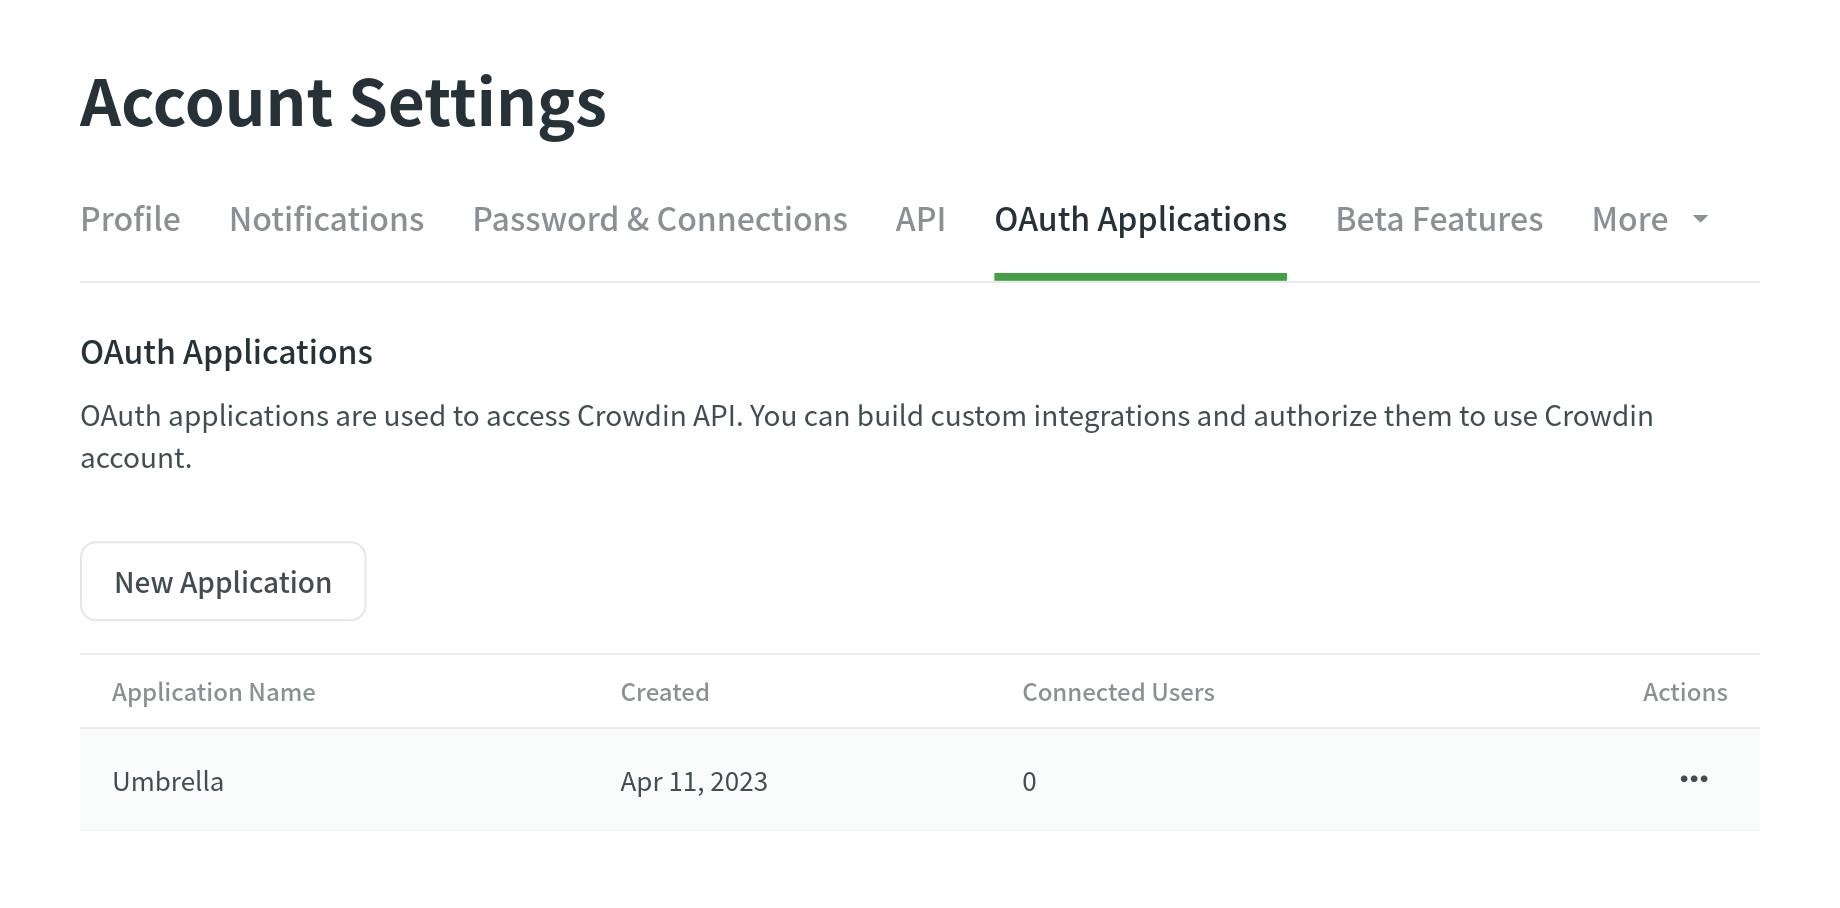
In the OAuth Applications tab, you can create an OAuth app that could be used to make authorized requests to Crowdin API or as a Single Sign-On service.
Read more about creating OAuth App.
Betafunktionen
In the Beta Features tab, you can select the Enable beta features option to test new experimental features.

Sicherheitsprotokoll
The Security Log tab lets you track important events (including event type, used device, IP address, and date) that happen with your Crowdin account.
Security log includes events like logins, password and username changes, and others.

Sudo Modus
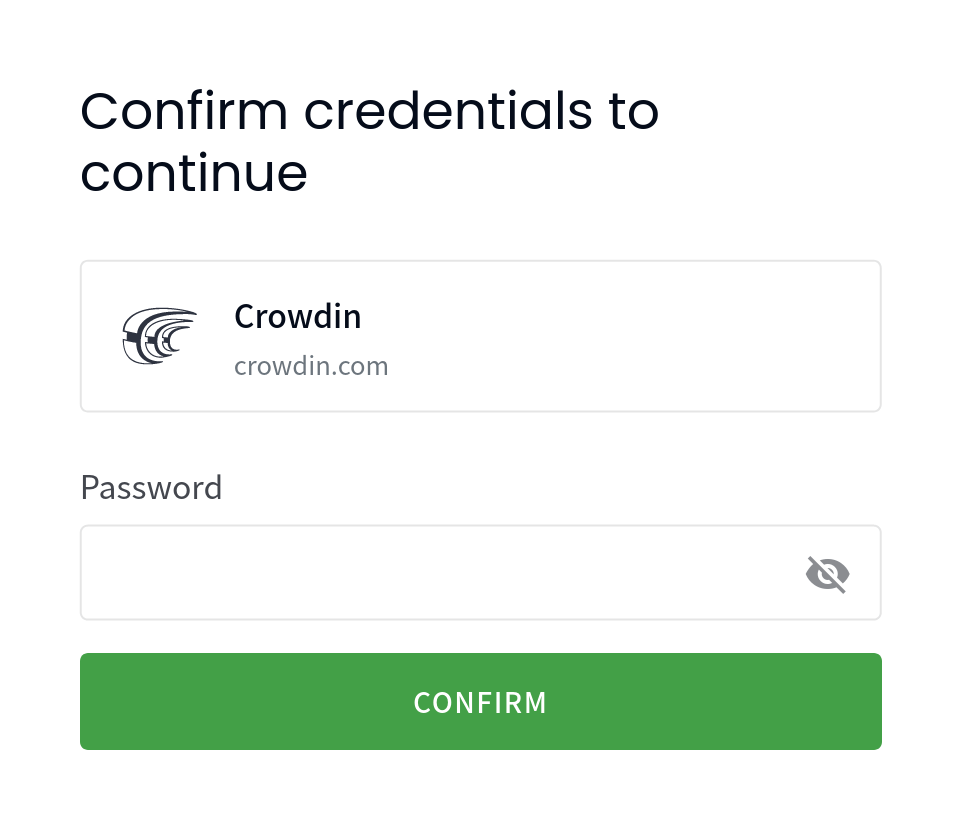
Crowdin asks you to confirm your password before you can perform any of the sudo-protected actions. They include creating/changing your password and email, connecting/disconnecting SSO, enabling/disabling two-factor authentication, creating personal access tokens, and deleting your account.
After you’ve confirmed your password, you can perform the sudo-protected actions without additional re-authentication within the next five minutes.
