Ordering Professional Translations
Dieser Inhalt ist noch nicht in deiner Sprache verfügbar.
In Crowdin uebersetzenCrowdin provides localization services as a Crowdin Language Services vendor and cooperates with several other professional translation agencies that offer such services to Crowdin customers.
Some of them, like BLEND and Gengo, are integrated with Crowdin via API, so the translation ordering becomes fully automated. When you purchase translations from them, Crowdin forwards your untranslated data directly to the agency. After the translations are completed, they’re uploaded back to your Crowdin project, where you can download them to your machine.
By selecting any other vendor from the list, you’ll contact a real person who can be assigned to a project as a proofreader or project manager. They will manage the process for you: involve the translators, maintain the quality, monitor the progress, and meet the deadlines.
Professional translation is a paid service where the approximate cost for your project is calculated or negotiated during the purchasing process.
You can order the translation from BLEND and Gengo in a few clicks. See the detailed instructions below.
Before you can order translations from BLEND and Gengo, you need to have a Customer account on their platforms and sufficient balance.
Register at BLEND and Gengo if you don’t already have an account.
To establish the connection between your customer account and your Crowdin account, follow these steps:
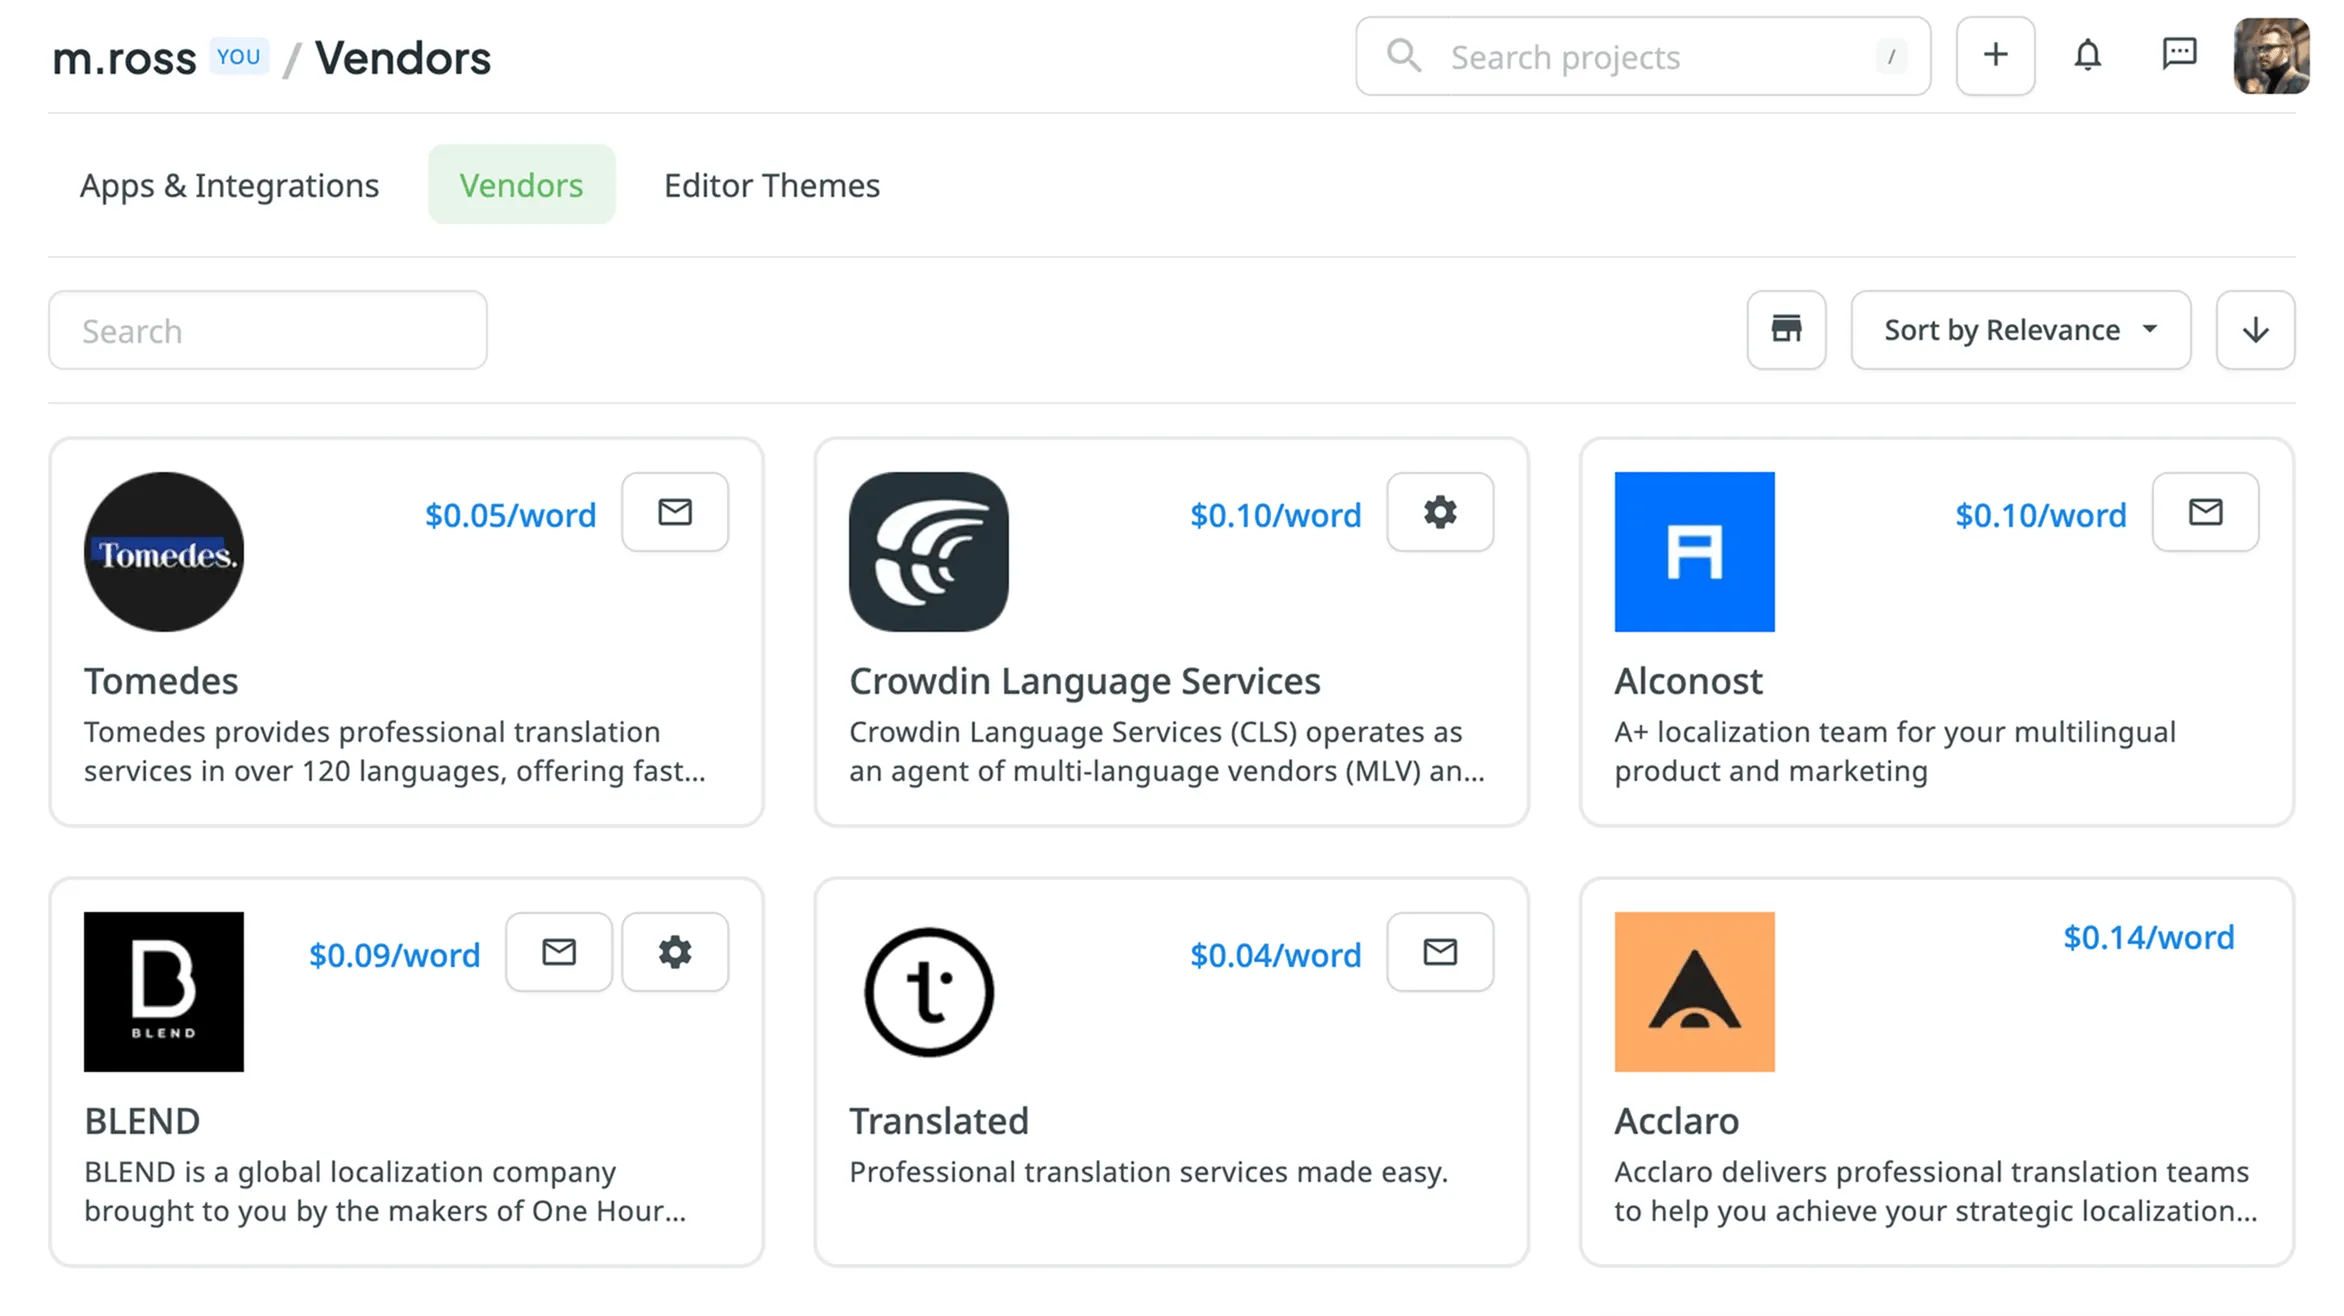
- Go to Store > Vendors on your profile home page and click on the BLEND or Gengo tile.
Alternatively, click on the tile to open the vendor’s page and then click Settings. - Enter Public Key and Secret Key from the BLEND API keys tab or the Gengo API settings. Click Submit Keys.
To manage the connection, open Store > Vendors and click on the BLEND or Gengo tile, or click on the tile to open the vendor’s page and then click Settings.
For BLEND and Gengo, you can Switch Account to change the connected account, or Disconnect Account to remove the integration. Once your account is connected, you can also track your current balance on the vendor’s side directly from this dialog.
To order translations from BLEND or Gengo, create a task in your Crowdin project. Follow these step-by-step instructions for task creation:
- Click Create Task using the project’s Tasks tab.
- Alternatively, you can initiate a task from the Store:
- Go to Store > Vendors on your profile home page.
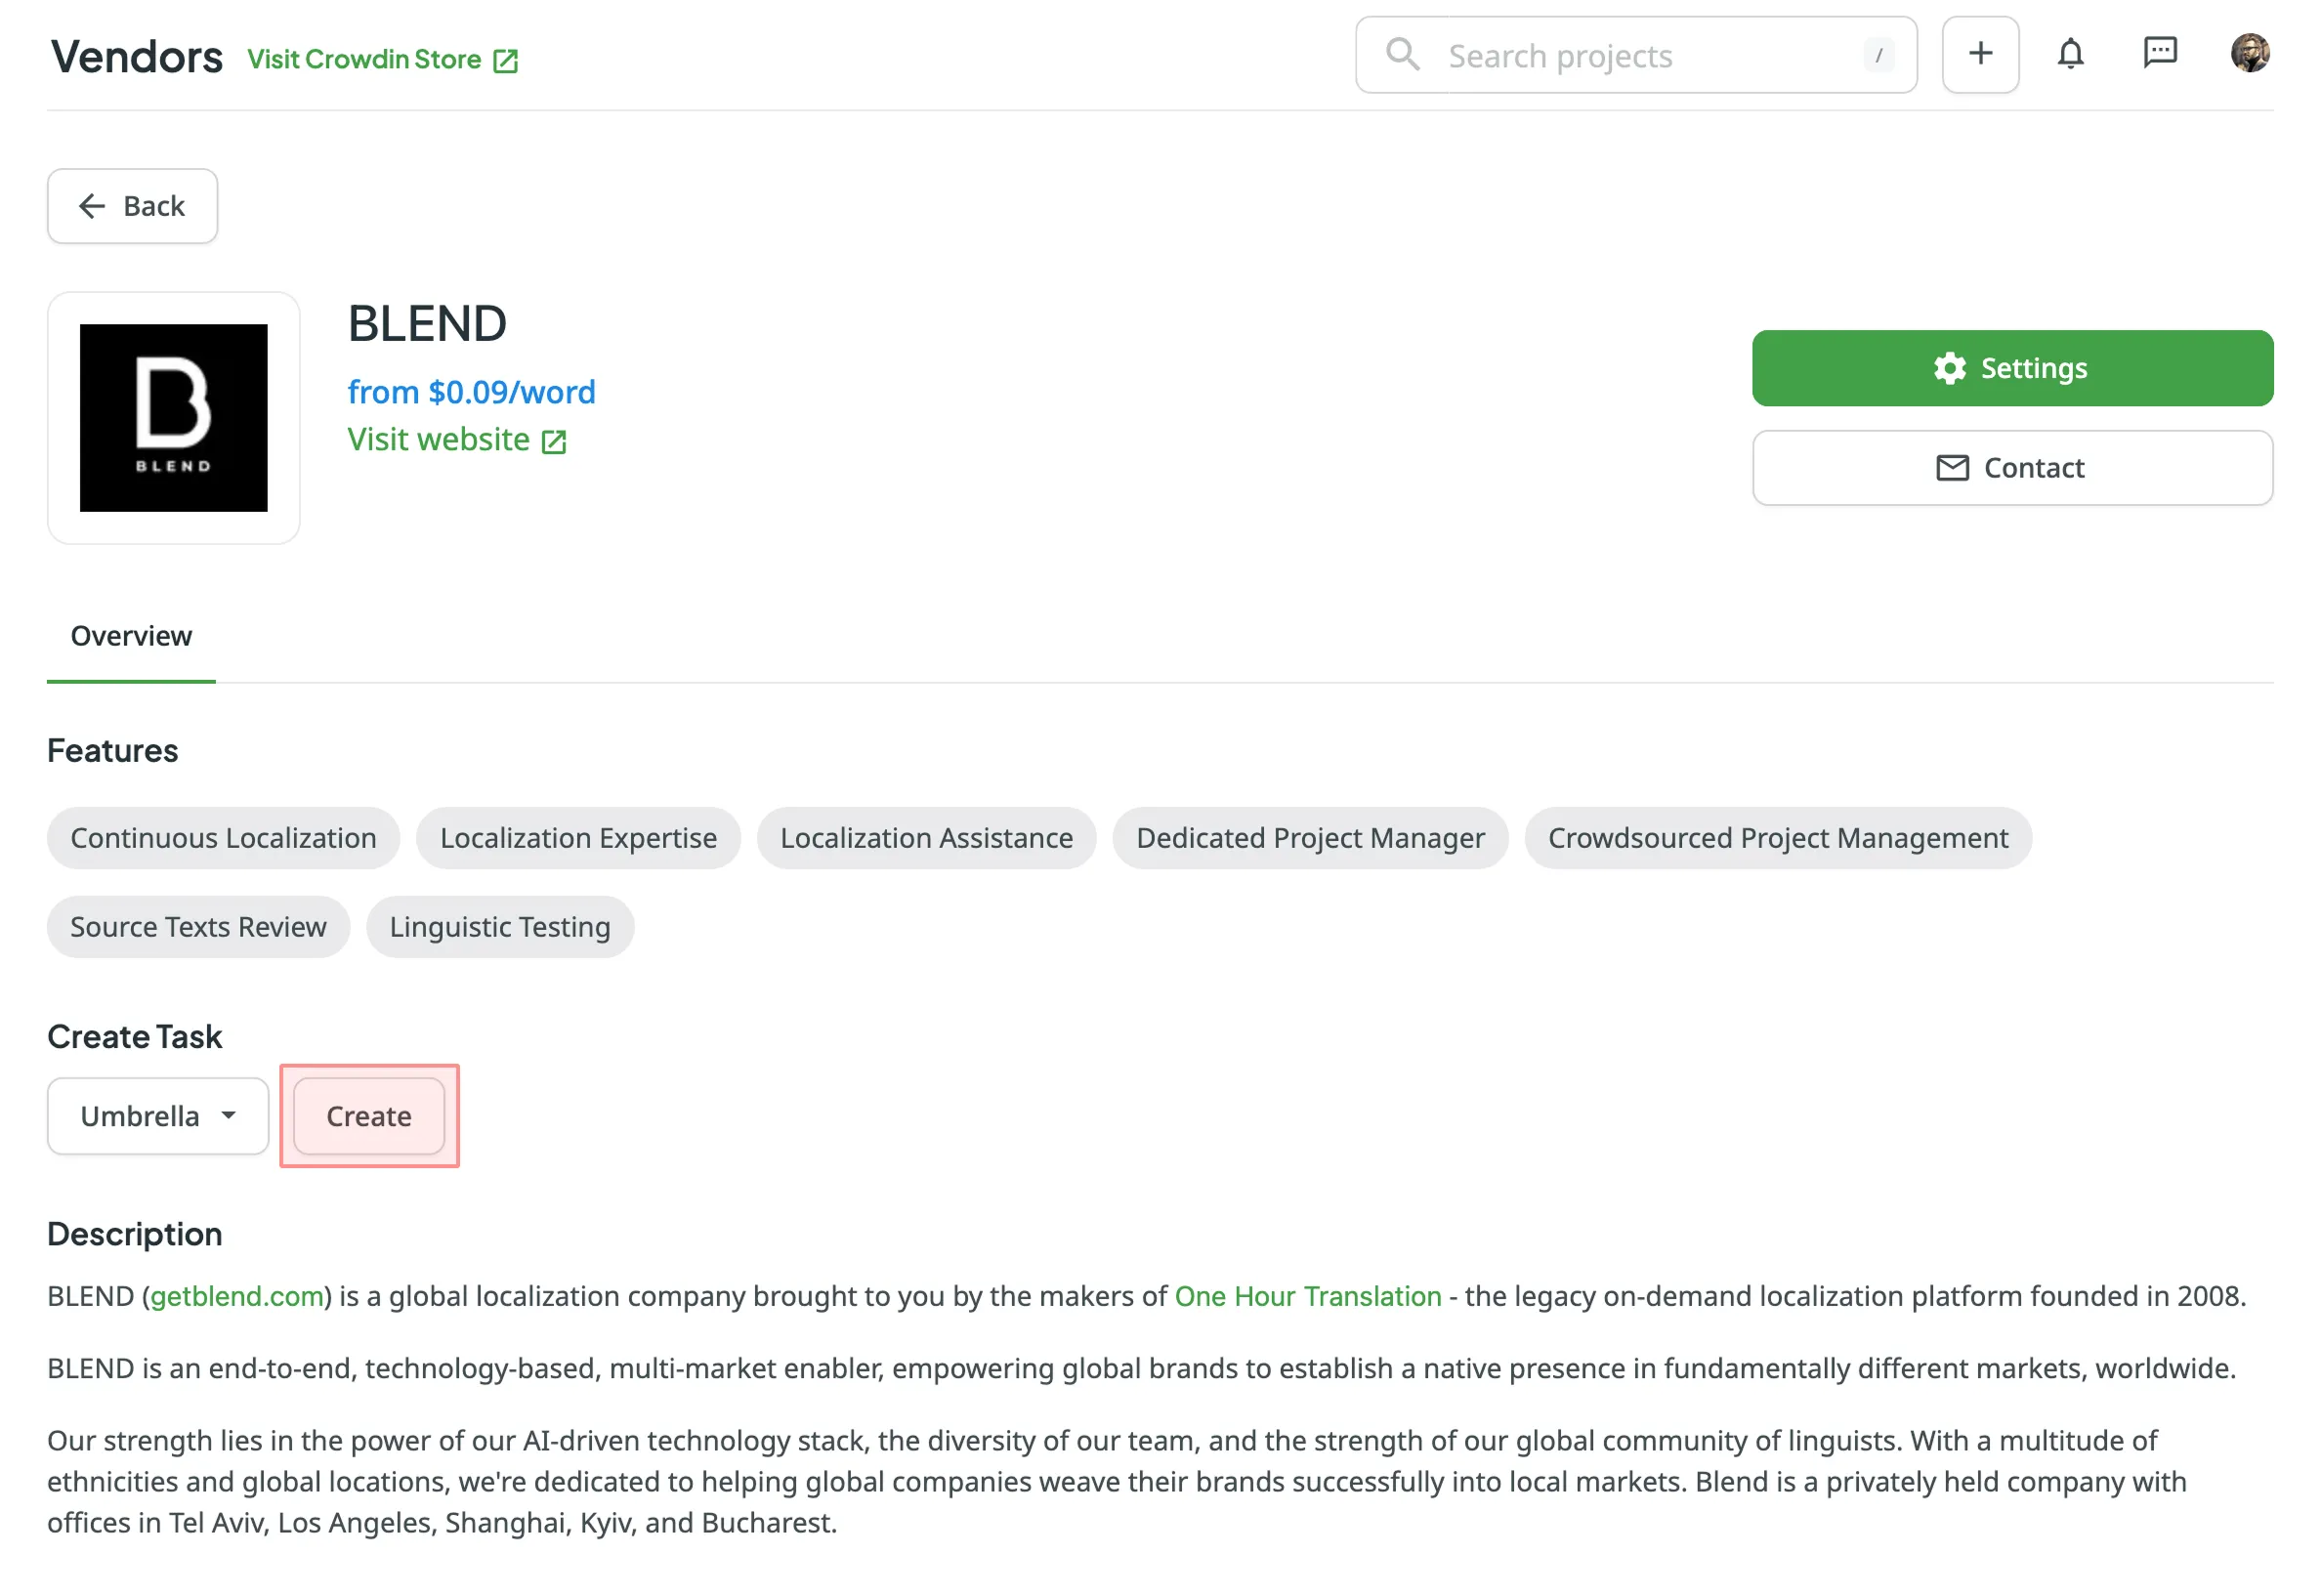
- Click on the vendor tile (e.g., BLEND or Gengo) to open the vendor page.
- In the Create Task section, select the project from the drop-down list.
- Click Create to open the task creation page in a new tab.
- Set the task parameters.
- Click Create Task to complete the translation order.
When the task is created, it’s automatically sent to the selected vendor. As soon as translation starts, the related task in Crowdin will automatically change the status to In Progress. And when the translations are finished, the task will gain the Done status in Crowdin.
Ordering Translations With a Dedicated Manager
Section titled “Ordering Translations With a Dedicated Manager”The dedicated project manager will manage the translation process for you (involve translators, meet the deadlines, and maintain quality).
To start working with a vendor, follow these steps:
- Click Create Task using the project’s Tasks tab.
- Alternatively, you can initiate a task from the Store:
- Go to Store > Vendors on your profile home page.
- Click on the preferred vendor tile to open the vendor page.
- In the Create Task section, select the project from the drop-down list.
- Click Create to open the task creation page in a new tab.
- Set the task parameters.
- Click Create Task.
| Parameter | Description |
|---|---|
| Title (required) | Specify the name of the task that will be visible to translators. |
| Description | Add more details about the task that might be useful for translators. |
| Type (required) | Select the task type. For ordering from vendors, choose Translate by vendor. |
| Translation Vendor (required) | Select a vendor you’d like to work with. Use the Settings button next to the vendor selector to manage the selected vendor or View in Store to see their details. |
| Create a pending proofreading task | Creates a proofreading task for each language that starts after the translation task is completed. |
| Expertise | Define the desired quality level of translation (Specific to Gengo and BLEND). |
| Tone | Define the preferred tone of translations (Specific to Gengo). |
| Purpose | Define where the translations are intended to be used (Specific to Gengo). |
| Comment | Provide instructions for translators (max. 500 characters) (Specific to Gengo). |
| Include edit service | Send translations for additional review (Specific to Gengo and BLEND). |
| Use preferred translators | Give priority to your preferred translators (Specific to Gengo). |
| Skip strings already included in other tasks | Skip strings that are already assigned to other tasks. This option is enabled by default. |
| Strings (required) | Select whether to include all untranslated strings or only those modified within a specific period. |
| Filter by labels | Include only strings with the specified labels. |
| Exclude by labels | Exclude strings with the specified labels. |
| Due Date | Set a deadline for the task. |
| Files/Branches (required) | Depending on your project type, select files or branches to include in the task. |
| Languages (required) | Select target languages. A separate task will be created for each selected language. |
Read more about Tasks.