Скріншоти
Скріншоти — це чудовий спосіб надати перекладачам додатковий контекст для стрічок у вашому проєкті та, як наслідок, отримати більш точні та узгоджені переклади. За допомогою скріншотів ваша команда може бачити, які рядки використовуються разом на одній сторінці, чи які короткі тексти слугують заголовками, кнопками тощо.
Позначте стрічки на знімках екрану, щоб вони зображалися перекладачам в редакторі в розділі контексту нижче стрічки для перекладу.
Завантажити скріншоти
Щоб завантажити скріншоти до вашого проєкту, виконайте наступні дії:
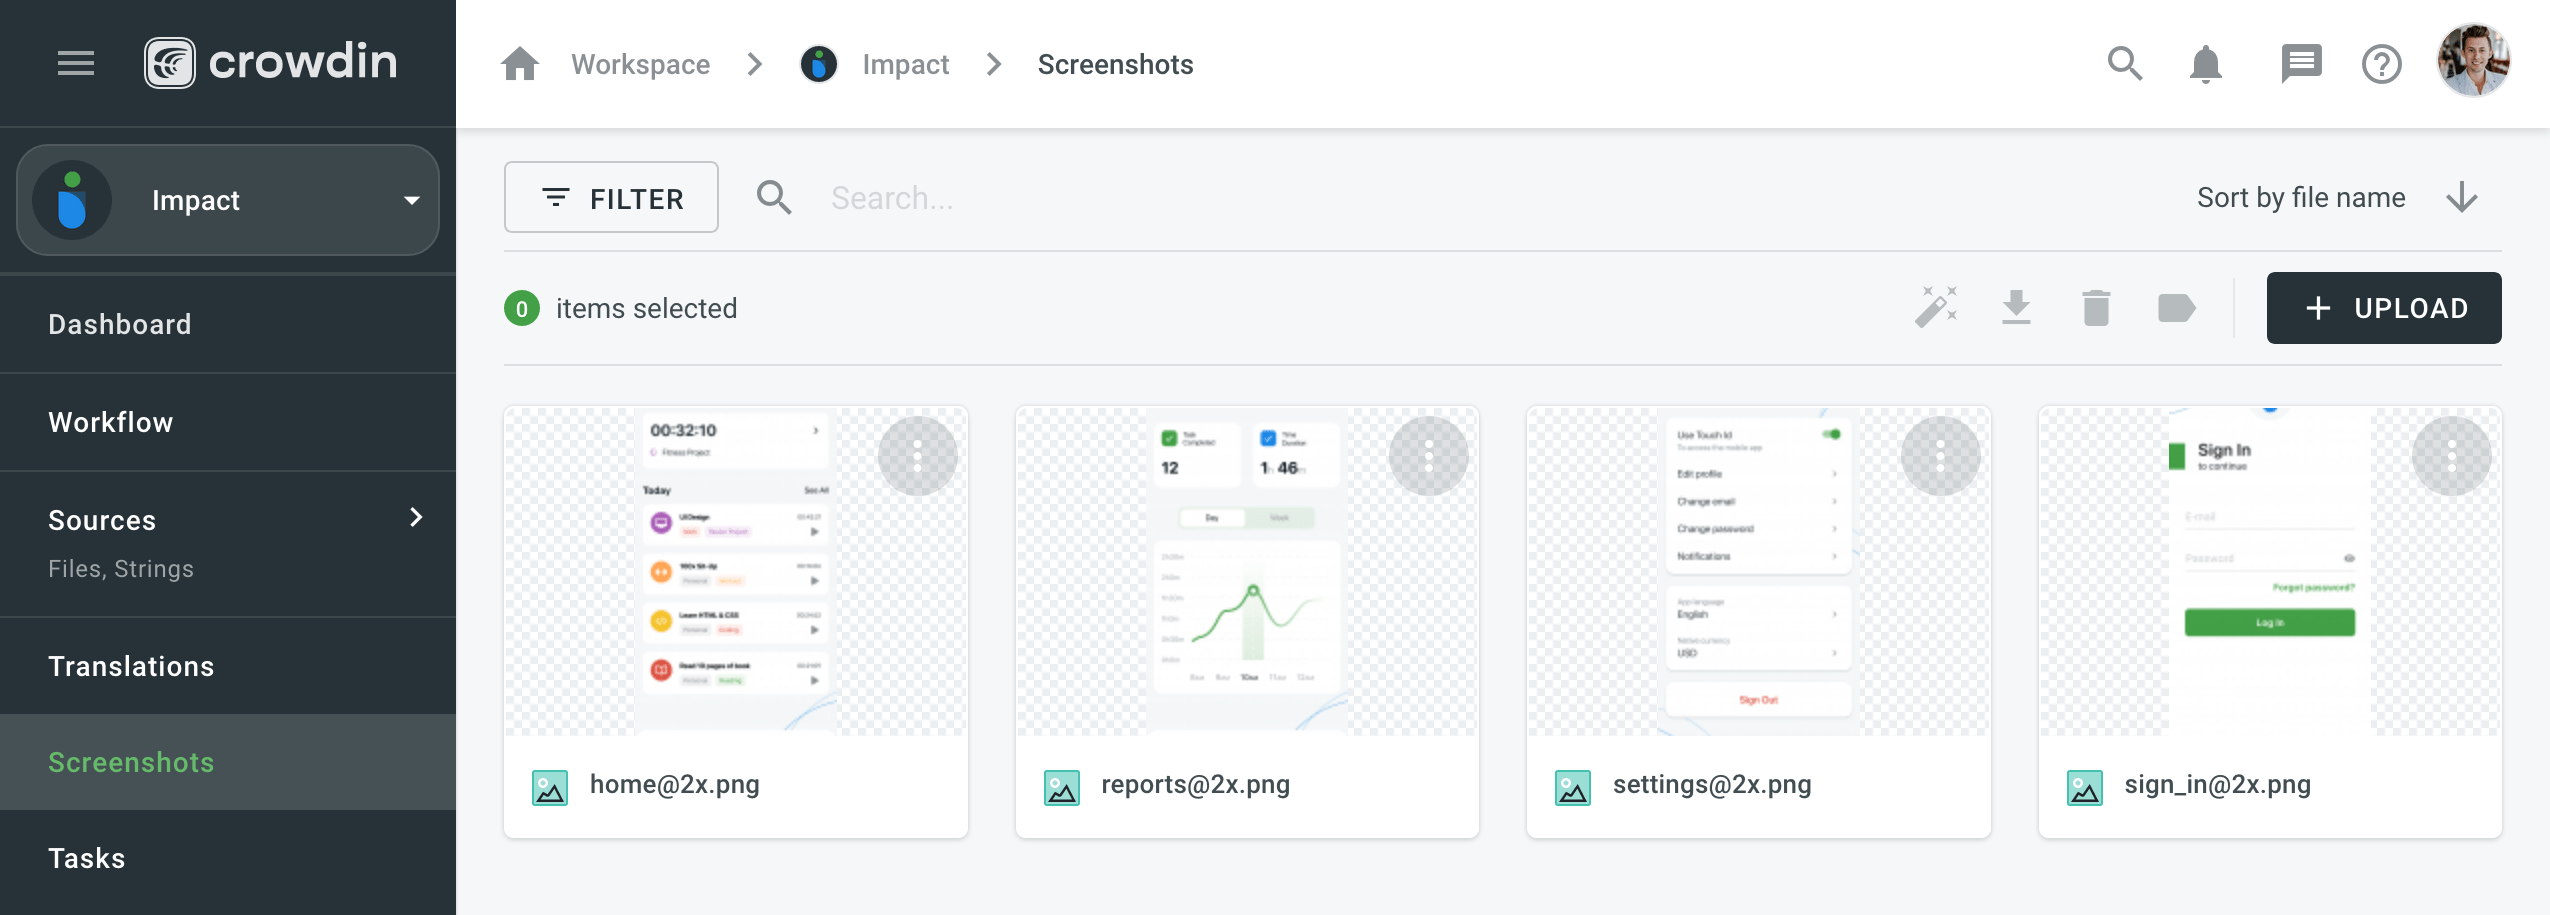
- Відкрийте ваш проєкт та перейдіть до вкладки Скріншоти.
- Перетягніть зображення з вашого пристрою, або клацніть Завантажити.
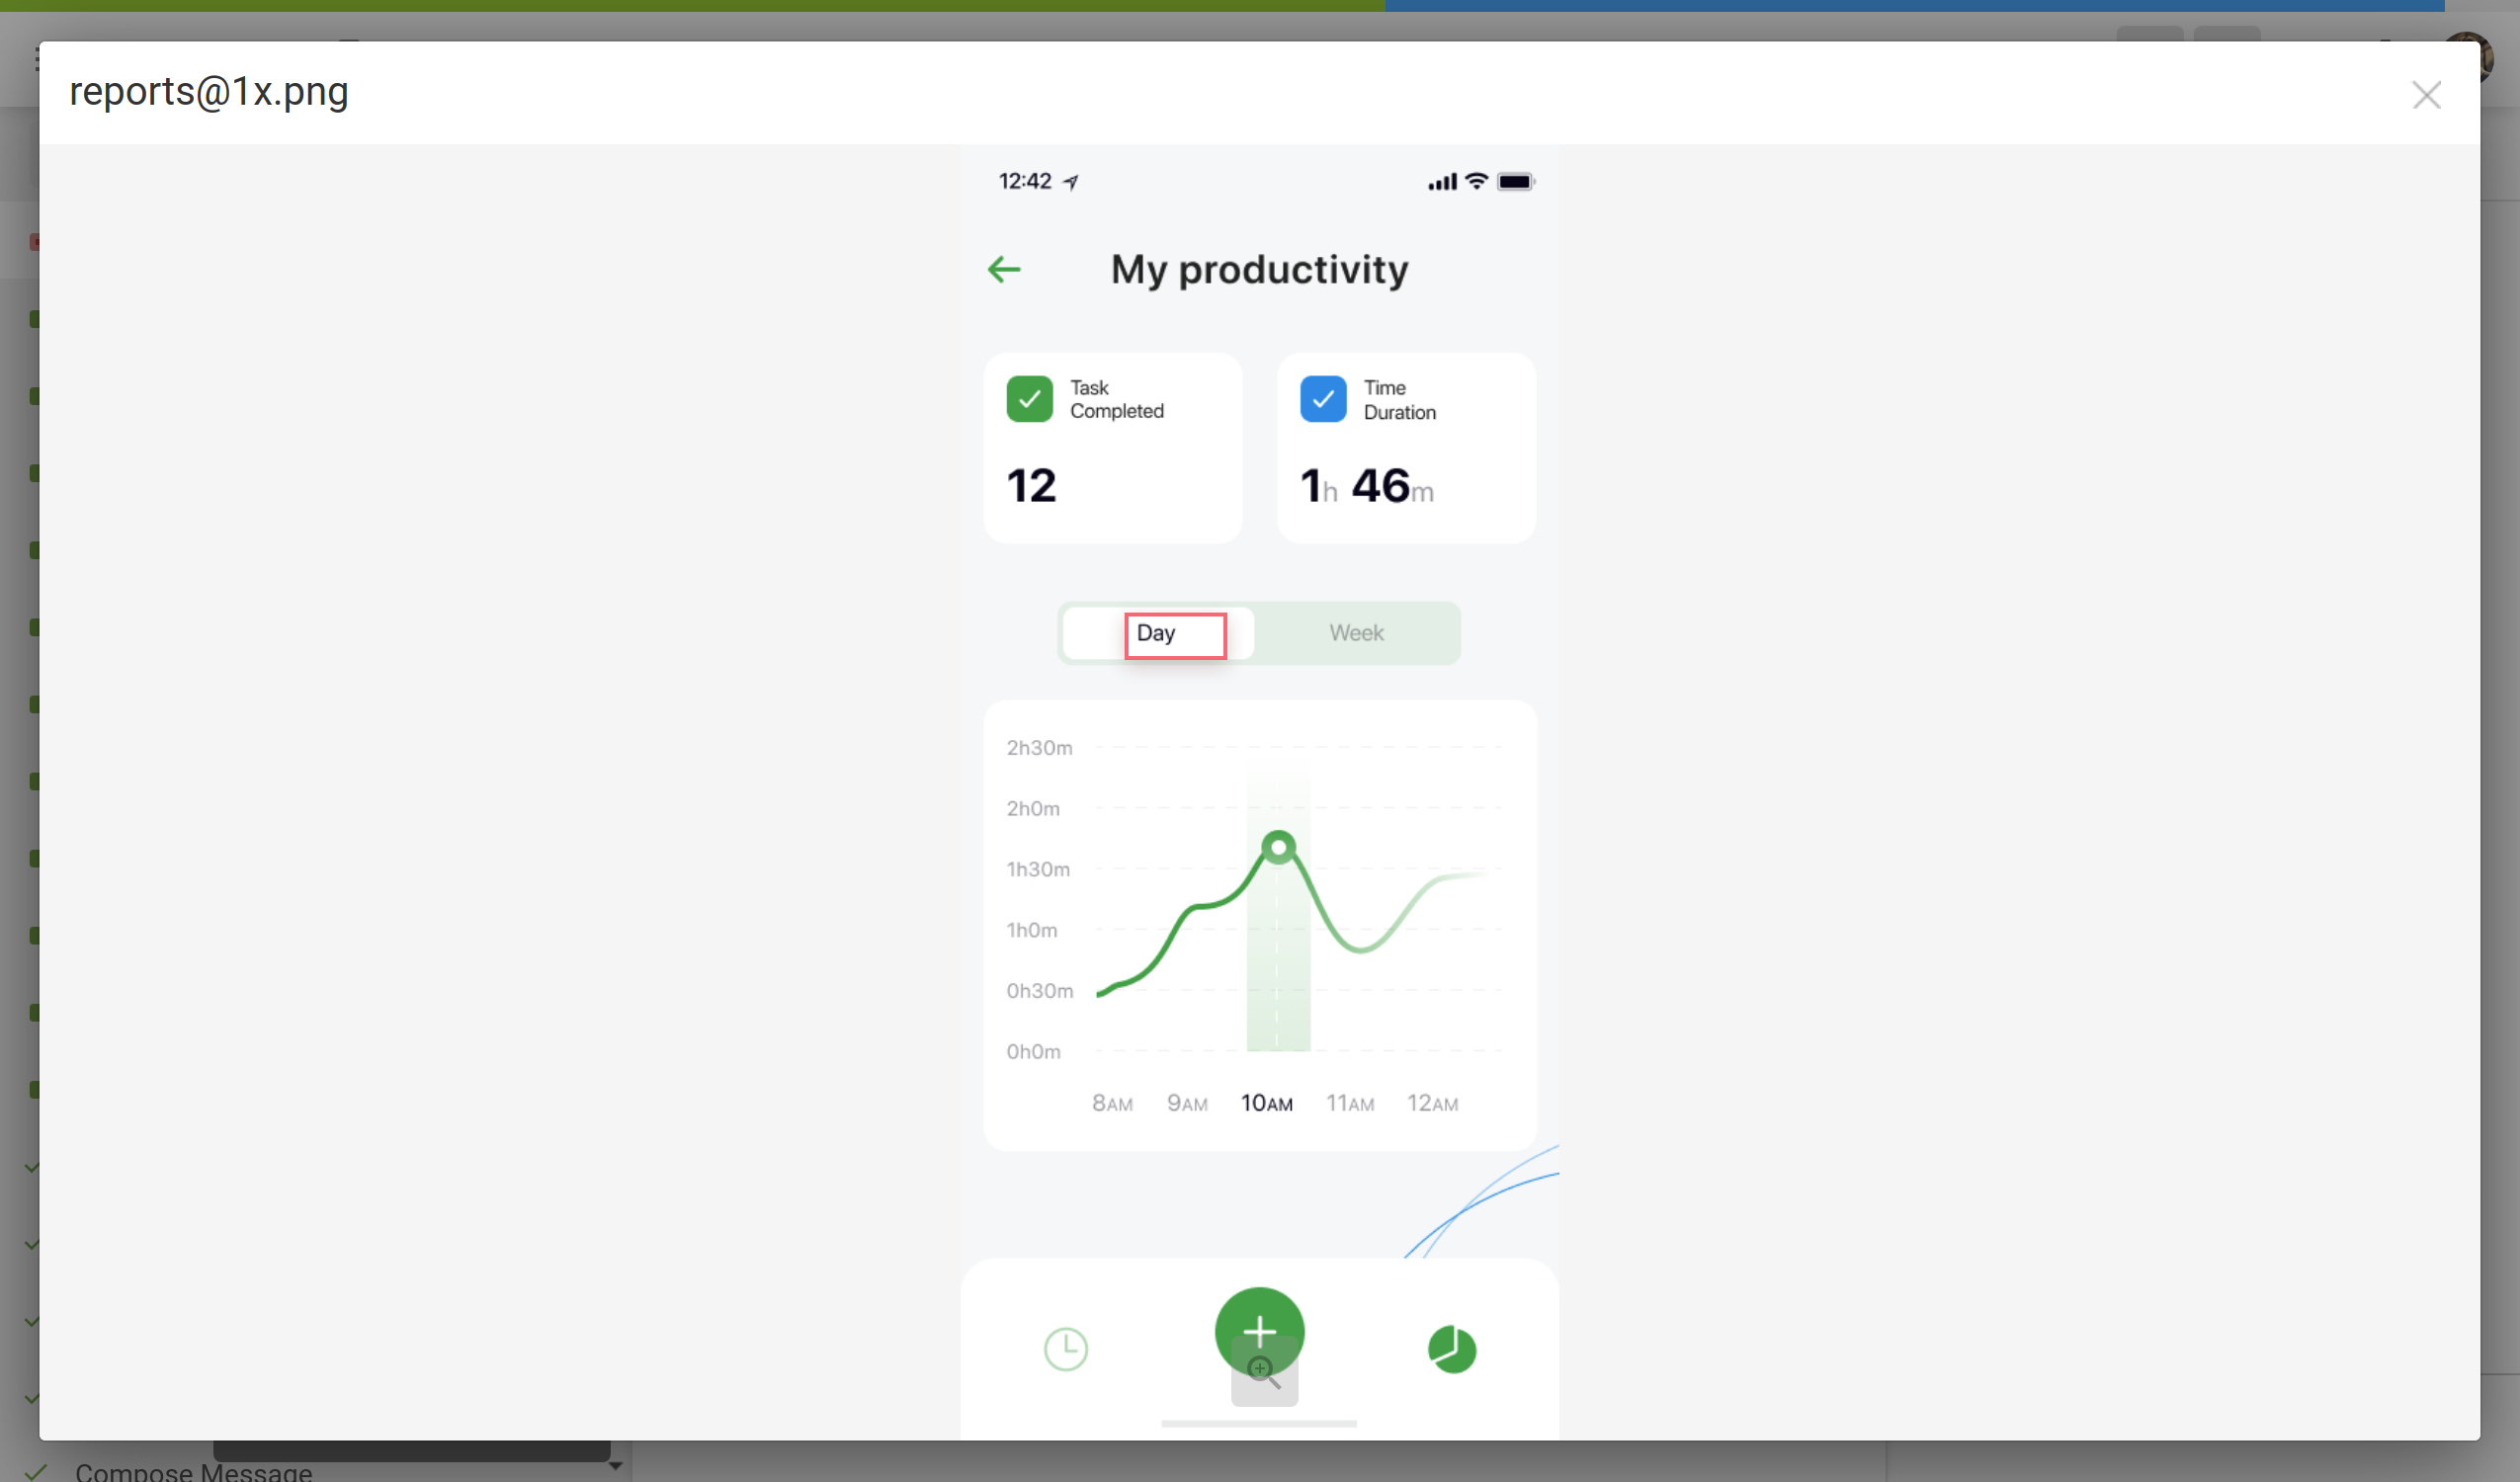
Примітка: Щоб змінити розмір зображень високої роздільної здатності, аби вони вміщалися на вашому екрані, додайте “@2x” або “@3x” в кінці імені файлу.
Позначити рядки
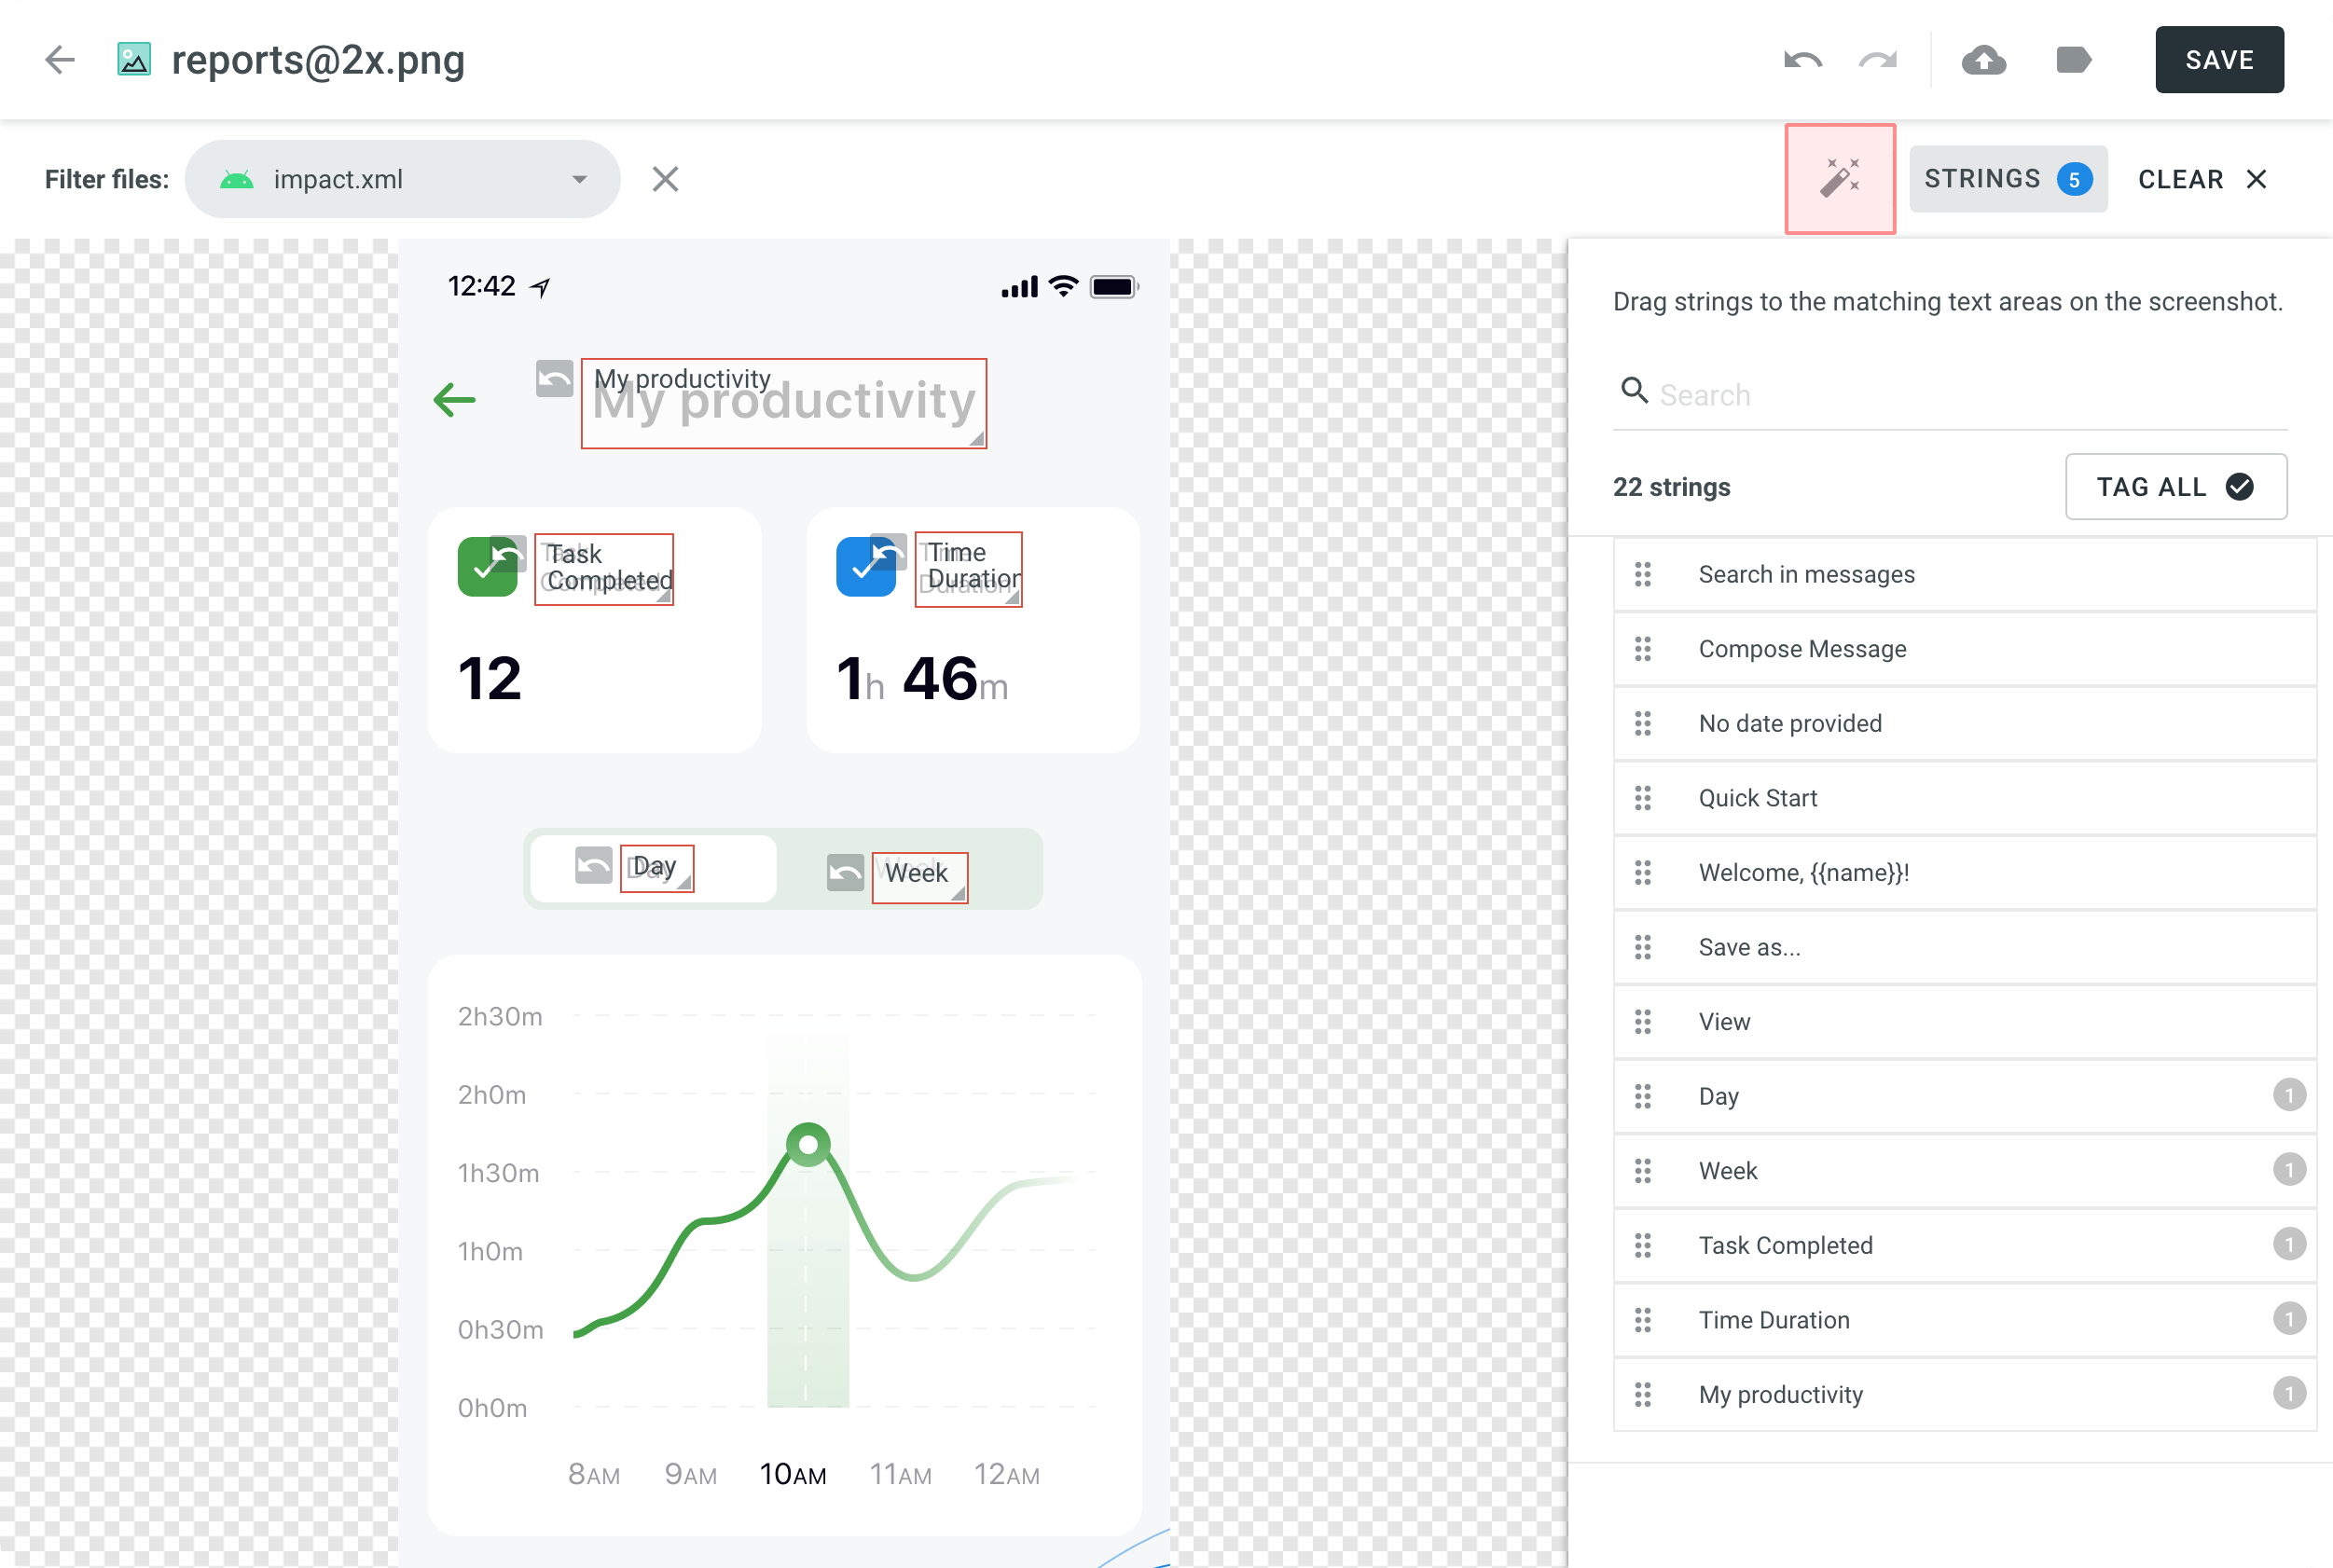
Щоб показати перекладачам, де розташовані певні рядки у користувацькому інтерфейсі, позначте рядки на скріншотах. In Crowdin Enterprise, you can tag strings using the following methods:
- Авто тег
- Text recognition
- Drag and drop
Автоматично позначати рядки
Тексти в зображенні будуть виявлятися автоматично. Потім будуть знайдені рядки в проєкті відповідно до обраного фільтра. У результаті, знайдені стрічки будуть позначені на скріншоті.
- Open the screenshot with a double-click or right-click on the screenshot and select Edit.
- Клацніть
 .
. - Once the strings are added, click Save.
Автоматично позначати рядки на одному скриншоті, не відкриваючи його:
- Right-click on the needed screenshot.
- Обрати Авто тег.
Ви також можете автоматично позначати рядки на кількох знімках екрана одночасно:
- Виберіть кілька скріншотів, утримуючи Ctrl або Shift.
- Клацніть .
Якщо ви користуєтеся In-Context, вам може стати в нагоді його інтегрована функція створення скріншотів веб-сторінок.
Дізнайтеся більше про додавання скріншотів через In-Context.
Позначати стрічки з використанням розпізнавання тексту
Система буде шукати стрічку у вашому проєкті, відповідну до тексту, який ви вкажете. Якщо буде знайдено кілька схожих стрічок, ви побачите всі з них і зможете обрати найбільш відповідну.
- Open the screenshot with a double-click or right-click on the screenshot and select Edit.
- Виділіть текст на скріншоті.
- Закінчивши позначення всіх рядків, натисніть Зберегти.
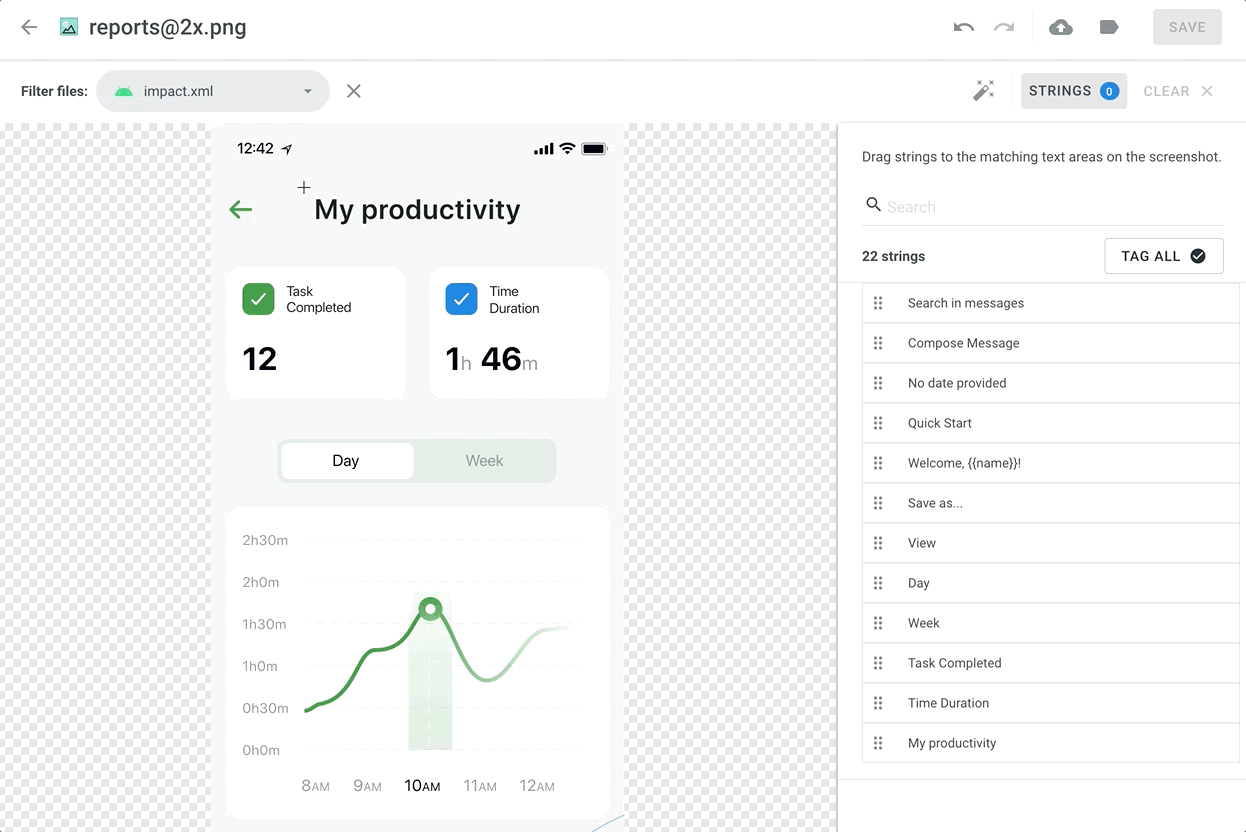
Позначати рядки вручну
Перетягніть перелічені рядки до тексту на скриншоті вручну.
- Open the screenshot with a double-click or right-click on the screenshot and select Edit.
- Sort, filter or search the listed strings.
- Drag the needed string to the corresponding text on the screenshot. Крім того, клацніть на рядки, щоб позначити їх на скриншоті, не вказуючи точного місця, де вони мають з’явитися.
- Click Save.
Щоб позначити всі рядки з вибраного файлу на знімку екрана, виконайте такі дії:
- Оберіть потрібний файл.
- Натисніть Позначити все > Зберегти.
Перетягнути та прокрутити скриншоти
Під час позначення скриншотів високої роздільної здатності, ви можете утримувати Ctrl, щоб перетягнути скриншот мишею, відкриваючи частину, що залишилася.
Видалення тегованих рядків зі знімка екрана
If you need to remove all the strings tagged on the screenshot, click Clear.
Мітки
Використовуйте мітки у вашому проєкті, щоб легко впорядкувати скриншоти за певними темами. Після того, як ви додасте мітки до скриншотів, ви зможете фільтрувати їх за доданими мітками. Якщо ви вже використовуєте мітки для вихідних рядків, ви також можете використовувати ті самі мітки для скриншотів.
Managing Project Labels
To create, edit, or remove project labels, follow these steps:
- Відкрийте ваш проєкт та перейдіть до вкладки Скріншоти.
- Select a screenshot and click
 .
. - Select Manage labels. Крім того, відкрийте ваш проєкт і перейдіть до Налаштування> Мітки.
- У діалоговому вікні, що з’явилося, додайте нові мітки, а також відредагуйте або видаліть наявні.

Додавання міток до скриншотів
Існує кілька можливих способів додати мітки до скриншотів.
- Додавайте мітки до одного знімка за раз за допомогою того самого діалогового вікна, де ви позначаєте рядки
- Відкрийте скриншот подвійним клацанням
- Клац
- Виберіть потрібні мітки у полі Labels
- Натисніть Зберегти
- Додавання міток до кількох знімків екрана
- Виберіть кілька знімків екрана, до яких потрібно додати однакові мітки, утримуючи Ctrl або Shift
- Клац
- Select needed labels in the list
- Click Apply
Оновити скріншоти
Ви можете вивантажити новий скриншот, який замінить поточний. Вже позначені рядки, які є релевантними, залишаться позначеними. Якщо текст на скриншоті змінить своє розташування, рядки залишаться позначеними, але на нових місцях.
Щоб оновити скриншот, виконайте такі дії:
- Open the screenshot with a double-click or right-click on the screenshot and select Edit.
- Click
 and select a new screenshot from your machine or use Drag&Drop.
 - Click Save.
Перейменувати скріншоти
Щоб перейменувати скріншот, виконайте наступні дії:
- Right-click on the needed screenshot and select Rename.
- Вкажіть нову назву.
- Click Save.
Завантажити cкріншоти
Ви можете завантажити скріншоти та використовувати їх в інших проєктах або деінде.
Щоб завантажити скріншоти, виконайте такі дії:
- Виберіть один або кілька скріншотів, утримуючи Ctrl або Shift.
- Click Download.
Alternatively, right-click on the needed screenshot and select Download.
Видалити скріншоти
Щоб видалити скріншот, будь ласка, виконайте наступні дії:
- Виберіть один або кілька скріншотів, утримуючи Ctrl або Shift.
- Натисніть Видалити.