Скриншоты
Скриншоты - это отличный способ предоставить переводчикам дополнительный контекст для исходных строк в вашем проекте и в результате получить наиболее соответствующие и точные переводы. With screenshots, your team can see which strings are used together on the same page, whether short texts stand for titles, buttons, etc.
Tag source strings to the screenshots to display them to translators in the Editor in the context section below the source string.
Загрузка скриншотов
Чтобы загрузить скриншоты в ваш проект, выполните следующие действия:
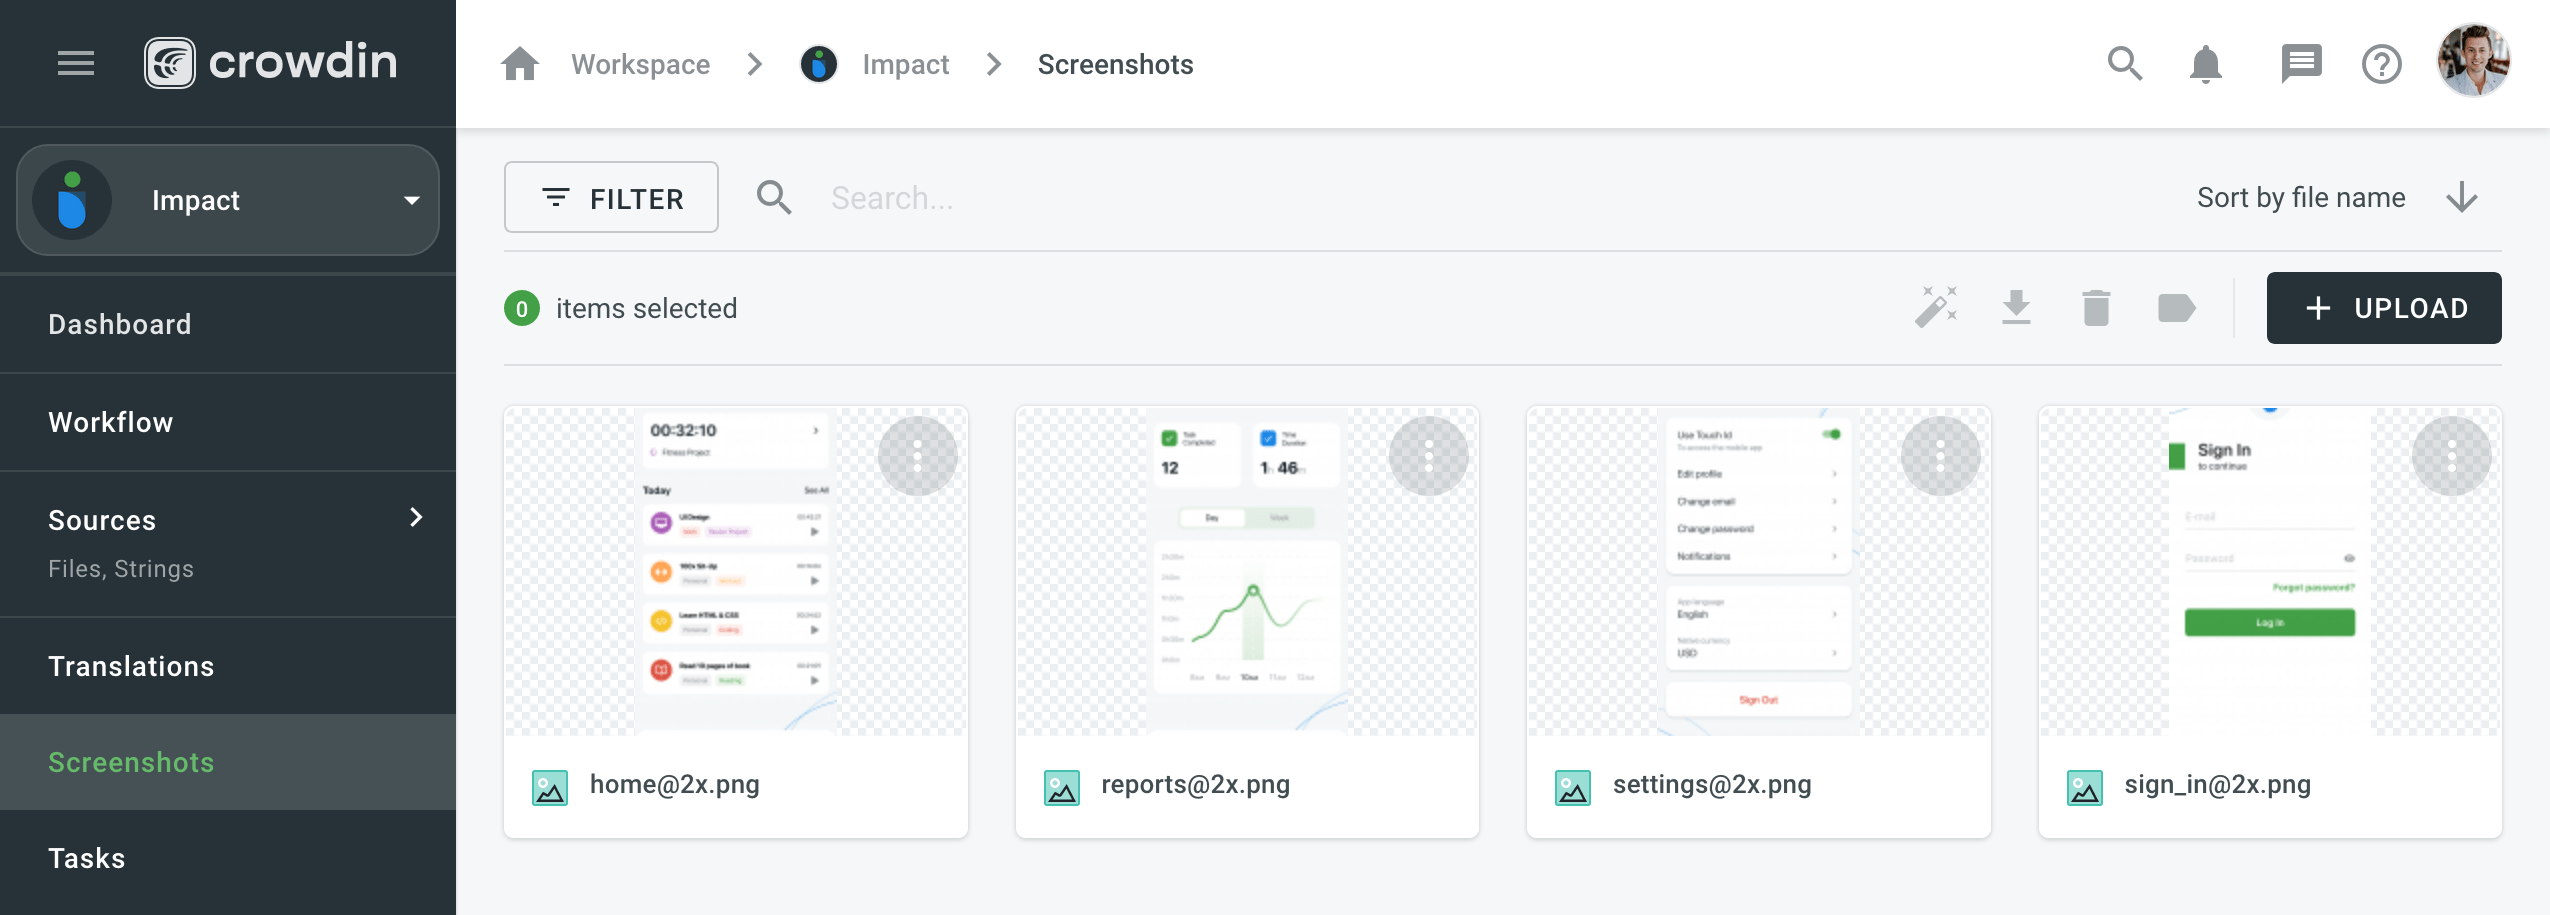
- Open your project and go to the Screenshots tab.
- Перетащите изображения с вашего компьютера, или нажмите кнопку **Загрузить **.
Примечание: Чтобы изменить размер изображений с высоким разрешением, добавьте “@2x” или “@3x” в конце имени файла.
Строки тегов
Чтобы показать переводчикам, где в пользовательском интерфейсе расположены определенные строки, необходимо пометить тегами строки на скриншотах. In Crowdin Enterprise, you can tag strings using the following methods:
- Автотег
- Распознавание текста
- Перетаскивание
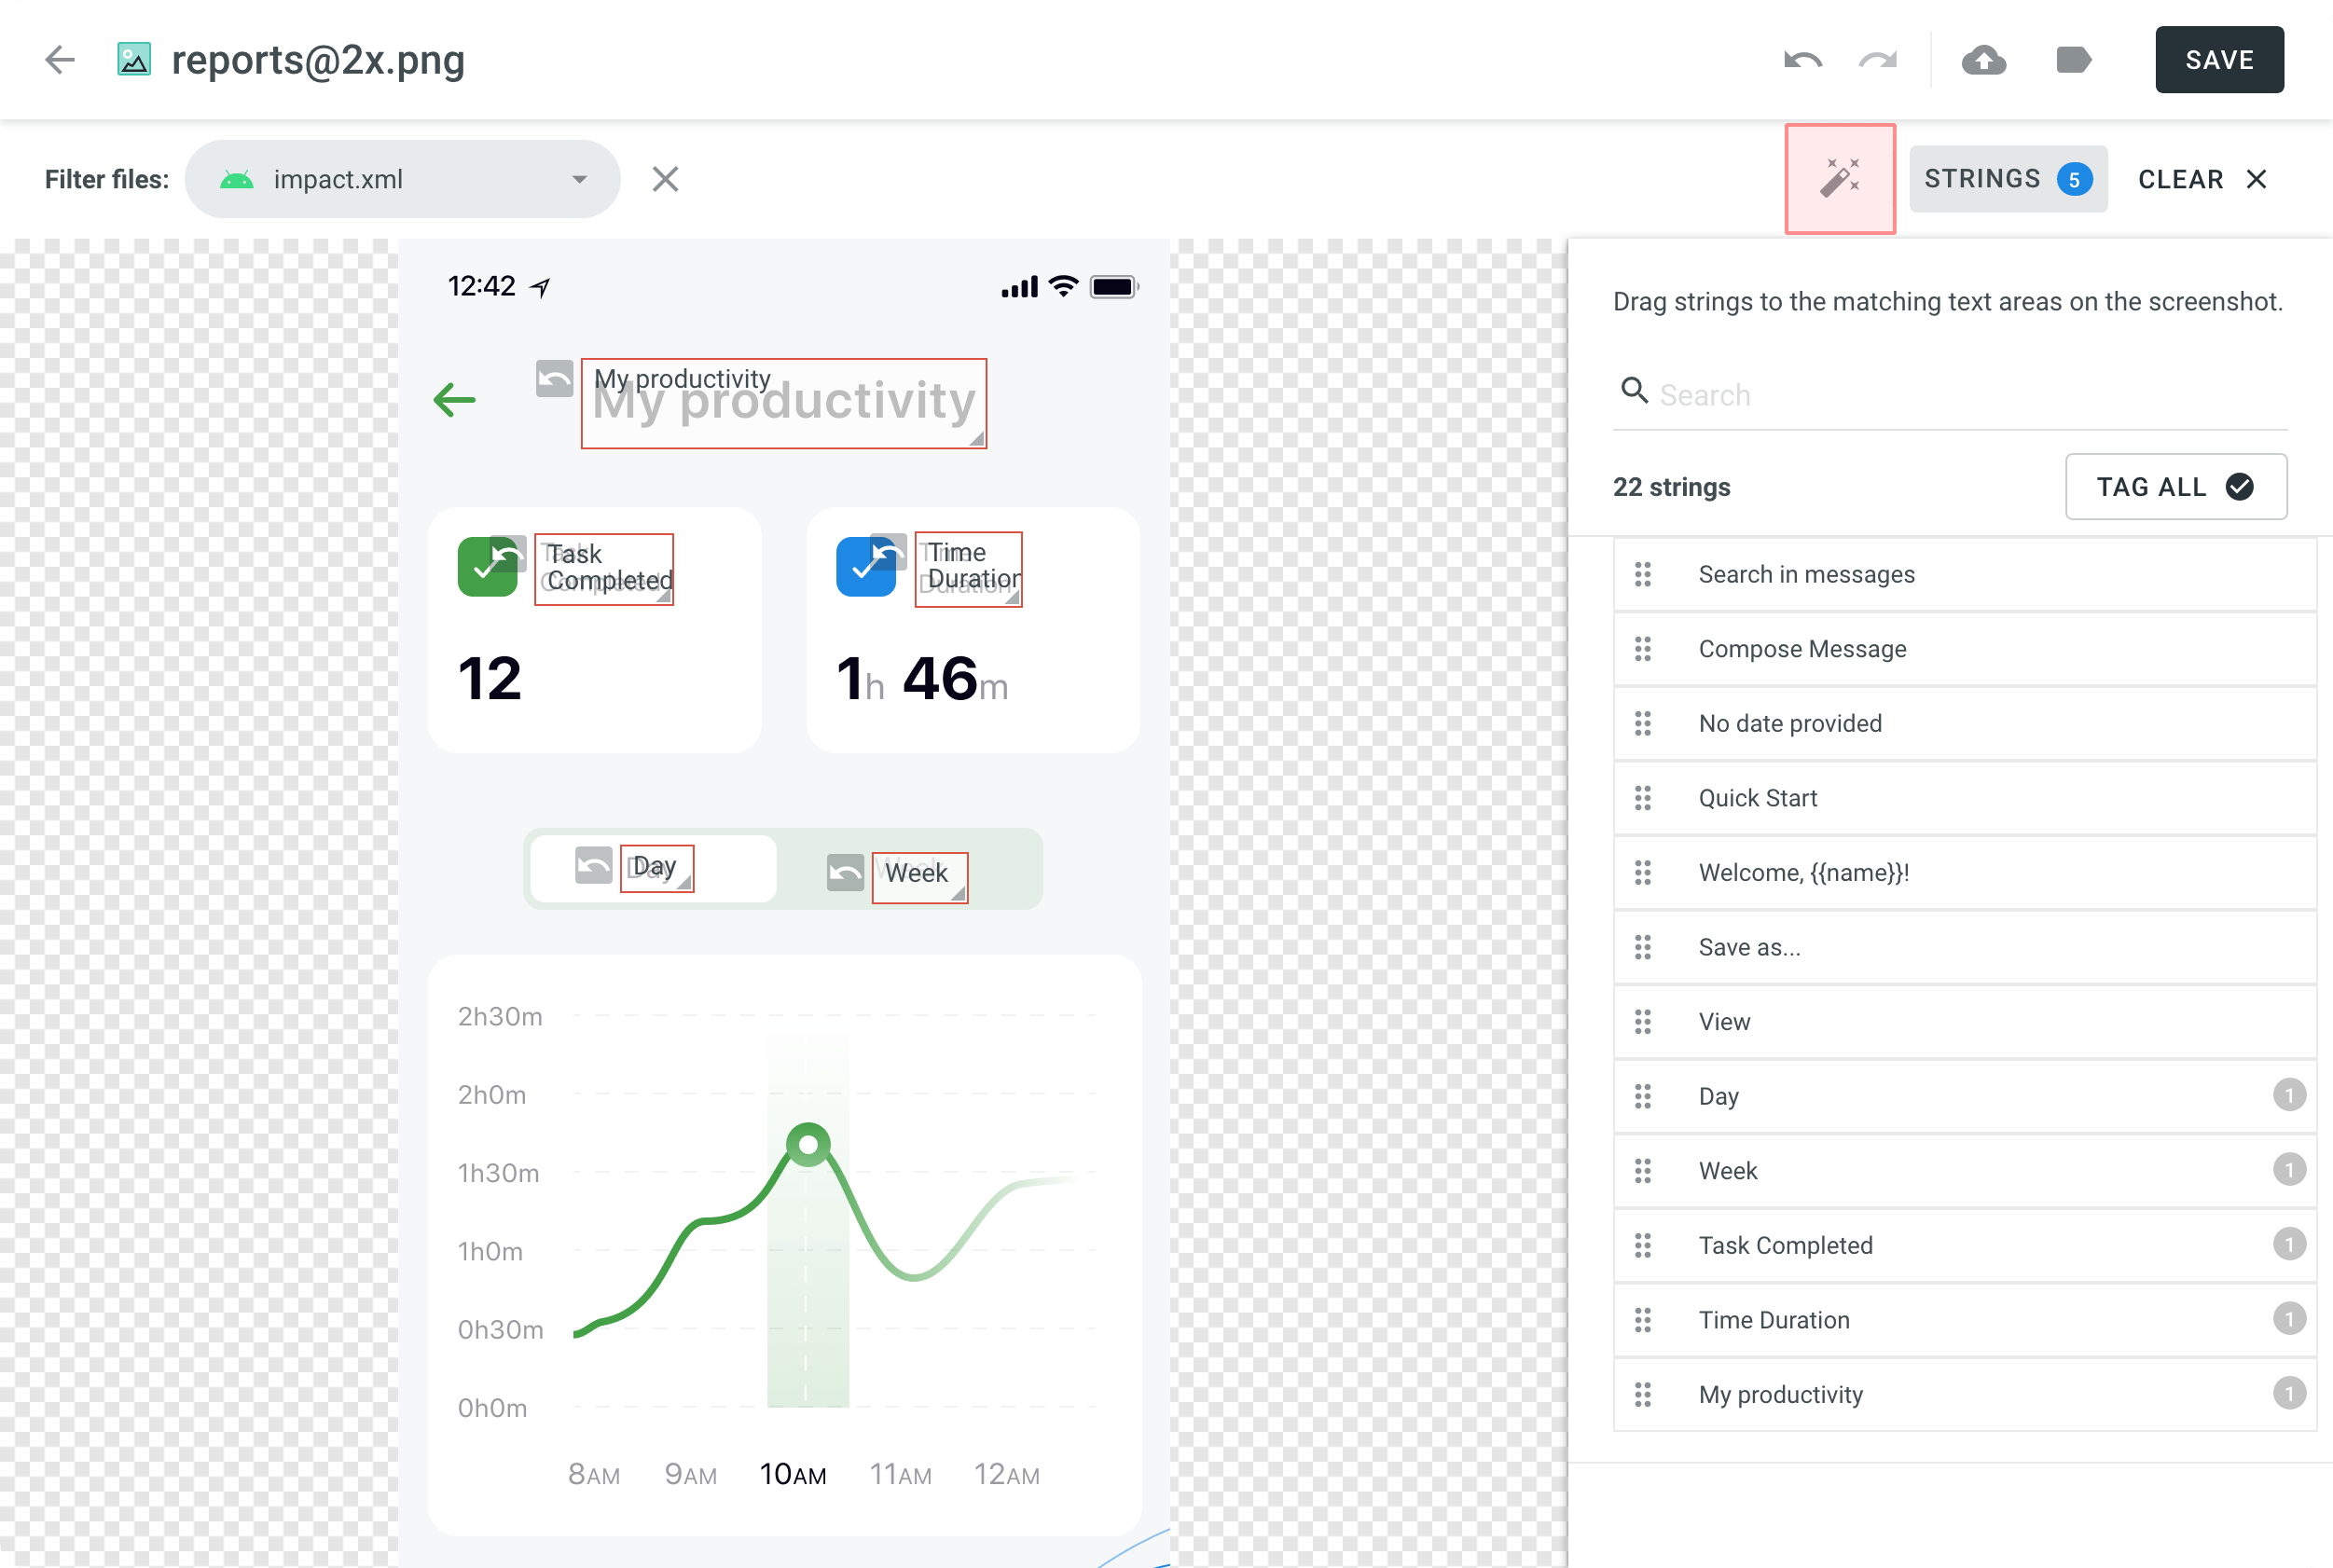
Автоматически помечать строки
Тексты внутри изображения будут обнаружены автоматически. Then the matching strings will be searched in the project according to the selected filter. As a result, the ones found will be tagged on the screenshot.
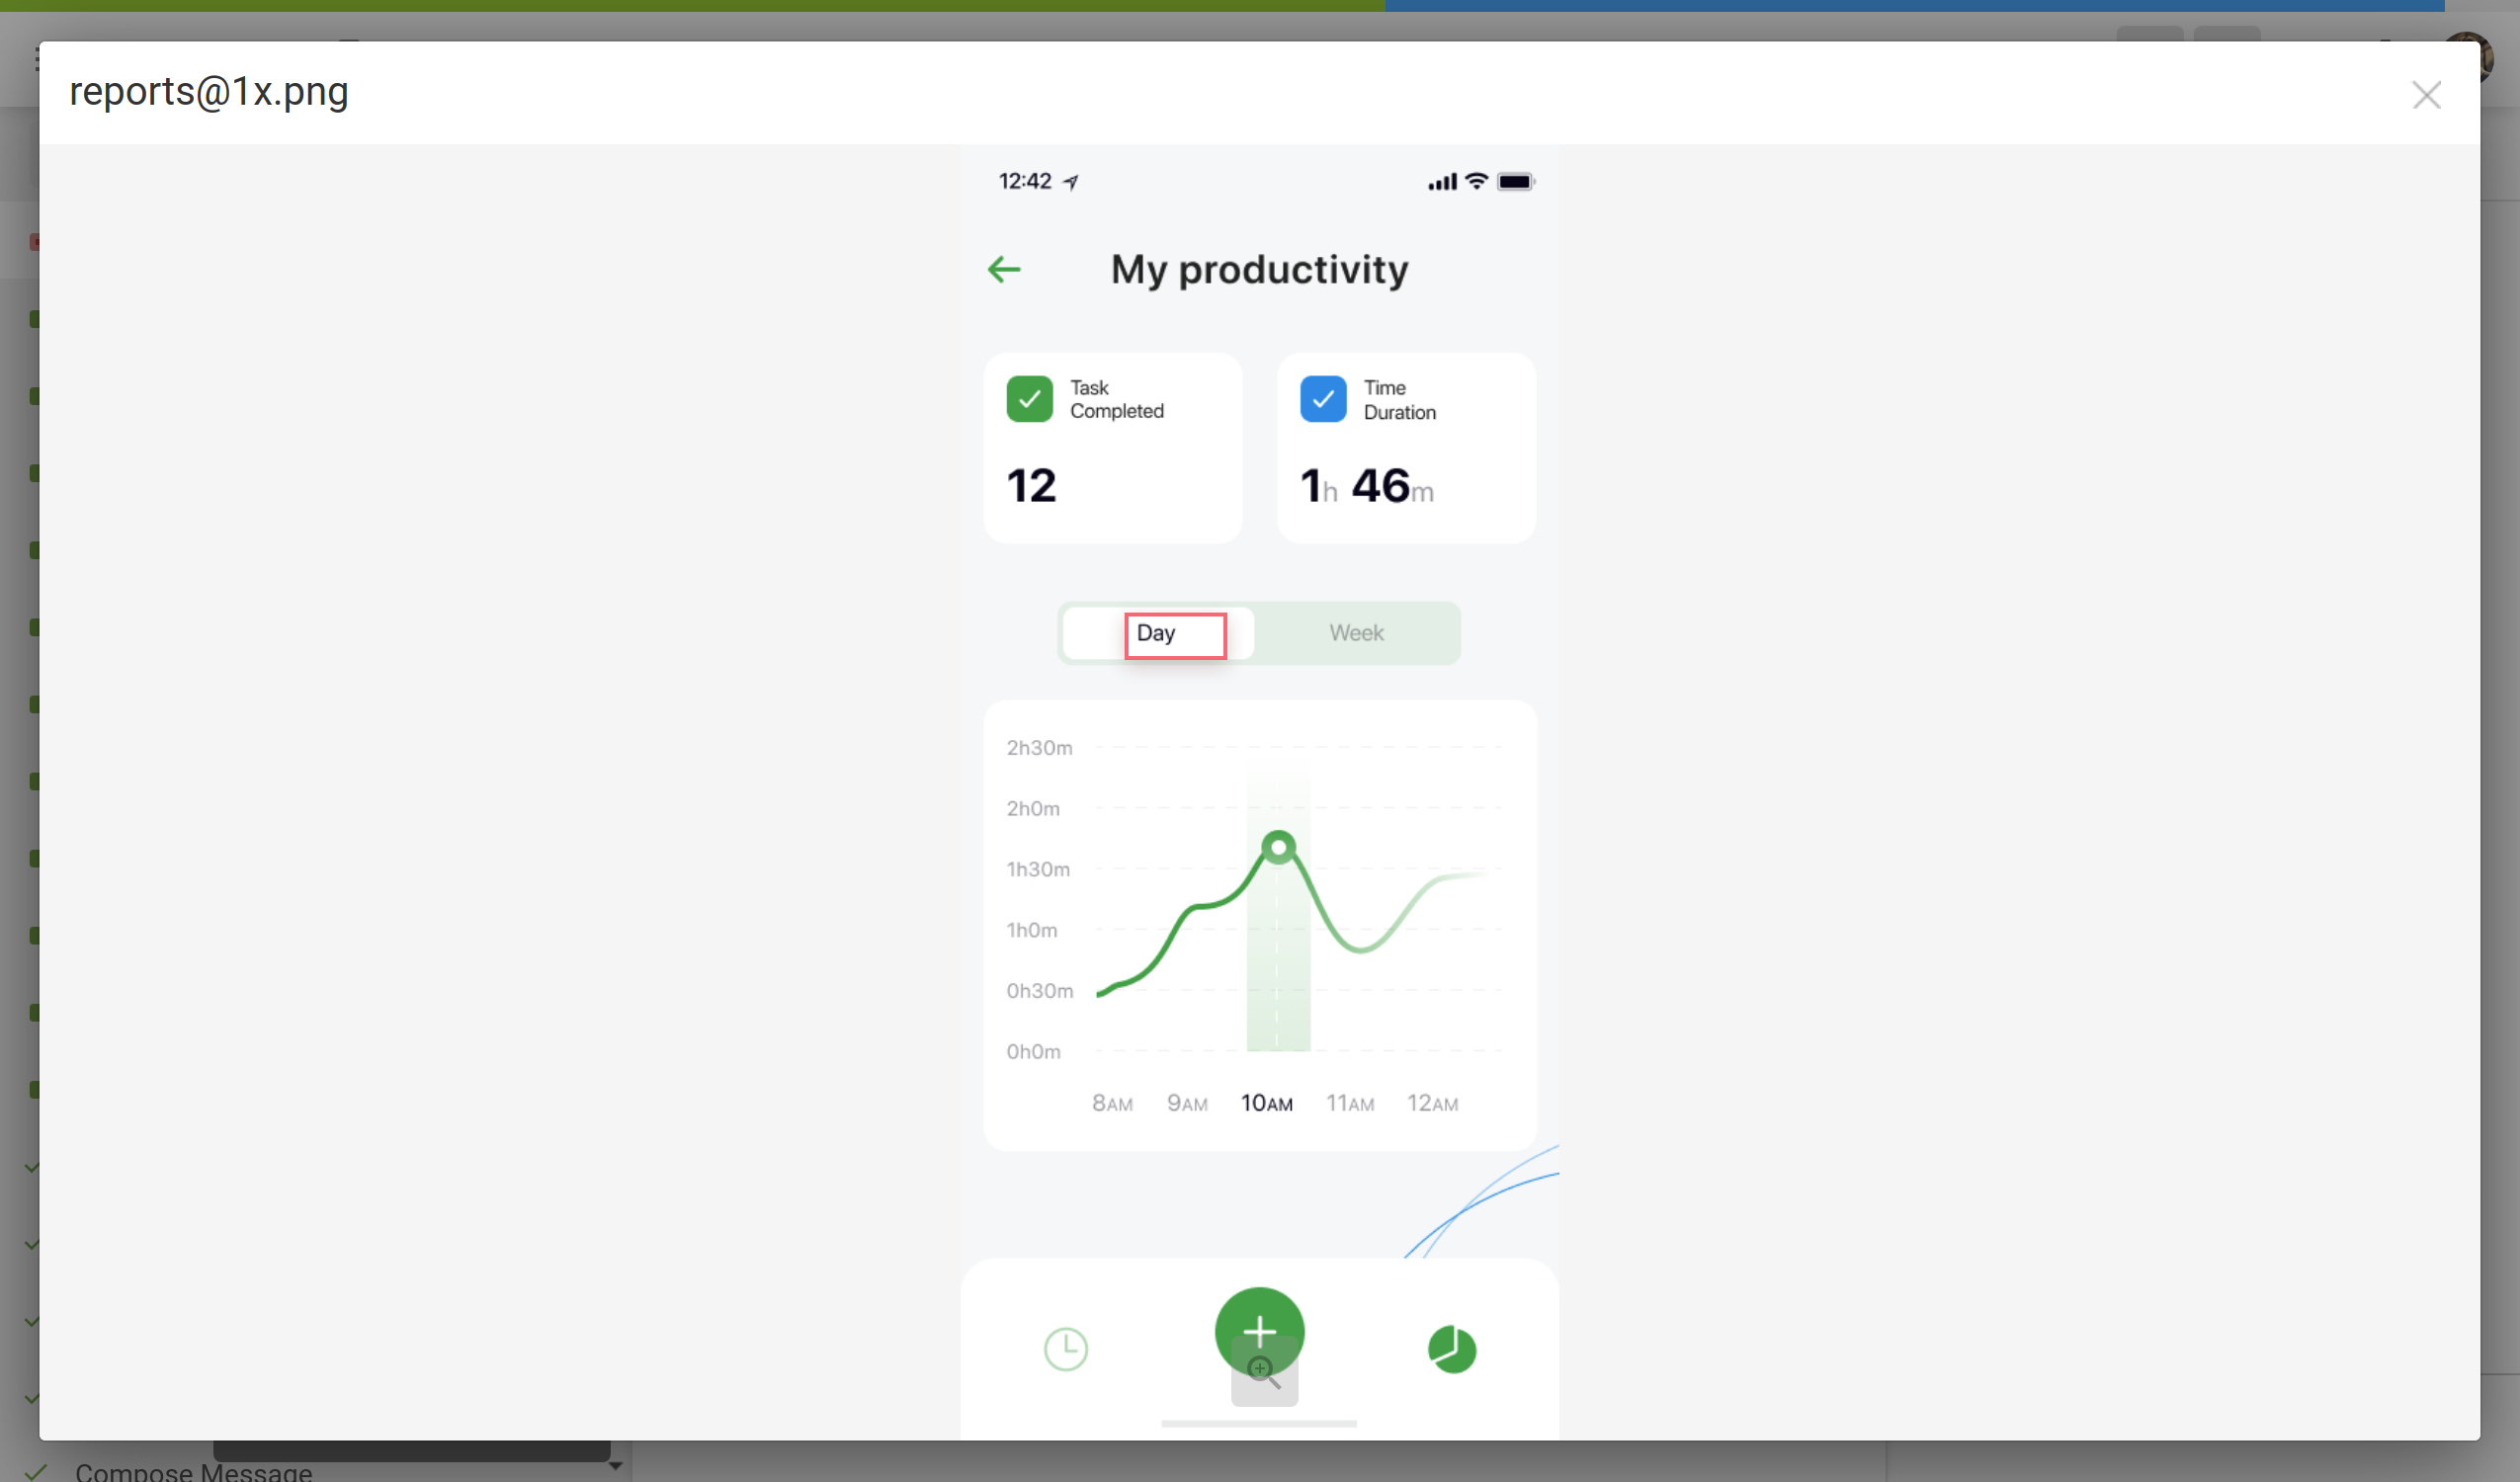
- Open the screenshot with a double-click or right-click on the screenshot and select Edit.
- Клик
 .
. - После добавления строк нажмите Сохранить.
Для автоматического тегования строк на одиночном скриншоте без открытия:
- Right-click on the needed screenshot.
- Выберите Автоматический тег.
Вы также можете автоматически помечать строки на нескольких скриншотах сразу:
- Select multiple screenshots by holding Ctrl or Shift.
- Клик .
If you use In-Context, you might find helpful its integrated feature for taking screenshots of the website pages.
Read more about Adding Screenshots via In-Context.
Теги строк с распознаванием текста
Система будет искать строку, соответствующую текстовой области, выбранной вами среди всех строк в вашем проекте. If several similar strings are found, you will see all of them and be able to select the best-matching one.
- Open the screenshot with a double-click or right-click on the screenshot and select Edit.
- Highlight the text on the screenshot.
- Once finished tagging all the strings, click Save.
Помечать строки вручную
Перетащите перечисленные строки в текстовые области на снимке экрана вручную.
- Open the screenshot with a double-click or right-click on the screenshot and select Edit.
- Sort, filter or search the listed strings.
- Перетащите необходимые строки на соответствующий текст на скриншоте. Alternatively, click on the strings to tag them in the screenshot without specifying the exact place where they should appear.
- Click Save.
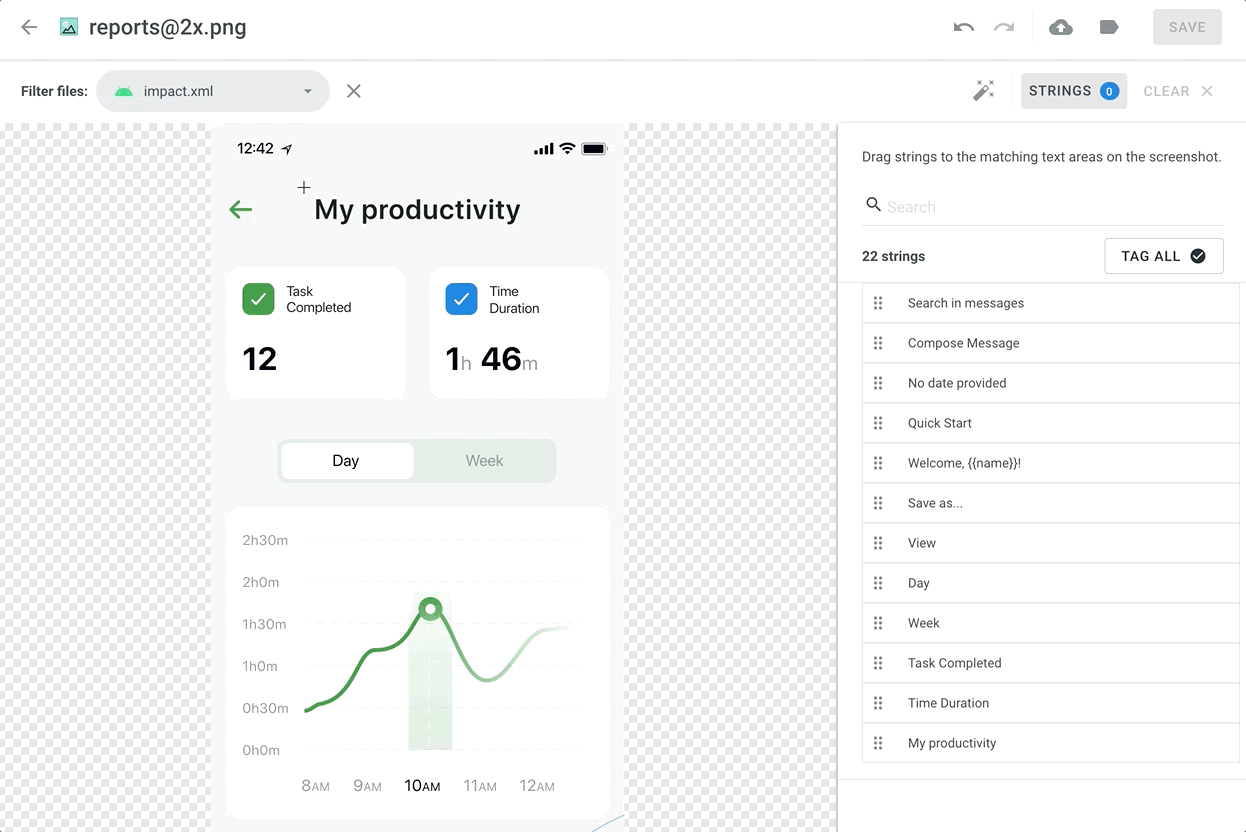
Чтобы пометить все строки из выбранного файла на ваш скриншот, выполните следующие действия:
- Выберите нужный вам файл.
- Нажмите Пометить Все > Сохранить.
Drag and Scroll Screenshots
When tagging high-resolution screenshots, you can hold Ctrl to drag and scroll the screenshot with a mouse revealing the remaining part.
Removing Tagged Strings from Screenshot
If you need to remove all the strings tagged on the screenshot, click Clear.
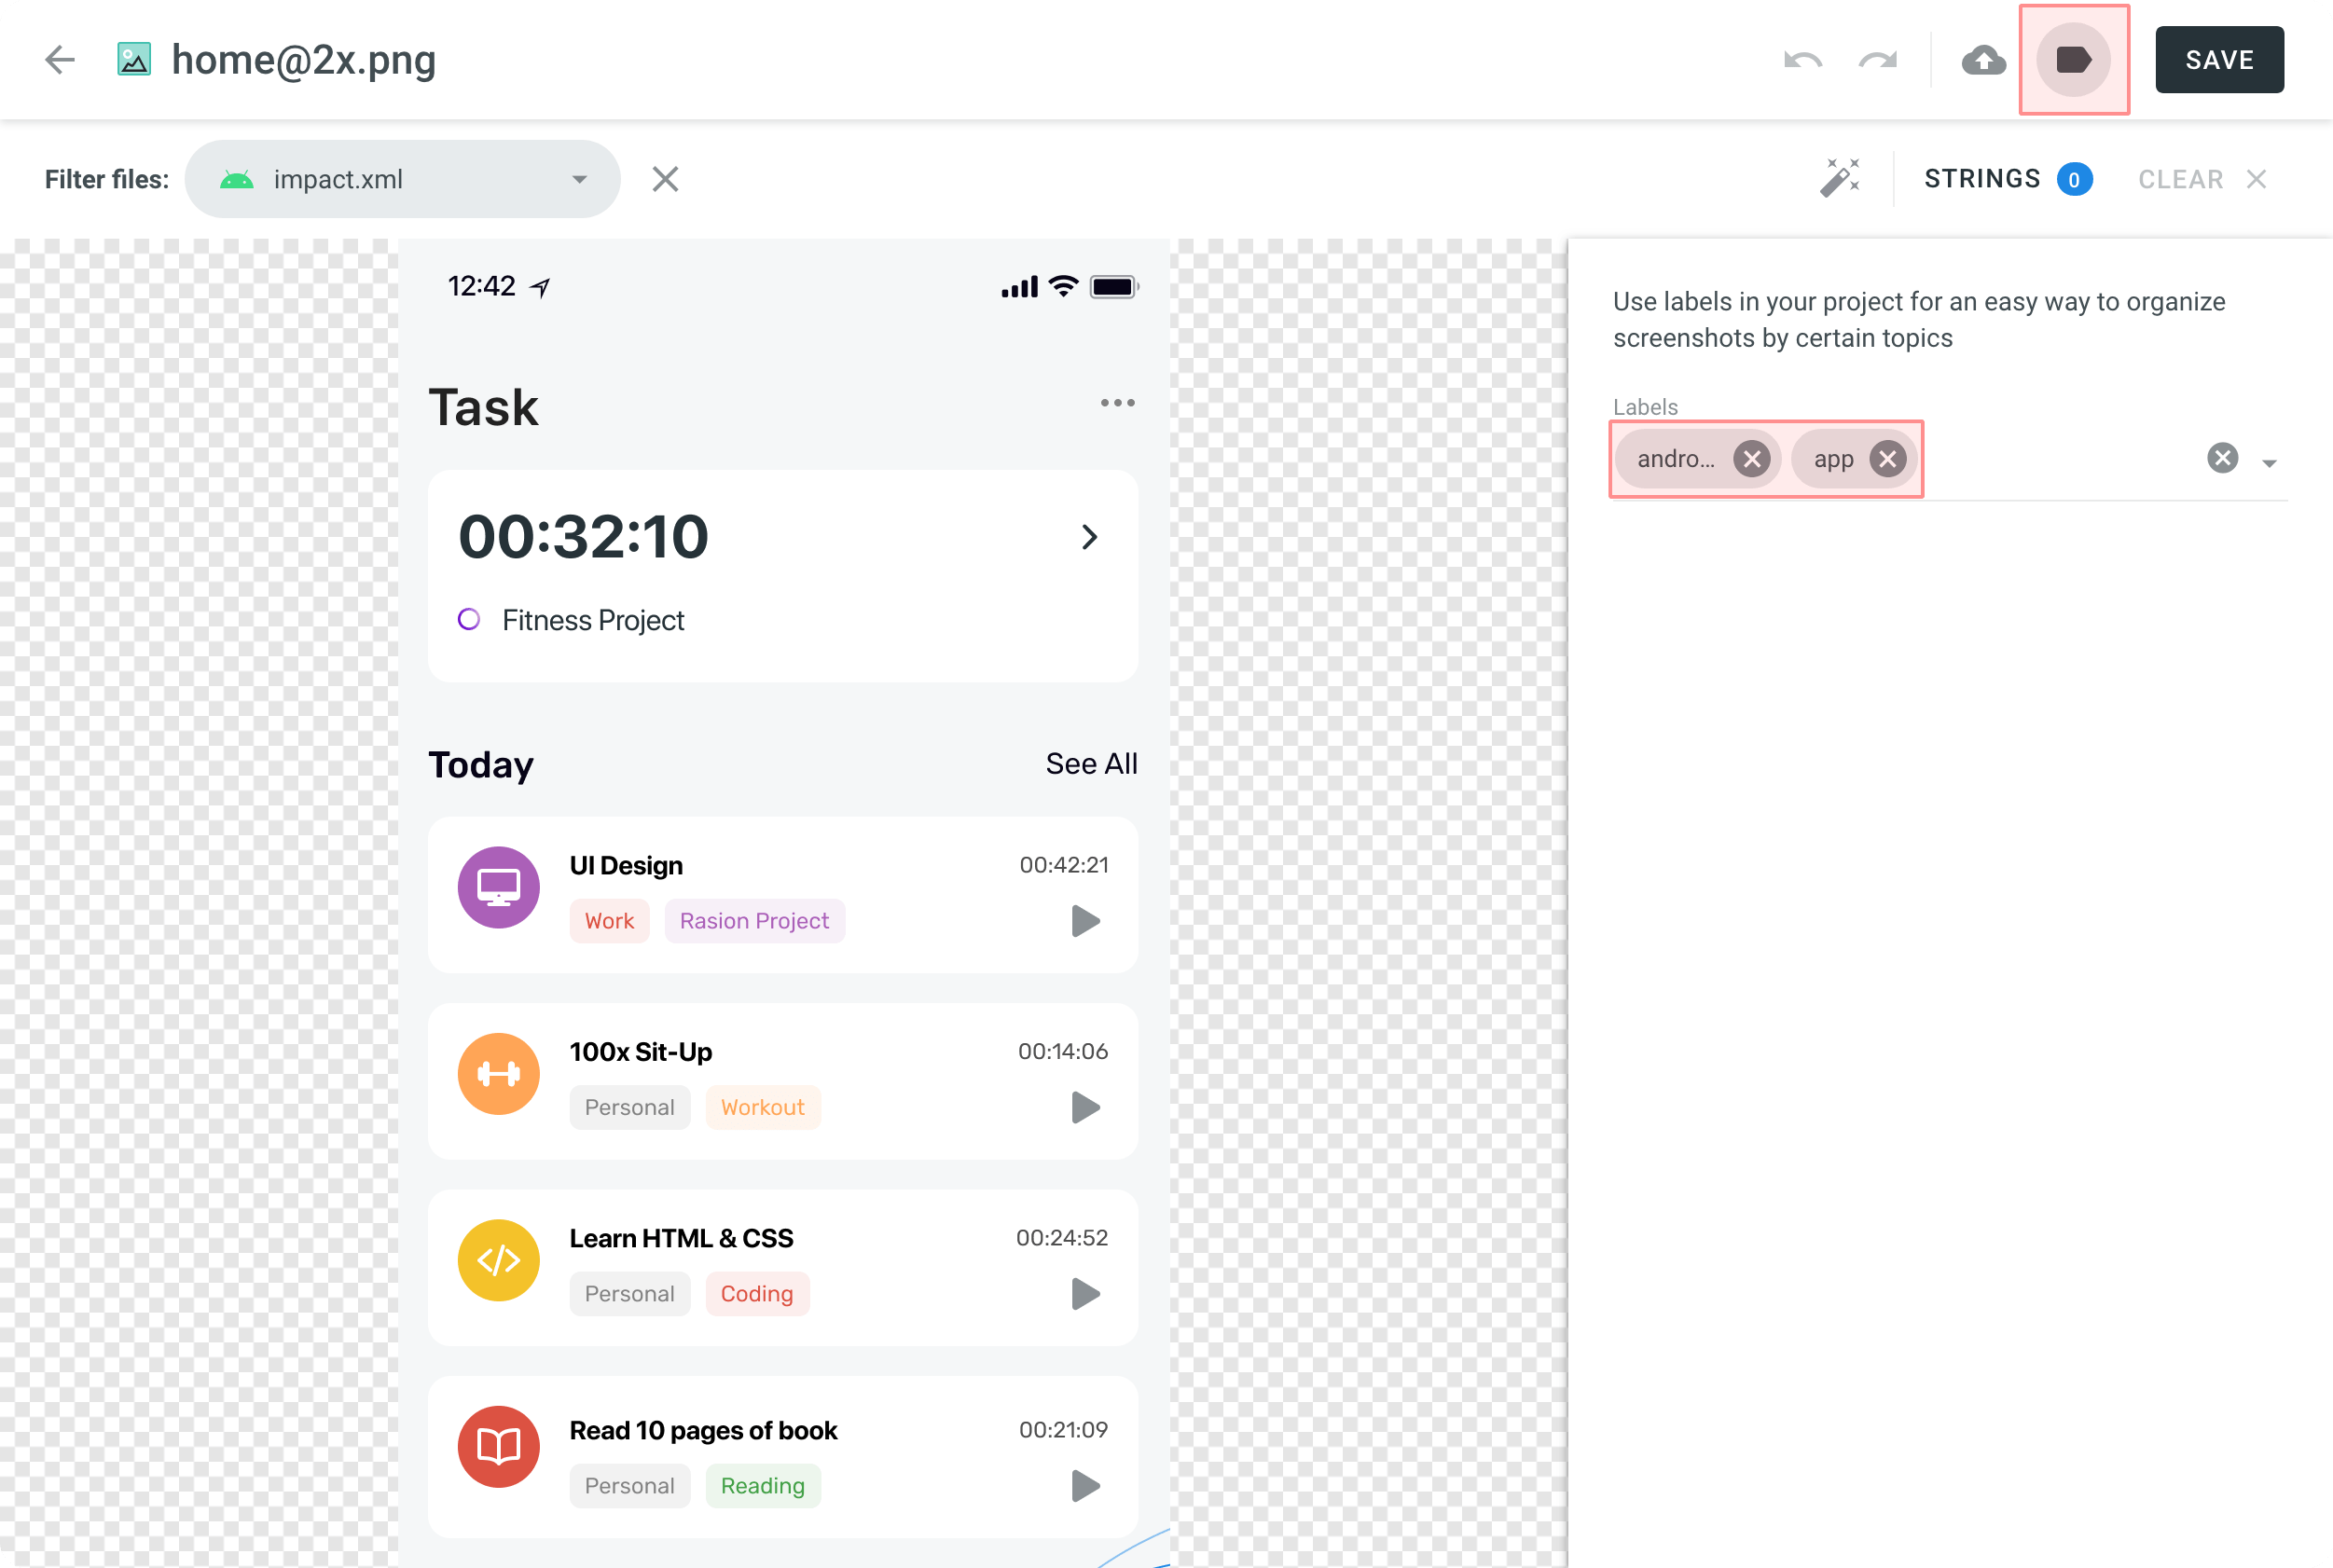
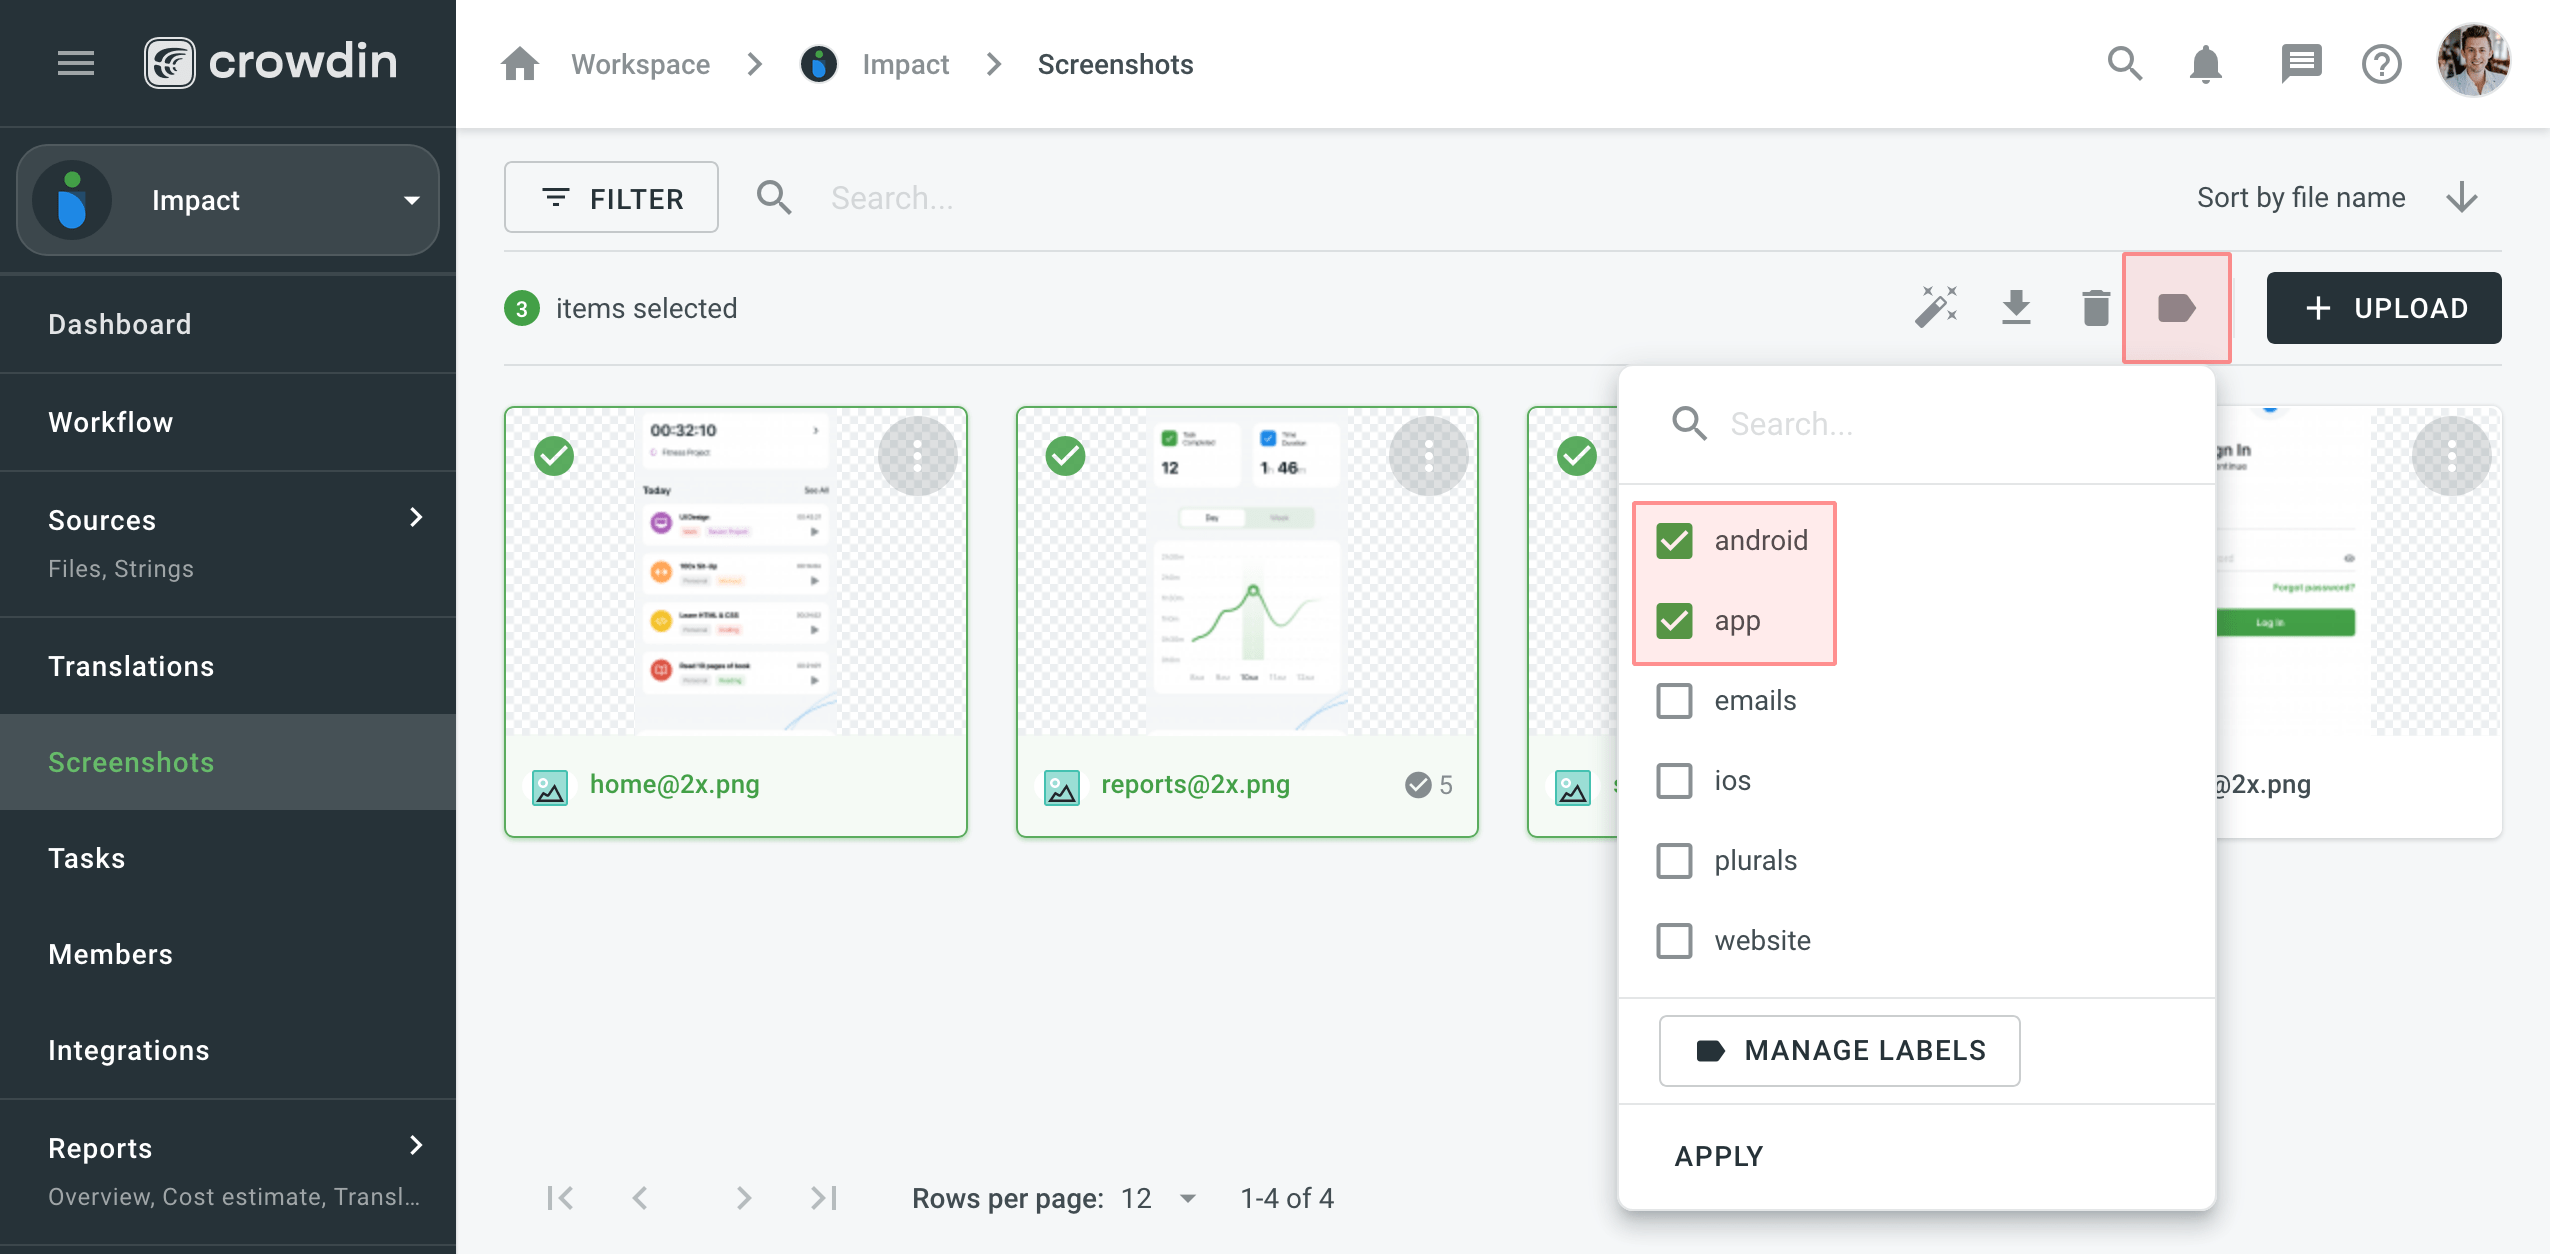
Метки
Use labels in your project for an easy way to organize screenshots by certain topics. Once you add labels to your screenshots, you can filter them by added labels. If you already use labels for your source strings, you can also use the same labels for screenshots.
Managing Project Labels
To create, edit, or remove project labels, follow these steps:
- Open your project and go to the Screenshots tab.
- Select a screenshot and click
 .
. - Select Manage labels. Alternatively, open your project and go to Settings > Labels.
- In the appeared dialog, add new labels and edit or remove existing ones.

Добавление меток к скриншотам
There are a few possible ways you can add labels to the screenshots.
- Добавить метки на один скриншот через тот же диалог, где вы пометили строки
- Откройте скриншот двойным щелчком мыши
- Нажми
- Выберите необходимые метки в поле Метки
- Нажмите по кнопке Сохранить
- Добавить метки для нескольких скриншотов
- Для добавления одинаковых меток нескольким скриншотам выберите желаемые скриншоты, удерживаяCtrl или Shift
- Нажми
- Select needed labels in the list
- Click Apply
Обновить скриншоты
You can upload a new screenshot that will replace the current one. The already tagged strings that are relevant would remain tagged. If the text on the screenshot changed its location, strings would remain tagged but on the new locations.
Чтобы обновить скриншот, выполните следующие шаги:
- Open the screenshot with a double-click or right-click on the screenshot and select Edit.
- Нажмите
 и выберите файл со скриншотом или просто перетащите его сюда.
 - Click Save.
Переименовать скриншоты
Чтобы переименовать скриншот, выполните следующие шаги:
- Right-click on the needed screenshot and select Rename.
- Укажите новое имя.
- Click Save.
Скачать скриншоты
You can download screenshots and reuse them in other projects or elsewhere.
Чтобы загрузить скриншоты, выполните следующие шаги:
- Выберите один или несколько скриншотов, удерживая Ctrl или Shift.
- Click Download.
Alternatively, right-click on the needed screenshot and select Download.
Удалить скриншоты
To delete a screenshot, follow these steps:
- Выберите один или несколько скриншотов, удерживая Ctrl или Shift.
- Нажмите Удалить.