Custom QA Checks
Dieser Inhalt ist noch nicht in deiner Sprache verfügbar.
In Crowdin uebersetzenIn addition to the built-in QA checks available in every project, you can configure two additional types of QA checks at the organization level: Custom QA Checks and External QA Checks.
- Custom QA Checks are lightweight and synchronous. They use a simplified JavaScript syntax and are executed in a sandboxed environment without access to network requests. These checks are ideal for validating simple, language-specific rules such as placeholder formatting, punctuation, spacing, or regular expressions.
- External QA Checks are more advanced and asynchronous. They are implemented as Crowdin Apps and can perform complex logic, make network requests, and integrate with external services (for example, AI-powered QA, style guide validation, or rendering translated text to measure size). Use them when you need more flexibility beyond the limitations of Custom QA Checks.
Both types of checks are managed in Organization Settings > Custom QA checks, but differ in how they work and what they are best suited for.
Custom QA Checks help efficiently handle language-specific aspects such as punctuation, numbers, and regular expressions to ensure more accurate QA check results and high-quality translations in all languages. With Custom QA Checks, you can detect the exact mistakes you want. It helps customers avoid mistakes in the texts and translators to translate the content more proficiently.
You can manage Custom QA Checks in the Organization Settings. There are two ways to add new Custom QA Checks to your organization: create your own from scratch or add them from the Crowdin Store.
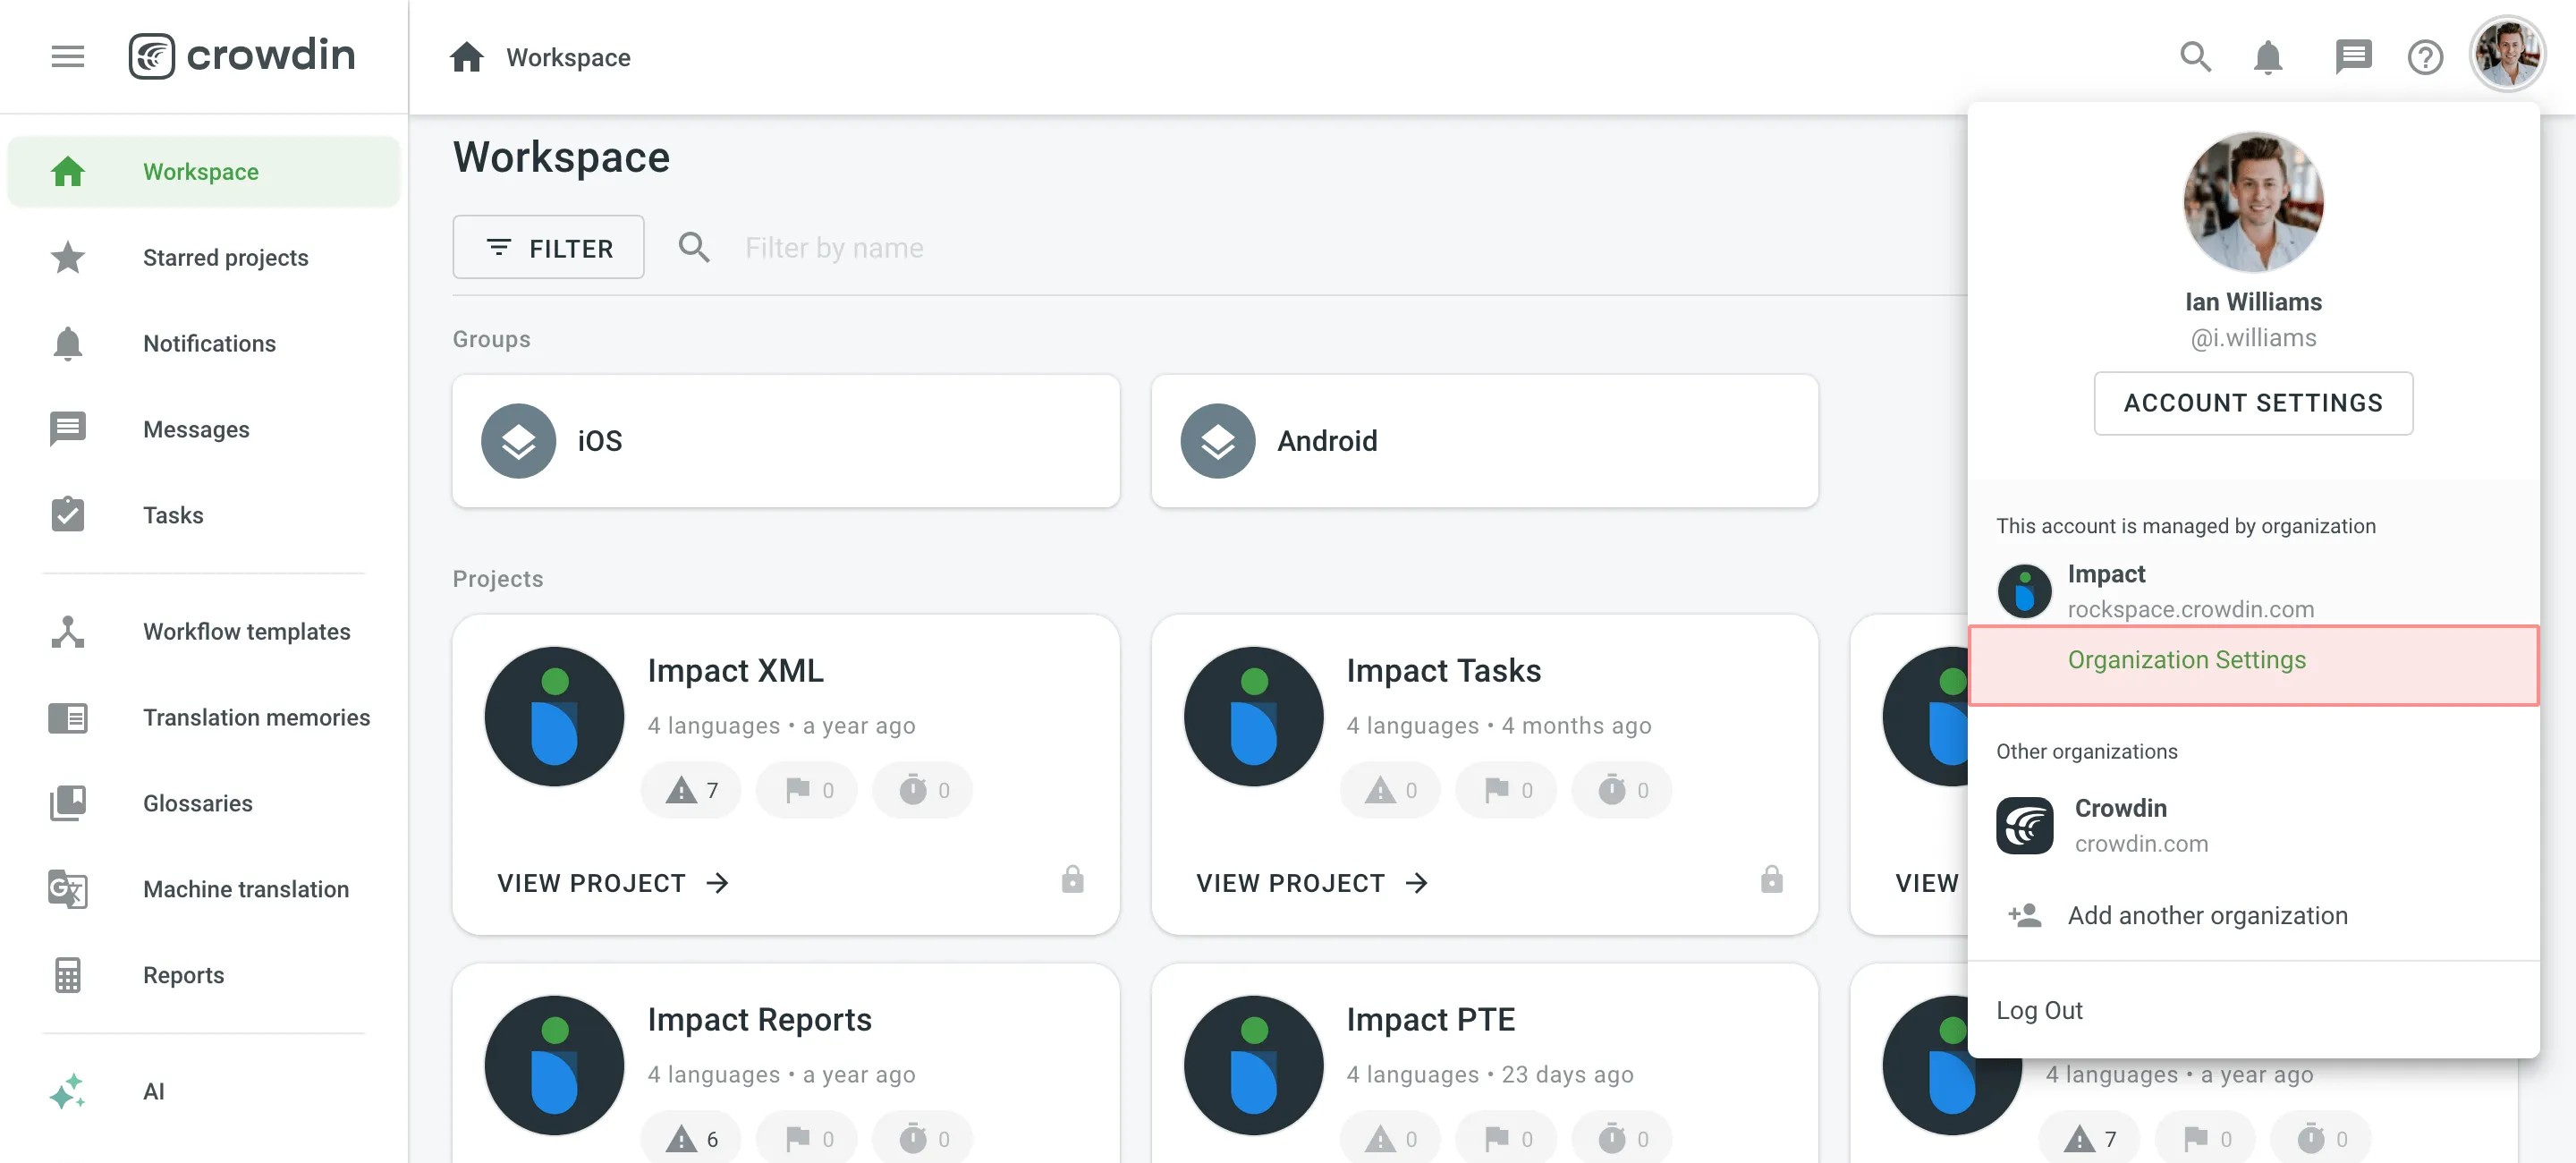
- Click on your profile picture in the upper-right corner and select Organization Settings.
- Switch to the Custom QA checks section on the left sidebar and click Create.
- Provide the details of the custom QA check in the required fields:
- Name – provide a clear name for your custom QA check, so translators understand what needs to be corrected.
- Description – explain what the custom QA check verifies or corrects.
- (Optional) Enable in all projects - select this option if you want to make the Custom QA check available in all projects of your organization.
- Code Snippet – provide the JavaScript-based code snippet that makes the QA check work. It includes a
crowdinobject and several properties.
- Click Create.

Alternatively, to add existing Custom QA Checks from the Crowdin Store, follow these steps:
- Go to Organization Settings > Custom QA checks.
- Click Add from store.
- Click next to the needed custom QA check.
- Click Create.
Custom QA Checks use JavaScript-based code snippets. These snippets are intended for users with basic JavaScript knowledge who want to create automated validation rules for translations.
Each custom QA check works by evaluating a crowdin object, which contains the context and content of the translation currently being checked. Your snippet should analyze the translation and return whether it passes the check or requires fixing.
The code snippet includes a crowdin object and a number of properties. To create the code snippet, use this object template as the input structure:
object crowdin { object file { string name, string fullName, string branch, string type } string sourceLanguage, string targetLanguage, object context { string context, ?int maxLength, ?string pluralForm, ?string identifier }, string contentType, string source, string translation}The following keys are used in the request object:
| Property | Description |
|---|---|
file.name | Source file name |
file.fullName | Full path to the source file in the project (excluding branch if any) |
file.branch | Branch name the source file is stored in |
file.type | Source file type |
sourceLanguage | Crowdin’s code for the project source language |
targetLanguage | Crowdin’s code for the project target language |
source | Source text |
translation | Translated string |
context.context | Source string context |
context.maxLength | Maximum length of the translated string |
context.pluralForm | PluralForm indicates which plural form is being translated right now |
context.identifier | Source string identifier (key) |
contentType | String can include one of the 3 types: text/plain, application/vnd.crowdin.text+plural, application/vnd.crowdin.text+icu |
Below is an example of a custom QA check code snippet request:
{ "file": { "name": "strings.json", "fullName": "backend/strings.json", "branch": "master", "type": "json" }, "sourceLanguage": "en", "targetLanguage": "de", "context": { "context": "backend.string.example.plain", "maxLength": 10, "pluralForm": "one", "identifier": "6a1821e6499ebae94de4b880fd93b985" }, "contentType": "application/vnd.crowdin.text+plural", "source": '{"one":"Password", "other":"Passwords"}', "translation": "das Passwort "}After running the code snippet, it should return a response indicating whether the custom QA check has passed successfully or failed.
{ "success": true}{ "success": false, "message": "The sentence starts with a space. Please remove 1 space at the beginning of the translation.", "fixes": [ { "from_pos": 0, "to_pos": 1, "replacement": "" } ]}The message explains what the translator should fix.
The fixes array provides instructions for automatically fixing the translation directly in the Crowdin Editor.
from_pos– The character position in thetranslationstring where the replacement starts.to_pos– The end character position.replacement– The text that should replace the characters betweenfrom_posandto_pos.
{ "from_pos": 0, "to_pos": 1, "replacement": ""}Custom QA check code snippets have the following limitations:
- The code runs in a completely sandboxed environment. Neither browser context nor Node.js context is available.
- Standard JavaScript objects like
Date,Math, and others are not available. - Execution time is limited to 100 ms. If your code runs longer, the QA check will be stopped. Simplify your logic and test using the Crowdin Script Editor.
Best Practices:
- Keep your code lightweight to avoid execution timeouts.
- Use regular expressions for efficient pattern matching.
- Include
fixesto speed up the review process for translators.
External QA Checks are Crowdin Apps that extend the built-in QA functionality. These checks run asynchronously and are ideal for more complex use cases that require network requests, external integrations, or advanced logic.
Use Cases:
- Validate translations against your style guide using AI.
- Perform server-side rendering to measure text dimensions with custom fonts.
- Integrate with third-party services to verify sensitive content.
External QA Checks work independently of Crowdin’s synchronous checks and offer more flexibility by running as separate services.
Installing and Configuring External QA Checks
Section titled “Installing and Configuring External QA Checks”You can add External QA Checks from the Crowdin Store or develop your own apps through the Crowdin Developer Portal.
To install and configure an External QA Check:
- Go to Organization Settings > Custom QA checks.
- Scroll to the External QA checks section.
- Click Add from store.
- In the Crowdin Store, find the External QA Check app you want to add and click Install.
- After installation, configure the app settings (if required). Each app may have different configuration steps depending on its functionality.
- Click Submit to save the configuration.
Enabling Custom and External QA Checks in Projects
Section titled “Enabling Custom and External QA Checks in Projects”Once added, both Custom QA Checks and External QA Checks will appear in your project’s Settings > Quality assurance alongside Crowdin’s built-in QA checks. You can enable or disable them depending on your project requirements.
- Open your project and go to Settings > Quality assurance.
- Select the needed QA checks (Custom and External).
Read more about Quality Assurance settings.